

Course 9 — Dire, Dire Docks. Open the basement’s thirty-star door as Mario and jump through the watery wall. Clearing its first mission reveals the entrance to Bowser in the Fire Sea. This chapter covers the seven named DS missions and the separate 100-Coin Star.
Stars in this course
- Board Bowser’s Sub
- Chests in the Current
- Pole-Jumping for Red Coins
- Through the Jet Stream
- Koopa Surfin’ Switch Star
- Inside the Cage
- The Manta Ray’s Reward
- 100-Coin Star
Mission 1 — Board Bowser’s Sub
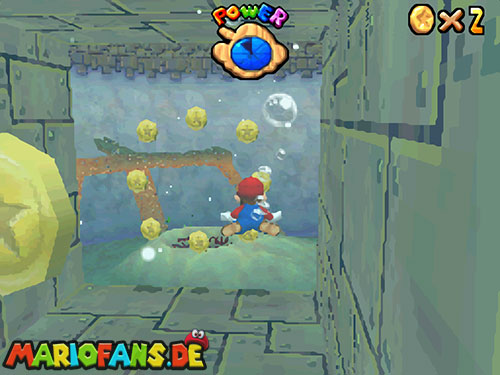
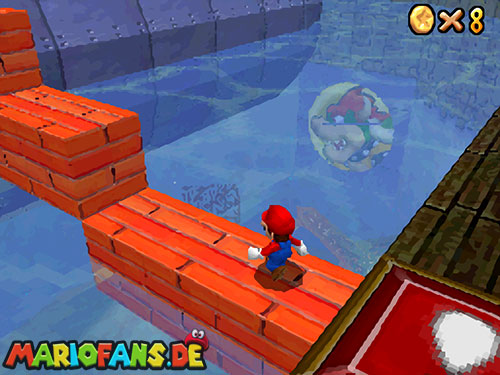
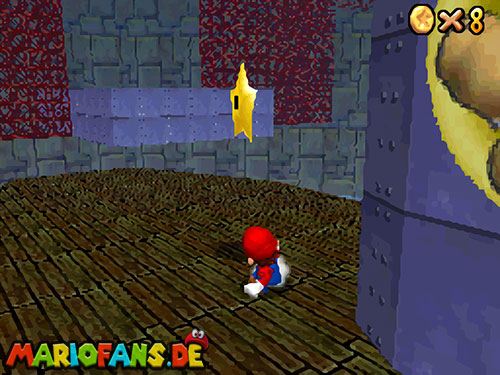
Swim from the first deep basin through the connecting underwater tunnel into the submarine bay. Surface and step on the shore switch to create a temporary block staircase. Climb it to the submarine’s deck and collect the star.
This first star moves the watery entrance back in the castle, revealing Bowser in the Fire Sea. The submarine itself remains until that Bowser stage is cleared. Return for the later pole route after completing the boss, rather than searching the occupied bay for missing overhead poles.
Mission 2 — Chests in the Current
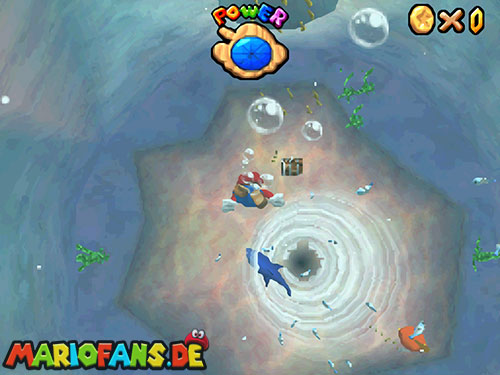
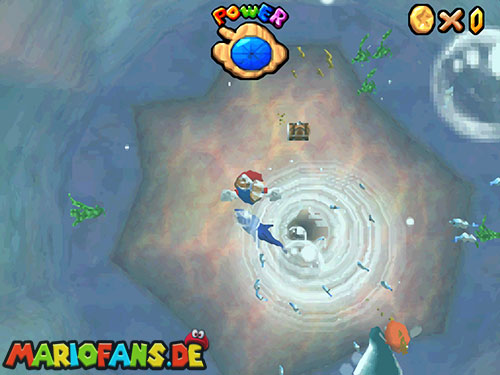
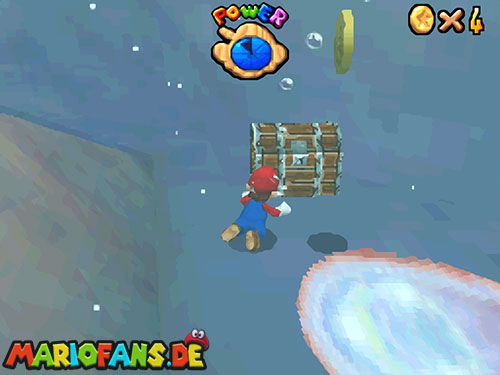
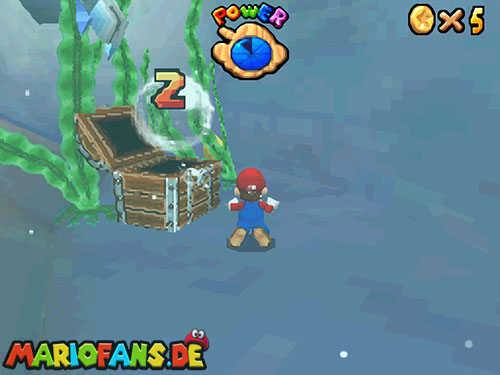
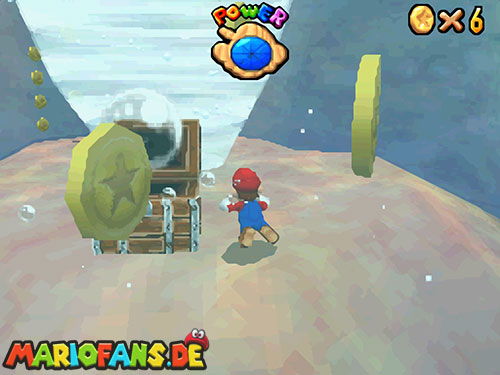
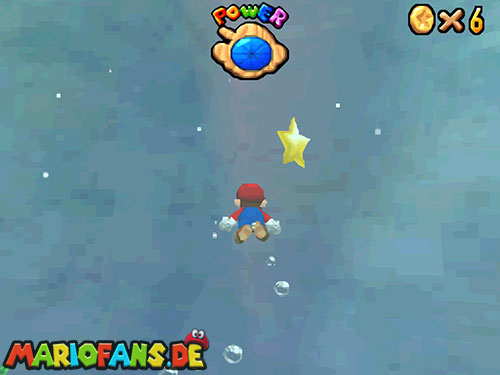
Dive to the three treasure chests around the first basin’s whirlpool. Open the chest near the clam first, the one toward the connecting tunnel second and the one nearest the whirlpool last.
Approach each chest from its front and keep far enough outside the current to avoid being pulled in. The DS puzzle has three chests; the N64 four-chest sequence is not the correct checklist here. Recover your air or health between attempts if needed. Entering the whirlpool costs a life, so never cut through its center to save time.
Mission 3 — Pole-Jumping for Red Coins
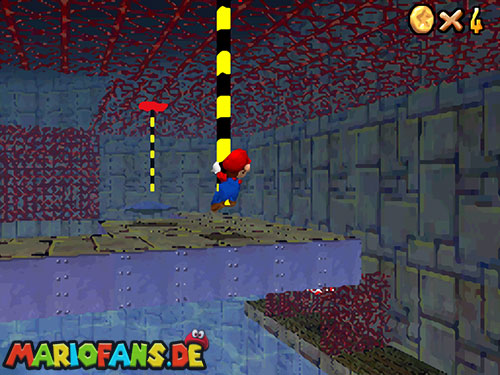
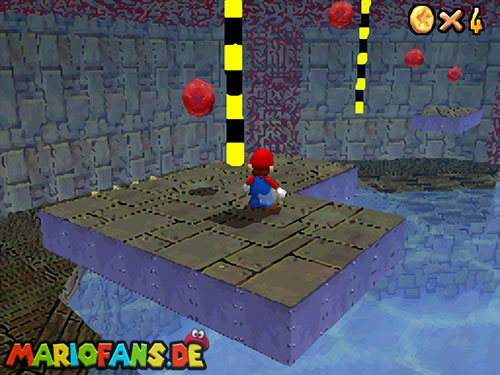
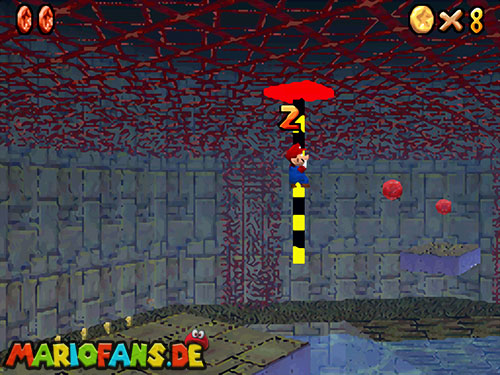
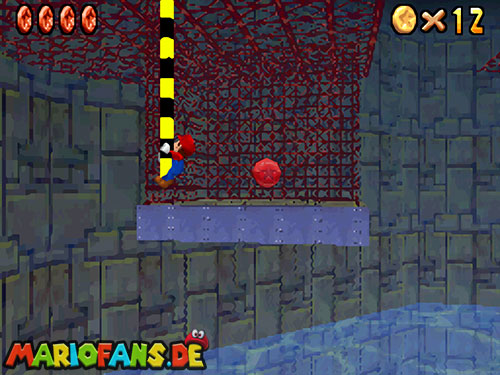
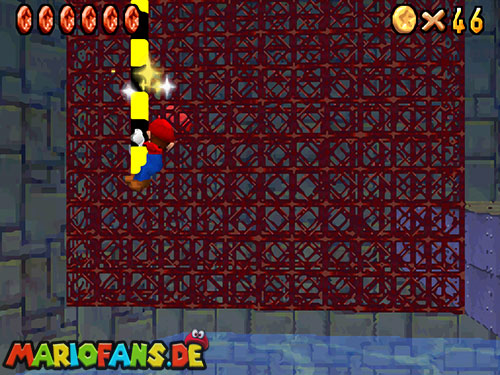
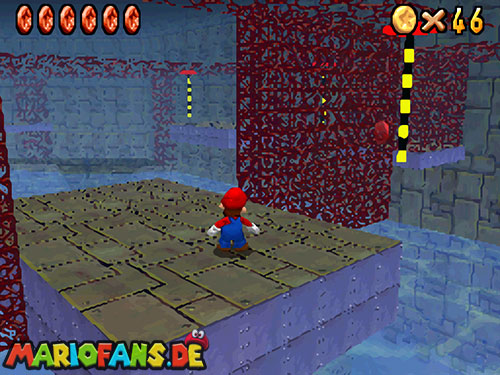
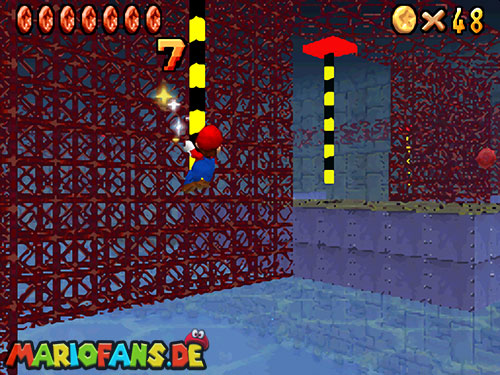
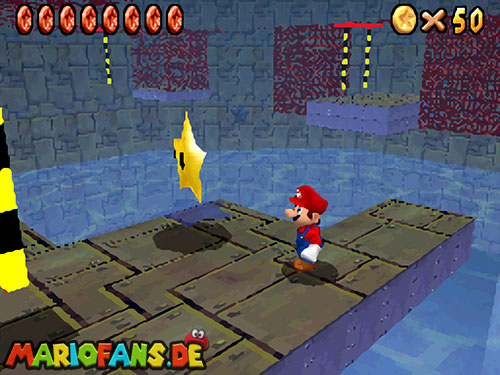
Defeat Bowser in the Fire Sea first so the submarine disappears and the overhead poles are available. Return to the second bay, activate the shore switch and climb to the upper platforms.
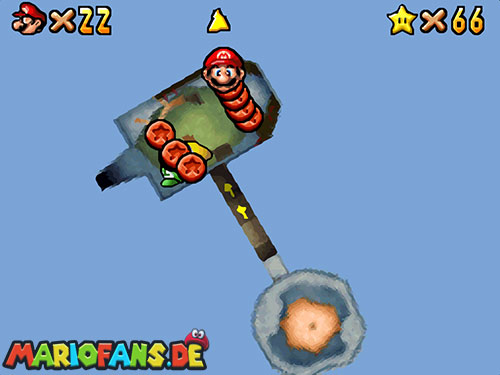
Jump between the moving poles to collect all eight Red Coins, adjusting the camera before letting go. Some transfers need you to wait until two poles pass close together. Check the Bob-omb Buddy’s markers for missing coins and return to the star marker once the set is complete. A fall into the water is safer than a rushed jump into a wall.
Mission 4 — Through the Jet Stream
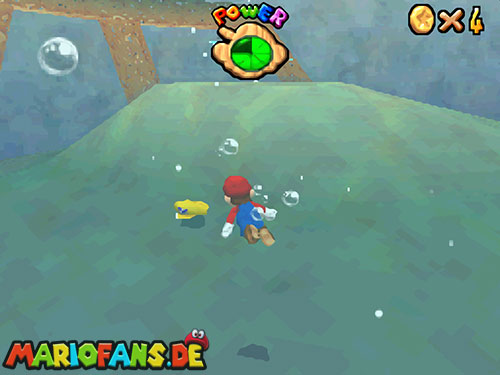
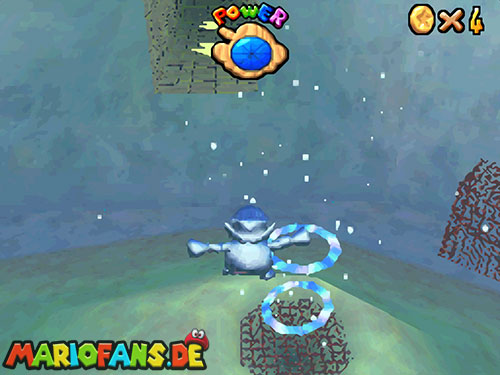
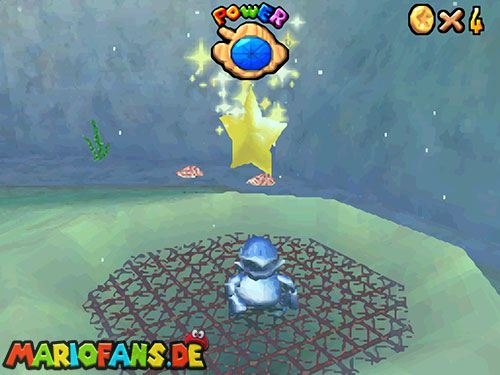
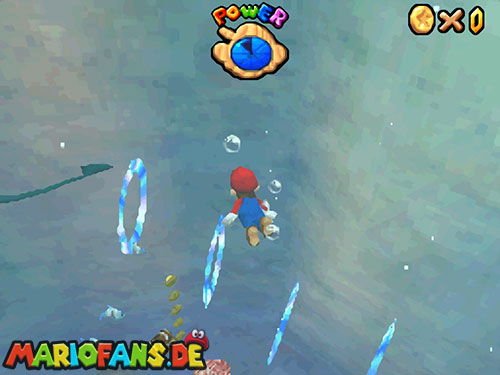
In the submarine bay, swim through five consecutive rings from the floor’s jet stream. Passing beside a ring or missing one breaks the sequence, so line up above the outlet before descending through them.
The star appears in the current. Use Wario’s Power Flower to become metal, sink to the bottom and walk into the jet to collect it. The ring sequence reveals the star; metal form lets you retrieve it. Do both parts rather than trying to force an ordinary swimmer into the current before the star exists.
Mission 5 — Koopa Surfin’ Switch Star
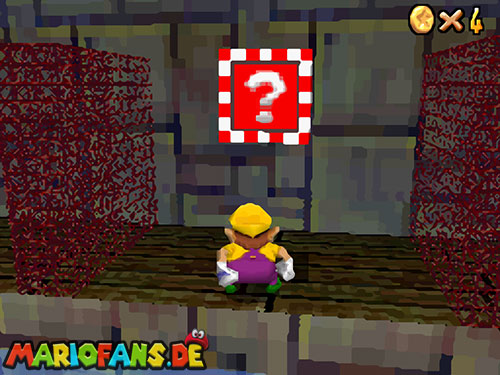
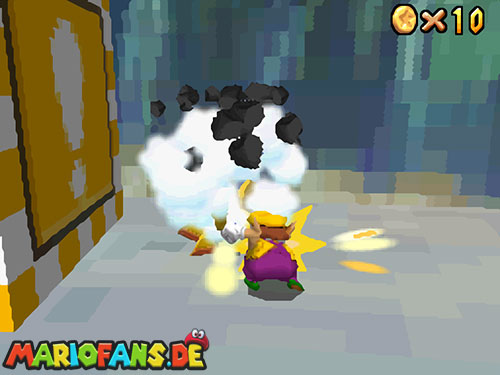
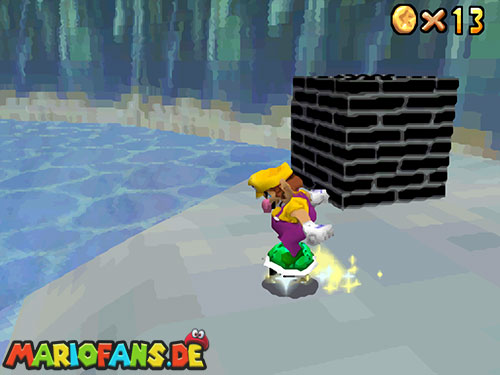
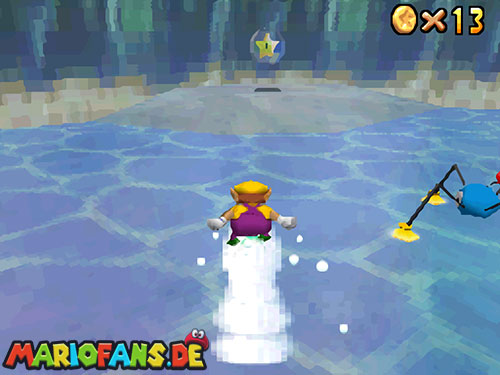
Use Wario at the starting beach and break the Black Brick to expose the Star Switch. Check where the sphere appears across the water. Press the switch and use the Koopa Shell for the fast crossing.
Aim the shell toward the star before accelerating and avoid turning sharply beside the whirlpool. The timer is limited, so clear the block and inspect the route before starting. If the attempt expires, return for another switch press instead of continuing to search the second bay.
Mission 6 — Inside the Cage
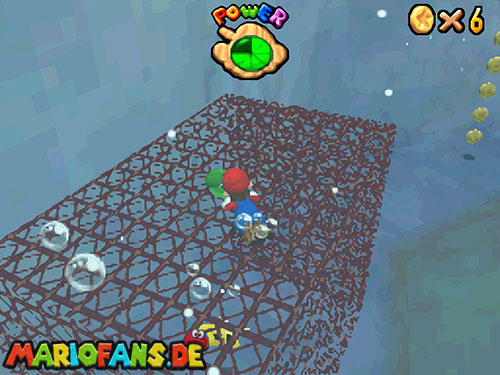
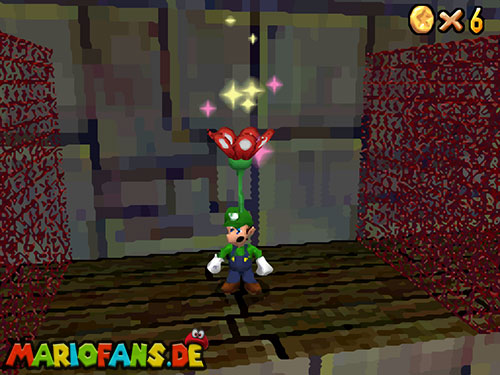
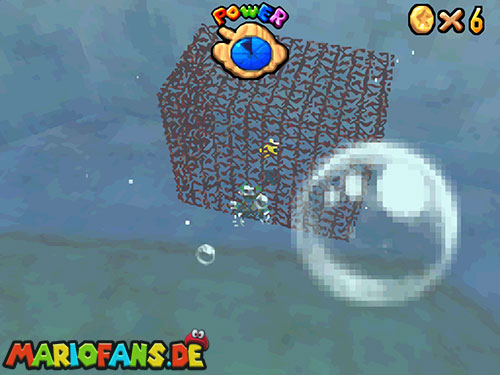
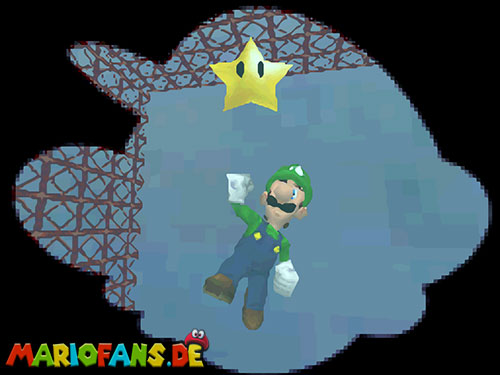
Bring Luigi to the submarine bay and use the available Power Flower. Swim to the barred enclosure while invisible and pass through its grating to collect the star.
The mission name refers to caps, but the DS solution uses Luigi’s Power Flower ability. Mario cannot become invisible from the same flower, and Wario’s metal form does not pass through the bars. Start the transformation close enough to the enclosure that it remains active for the final approach.
Mission 7 — The Manta Ray’s Reward
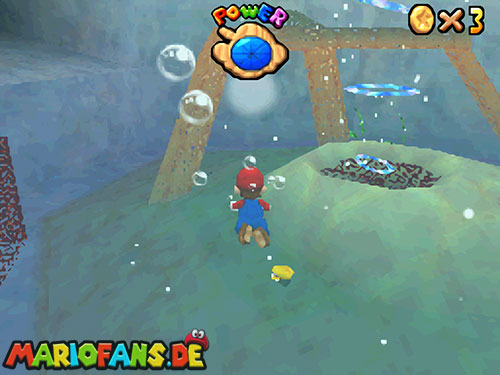
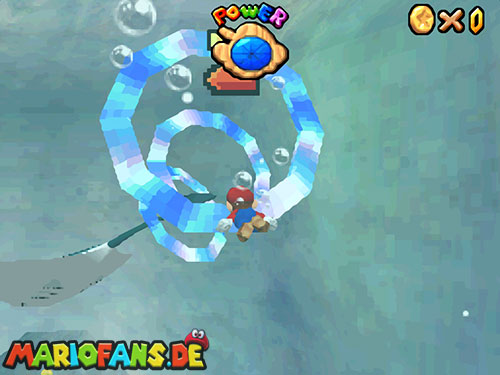
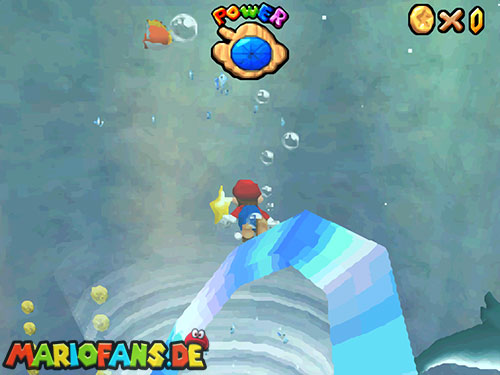
Follow the manta ray in the first basin. Swim through five consecutive rings in its trail, keeping a short distance behind instead of touching the ray itself. Realign after a missed ring before starting a fresh sequence.
The star appears after the fifth consecutive ring. Collect it without drifting into the central whirlpool. There are two different ring objectives in this course: this mission follows the moving manta, while the other uses rings rising from the fixed floor jet in the second bay.
100-Coin Star
Collect the coin trails around both basins and along the connecting tunnel, using coins and the surface to keep the Power Meter healthy. The first bay alone does not offer the entire comfortable route.
In the submarine bay, gather the Red Coins from the poles after Bowser in the Fire Sea is complete. Mario’s balloon power reaches the high Blue Coin Switch and its temporary supply. Combine those with the underwater trails to reach one hundred. Leave a safe surface or platform pickup for the final coin where possible, rather than spawning the star in the strongest current.
Continue your star collection
Previous course: Shifting Sand Land · Walkthrough overview · Next course: Snowman’s Land