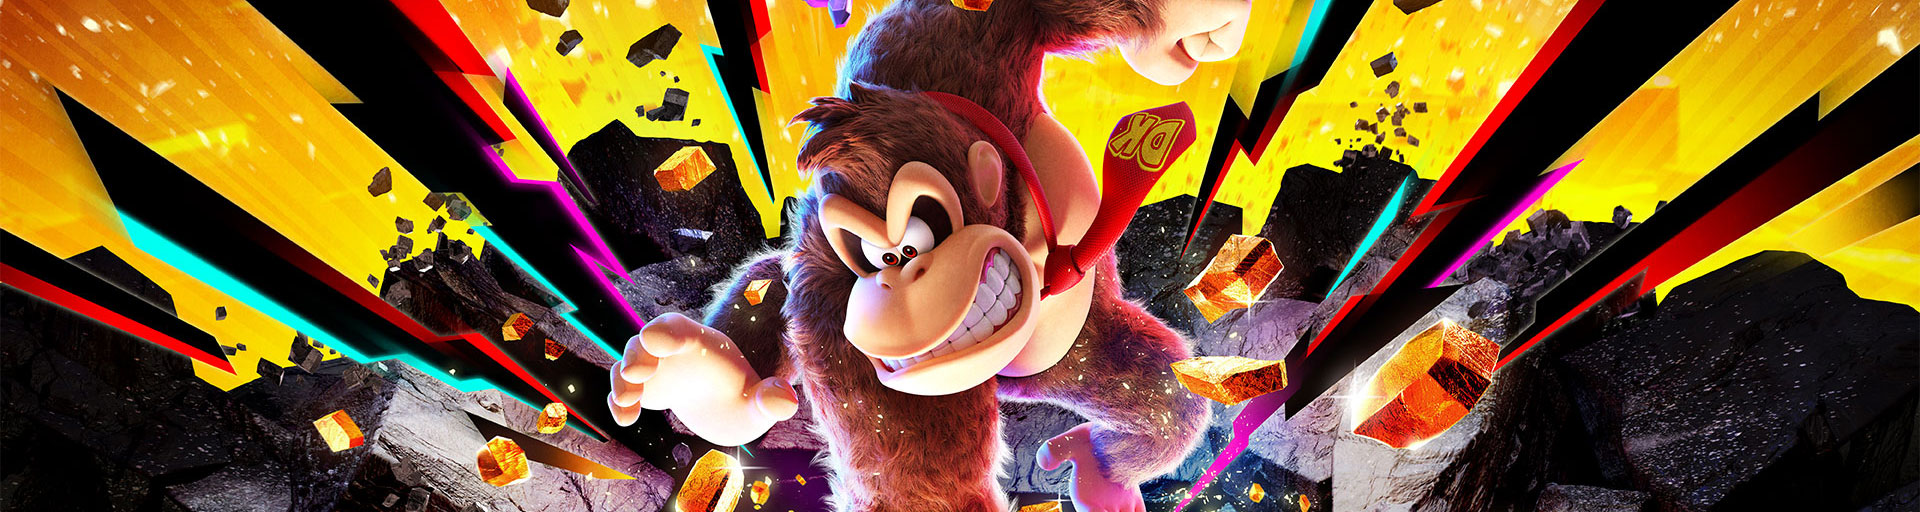

In our Donkey Kong Bananza complete solution to the hub, we show you all the secrets of the sublevel SL700. Here the two paths from the Freezer Layer and the Forest Layer meet again.Freezer LayerForest Layer
To continue the story at the node, you need to play through both layers completely. Only after defeating both Inflammonite in the Freezer Layer and Abracajabya in the Forest Layer can you open both entrances and clear the way to the central crossroads.
On SL700 there are a total of 15 Banandium sites. We will show you all the hidden gems on the glacier and forest trail, the two challenges at the crossroads and the location of Cranky Kong. We also explain the subsequent boss fight against Void Kong.
Important: There are no fossils at the junction. Two banandium entries will also become available only after the main story has been completed.
SL700: The Junction – all 15 Banandium Gems
Depending on which of the previous two worlds you played first, you will reach the junction via either the Glacier Path or the Forest Path. For complete completion, you need to explore both sides.
Glacier pathway
1. Freezer Path’s Special Scoop
After removing the void or terravoider on the glacier path, you return to your original landing site.
Behind your starting point is a large snowball or a large snowball. Destroy the snow. It contains the first Banandium Gem.
2. Cooled Off Inflammonite!
This banandium you get automatically via the main story.
Defeat Inflammonite at the end of the Freezer Layer and then jump through the open shaft to SL700.
When you land on the glacier path, you will receive the reward from five Banandium Gems.
3. Freezer Path’s Hidden Snack
First, remove the void at the entrance of the glacier path.
Then go to the fast travel point or the bridge of the glacier path. Below the main path you will find a massive concrete wall near the firing VoidCo cannons.
Activate the Kong Bananza and destroy the concrete. In the secret room behind is the Banandium Gem.
4. Shifty Smash: Freezer Path
This jewel will not be unlocked until the main story is completed.
After the credits, return to the lower end of the glacier path. An additional Shifty Smash challenge with Schwindium blocks now appears there.
Activate the challenge and destroy all predefined blocks within the time limit.
After successful completion, the Banandium Gem appears.
Forest trail
5. Forest Path’s Birdbrain
After removing the void on the forest trail, return to your original landing site on this page.
Behind the starting point is a large wooden ostrich head or an ostrich-shaped tree trunk.
Strike yourself in the head. Inside you will find the Banandium Gem.
6. Uprooted Abracajabya!
You also automatically get this find in the course of the story.
Defeat Abracajabya at the end of the Forest Layer and then jump through the open shaft to the node.
When you land on the forest trail, you will receive five Banandium Gems.
7. Forest Path’s Hidden Snack
First, remove the void on the forest trail.
Then go to the bridge or the fast travel point. In this area, several target-seeking VoidCo cannons target you.
Climb to the left around the big central pillar or obstacle and let yourself fall under the main path.
There is a hidden room with the Banandium Gem.
8. Shifty Smash: Forest Path
Also this Banandium Gem is available only after the main story has been completed.
After the credits, return to the lower end of the forest trail.
An additional Shifty Smash challenge appears there. Activate the Schwindium Challenge and destroy all predefined blocks in time.
After successful completion, you will get the jewel.
Route crossing
9. Cleared the Way to Clash Point!
Once you have destroyed the void terrain core or terravoider on one of the two sides, you can restore the corresponding bridge to the central crossroads.
Then follow the path back.
Directly on or at the reopened route the Banandium Gem appears.
10. Clash Point’s Hidden Snack
Reach the central area where the glacier and forest trail meets.
Look under the two big bridges.
Below the crossroads there is a hidden space or projection. Drop carefully down and get the jewel.
11. Battle: A Fiery Fracas
On theGlacier sideAt the central crossroads, you will find a constructor on a projection.
Pay him 600 gold to clear access to the combat challenge.
Inside, two lava crockoids are waiting. With normal beats, you find it hard to get at them.
Therefore, use the VoidCo-Cannon in the arena and shoot at both opponents.
If both crockoids are defeated, the banandium Gem appears.
12. Target on the Run
On theForest sideAt the crossroads there is another constructor.
Pay him 1,000 gold so that he opens access to the challenge with the aim-seeking cannons.
Get on the first movable stone platform and drive through the course. The VoidCo cannons are constantly targeting you.
Stay moving and use the platforms as cover.
After the first major stage, you reach the first Banandium Gem of the challenge.
13. Out-of-Range Perch
Stay in the same challenge.
On the second movable stone platform there is a higher area above you.
Activate the Kong Bananza and climb up on the wall or on the destructible terrain.
At the top is a concrete wall. Strike them.
In the hidden room behind you will find the second Banandium Gem.
14. Target Escaped
Complete the entire challenge with the aim-seeking cannons.
Continue on the moving platforms, dodge the floors and destroy the concrete walls that block your path.
At the end of the course awaits the third Banandium Gem.
15. Cranky’s Junction Rant
Go into the central area of the junction and look up into the sky.
Cranky Kong stands together with Rambi on a floating platform far above the main road.
Throw a boulder or stone against the bottom of the platform. This lowers it far enough.
Climb up and talk to Cranky.
Listen to his complete node tirade and you will receive the last regular Banandium Gem.
Boss: Defeat Void Kong
After completing both the glacier and forest layers and opening both paths to the intersection, the story continues at the junction. There comes the big fight against Void Kong.
The boss fight is unusual because you have to follow Void Kong over three different areas.
Phase 1 – Hilltop Layer
Void Kong flees through the teleport gong back to the Hilltop Layer.
- Follow him through the gong.
- Void Kong teleports over and over again.
- Pay attention to the markings on the ground – they indicate where his bullets hit.
- Roll and jump to him quickly and land a hit.
- After each hit, he changes his position again.
Once you have removed about half of his life energy, Void Kong escapes again through a teleport gong.
Phase 2 – Lagoon Layer
The second phase takes place in the Lagoon Layer.
The basic principle remains the same: Track Void Kong and land hits as soon as you get close enough to it.
In addition, he now sends large poison walls to you. Look for the destructible sections of soft terrain and smash through them before the wall hits you.
After further hits, Void Kong flees back to the node.
Phase 3 – Back to the Node
The final phase starts again on SL700.
Follow Void Kong across the central bridge towards his big machine.
- Destroy the walls in front of you best with the Kong Bananza.
- If you have an ice wall, you should take a boulder of ice.
- You can then use this to get through the following lava wall.
On the machine, Void Kong is protected by three terravoiders.
Consecutively destroy all three cores. For the more distant cores, you have to work your way through rock and lava walls.
When all three Terravoiders are destroyed, Void Kong’s shield collapses.
Now ignore the remaining opponents and focus completely on Void Kong. Activate the Kong Bananza, hit through its regenerating protective walls and land the decisive hit.
No fossils at the junction
The Junction is a small transition layer and has no fossils. So you don’t have to look for normal or rare fossils here.
For the complete completion, only the 15 Banandium sites are relevant.
Why am I missing two Banandium Gems?
If your collection shows only 13 out of 15 entries after completing the node, this is completely normal.
The two missing jewels are:
- No 4 – Fracture test: Glacier path
- No 8 – Fracture test: forest path
Both challenges appear only after the main story is completed. Then return to SL700 and visit the lower end of both paths.
Node fully completed
For complete completion, your checklist should show at the end:
- Banandium Gems: 15 / 15
- Fossils: none
After Void Kong is defeated, your adventure from the node continues to the next big layers. From here, new paths are open to you, which lead you to the beach and Tempest layer, among other things.