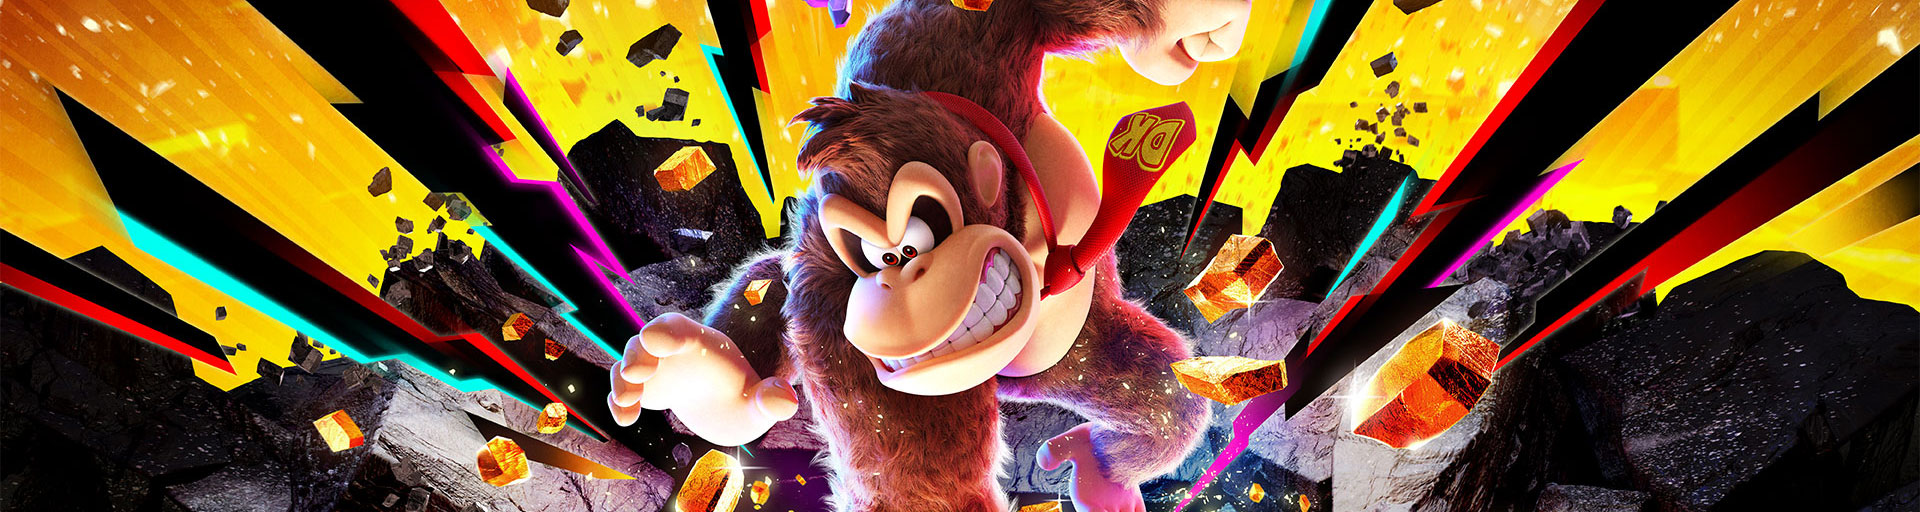

Welcome to our Donkey Kong Bananza walkthrough for the Ingot Isle. This is where Donkey Kong’s adventure on Nintendo Switch 2 begins – and this is where you’ll have to return after the main story ends if you really want to find all the secrets.
We show you the locations of all 36 Banandium Gems of the Ingot Isle, explain the Shifty Smash challenges, Fractones tasks, hide-and-seek, combat challenges and the later Postgame secrets.
Terrain hardness: ★☆☆☆☆
Important: There are no fossils on the Ingot Isle. The collection overview here consists exclusively of 36 Banandium Gems or 36 entries in the collection.
Postgame Note: During your first visit, you can only get the jewels 1 to 3. The Jewels 4 to 36 appear only after you have completed the main story and King K. Rool defeated in New Donk City.
Note: Some tasks will reward you with a bundle of three or five Banandium Gems. For the map and collection overview, the respective task still counts as an entry of the 36 references.
Sublevel 1 – Tutorial
During the first visit to the Ingot Isle you can only collect three Banandium Gems. All three are practically on their way and serve as an introduction to Donkey Kong’s abilities.
1. The First Banandium Gem
You practically cannot miss this jewel. After the start, follow the mine shaft and work your way through the tutorial. The Banandium Gem is clearly visible directly in front of Donkey Kong.
Availability: From the beginning.
2. Through the Banana-Mining Belt
After the first jewel, follow the prescribed path through the mine. You reach a room with the large banana mine assembly line.
Run or strike along the conveyor belt through the obstacles. The second Banandium Gem waits at the other end of the assembly line and is thus also directly on the main path.
Availability: From the beginning.
3. Digging Up a Snack
Just before the control point of sub-level 1, you reach a larger stone or heap of debris.
Use Donkey Kong’s beats and work your way through the rock. The third Banandium Gem is hidden in it.
Once you have collected it, you have already found all three available jewels of the Ingot Isle on your first visit.
Availability: From the beginning.
Sublevel 10 – Postgame
After completing the main story, the Ingot Isle changes enormously. Return after the victory over King K. Rool back to sublevel 10. Now you have 33 additional collection entries available.
For some of these, you need skills and Bananza transformations from later layers. It therefore makes sense to bring the Ingot Isle completely to 100% only after the credits.
4. Secret by the Start
Return to the starting area of the Ingot Isle and enter the small room behind the area where you found the first important jewel at the beginning.
Look up: The jewel is on a very high edge. Activate the Snake Banana and use the charged jump to reach the hidden upper room.
On the protrusion awaits the Banandium Gem.
Required: Snake Banana.
5. Gold Rush!
This jewel is hard to miss after your return. It appears directly in the starting region of sub-level 10.
Follows the striking gold vein or the obvious path from the starting point. In the end, the reward awaits.
Special feature: Goldrausch! consists of a bundle of 3 Banandium Gems.
Breakdown tests on the Ingot Isle
6. Shifty Smash: Rising Tower
Directly at the entrance is the large metallic Ingot Isle sign or the archway. At the top, a Shifty Smash challenge starts.
It is best to use the snake banana to get to the building. During the test, you have to destroy a tower of changing material. The actual target blocks made of Shifty Stone lie between much harder concrete layers.
Jump up with the Snake Banana as far as possible and work your way through the tower with powerful fall attacks from top to bottom.
7. Shifty Smash: Break Up the Ring
To the right of the starting area is a small lake. In the middle of it awaits the next Shifty Smash challenge.
Here you have to destroy a rotating ring from Shifty Stone within time. The Elephant Bananza is particularly suitable for quickly clearing the moving target blocks.
Focus exclusively on the marked Shifty Stone and do not let normal material stop you.
8. Thwarting the Thorns
Go from the entrance of Baboomtown to the left and look over the large Dornenfeld.
Above the thorns hovers a small square platform. Activate the Ostrich Bananza, use the upwind and fly to the platform.
The jewel is completely enclosed by thorns. Use an ostrich bananza egg bomb to safely destroy the thorns and expose the jewel.
9. Ingot Isle Fragmentone Recovery
To the left of the thorn platform from Jewel 8 you will find a Fractones or Fragmentone on another small island.
In the vicinity, three of its fragments are distributed. First, bring a fragment back to the fragmentini.
Once the first part has been reinstated, you will receive the Banandium Gem number 9.
10. Ingot Isle Fragmentone Restoration
For the second jewel of the same task, you must complete the search.
Also find the two remaining fragments and bring them back to the Fractones. Once you have unified all three parts, it is fully restored and presents you the next jewel.
Tip: Use your environment search and also look for the fleeing fragments on higher platforms.
11. Shifty Smash: Checkerboard Crush
Return to the room where Donkey Kong first met Pauline as a strange stone or odd rock at the beginning of the game.
Near the Monkey Fractones and behind the Warp Gong you will find the third Shifty Smash challenge of the Ingot Isle.
Here, the Shifty Stone is arranged like a checkerboard between concrete. Activate the Kong Bananza and destroy all Shifty Stone fields before time runs out.
The Growtone – three jewels
On the upper part of the mine near Baboomtown a special growtone awaits. You can reach it particularly comfortably with the Ostrich Bananza.
12. The Ingot Isle Growtone
Feed the growtone with gold. Once you reach the first threshold of 1,000 gold, it grows and produces its first Banandium Gem.
13. The Hungry Ingot Isle Growtone
The Growtone is far from full. Keep feeding gold into it.
Once the next threshold of 5,000 gold is reached, you get the second jewel.
14. The Sated Ingot Isle Growtone
Keep feeding until a total of 10,000 gold have landed in the Growtone.
He is finally satisfied and gives you his third and last banandium Gem.
Tip: The information is threshold values. So you need a total of 10,000 gold and not 1,000 + 5,000 + 10,000 extra.
15. Post-Sprint Treat
Near the wax tone begins a narrow path from a particularly fragile underground world.
Activate the zebra Bananza and sprint over the decaying path. Hold yourselves as centrally as possible and do not brake, as the ground collapses directly behind you.
At the end of the course is a cage with the Banandium Gem.
16. Snack in a Sunken Slab
Goes to the water below the bridge that leads to Baboomtown Square.
Between two rocks lies a large concrete block under water. Inside is the jewel.
It is best to activate the Kong Bananza and repeatedly perform the crash or dive punch until you have completely broken the concrete.
17. Ingot Isle Hide-and-Seek
Speak to the Baboomtown Square checkpoint with the search fractone. Four of his friends hid around the building.
You’ll find them roughly in these places:
- covered with gold in front of the small timber statistics NPC,
- The earth is covered with the earth above the shield at the tool area,
- on the back of the building behind the small-scale statistics NPC,
- behind the search fractone at a pillar.
If you have found all four and addressed or exposed, you get the jewel.
18. Ingot Isle Smashin‘ Stats
Below the chip changer in Baboomtown Square you will find the NPC for the small wood statistics.
For his jewel you must have destroyed a total of 99,999 m3 of gold on the Ingot Isle.
Open your map with the minus button and switch to the collection or small timber statistics to control your current progress.
Once you have reached the target, talk to the NPC again and you get the Banandium Gem.
19. Ingot Isle Quiz Master
The quizmaster can be found at the shops around Baboomtown Square.
Answer all three questions correctly. The correct answers are:
- A pickaxe
- Banandium chips
- A fly
After the third correct answer, the quizmaster hands you his jewel.
20. Decked Out in Gold
Above the base of Baboomtown you will find the golden fashion NPC. He wants to see Donkey Kong completely in gold.
Equips the following three garments:
- Bananergy tie
- Banandium gold fur
- Golden pants
The Bananergy tie is available via the Canyon Layer; gold-fur and golden pants are later available via the Planet Core equipment.
If you have created all three parts at the same time, talk to the mode NPC again.
21. Cranky’s Ingot Isle Rant
Cranky Kong has of course made it as comfortable as possible in a cumbersome place to reach.
Climb the large scaffolding of Baboomtown Square, where the Lobby Shop is located, and work your way up to the tallest steel girder.
This is where Cranky sits. Talk to him and listen to his tirade completely. Then you get the jewel.
Combat Challenges from Grumpy Kong
Near the entrance of Baboomtown you will meet in the postgame on Grumpy Kong. Against gold, he unlocks two major series challenges.
Combat series
First pay 5,000 gold to open the normal fight series. In total, you must pass 13 consecutive battles.
22. Finished Four Fights!
Survives the first four rounds of the fight series. Then you get the first intermediate reward.
Reward: a bundle of 5 Banandium Gems.
23. Beat Eight Bouts!
Keep fighting and win round 5 to 8. After the eighth battle, the next jewel reward awaits.
24. Won Thirteen Throwdowns!
Complete all 13 rounds of the fight series. So you have completely survived the actual opponent sequence.
25. Battle Rush Cleared!
For the complete conclusion of the battle series, you will also receive this collection entry.
Jewel 24 and 25 are thus unlocked practically together at the end of the complete 13-lap run.
Serial boss fight
Pay Grumpy Kong 10,000 gold to open the boss rush. Now you have to defeat five boss opponents from your adventure one after the other.
26. Kong-quered Inflammonite!
Inflammonite is the first opponent of the serial boss fight. Defeat him again with the mechanics from his original boss fight.
After the win, you get the first Boss Rush reward.
27. Kong-quered Abracajabya!
In the second fight, Abracajabya is waiting. Also defeat this boss to unlock the next jewel entry.
28. Kong-quered Sinister Blusterwing!
Stormwing is the third boss of the series. Use your now fully developed abilities and Bananza forms to finish the fight as quickly as possible.
29. Kong-quered Muckety-Muck!
Defeat Muckety-Muck as the fourth opponent of the boss rush. Then only the last single boss is missing.
30. Kong-quered Stompenclomper!
Stampfbaff forms the fifth and last single boss of the challenge.
After your victory, you get the corresponding jewel and are only one step away from the complete boss rush.
31. Kong-quered the Boss Rush!
Having defeated Inflammonite, Abracajabya, Stormwing, Muckety-Muck and Stampfbaff in a full boss rush, Grumpy Kong’s challenge is complete.
As a final reward, you will receive the sixth collection entry of this boss series.
32. Snack on the Outskirts of Town
Go from Baboomtown Square to the left and jump into the water.
There you will find a fractone that moves through the underground world or between the rocks. Follow him.
He leads you to a heap of rubble on the outskirts of the city. Destroy or dig through the stones and you find the Banandium Gem.
33. Shifty Smash: Quick & Nimble
Use the barrel cannons that lead from Baboomtown Square towards the scaffolding of the banana mine.
On a raised platform near the covered hole you will find the last Shifty Smash challenge.
Here you have to destroy eight fast rotating Shifty Stone blocks within the time limit. Focus on short, precise attacks and do not try to track the moving dice for long.
Restoration of the Ingot Isle
The last two freely findable jewels require the complete restoration of Baboomtown.
Talk to Grumpy Kong and pay a total of 120,000 gold for the major restoration project. After that, the upper area of the Ingot Isle changes significantly.
34. Claimed on the Crane
After the restoration, you can climb to the very top of the new mine scaffold.
Look for the left crane in the upper area of Baboomtown or the banana mine.
Climb to the top of the crane. There the Banandium Gem is clearly visible.
35. The Best of the Bunch
Sticks to Jewel 34 in the upper area and climbs even further.
After restoration, a huge golden Donkey Kong statue stands here.
Climb the statue to the head. At the top of the crown or the head is the penultimate jewel of the Ingot Isle.
36. Ingot Isle Chip Exchange
The last collection entry you get at the chip changer in Baboomtown Square.
Exchange banandium chips for a banandium gem. The exact price depends on how many jewels you have already bought from other chip changers.
For the collection of the Ingot Isle you only have to successfully exchange chips for a jewel here once.
Ingot Isle 100% complete
Once you have completed all tasks, your collection should look like this:
- ☐ Sub-level 1: Jewels 1–3
- ☐ Sub-level 10: Jewels 4–36
- ☐ All four Shifty Smash challenges completed
- ☐ Fractones fully recovered
- ☐ Growtone fully fed
- ☐ All four hidden fractones found
- ☐ Quizmeister defeated
- ☐ Gold outfit presented
- ☐ Crankys Tirade belongs
- ☐ Combat series with 13 fights completed
- ☐ Serial boss fight completed
- ☐ Ingot Isle restored for 120,000 gold
- ☐ Chip changer used
- ☐ 36 / 36 Banandium Gems entries
Fossils: 0 / 0 – there are no fossils on the Ingot Isle.
With this you have completely completed the Ingot Isle in Donkey Kong Bananza. Our complete solution continues with the Lagoon Layer.Lagoon Layer