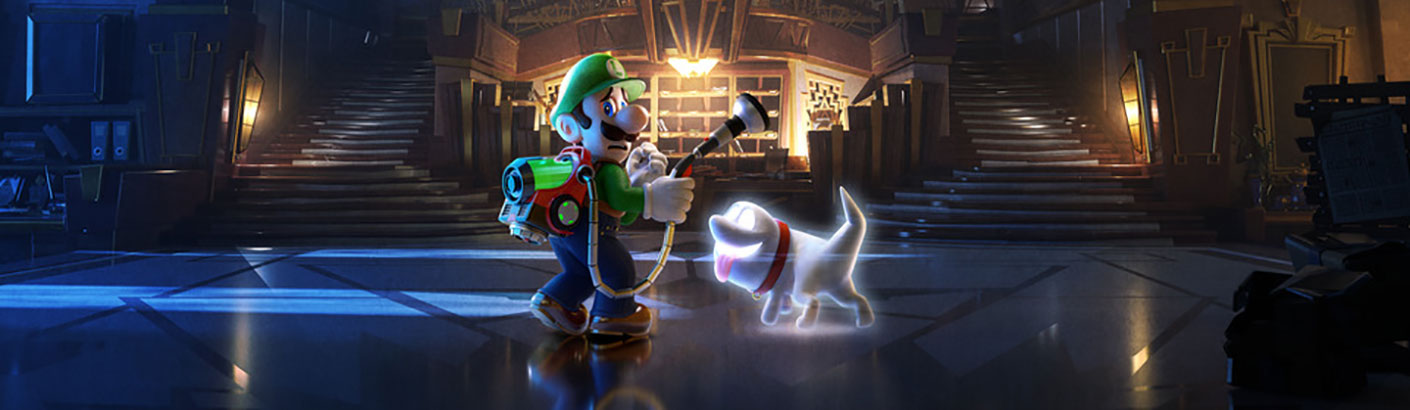

Luigi’s Mansion 3 has fifty-three achievements in four groups: Collection, Hotel, Battle and ScareScraper. A fully collected hotel is not the same as completing all multiplayer objectives. Check progress through E. Gadd’s gallery or the Virtual Boo hotline.
Collection — twenty-three achievements
- 10,000 coins — Vacuum loose coins, inspect furniture and return to densely furnished rooms. The achievement tracks the cumulative coin item total, not the money balance.
- 6,000 bills — Vacuum curtains, beds, sofas and cash drops throughout the hotel. Collect bills before leaving a room where a gold ghost has scattered them.
- 3,000 gold bars — Open chests and hidden rooms, capture gold ghosts and clear large treasure caches. Check the separate item counter; a bar contributes more money than a coin but still counts as one bar.
- 150 pearls — Catch ghosts and collect their pearl drops. Keep suction active after a capture so nearby drops are not left behind.
Each of the seventeen floors has its own six-gem achievement. Completing all seventeen also awards the all-hotel-gems achievement; capturing all sixteen Boos adds the final Collection achievement.
- B1 — Basement and E. Gadd — gem achievement
- 1F — Grand Lobby — gem achievement
- 2F — Mezzanine — gem achievement
- 3F — Hotel Shops — gem achievement
- 4F — The Great Stage — gem achievement
- 5F — RIP Suites — gem achievement
- 6F — Castle MacFrights — gem achievement
- 7F — Garden Suites — gem achievement
- 8F — Paranormal Productions — gem achievement
- 9F — Unnatural History Museum — gem achievement
- B2 — Boilerworks — gem achievement
- 10F — Tomb Suites — gem achievement
- 11F — Twisted Suites — gem achievement
- 12F — The Spectral Catch — gem achievement
- 13F — Fitness Center — gem achievement
- 14F — The Dance Hall — gem achievement
- 15F — Master Suite — gem achievement
Finish every six-colour floor set using the seventeen linked gem guides. Return to cleared floors, use the vibration signal and complete each Dark-Light capture.
Hotel — seventeen achievements
- Ride the elevator fifty times — Normal story and collection revisits contribute; use short trips between adjacent floors for the remainder.
- 2F haunted dressing-room objects — Restore three objects with Dark-Light: the chest at the lower left, the bin at the upper right and the chair against the south wall. Capture their spirit balls and the gold ghost released by the chair.
- 5F laundry spiders and webs — Exit through the right window of the room beside the 5F elevator, follow the outside ledge and clear the hidden passage behind the Laundry Room. Vacuum every spider and web.
- 3F merchandise — Vacuum or break all shop merchandise, including the side displays and upper shelves.
- 2F billiard table — Vacuum every ball into a pocket in the Entertainment Room.
- 4F ghost orchestra — Return with Super Suction, remove the rear stage and capture the entire hidden orchestra.
- 6F royal coffers — Remove the pre-arena tapestry, restore the door with Dark-Light and enter the treasury.
- 7F Strobulb flowers — Flash every light-sensitive flower throughout the Garden Suites, including optional room and upper-atrium flowers.
- 8F director ghost — Return to Morty’s editing room after the film is finished and capture him.
- 9F museum displays — Use dinosaur bones to smash every exhibit and glass cabinet on the floor.
- B2 observation music — During the later Toad visit, use Dark-Light on the left-wall console connected to the Observation Room speakers. Activate the restored console to play the music.
- 10F beach ball — Find the beach ball in the sand left of the pyramid path. Vacuum it, aim at the pyramid’s sharp tip and fire it there to pop it.
- 11F stuffed rabbits — Vacuum every stuffed rabbit in the Twisted Suites, including those in side rooms.
- 12F moon — Use the pirate ship cannon to shoot the moon after the boss.
- 13F locker-room mice — Search the lockers and furniture, then flash every mouse in the Locker Room.
- 14F hidden vault — Complete the illuminated-floor sequence with both characters and enter the underfloor vault.
- 15F bathroom gold ghosts — Search the Master Bathroom sauna and capture its hidden Golden Goobs before proceeding to the ending.
Battle — seven achievements
- 500 pests — Flash or vacuum small creatures such as mice, spiders and bats during room cleanup.
- 999 ghosts — Continue hotel captures and ScareScraper runs; the total is cumulative.
- 500 mini ghosts — Clear groups of the small ghosts in hotel ambushes and ScareScraper.
- Ghost defeated by another ghost — Hold one captured ghost and slam it onto another until the second is defeated.
- Hammer with one tether — Get behind a Hammer, grab its tail once and keep the same tether until all its health is gone. Avoid letting obstacles break the pull.
- Six ghosts at once — Gather a group, stun them together with a charged flash and catch all six in the same suction attempt.
- Seven consecutive slams — After the Super Suction story upgrade, catch a healthy Hammer and press the slam input again as each impact lands. Keep the same tether for seven timed slams; frantic button presses can end the chain early.
ScareScraper — six achievements
- Clear five-floor ScareScraper — Finish a complete five-floor run and defeat its rooftop boss.
- Clear ten-floor ScareScraper — Finish ten floors in a single run; allow enough time for the longer objectives.
- Forty rare ghost captures — Choose ten-floor runs and clear the special fifth-floor rare-ghost room repeatedly. The objective counts captures, so repeat runs contribute.
- Twenty teammate revivals — Use a heart on a downed teammate. This needs another player; Gooigi alone is not a substitute for a teammate revival.
- One hundred cleared floors — Repeat ScareScraper runs. Completed floors accumulate across sessions.
- Twenty Boolossus victories — Complete repeated rooftop boss fights. Five-floor runs shorten the route when this is the last remaining target.
Cosmetic rewards
All gems unlock Suction Shot Type-C. All Boos unlock Flashlight Type-B. All fifty-three achievements unlock Poltergust Type-G. Equip rewards through the gallery; these variants change appearance rather than the walkthrough’s puzzle requirements.