
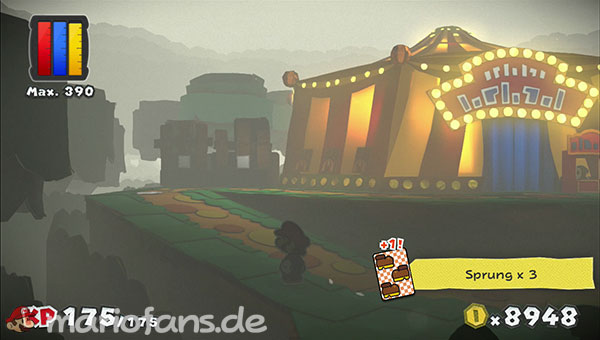
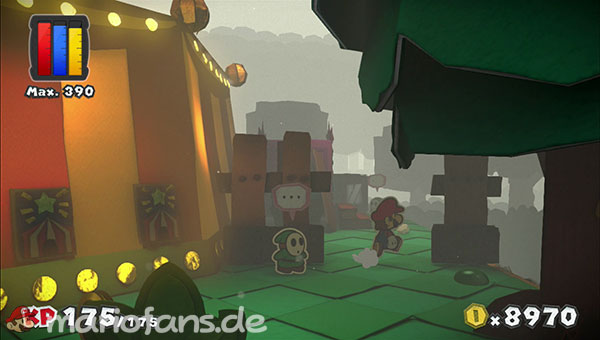
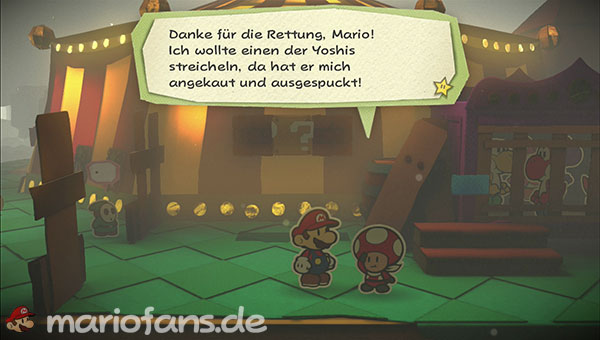
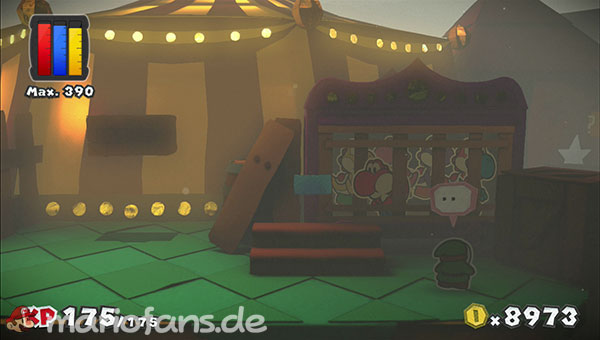
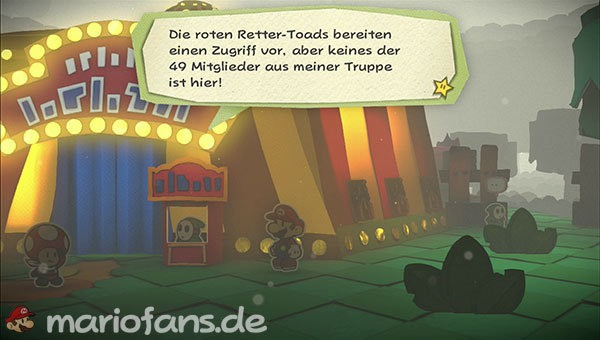
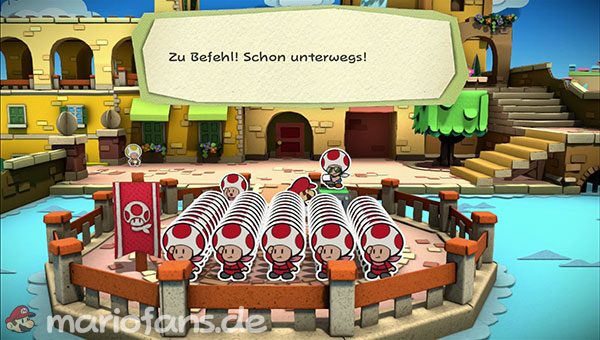
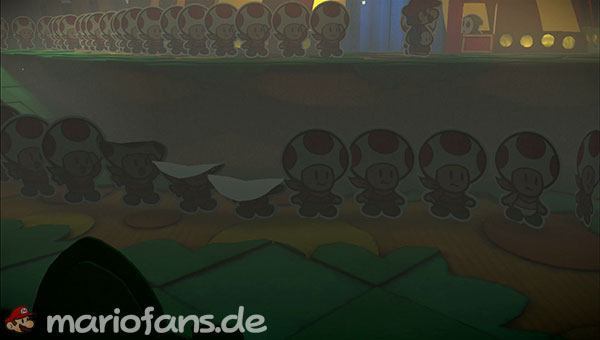
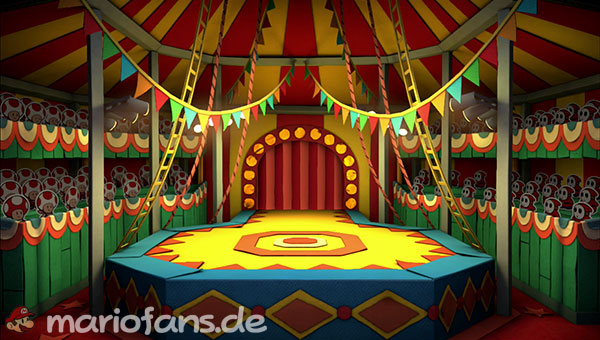
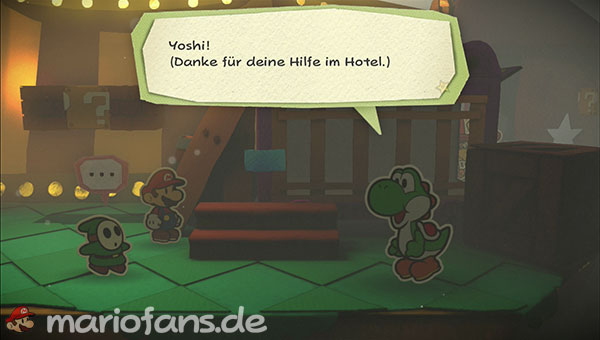
Enter the circus and go to the Shy Guys, with whom you can all talk. Near the Yoshi cage, a crumpled paper ball hops around, which after a few strokes turns out to be the leader of the red Rescue Squad. Talk to him, return to Port Prisma and let the red Rescue Squad in the area to your right inform you that you have found the leader. Go to the circus again and talk to the leader again. Then all 49 Rescue Squad should contact you if you have found them in the following places:
The first Toad is located in the first wagon of the Abendrot Express and sticks to the right door.
The 2nd Toad lies crippled in the second wagon of the Abendrot Express behind the third door.
The Toads 3 to 32 are all locked in a briefcase in the third wagon of the Abendrot Express.
The 33rd. Toad hangs in the fourth wagon of the Abendrot Express on the Blanket.
The 34. Toad stands in the seventh wagon of the Abendrot Express behind the right door.
The 35. Toad sticks to the roof in the first wagon of the Abendrot Express.
The Toads 36 to 39 are guarded by a few snifits in the sixth wagon of the Abendrot Express.
The 40th. Toad is held captive by a spike in the seventh wagon of the Abendrot Express.
The 41st. Toad stands in the second wagon of the Abendrot Express in front of the first door.
The 42. Toad sits in the seventh wagon of the Abendrot Express.
The 43rd. Toad hangs in Redpepper Volcano on a stalactite
The 44. Toad dries in the Redpepper Volcano with a giant hairdryer.
The 45. Toad bathes in the Redpepper Volcano in a lake.
The 46. Toad is held in check at the Mossrock Theater by a boomerang-throwing Koopa clan clan clan.
The 47th. Toad is abused in the Mossrock Theater by a Ptooie as a ball replacement.
The 48. Toad is captured in the Mossrock Theater by an acrobatic Shy Guy.
The 49. Toad sticks to a wall in Port-Prisma near the meeting point of the red Rescue Squad and has to be made bigger by magnifying glass.
Follow the rescue squad and wait for the intermediate sequence.
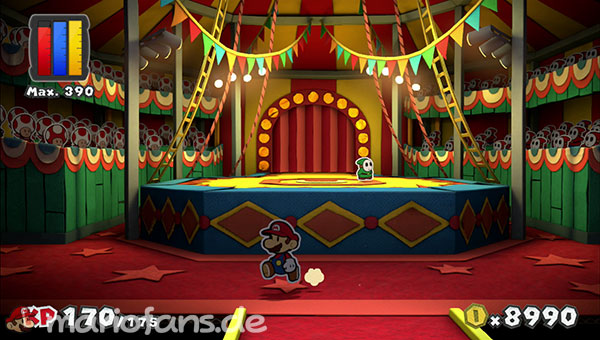
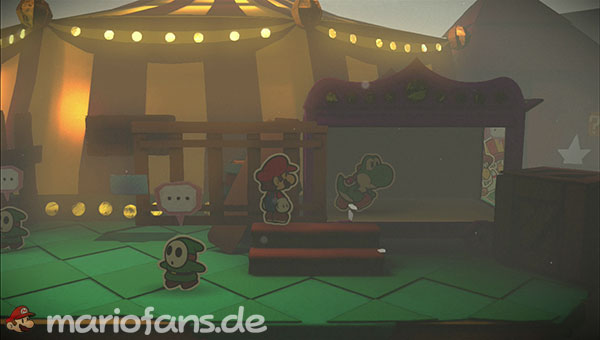
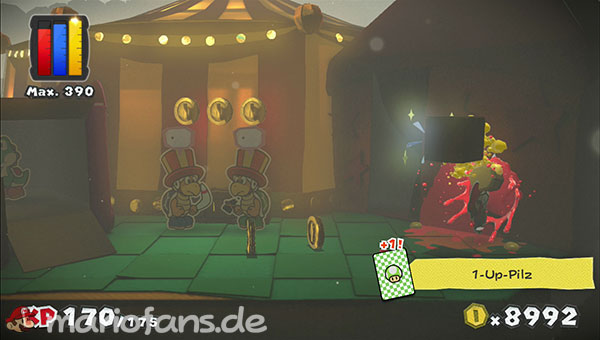
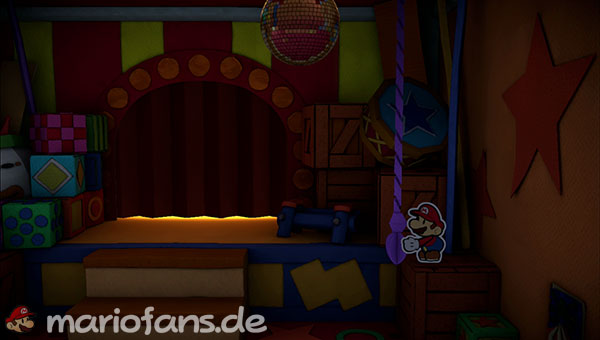

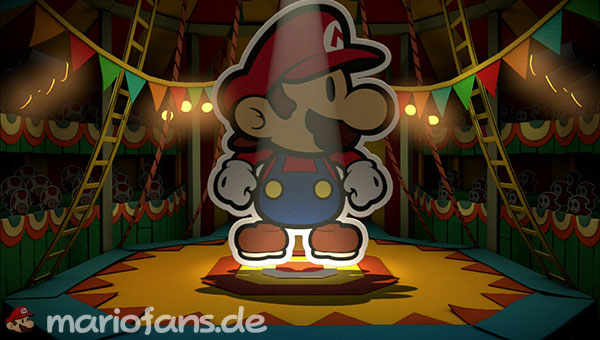
Leave the tent and return to the cage, which is now open and in which only one Yoshi remains. Go past him, talk to the artists and grab the 1-Up mushroom, which is in the question mark block. Enter the back entrance of the circus tent, go all the way to the right and pull on the rope. Squeezes out the disco ball, saves and goes through the curtain, where a series of really heavy fights awaits you.
Before we analyze the individual opponents, a basic note: The Yoshi, which you have seen in the cage before, have erupted and now appear occasionally during your turns. More specifically, from time to time one of the Yoshi stands in front of you and reaches out his tongue to steal one of your chosen cards. It is best to pay attention to the head of the animal and block it exactly when it tilts it backwards. So you can prevent the theft without further consequences.
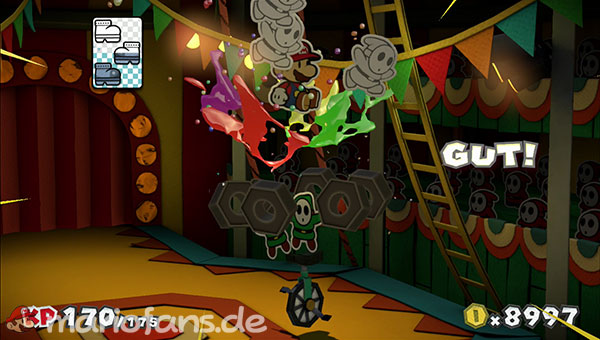
Now to your opponents: Your first opponent consists of eight Shy Guys balancing together on a unicycle. You can overcome the guys relatively easily with big jump attacks or jumping pushes. Although you can do them with a total of twelve jumps, you should play it safe and play at least three cards. If only one Shy Guy survives at the end of your turn, then each of you flattened opponents will be replaced and your entire bet was in vain. To put it simply, you have to eliminate the team within one move.
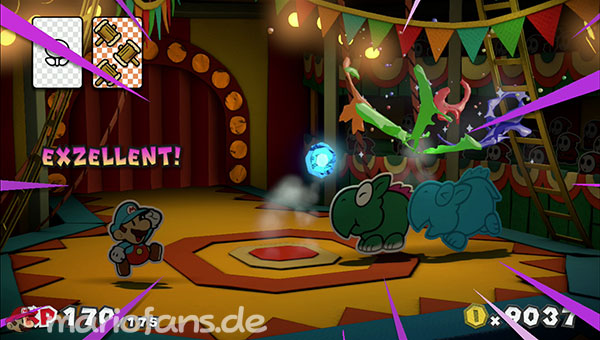
In the second fight, she faces two Dino-Rhinos and a Dompteur. The former benefit from a very high endurance, which is why it is best to use some of your most powerful Hammer, Fire or Ice Flower cards. Your real problem, however, is the Dompteur and not because he is particularly strong. On the contrary: He is so weak, which is why he already fizzles after a standard attack. But then the Dino-Rhinos get angry and do more than twice as much damage as before.
As so often in this game, the POW block solves this dilemma: use it on the first turn and then use your strongest attacks to cause the Dino-Rhinos as much damage as possible. Although the Dompteur will also bless the time, but at the beginning of the next round a successor appears, who calms the animals.
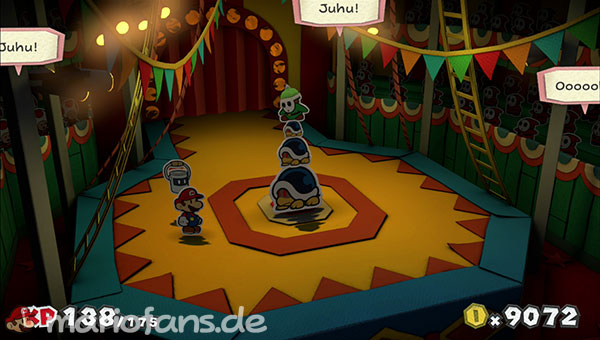
Next, you will have to fight a Buzzy Beetle Tower, which consists of three bugs and a Spike Guy. The tower shouts at first glance after the use of Hammer attacks, but this is a trap: As soon as you use an ordinary Hammer card, the Buzzy Beetle Tower loses its balance and the Spike Guy falls headlong on you. You can only prevent the mishap if you play a KO Hammer card. Then Mario hits the side, which makes the tower not to falter but to rotate.
Fortunately, it is even easier if you sacrifice a POW block again. Then the tower falls completely apart, the Spike Guy looks for the wide and the Buzzy Beetle are all on your back. After that, it is easy to eliminate them with two or three more attack cards.
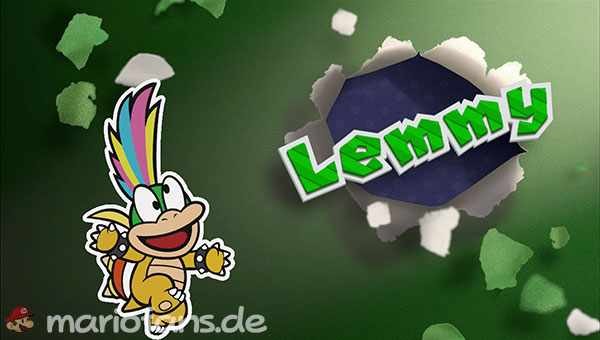
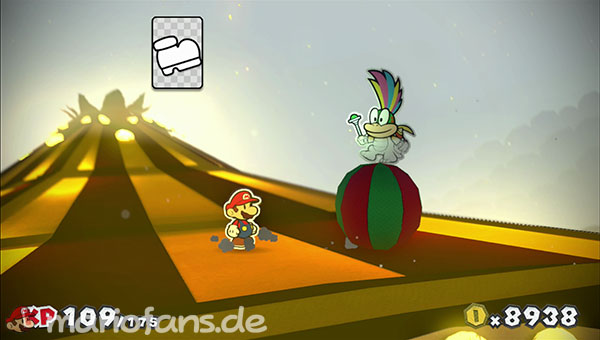
Boss Fight: Lemmy Koopa clan clan clan
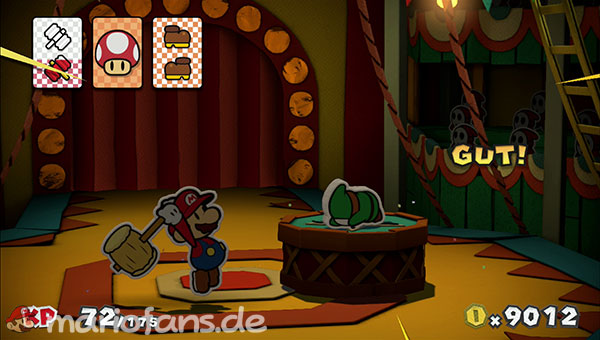
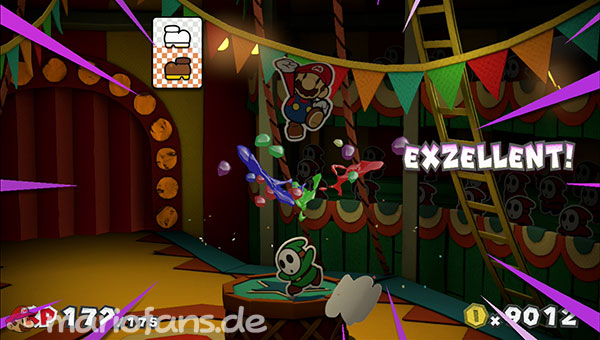

Finally, several trampolines challenge you to fight Shy Guy. More specifically, it is a 15-layer Shy Guy who jumps trampolines continuously. First, play one of your weakest (!) hammer cards to get your opponents off balance. Then you hop on them fifteen times with the corresponding jump attacks, whereupon you can choose yourself as the winner.
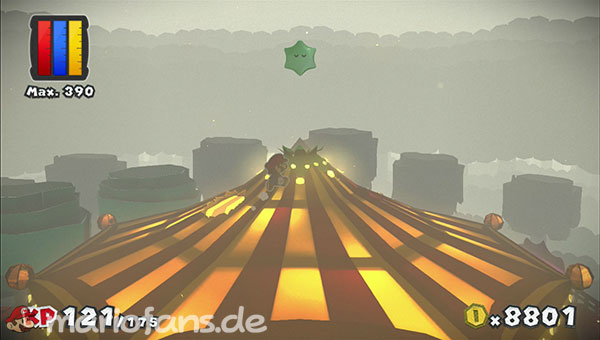
Save after your victory and return to Port Prisma to buy new cards. Small tip: The next fight takes quite a long time, so you should afford one or two 1-up mushrooms to refresh your color stock. Go back to the circus tent and jump through the roof with the trampoline, where the next opponent is waiting for you.
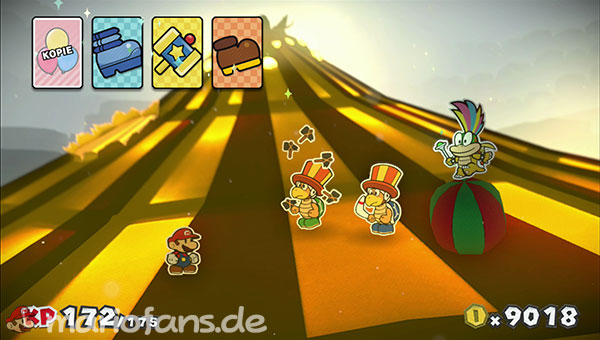
Lemmy is not a particularly strong, but an annoying boss. He conjures up to two helpers in each round, which you always have to get out of the way first before you even get to your actual opponent. There are two options for this: Either you combine a KO Hammer with a serial jump or you sacrifice a thing card. For Lemmy himself, only jump attacks come into question, because you bounce with all other techniques on his ball, on which he balances.
Your opponent’s attacks are relatively harmless: Lemmy will either ram you or shoot at you. You only have to pay attention if he suddenly wants to fire a bullet at you during your turn. If you do not block this, you will lose one of your selected cards!
As soon as Lemmy has only half his life energy, he exchanges his ball and starts to rotate like wild. You now have to use both the Disco Ball and the Ice Pick within one turn. The former ensures that Lemmy is distracted, and the latter destroys his new ball. After that, he stands helpless in front of you and usually surrenders after two ice or fire flowers.
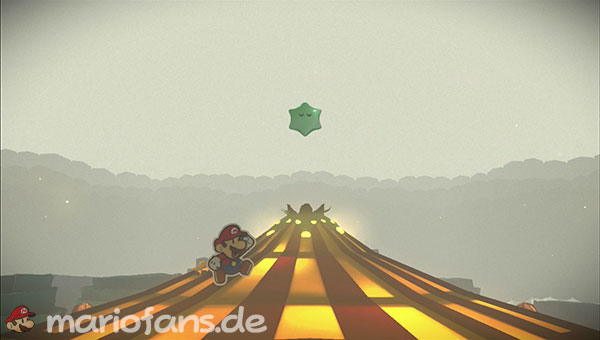
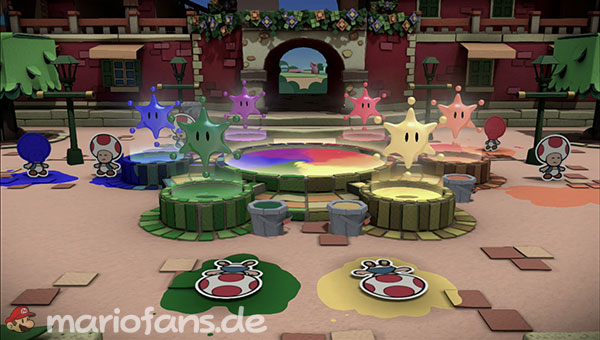
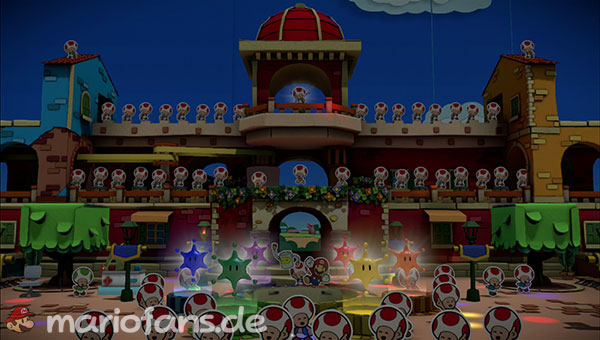
The reward of your efforts is the big green color star, whereupon the fountain in Port Prisma is complete again. It also creates a rainbow that takes you to the sky and to the last level.