

Battlerock Barrage
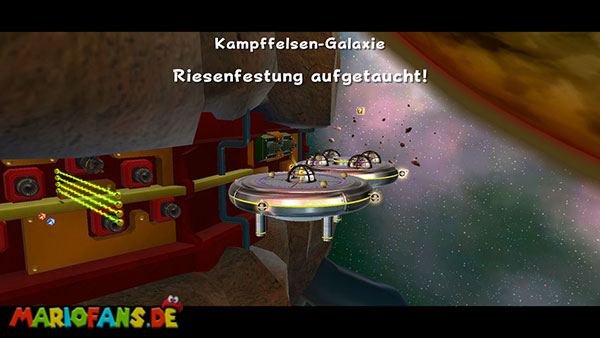
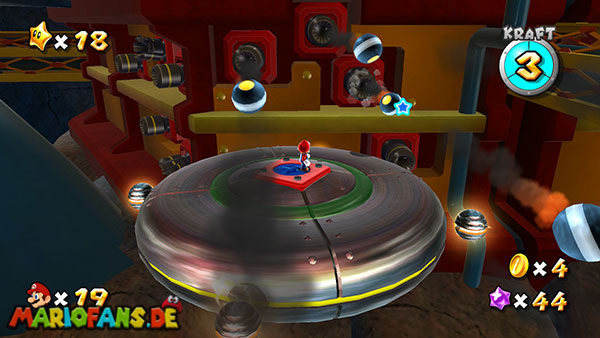
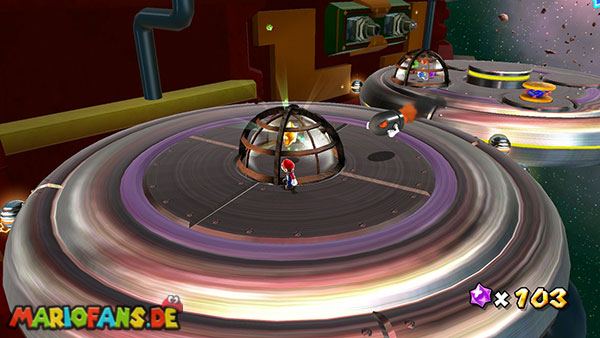
The Battlerock Galaxy is one of the bigger challenges in the comet observatory bathroom and will be unlocked once you have collected at least 12 Power Stars. Already on your first visit you will see the huge giant fortress floating in the middle of space, protecting its surroundings with numerous cannons, electrical barriers and other defenses. You first land on a group of small, metallic disks that are connected by their own gravity. Your first task is to collect five blue Star Chips to make the Pull Stars appear for onward flight. Some of the discs move up and down while others remain firmly in place. Therefore, not only examines the upper sides, but also runs over the edges and looks for further Star Chips on the lower sides. Pay attention to the Astro-Goombas patrolling the metallic surfaces. These armored opponents cannot be defeated like ordinary Goombas with a simple jump. Stuns them first with a spin and then jumps on their unprotected bottom to finally turn them off. Once you have found all five Star Chips, several blue Pull Stars appear above the disks. Target it with the Wii Remote and hold the A button to pull Mario up. Hang from one Pull Star to the next until you reach the big Launch Star, which transports you to the actual battle rock.
After your landing, you will find yourself on another metallic disc, on which some enemies are again on the way. Your next destination is the higher platform, which you can not reach with an ordinary jump. Therefore, look for the violet shockwave robot that moves on the lower disk. Jump to its top and let its spring catapult you upwards. On the upper platform you will find a large blue screw that serves as a switch. Stand on it and perform a spin to turn it into the disk. This sets the entire platform in motion and transports you slowly towards the giant fortress. At the same time, however, their defense systems are activated. Numerous cannons start firing large bullets at your position as electric obstacles and massive barriers keep getting in the way. First, stay on top and observe the trajectories of the projectiles. As long as you have enough space, you can escape them by side evasion. Especially with several successively fired bullets you should not run hectic back and forth, but if possible on a safe side of the window.
Soon you will reach the first obstacles that will force you to change your position. The floating disc has enough gravity so that you can also walk on its underside. Use this opportunity to get under the larger barriers. A series of coins shows you at one point even the intended path over the edge. However, pay attention to the electric balls that move along the outer edge. Once you have passed the obstacle, you can return to the top. As you progress, you will have to partially switch between both sides to avoid the cannonballs and the next energy barriers. Smaller obstacles can also be overcome with a backflip. For this, press the Z button and then press the jump button so that Mario jumps particularly high. This technique is especially useful if you want to stay on top without having to worry about the electric opponents on the bottom. Along the way, you can also touch a? coin, which makes additional Star Bits appear. Collect this as far as possible with the pointer while the disk continues to fly. After several dangerous passages, you finally reach the end of the transport route and can jump over to two larger, fixed metal discs.
On the front pane you already discover the wanted Power Star, but he is behind a stable cage. An ordinary spin is not enough to free him. Therefore, first run to the rear window and eliminate the Goombas that run around there. On the wall are two cannons, from which regularly target-seeking Bullet Bills are fired. These bullets track Mario as soon as you reach them and are great for breaking up the various cages. Let yourself be followed by a Bullet Bill and leads him first to the smaller cages on the rear disc. Jump to the side immediately before the impact so that the projectile flies against the cage and destroys it. In this way, you can expose, among other things, coins, additional Star Bits and a spring. Also on the bottom of the rear disc is a cage with a 1-Up Mushroom, which you can open with a skillfully guided Bullet Bill. The spring also gives you access to an elevated block from which more Star Bits jump out. If you have collected enough objects, you concentrate on the actual star. Attract another Bullet Bill and run with it over the connection to the front pane. Make sure that the projectile does not hit a wall or other cage on the way. Finally, it leads directly in front of the power star and jumps over it at the last moment. The explosion breaks the cage, so you can collect the first Power Star of the Battlerock Galaxy. After the later rescue of Luigi you have to cover this path again, because under the front window hides the green Power Star.
Breaking into the Battlerock
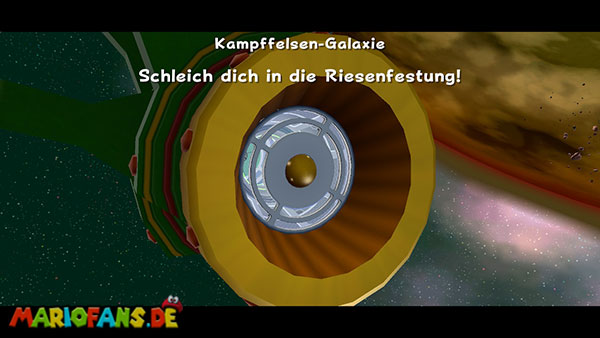
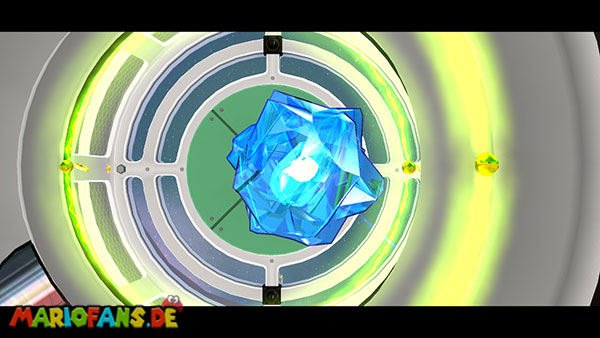
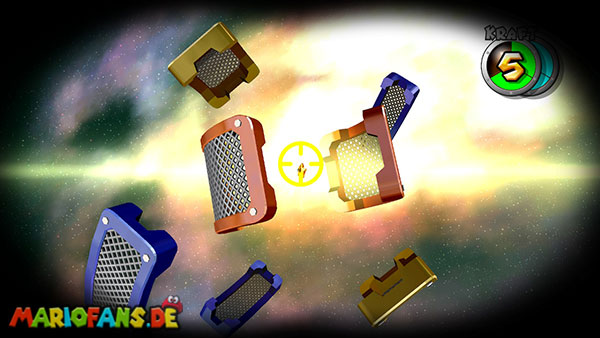
On your second visit to the Battlerock Galaxy, the adventure begins again on a group of small metal discs. This time, however, you do not have to collect Star Chips, but using Bob-ombs clear your way through several closed cages. Run through the interconnected platforms until you discover one of the black bomb opponents. With a spin you can stun it and then pick it up. As soon as you hold a bomb in your hands, however, its firing mechanism begins to run. You should therefore bring it to the desired place as quickly as possible and put it down or throw it before it explodes. On the first panes are several glass cages, in which Star Bits and other objects are enclosed. Blast the cages with the Star Bits, because you will need them later for a secret Power Star. Then take another bomb and transport it to the last pane, where a Launch Star is waiting behind a glass dome. Throw the bomb as close as possible to the cage and then get to safety. Once the explosion has destroyed the glass dome, you can use the Launch Star and fly to the next celestial body.
You land on an unusual planet composed of several colorful spheres. Here, numerous large Chain Chomps roll over the surface and make it difficult for you to explore. On one of the green areas there is again a bomb source, while on the other balls you can discover various cages. Particularly interesting is a trapped rainbow star that makes Mario temporarily invulnerable. Grab a bomb and transport it to this cage as quickly as possible. Dodge the Chain Chomps on the way and drop the bomb directly next to the glass dome. Once the rainbow star is exposed, you should collect it immediately. While the transformation is active, you can simply run through the Chain Chomps and defeat them. This not only brings you additional Star Bits, but also makes it easier to search for the other items. On one of the colored balls you will also discover a Hungry Luma, which requires a total of 30 Star Bits. Feed it, it turns into a new planet and gives you access to the secret mission “Battlerock’s Garbage Dump”. If you want to collect the regular Power Star first, you use another bomb to free the trapped Luma on the colorful planet. Then talk to him so he turns into a Launch Star and takes you to the next section.
After flying on, you land at a dangerous minefield where numerous explosive bullets float between several blue Pull Stars. First, target the nearest Pull Star and draw Mario to him with the A button pressed. From there you can move further through the area. Be careful not to move uncontrollably from one Pull Star to the next, as your movement can cause you to bump into one of the floating mines. Some of them can be exploded with targeted Star Bits and thus create a safe trajectory. In between, it is worth briefly releasing the A key if you want to slow down your movement or correct your position. Below one of the first platforms is also a 1-Up Mushroom, which you can free from a box. Further objects, including a Life Mushroom, are located between the Pull Stars. Collect them if you can safely reach them and then work your way up to the Launch Star at the opposite end of the minefield. This will throw you directly on the surface of the giant fortress.
After your first hit, the outer layer of the crystal is destroyed, but the Luma is still trapped. You land on another platform, where there is also a bomb and a locked cannon shaft. Grab the next Bob-omb and also blow up this cage so you can use the second cannon. Now you have to meet the remaining part of the crystal. Since it has now become smaller, the shot requires a little more accuracy. Wait again until you can see his direction of movement and fire Mario against it as centrally as possible. Once both crystal layers are destroyed, the Luma is freed and transforms into a Launch Star. You can already reach this during the flight and use it immediately. You will then be hurled to a new celestial body shaped like a large, colorful rocket.
On the rocket planet you have to transport a bomb again over a longer distance. Immediately after landing, there is a Bob-omb near you, which you must pick up and take to the opposite side. There is another cage waiting, under which the last cannon is hidden. Especially dangerous are the electrical barriers that move around the planet and cross your running path. Watch their rhythm and use the short openings to get through with the bomb. Jump over lower barriers as needed and try not to let the electric obstacles stop you as your bomb’s fuse continues to burn. If it explodes prematurely, you can just get a new one and try again. Finally, ship the bomb right next to the cage and wait until the explosion exposes the entrance to the cannon. Nearby you can also find a 1-Up Mushroom before entering the cannon. Now you see the Power Star floating freely in space amid several rotating platforms. The difficulty is that the obstacles are constantly moving in front of your firing path. Therefore, wait until a larger gap opens between the platforms, taking into account the short flight time of Mario. It is best to fire a moment before the vacancy is right in front of the star. If you hit a platform, you will be thrown back and can make a new attempt. Once your trajectory is clear, Mario directly reaches the Power Star and completes the second mission of the Battlerock Galaxy.
Topmaniac and the Topman Tribe
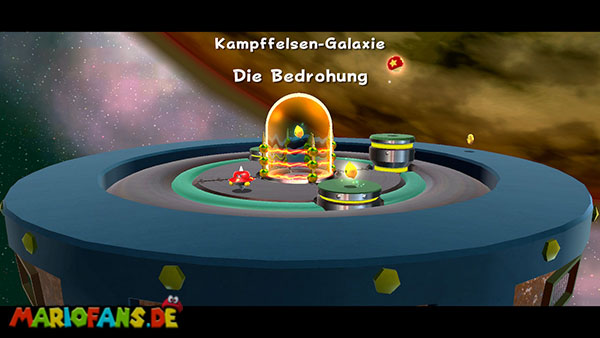
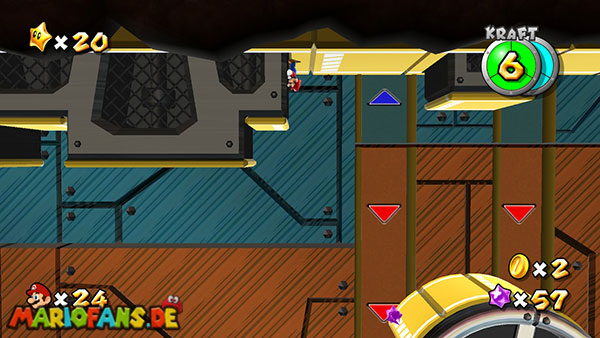
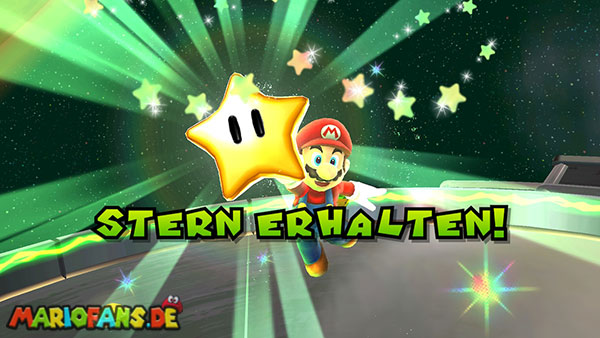
In the third mission of the Battlerock Galaxy, the Topmen have occupied large parts of the fortress. These gyro-shaped opponents have their own drive and try to push Mario by collisions from the platforms or against electric barriers. Immediately after your landing you run over the first metal disks to the right. On one of the platforms you will encounter a mole that regularly emerges from its hiding place and throws wrenches at you. First, keep some distance until the opponent looks out of his hole again. Then you can stun him with a ground pound and defeat him with another attack. Then you use the blue Pull Stars to get to the higher platform. Here, a larger metal disc moves automatically and carries you through an area full of floating bombs. You can dodge the bullets or explode some of them with Star Bits so that they are no longer dangerous to you. Be careful not to stay too close to a mine while it explodes. At the end of the track, you will reach a Launch Star, which will take you to a small planet with electrical barriers.
Here you will encounter for the first time a larger Spiky Topman who blocks your way. Unlike ordinary opponents, it is not enough simply to hit him with a spin. Your goal is to hurl the rotating gyro against the orange electric barrier at the edge of the platform. Approach the opponent carefully and wait until you reach a favorable position. Subsequently, perform a spin so that the Topmen is thrown towards the barrier. As soon as it collides, the electrical barrier is destroyed and the captured Luma is released. Talk to him so he turns into a Launch Star. Before you leave the planet, however, you should get the Life Mushroom, which is on an elevated platform. Use the movable construction that transports you upwards. The mushroom increases your maximum health to six units and is very helpful for the later boss fight. Then you use the Launch Star and land on another platform with several wooden boxes. Destroy the boxes with spins, collect the exposed Star Bits and finally climb through the green warp tube into the interior of the giant fortress.
Inside the fortress you can expect a longer gravity course, where you have to change again and again between the floor, ceiling and various side walls. Run to the right until you discover a large arrow switch. Activate it with a spin to change gravity. This makes the previously unreachable route accessible and you can continue your way. Pay attention to the moving flames that regularly shoot out of the floor or the walls. First observe their rhythm and keep running whenever the fire jets have just disappeared. Further forward you have to overcome several moving platforms that regularly push apart and together. Wait until a sufficiently large passage is formed and then jump to the next safe surface. On the far right you reach another arrow switch, which changes the direction of gravity again. Mario is now pulled to the ceiling so you can cross the next section headlong. Follow the aisle to the right and let yourself fall to the next opponent at the appropriate point. Remove it and then move back a short distance until you reach another set of moving obstacles.
The following platforms slide into the aisle at regular intervals and can trap you in an imprudent movement. Wait until they are fully retracted and then run through the resulting opening as quickly as possible. Once you reach the end of the section, you reach a higher level. Stay on the right here and watch especially the red-and-white marked squeezing blocks that keep coming out of the walls. If you touch such a block at the wrong moment, you can be crushed between the obstacles. Therefore, do not stop immediately in front of a moving block, but wait at a safe place until its movement sequence is completed. Work your way through the aisle until you reach a spring at the other end. This transports you back to the lower level, where another warp tube is waiting for you. Get in and prepare for the next stage where you will meet the Topmen again.
After leaving the tube, you get to a smaller room with a shock wave robot. This regularly sends red energy waves across the ground, which you can avoid by timely jumps. First observe his movements and jump over the next shock wave. Once you realize a safe opportunity, you jump to the top of the robot and let its spring catapult you upwards. There is a Launch Star that takes you directly to the next area. You end up in a larger chamber where several Topmen travel between electrical barriers. To clear the way, you have to hurl the gyro-shaped opponents against the barriers again. As far as possible, align your spins so that the Topmen directly hit the glowing barriers. Once a barrier is destroyed, you can enter the area behind it and take care of the next enemies. Repeat this procedure until all necessary barriers have disappeared and you reach the Launch Star at the end of the chamber. This will transport you to the bottom of a large, floating battle disk.
Run carefully from your landing position over the edge of the disk and follow the path to the top. There you already recognize the circular combat arena surrounded by electrical barriers. Before you start the fight, you can buy additional items from a Hungry Luma, provided you have enough Star Bits. A Life Mushroom is particularly useful if your health has dropped to three units by now. Then climb the steps to the arena, where the formidable Topmaniac appears. This huge roundabout has several dangerous spines on the side and is accompanied by smaller Topmen. Your goal is to throw the king three times against the electrical barriers on the edge. However, a normal spin is not enough at first, because its spines would push you back. Jump first to the top of the Topmaniac. As a result, it is temporarily stunned and draws in its lateral spines. Use this opportunity immediately for a spin with which you throw it towards the electric barrier. Once he hits, he loses one of his three hit points.
After the first hit, the Topmaniac recovers and calls in additional small roundabouts for support. These try to push Mario by clashes against the edge of the arena. Therefore, you should not stop directly in front of the electrical barriers, but move in the middle of the platform and push back the smaller enemies with spins if necessary. Then wait for the Topmaniac to come near you again, and jump to his top again. Once he has his spines tightened, you attack him with a spin and throw him against the electric edge a second time. In the third and final phase, the king calls in further, partly also equipped with spikes Topmen. Focus as much as possible on the main opponent and try not to let the smaller roundabouts push you into an unfavorable position. Jump to the Topmaniac one last time and use your spin immediately afterwards. After the third hit against the electric barrier, the huge gyroscope explodes and leaves behind the desired Power Star. Collect him to complete the third regular mission of the Battlerock Galaxy. Remember the attack technique, because in the later Daredevil Comet you have to defeat the Topmaniac again, but this time without taking a single hit.
Battlerock’s Garbage Dump
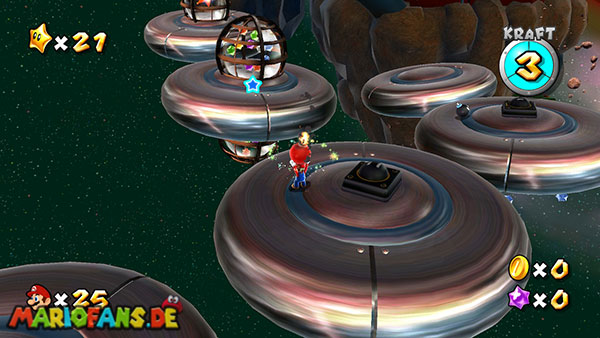
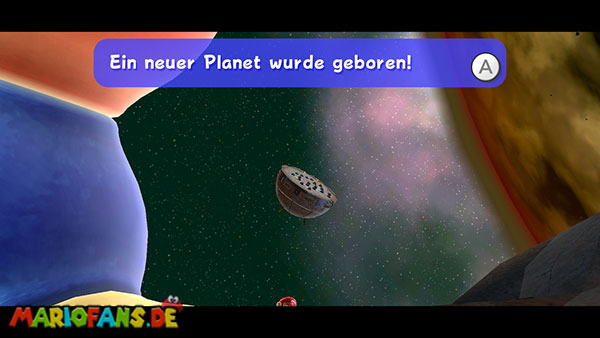
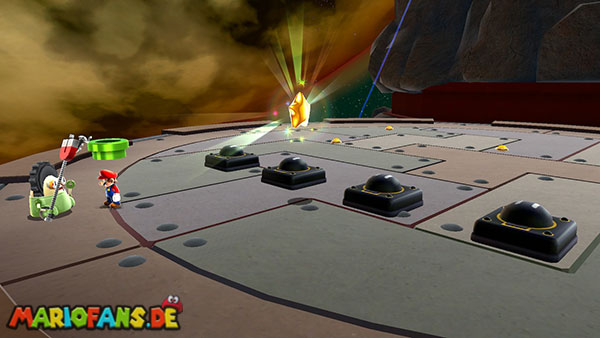
In the Battlerock Galaxy, you can collect another secret Power Star hidden away from the usual mission path. Once again select the second mission “Sleech you into the giant fortress” and follow the familiar path over the small metal disks. Use the bob-ombs to break up the various glass cages and collect as many Star Bits as possible. Especially the cages on the first platforms contain a larger amount of them, which you need for the following section. Once you’ve uncovered the Launch Star at the end of the discs, use it and fly to the colorful planet, which is made up of several interconnected balls. Here is another Hungry Luma waiting for you, which demands a total of 30 Star Bits. If you already own this amount, you can feed it immediately. Otherwise, you should first search the environment and free the rainbow star from its cage. With its help, you can safely defeat the big Chain Chomps on the planet and collect more Star Bits. Once the Hungry Luma has received all 30 Star Bits, it transforms into a new celestial body and makes a Launch Star appear. Use this to get directly to the secret landfill of the giant fortress.
After landing, you will find yourself on a large, metallic platform completely covered with heaps of rubbish. Here you meet a janitor robot who is desperately trying to clean up the landfill. Speak to him and offer him your help. He tells you that you have to destroy all garbage heaps with Bob-ombs and sets a time limit of 30 seconds. Once you start the challenge, several bombs appear on the edge of the platform, which you can pick up and throw towards the garbage heaps. This sounds simple at first, but the Bob-ombs do not explode immediately after picking up, but only after about ten seconds. This means you have to plan your throws carefully, because if you start placing them too late, the last bombs may not have enough time to explode. In addition, a bomb thrown accidentally is often not enough to destroy all the rubbish heaps in their environment. You should therefore try to clear as large areas as possible with as few explosions as possible.
Once the last heap of rubbish has been destroyed within the given 30 seconds, the janitor robot is finally satisfied. Talk to him again so that he gives you the secret Power Star as a reward. This also completes the hidden landfill mission of the Battlerock Galaxy. It is especially important here that you do not try to blow up every garbage pile individually. The five yellow markings on the floor allow you to run much faster and more reliably, giving you enough time for minor inaccuracies when throwing.
Luigi under the Saucer
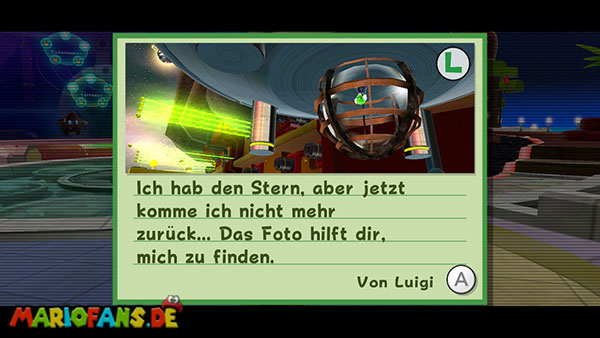
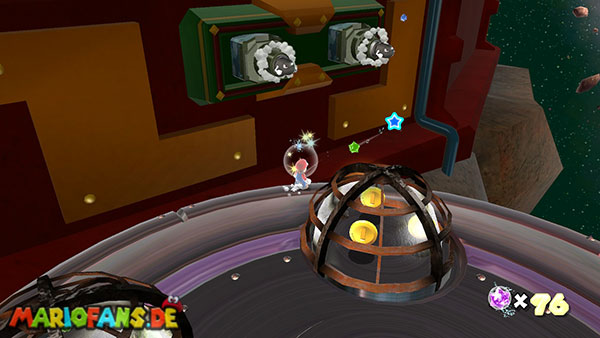
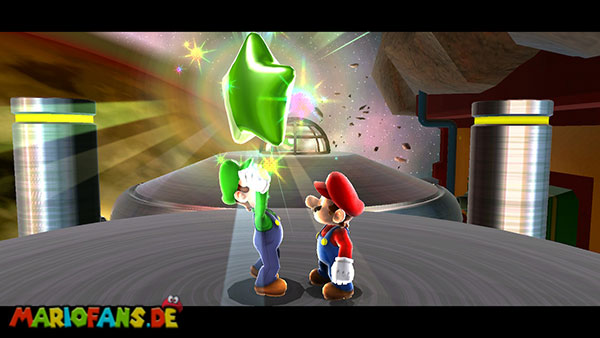
You can only complete this secret mission after you have freed Luigi from the Ghostly Galaxy and pursued his further searches. The first part of his rescue operation can be found in the Ghostly Galaxy, where Luigi is first held in a haunted house. After returning to the Comet Observatory, he sets out on his own to find more Power Stars and occasionally contacts you with a postcard. If you have already helped him in the Good Egg Galaxy, you will finally receive a message on which Luigi can be seen under a metallic disk of the Battlerock Galaxy. Speak to the letter toad to get the message and unlock the new mission. Then select the first mission “Battlerock Barrage”, because it is on this track that Luigi has hidden. Your path leads you back over the small metal disks at the beginning of the galaxy. Collect the five blue Star Chips and use the released Pull Stars to get to the big Launch Star. Then you have to jump again on the upper disk, activate the blue screw and drive with the movable platform through the defenses of the giant fortress.
The same obstacle course awaits you on the moving disc as on your first visit. Dodge the cannon balls and use the bottom of the platform to get past the larger barriers. Especially with the electrical barriers, you should change your position in time so that you are not pushed off the window. At the end, you will again reach the two large metal disks, on which the Power Star of the first mission is usually located. This time, however, another task awaits you. Luigi is stuck in a glass cage on the underside of the front disc. First, run over the rear window and look at the surroundings so that you can memorize the exact position of the cage. You may already be able to hear Luigi through his cries for help. To free him, you need, as with the ordinary star, a target-seeking Bullet Bill. Therefore, run to the two cannons on the rear wall and wait until one of the bullets becomes aware of Mario. As soon as a Bullet Bill chases you, you slowly lead it over the rear platform towards the front disc.
The most difficult part is to lure the projectile under the discus without first bouncing against one of the metallic pillars or the platform itself. Therefore, first move to the edge of the rear disc and wait until the Bullet Bill has come sufficiently close to you. Then you run over the edge to the bottom and lead it on to the front platform. Make sure not to run too fast so that the projectile can follow you and does not have to fly too close a turn. Once you have reached the bottom of the front pane, you head directly towards Luigi’s cage. Run as straight as possible and jump to the side at the last moment so that the Bullet Bill hits the glass. The explosion frees Luigi. Then talk to your brother who thanks you for the rescue and hands you the found green Power Star. This is one of the three special green stars that you can find throughout the game. Once you collect all three, you can reach the Planet of Trials via the green Lumas in the Comet Observatory, from which more challenging galaxies are accessible.
Topmaniac’s Daredevil Run
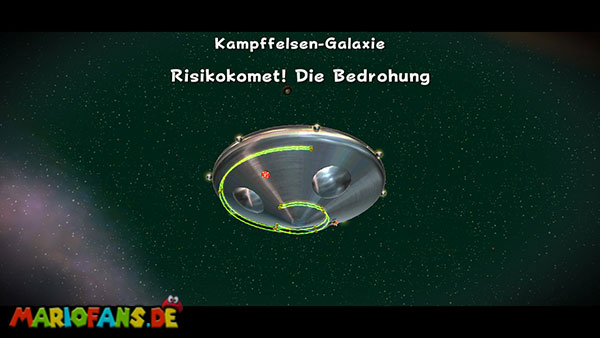
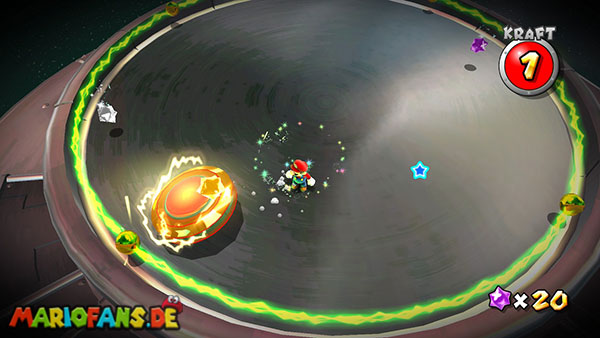
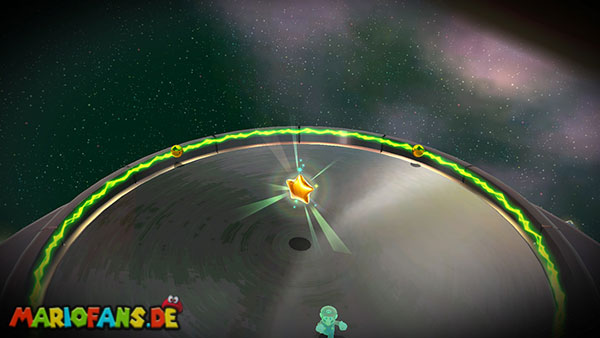
As soon as a Daredevil Comet appears over the Battlerock Galaxy, you can face a particularly dangerous variant of the fight against the Topmaniac. Unlike the original mission „Topmaniac and the Topman Tribe“, this time you do not have to cover the entire path through the giant fortress, but starts directly on the planet of the boss opponent. The real problem is your health: Mario has only one energy point during this challenge. Even a single contact with an opponent or an electrical barrier leads to immediate failure. Additional coins or a Life Mushroom can not help you here, so you have to win the fight completely without hits. After landing, run over the bottom of the large metal disc and climb carefully to the top. There you will again reach the circular battle arena via the small stairs, in which the Topmaniac is already waiting for you.
The attack technique has remained unchanged. You have to hurl the Topmaniac three times against the electrical barriers on the edge of the arena. First jumps to the top of the large gyroscope, which stuns it for a short time and draws in its lateral spines. Use this moment immediately to push it in the direction of the barrier with a spin. It is especially important that you are not too close to the edge during the attack, as a contact with the electric barrier is enough to lose the attempt. Therefore, try to attack the Topmaniac from the center of the arena and transport him to the outside with a targeted spin. After the first hit, he begins to summon several small Topmen who can also push you against the barriers. Therefore, keep moving constantly and make sure that you are not locked between several opponents. If necessary, you can push back the small roundabouts with a spin before focusing on the Topmaniac again.
After the second hit, other Topmen appear, including more dangerous specimens with spines. Do not be tempted by this to hasty attacks, but wait for a favorable opportunity first. It is safest if you lure the Topmaniac away from the remaining opponents and only then jump on his top. Once he is stunned, you only have a few seconds to throw him with a spin against the electrical barrier. If the position does not seem favorable to you, wait for the next attempt rather than force a risky attack. After the third successful goal, the Topmaniac is finally defeated and the Power Star appears. Collect him to complete the Daredevil Comets mission. Since you start directly with the boss opponent, you can repeat a failed attempt without the long way through the entire fortress.
Purple Coins on the Battlerock
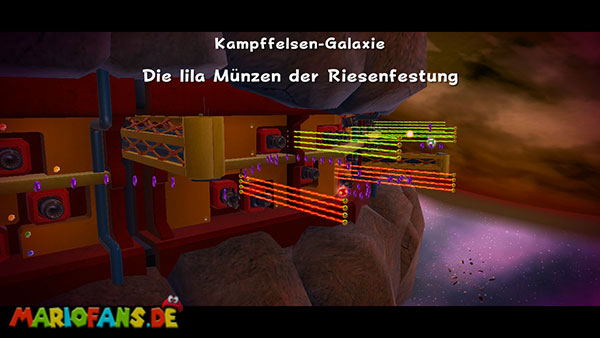
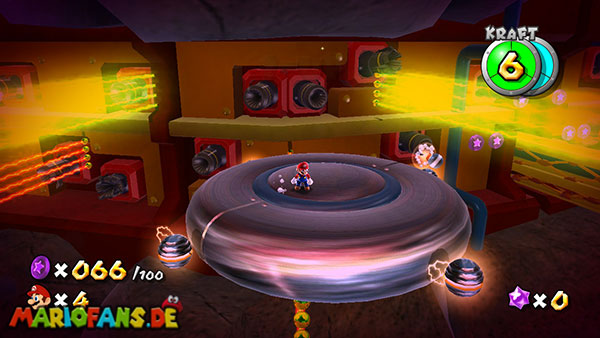
The final Battlerock Galaxy challenge will be available once you defeat Bowser at the center of the universe and a purple comet appears over the galaxy. Your task is to collect a total of 100 Purple Coins distributed along the defenses of the giant fortress. This time you start directly on the movable metal disk, which you already know from the first mission. Once the platform has set in motion, it will automatically transport you past the cannons, electric barriers and other obstacles of the fortress. The Purple Coins appear along a predetermined route, so you have to constantly adjust your position in order not to miss a single one. Unlike many other Purple Coin missions, there is no time limit here. Nevertheless, the challenge is particularly demanding, because the movable pane travels its route only once. If you missed a coin and the platform is already too far away, you usually cannot return and must try again the entire mission. Therefore, pay attention to your coin counter from the beginning and try to collect each group completely before the next one appears.
At the beginning, the first coins are relatively easily accessible on the top of the disk. Follow the visible coin tracks and change your position whenever the next row appears a little further to the right or left. The first 25 coins can be collected in this way without much difficulty. Then you have to prepare for the first change to the bottom. A wide barrier is approaching your platform and blocking the path on top. Therefore, run obliquely over the edge in time, so that Mario is pulled by gravity on the underside. Here you will first find four more Purple Coins, which lead directly along the edge of the disk. Once you have passed the barrier, you can walk up the opposite side and collect three more coins. So you should already have 32 out of 100 coins. Then follow the next longer coin trail, which leads you again to the bottom of the disk. Here are many coins directly along the trajectory, so you should continue to run as evenly as possible. On the way, you can also take a 1-Up Mushroom, which is especially helpful if you have to try the challenge several times. However, make sure that you do not get off the actual coin path when collecting.
First, stay on the bottom and collect the other coins until your counter shows about 60 coins. The track then leads you back to the top of the platform, where the next six coins are waiting. Now the path becomes much more dangerous, because several electrical barriers cross your route and you have to collect some coins immediately above these obstacles. For the first of these positions, a targeted backwards balance is particularly suitable. Stand in front of the barrier so that Mario turns her back, hold the Z button and jump back at the right moment. As a result, you reach a much higher height than with an ordinary jump and can also collect the higher floating coins above the barrier. Try to jump through the row of coins as centrally as possible, so that you do not miss any of the lower coins when you arrive. Once you have overcome this obstacle, you should have about 73 coins. This is followed by another group of six coins, which leads you to the next electrical barrier. Here, too, you have to prepare the jump well, because the coins hover so high that an ordinary jump is not enough. Again, use a backwards balance and try to collect the entire coin group during a single jump.
In the last section, the coin track again runs partially over the lateral surfaces of the disc. Pay special attention to the electric balls that move along the platform and can easily push you out of your desired direction. Once you’ve picked up the next coin group, return to the top and prepare for the final major jump. Some of the remaining coins hover high above an electrical barrier, so you’ll need the best possible backflip. Wait for the coins to reach your position and then jump straight up. If you have caught the highest coins, you collect the last copies on the platform until the counter finally displays 100 out of 100 coins. Do not try to run unnecessarily far beyond the edge just to reach a coin a little earlier, as you must not leave the moving disk in any case.
After you have collected all 100 Purple Coins, the metal disk drives until the end of its predetermined distance. There is a janitor robot waiting to check your performance. Talk to him as soon as the platform has arrived. If you have actually collected all the coins, he will give you the Power Star as a reward. If, on the other hand, even a single coin is missing, the challenge is considered a failure and you lose a life. Therefore, it is worthwhile to pay special attention to the places where you have previously overlooked a coin. The most difficult sections are mainly the transitions between the top and bottom as well as the high floating coins above the electrical barriers. Once you have memorized their position, the journey can be handled much more reliably. With the collection of this last Power Star you have finally received all seven stars of the Battlerock Galaxy.