

Scaling the Sticky Wall
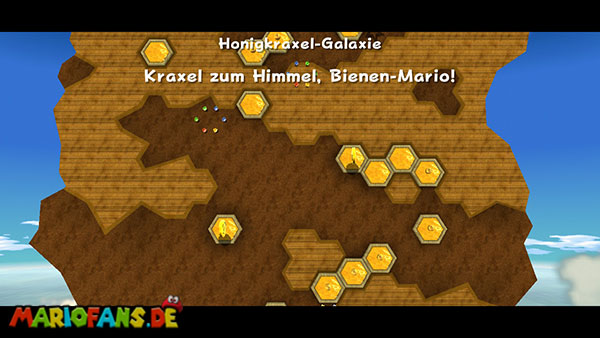
Collect the Bee Mushroom on the launch platform to turn Mario into Bee Mario. Then jump to the first large honeycomb wall and hold the A button to fly up. Once you touch one of the sticky honeycombs, Mario sticks to it and can climb in all directions with the control stick. Your flight energy is also completely replenished. Therefore, use the individual honeycombs as intermediate stations and only fly to the next surface if you have enough energy. At the first larger gaps you have to detach yourself from the wall, fly a short distance up and then hold on to the next honeycombs. After a few meters you reach a large? coin that floats between two honeycombs. Touch them so that two additional movable honeycomb platforms appear. Wait until the first platform gets close enough to your position and flies over to it. Let her transport you upstairs and then jump to the next platform. To the left below the moving honeycombs is another?-coin. Collect them so that a vertical row of ordinary coins appears. Follow this row upwards and use the movable honeycombs to collect the coins as completely as possible. On the left you will finally find a third?-coin. Through their touch, numerous Star Bits appear in the form of a large star, which you can collect with the pointer of the Wii remote control. Then climb over the right honeycombs and activate the Launch Star, which transports you to the second wall.
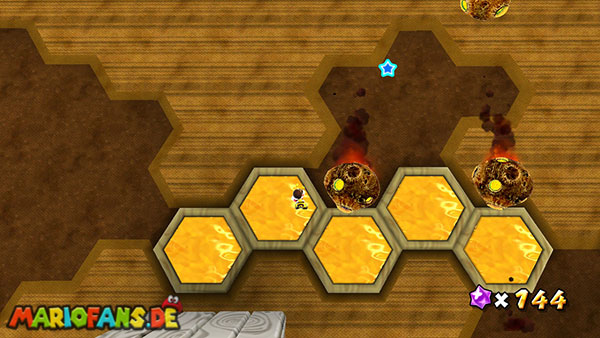
On the second honeycomb wall you have to move mainly to the right, while regularly burning boulders from the background are thrown against the wall. Already on the first honeycombs you can see the impact points where the projectiles hit. Wait until a boulder has flown by and then climb to the next safe surface. On the third honeycomb, the projectiles strike individually, while on the fifth honeycomb already two boulders strike shortly after one another. Therefore, try not to stay on these honeycombs longer than necessary. Once the second ball has flown by, you can fly over to the next honey surface with the A button pressed. Further to the right, a particularly dangerous spot awaits you with three adjacent impact areas. Here the burning boulders fall almost simultaneously on the wall. Wait until the first bullet sequence has passed, and then flies quickly over the dangerous honeycombs. Keep yourself a little above the impact points, so that you will not be hit by a subsequent boulder during the flight. Once you reach the opposite honey surface, you should stop short and let your flight energy completely replenish.
Before you leave the second wall, you can collect an optional 1-Up Mushroom. This is located on a safe honeycomb below the moving platforms in the right part of the section. Let yourself carefully slide down the wall as soon as the nearest boulders have removed, and flies to the small honeycomb with the mushroom. Collect the extra life and then return to the top via the neighboring honey areas. Be careful not to use your flight energy completely while you are between the separate honeycombs. At the right end of the wall you finally reach the next Launch Star. If necessary, wait for a last story sequence before you detach from the wall and activate it with a spin. He catapults you to the third and last honeycomb wall.
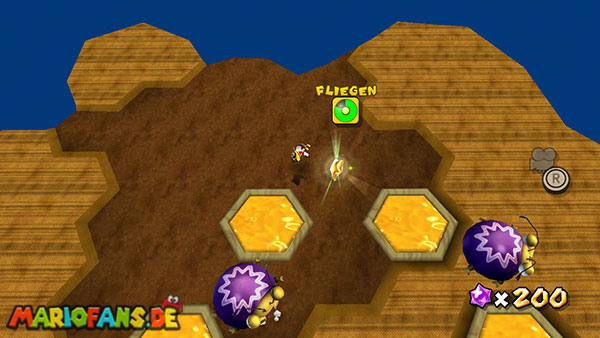
Here you can expect numerous dung beetles, who can crawl over the honeycombs and push Mario from the wall when touched. Climb up first and observe in which direction the first bugs move. As soon as one of the enemies rushes towards Mario, you should detach yourself from the wall with a short flight and float above the bug to the next free honeycomb. The opponents move mainly along the honey surfaces and therefore cannot follow you, as long as you fly with enough distance through the air. Alternatively, you can defeat some dung beetles with a ground pound. Jump off the wall and press the Z button in the air, so that Mario lands directly on the opponent’s back. However, this method is risky, as you may fall into nowhere after a missed hit. Especially with the movable honeycomb platforms you should therefore rather avoid instead of attacking the opponents. First climb over the solid honeycombs until you reach several small platforms that move sideways. Wait until one of them comes near you and flies over to it. As soon as you stick to the sticky surface again, you can be transported up with the platform. Be careful not to get directly into the trajectory of a dung beetle waiting on a neighboring honeycomb.
In the upper section are several separate honeycombs, between which more dung beetles patrol. You can shorten some of the dangerous spots by flying to the left below the moving honeycombs and then holding on to a higher honey surface. Pay attention to your flight energy and try not to overcome several large gaps in succession without landing on a wall in between. Further up, she encounters particularly large dung beetles, which rotate on the spot and thus change their running direction regularly. Wait until they look away from your position and then fly past them to the next honeycomb. On the last meters there are several honey surfaces, between which the bugs patrol circularly. Move as far as possible along the outer edge and use short flights to get past the opponents. At the top you can already see the Power Star, which floats freely in front of the wall. First climb to the highest safe honeycomb and let your flight energy fully charge. Then jump off and hold down the A button to fly directly over to the star. Once Mario touches him, the only mission of the Honeyclimb Galaxy is completed.