

Bigmouth’s Gold Bait
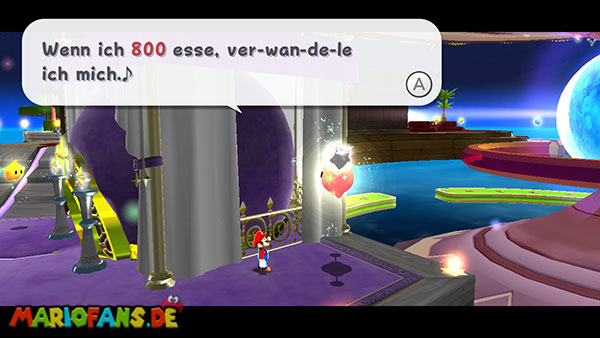
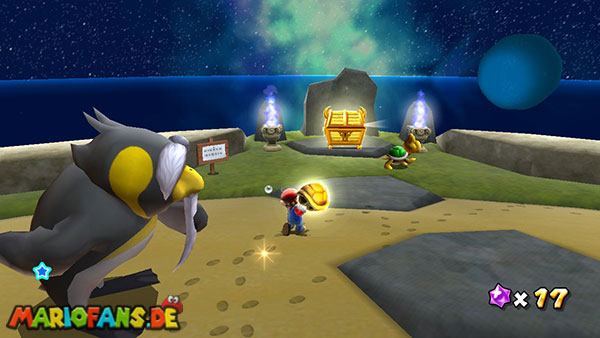
Unlock the Bigmouth Galaxy after completing the mission “Soaring on the Desert Winds” in the Dusty Dune Galaxy. Afterwards, a Hungry Luma appears in front of the comet observatory bedroom, which you have to feed with 800 Star Bits. Once you have arrived on the primordial fish planet, you will find a large golden treasure chest right on the beach. This can only be opened with a golden Koopa shell. Before jumping into the water, you should eliminate the two crabs on the launch platform. Especially the green crab is worthwhile, as it leaves a 1-up mushroom. Attack the crabs as far as possible from behind, as their front is protected. Then jump into the water to the left of the beach and dive into the large tunnel. Here you already meet the first Boos who pursue Mario as soon as he turns his back on them. Swim directly past them and stop at the opposite side of the tunnel. Between the aquatic plants hides another 1-up mushroom, which you should definitely collect. Follow the corridor to a wall of brittle stone blocks. Destroy them with several rotary attacks to expose the passage to the large underwater cave. Eliminate as many of the blocks as possible so that you can swim back later with the golden Koopa shell without any problems.
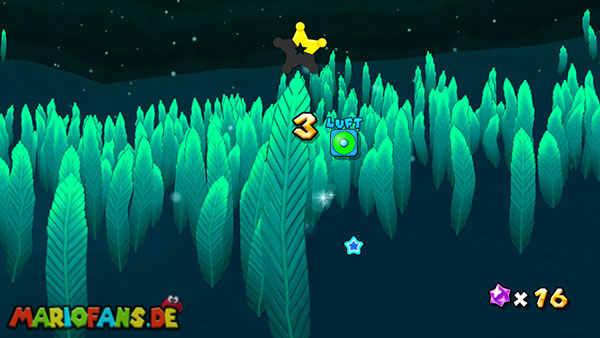
Behind the destroyed wall you get into a huge underwater cave, where you have to collect a total of five yellow star chips. Four of these are located between the seagrass fields at the edge of the cave, while the fifth is on a small rock in the middle of the basin. First dives along the outer rock face and searches the individual plant fields. The star chips glow clearly yellow and are easy to see between the green plants if you keep a little distance. Nearby, however, there are several giant eels that can rush out of their caves and injure Mario if touched. Therefore, do not swim directly in front of their heads, but approach the star chips as far as possible from the side. Also, pay attention to the underwater vortexes that can capture Mario and swirl around uncontrollably. Keep enough distance and use a spin if necessary to swim past them faster. Since you have to spend some time under water for the search, you should regularly check your air supply. Collect a coin if necessary to replenish your air gauge, or swim to the water surface at a suitable location.
Once you have collected the four star chips between the aquatic plants, you swim to the middle of the pool. There is a small rock over which floats the last yellow star chip. Several electric jellyfish move around him, injuring Mario when touched. First, wait until a sufficiently large gap opens between the jellyfish, and then swim directly to the rock. Alternatively, you can eliminate the smaller jellyfish with a spin attack and collect the coins that appear. As soon as you touch the fifth star chip, a Launch Star appears on the rock. Swim over to him and activate him with a spin. As a result, Mario is thrown up into a second water basin, which is unusually located on the ceiling of the cave. Here, in the middle, the sought-after golden Koopa shell awaits. Swim over to him and take him in. The tank provides a higher swimming speed under water and helps you to cover the long distance faster. Be careful not to accidentally throw it away with a spin, because you absolutely need it for the treasure chest at the beginning of the galaxy.
With the golden tank you swim back down and cross the large underwater cave again. You can largely ignore the giant eels and jellyfish this time and focus on the direct way back. Steer to the previously destroyed stone wall and swim through the exposed tunnel towards the beach. A surprise awaits you: meanwhile, numerous Boos have gathered in the hall, trying to block Mario’s path. However, you do not have to throw the golden tank to defeat them. He emits a bright light of his own, which immediately drives away the spirits when touched. Therefore, swim with the tank directly towards the Boos and eliminate them in this way, without giving away the valuable object. If you are hit by an enemy on the way and lose the tank, try to pick it up as soon as possible before you move on. Once you have left the tunnel behind, you will emerge to the surface and return to the small beach.
Run the golden Koopa shell to the golden treasure chest next to your original starting position. Stand a little distance in front of it and align Mario as closely as possible to the center of the chest. Ship the tank against it with a movement of the Wii remote to break up the golden castle. From the open treasure chest jumps surprisingly Captain Toad, who was trapped in it during his own search for a Power Star. Talk to him so that he will give you the found Power Star as a thank you for his rescue. Collect him to complete the only mission of the Bigmouth Galaxy.
Optional abbreviation: The five star chips are not mandatory to reach the golden Koopa shell. In the large underwater cave you can swim to the water surface and transport yourself with a targeted jump and subsequent wall jump directly into the higher water basin on the ceiling. The swing of a green Koopa shell can also help. This completely bypasses the star chip search and immediately reaches the golden tank. For a fast run, this path is particularly convenient; however, the regular route is recommended on the first visit, as you can collect additional Star Bits and coins.