

The Underground Ghost Ship
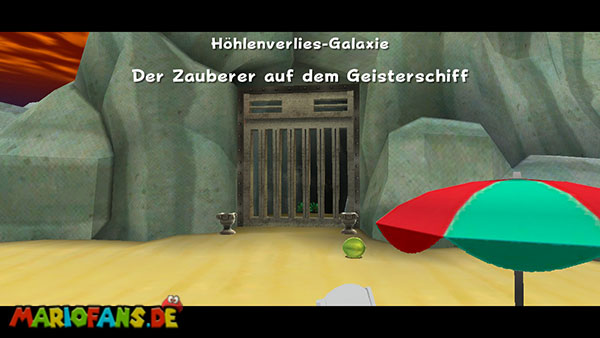
Run from the starting point across the beach to the large cannon that the Toad Search Force has set up. Before using them, you can defeat the crabs on the beach and get an optional 1-Up Mushroom. Attack the crabs from behind or stun them with a spin so you can bypass their protected front. In the shallow water near the beach is also a treasure chest with another 1-Up Mushroom. You can open them with a Koopa shell. For the further path you first need the cannon. Jump in and point them at the little brown planet that floats above the island. Between you and the planet is a rainbow star. Aim a little above his position so that Mario touches him during the flight and then lands safely on the planet. As a rainbow Mario, you can easily defeat the numerous octopods on the small celestial body by touch. Use the short invulnerability to eliminate as many of the opponents as possible and collect their Star Bits. Then you run over the surface to the bottom of the planet and get the Fire Flower there.
Once Mario is turned into Fire Mario, you must quickly return to the beach. Run to the top of the small planet and use the Launch Star there, which transports you directly to the starting island. Follow the path to the large cave opening, which is closed by a grid. To the left and to the right of each is an undignited torch. Align Mario to the first torch and perform a rotation with the Wii remote to throw a fireball at it. Then immediately light the second torch before your fire transformation ends. As soon as both burn, the grid opens and you can enter the cave. If the transformation happens too early, you must return to the cannon again and get another Fire Flower. Behind the goal you will encounter a Magikoopa, which you can defeat with a spin. Then you jump into the large underground lake.
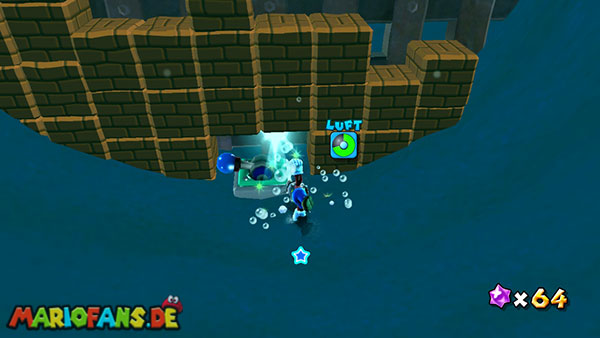
Dive down as far as possible and follow the Star Bits, which form a big arrow underwater. This shows you the way to a blue lever switch on a small rock platform. Swim over to him and activate him with a spin so that the first underwater grid opens. Then follow the uncovered passage forward and hold on the left. Pay attention to the jellyfish that float between the stone blocks and can hurt you when touched. Further forward, there are also several underwater mines and a large eel coming out of an opening in the rock. Swim as laterally as possible past these obstacles and controls the next passage. Here, a second grid blocks the way. Find the blue switch directly next to or below the grid and also activate it with a spin. This opens the last barrier and you can swim into the area behind it. Pay attention to your aerial display throughout the dive. If necessary, collect the rising air bubbles or the reachable coins before you run out of oxygen.
Behind the second grid, a longer underwater tunnel leads into a huge cave. Swim to the surface of the water and orient yourself on the mighty ghost ship that lies anchored in the middle of the lake. There are several Boos and other enemies in the water, which you should avoid as much as possible. Swim to the side of the ship where a large wooden staircase leads to the deck and climbs up. As soon as you enter the upper deck, Kamella appears and begins the boss fight. She teleports between different positions above the ship and shoots you with red and green magic bullets. The red bullets turn into fireballs when they hit the deck, which you have to avoid. The green shells, on the other hand, turn into green Koopa shells. You need this to hurt Kamella.
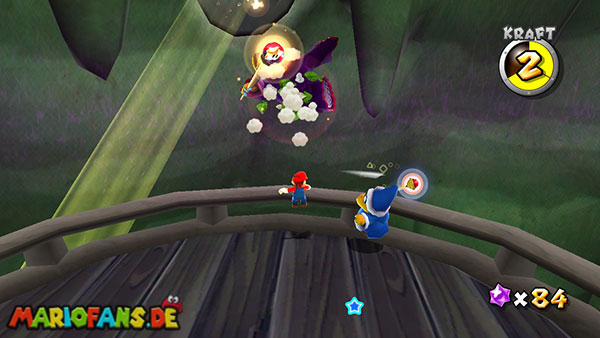
First, stay on the wider middle part of the deck and observe where Kamella appears. Once she fires a green magic bullet at you, you dodge a little bit to the side and wait until the bullet on the ground turns into a Koopa shell. Pick up the shell and point Mario towards Kamella. Wait, if necessary, until it has teleported to a new position and is stationary again. Then ship the shell against them to land the first hit. Kamella then disappears for a short time and reappears elsewhere above the deck. Dodge their red fireballs, wait for the next green bullet and repeat the same process. After the second shell hit, she retreats to the higher lookout at the stern of the ship. Run to the long climbing pole and work your way up until you reach the upper area.
On the lookout, Kamella summons two ordinary Magikoopas who also attack you with magic bullets. Eliminate these two enemies first, if possible, before continuing the fight against Kamella. Wait until they are within range and hit them with a spin. This prevents several fireballs from rolling over the small platform at the same time and hindering you when picking up the Koopa shells. Once the area is clear, you will again wait for a green floor of Kamella. Let it land on the ground, pick up the resulting shell and throw it against the sorceress. After the third hit, she teleports again and begins to carry out her attacks faster in succession. If possible, stay in the middle of the platform so that you can avoid both sides without accidentally falling over the edge.
For the last hit you need a green Koopa shell again. Dodge the red magic bullet and wait until Kamella fires a green spell again. Collect the shell and align Mario to her current position. Once you have clear visibility, you throw it against the wizard with a rotation of the Wii Remote. After a total of four successful shell hits, Kamella is defeated and disappears. On the ghost ship now appears the desired Power Star, which you can collect directly.
Bubble Blastoff
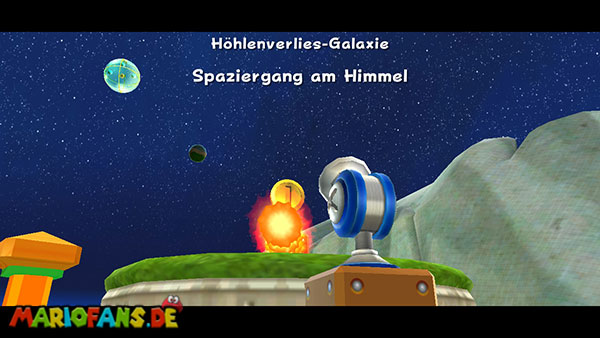
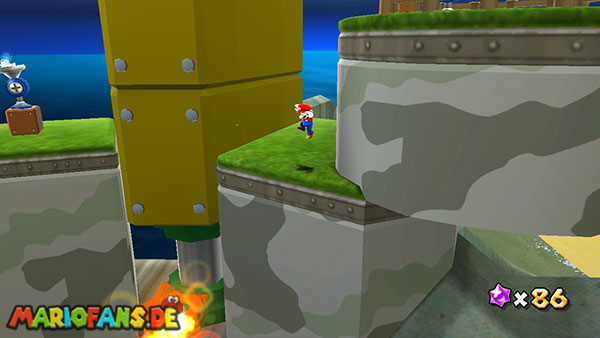
Immediately after your landing, a Monty cannon awaits you on the beach, whose mole bombards you with large soap bubbles. These can trap Mario and float over the ground. If you are caught in a bubble, you will perform a spin to free yourself. The Monty cannon blocks access to the large ship cannon you need for the further journey. The easiest way to defeat the mole is with the coconuts lying around on the beach. Stand behind a coconut and perform a spin to throw it against the machine. After three successful hits, the Monty cannon is destroyed and access to the ship's cannon is released. Alternatively, you can jump on the glass dome of the machine and destroy it with three ground poundn. In this method, however, pay attention to the soap bubbles that can hit you during the attack.
Then jump into the exposed cannon and aim for the small brown planet above the island. As in the first mission, a rainbow star floats on your trajectory. Take it with you if possible to quickly eliminate the octopods on the planet and collect additional Star Bits. On the bottom you will again find a Fire Flower. Collect them and then use the Launch Star on the top to return to the beach. Run through the already opened cave gate to the underground lake. There are three undignited torches this time, which you all have to light with fireballs. If possible, position yourself so that you can reach the torches directly one after the other without having to walk any major detours. As soon as all three burn, an ice cream flower appears nearby.
Collect the ice flower and run as Ice Mario over the water surface of the underground lake. Under your feet, small ice platforms are created, on which you can safely walk. Head to the water fountains on the opposite side and jump to the first fountain to freeze them. From there you reach the next higher fountain and then the small platform on the rock face. If possible, work your way up the water jets without interruption, as your ice transformation lasts only a limited time. At the upper end there is a long climbing pole, which you can hold on to. Climb and jump from the top to the next platform. If your ice transformation ends too soon, you must return to the ice flower and repeat the ascension.
On the higher level, you follow the narrow path to the left. Here are several swing rods, using which you can cross the gaps between the individual platforms. Jump first to the first rod, build up enough momentum by swinging back and forth and let yourself be carried over to the next at the right moment. After the last pole you reach a small movable platform with a yellow? coin. Touch them so that several blue Pull Stars appear. The platform among you disappears shortly afterwards, which is why you should target the first Pull Star as quickly as possible and hold the A button. Move from star to star until you reach the next higher rock platform.
Here begins a longer section with soap bubble cannons. The first cannon regularly shoots large bubbles in which Mario can fly. Stand in their trajectory and be locked by a bubble. It automatically transports you to the next small platform. Once you are above safe ground, you will perform a spin to leave the bladder. On the following platform are other cannons, whose bubbles transport you over larger abysses. However, pay attention to the fire cannons that stand between them. Their projectiles are dangerous and must not be confused with the harmless transport bubbles. Therefore, wait for a large transparent bubble and only then let it take you. On the next lead, you can also expect a Magikoopa, which you can eliminate with a spin before jumping to the next bladder cannon.
Further up you reach an area with several vertical rods and a large rotating fire rod. Climb the poles first and wait until the flames have swung past you. Then cross the small platform in the middle and stand on the block next to the last bubble cannon. As soon as the next bubble appears, you will be locked up and transported across the abyss to the next planet. There is a small water basin, from which several red fish spring out. Eliminate them with spins if necessary or jump over them. There are a total of three wooden plugs on the planet that you have to push into the ground with ground poundn. Once all three have been sunk, the large bubble cannon in the center of the planet is activated.
Jump into one of the big bubbles that are shot out of the activated cannon and get promoted to the last celestial body. You land on a transparent spherical planet, inside of which lies a small watermelon. Several large tennis balls roll over the glass surface while an electric opponent regularly emits circular energy waves. Jump over these waves and observe the trajectories of the tennis balls. As soon as one of the balls passes directly under Mario, you jump up and perform a ground pound. This pushes the ball inwards and hits the watermelon in the center. After the first hit, it grows significantly. Repeat the process with a second tennis ball until the melon has grown again.
For the third hit, you should pay particular attention to the electrical energy waves that now run at short intervals across the planet. Wait until the next wave has passed and then position yourself over one of the remaining tennis balls. As soon as the ball rolls under Mario, you perform the last ground pound. The watermelon grows so much that it blows up the entire glass planet. In its place, a huge watermelon is created, on the surface of which the desired Power Star appears. Run over to him and gather him to complete the second mission.
Guppy and the Underground Lake
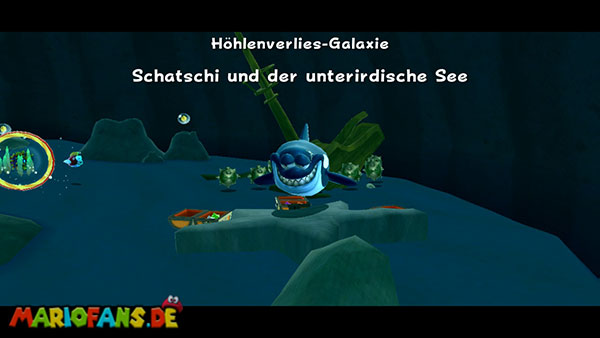
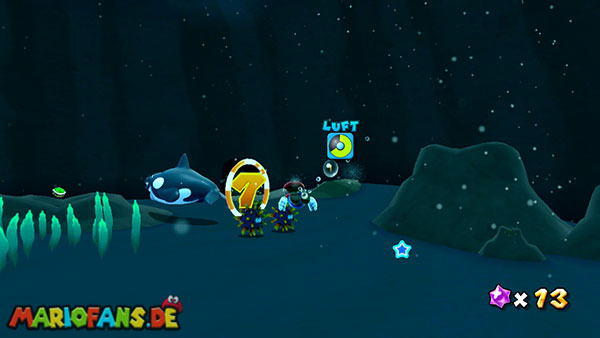
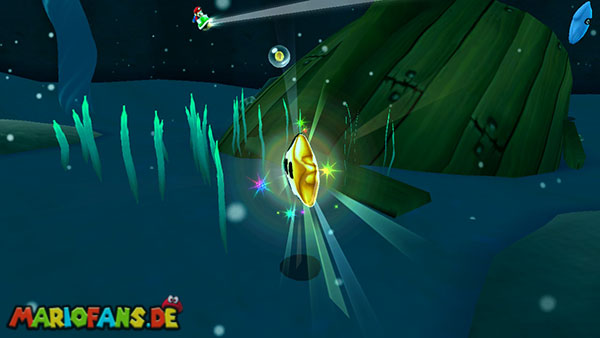
The cave gate on the launch island is already open in this mission. Therefore, run directly in and follow the way to the large underground lake. Jump into the water and dip down as far as possible. Between the rocks is a small elevated area, where Shaschi is waiting for you. Approach him so that he challenges you to another underwater race. As before in the Sea Slide Galaxy, you have to swim through eight numbered rings that he leaves behind during his ride. Since the entire trail leads this time through a narrow lake with numerous opponents, the challenge is a bit more dangerous than in the first race. Before you approach Shaschi, you should fill up your air gauge and memorize the position of the nearest green Koopa shells.
After the start, the first ring appears immediately in front of you. Swim through it and follow Shaschi to the left. The next ring hovers just above a group of spiky sea urchins, which you should avoid laterally if possible. After the first two rings you reach a green Koopa shell on the seabed. Collect it so Mario can swim much faster and follow the route to the left. The next ring is near a group of bloopers who can meet you and hurt you if touched. Hold yourself as centrally as possible and swim quickly through the opening without touching the opponents directly. Afterwards, Shatschi turns sharply to the left and leads you to several underwater stutters. If possible, stay on the right side of the vortex and try to target the rings as early as possible so that the current does not push you out of the way.
In the middle part of the route, Schatschi continues along the seabed. Several rings lie close above the rocks, so you should swim with a Koopa shell as flat as possible over the surface. Pay attention to the giant eels that rush out of individual caves as soon as Mario comes near them. Especially at the constriction between two rock walls you should swim as far away as possible from the heads of the eels. Further forward is a ring above several large stones. Swim across the rocks and then stay right where the next ring appears in front of another vortex. During the pursuit you should not drop the Koopa shell if possible. If you accidentally shoot and lose it, try to pick up the next accessible shell. Without shells, you can accelerate with repeated spins, but you need much more time for the remaining rings.
The last rings will again take you past several jellyfish and underwater mines. Observe the position of the opponents and swim as directly as possible through the center of the rings so that you do not have to stay in their vicinity unnecessarily long. Especially with the last ring you have to pay attention to the whirlpools, which can push you out of the intended swimming direction. Once you have successfully crossed all eight rings, Schatschi completes his challenge and leaves you the Power Star. This appears near the sunken ship on the seabed. Swim to its position and collect it. If you still want to explore something in the lake, you can try out the hidden mission “Boo in a Box” beforehand. The access to it is also at the shipwreck.
Boo in a Box
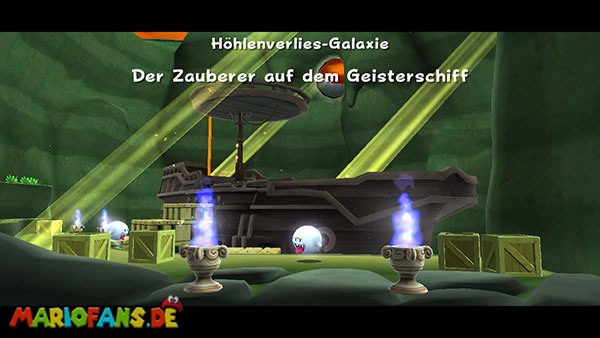
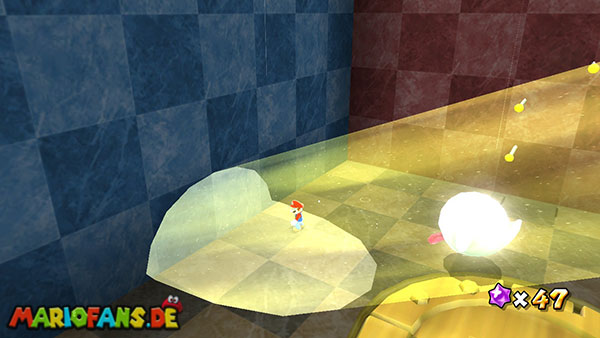
The secret Power Star can be found in each of the three regular missions. The easiest way to reach it is via “Guppy and the Underground Lake”, as the cave gate is already open there and you do not need a Fire Flower. Run directly from the starting point into the cave and jump into the large underground lake. Dive down to the bottom of the sea and search for a small shipwreck around whose mast several underwater mines circle. Pick up one of the green Koopa shells near the wreck and approach the mining group. Keep a little distance and throw the shell against one of the mines. The explosion also triggers the remaining mines and destroys the entire group. Once the debris has disintegrated, a hidden Launch Star appears in the site of the wreck. Swim over to him and activate him with a spin to get to the secret planet.
You land inside a large box-shaped planet whose walls are traversed by several different gravity fields. In the center moves a particularly large boo who carries the wanted Power Star in his body. In addition, there is a spiky ball in the room, which you should avoid as much as possible. To expose the star, you must first activate a ray of light and then lure the big boo into it. You have to change the direction of gravity several times. Run first to the small poles on the wall and use them to jump up to the first green arrow marking. Perform a spin directly next to it so that the arrow rotates and changes the gravity of the entire room. Mario is drawn to the opposite wall.
On the new floor area there is a large jump platform, with which you can reach the next arrow marking. Jump to the platform and get promoted to the top. Once you reach the arrow, you activate it with another spin. Gravity changes again and this time Mario lands on a surface above which is a small pool of water. There, a soapbubble gun regularly shoots off large transparent bubbles. Be locked by one of the bubbles and wait until it transports you near the next arrow mark. Perform a spin in time to leave the bubble and then activate the third arrow. Now Mario is drawn to the right wall of the box. In this area is a large crystal that closes an opening in the outer wall.
Stand right in front of the crystal and destroy it with a spin. Through the resulting opening, a bright light beam now falls into the room. The great Boo chases Mario as soon as you turn your back on him and stops when you look at him directly. Use this behavior to lure him into the ray of light. First, stand between the mind and the illuminated area. Then turn Mario so that you turn your back on the boo and slowly run towards the ray of light. As soon as the Spirit follows you, you dodge aside at the last moment. He gets into the light and is immediately defeated. In its place, the secret Power Star appears. If it is on another wall of the box, use the remaining arrow switches and possibly a soap bubble to change gravity one last time. Then run to the star and collect it.
Ghost Ship Daredevil Run
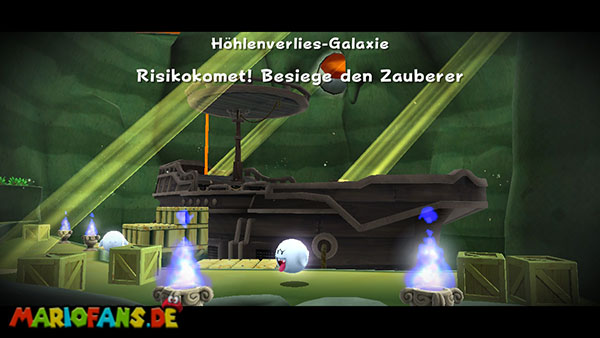
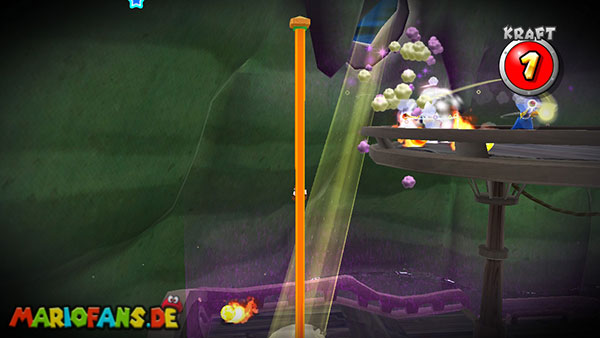
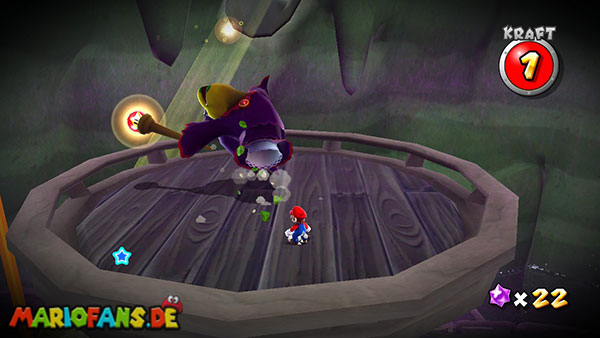
This mission will be available as soon as a Daredevil Comet appears over the Deep Dark Galaxy. You start immediately in front of the ghost ship and have to compete against Kamella again. Unlike in the first mission, Mario has only one energy point this time. Already a hit by a red magic bullet, a Magikoopa or another opponent ends the attempt. The long path through the cave is eliminated, so you can concentrate directly on the boss fight. Jump over the wooden stairs to the deck and stay first in the middle of it. Kamella again begins to hurl red and green magic bullets at Mario. Dodge the red bullets sideways and be careful not to stay too close to the fireballs that roll over the deck after impact. As soon as a green projectile appears, wait until it forms a Koopa shell. Pick up the shell and throw it against the sorceress as soon as she stands still.
After the first hit, Kamella teleports to another location above the ship. Keep an eye on them as constantly as possible and do not run over the deck without thinking if there are still fireballs on the ground. Instead, wait for an opportune opportunity and collect the next green Koopa shell. Ship him again against Kamella to land the second hit. Then the sorceress retreats to the elevated lookout at the stern of the ship. Run to the long climbing pole and climb up. Wait to jump to the upper platform until no fireballs roll right along its edge.
In addition, two ordinary Magikoopas appear on the lookout, who attack you with their shells. Eliminate them as soon as possible with spins so that they do not disturb you in the actual boss fight. Since your health is still limited to a single point, you should pay particular attention to the red bullets that can come from several directions at once. If possible, stay on the wider side of the lookout and wait until Kamella fires a green projectile again. Let the resulting Koopa shell first land safely on the ground and then pick it up. Point Mario at the sorceress and throw the shell to land the third hit.
After that, Kamella teleports again and continues her attacks faster. Dodge their magic bullets and wait for the next green Koopa shell. Keep an eye on the edges of the lookout so that an avoidance maneuver does not accidentally push you off the ship. Once Kamella reappears in range, you throw the shell at her and land the fourth and final hit. The sorceress is defeated and the wanted power star of Daredevil Comet appears on the ghost ship. Collect it to complete the challenge.
Plunder the Purple Coins
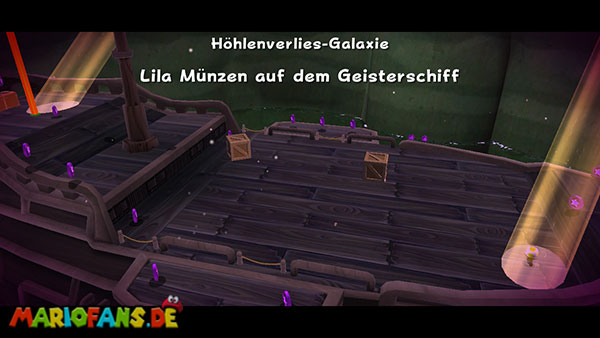
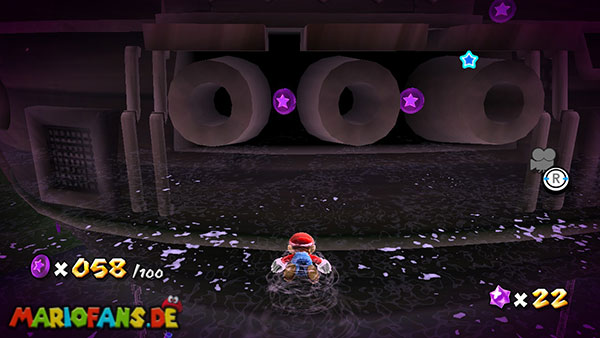
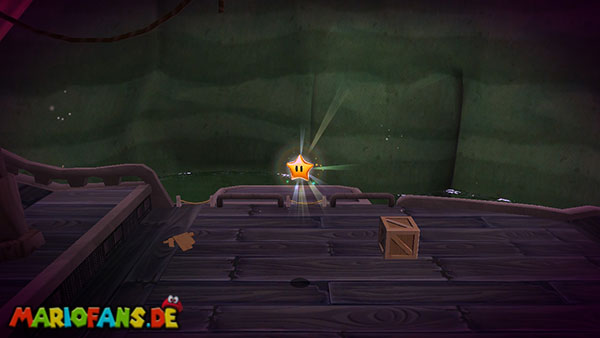
This mission comes after you defeat Bowser at the center of the universe and a purple comet floats over the Deep Dark Galaxy. You have to collect a total of 100 Purple Coins, which are distributed around the ghost ship and in the adjacent rock niches. There is no time limit, so you can examine each area in peace. However, there are exactly 100 coins, so you should not miss a single one. Particularly easy to miss are the coins under water, on the higher rocky outcrops and below the lookout at the stern of the ship. The Power Star appears after collecting the last coin on the main deck of the ghost ship. For a clear route as possible, you should first search the area around your starting position completely, then examine the underwater points around the ship and only then enter the deck and the upper lookout.
Right at your starting position is the first Purple Coin. Collect them and then turn around. Behind the launch platform is a small water area where you can jump down. Dive to the bottom of the basin and collect the ten coins at the underwater grid. Pay attention to the jellyfish floating near the grid and keep an eye on your aerial display. Below the starting platform there are also two more coins that you can take with you when swimming back. Then return to the surface and jump back to the launch platform. To the right of it, a coin hovers a little higher above the ground. You reach them with a backflip or by jumping on the neighboring wooden box first. On the left wooden platform there is also a single coin. Collect both and then move to the rocky outcrops on the opposite side of the pool.
First, follow the lower rock protrusion along the large light beam. Here are two coins with a slightly larger distance to each other. Collect them and then examine the wooden box on the back of the projection. There is also another Purple Coin. Then jump with a backsalt to the next higher rock platform and collect the group of three there. One of the coins hovers slightly above the ground and requires an additional jump. On the left side, you can work your way up to a higher lead with another backsalt. There are several additional coins here, one of which hovers particularly high above the platform. Use a wall jump with subsequent spin to reach them. Then jumps to the opposite projection and collects the coins on its surface. Some of them are close to the edge, so you should be careful. Once you have also collected the individual coin above the lower platform, you should have about 30 out of 100 coins.
Now return to the original launch platform and jump into the water on the right. Swim along the rock face towards the ghost ship and collect the first two coins on the water surface. A little further forward are two further groups with two coins each. Hold yourselves as close as possible to the rock face so that you do not overlook any of them. At the stern of the ghost ship you can jump up on the ship wall with several wall jumps. You reach a group of three Purple Coins, which float immediately next to the wooden hull. Then drop back into the water and swim along the left side of the ship. Here are five more coins just above or below the water surface. A single coin hovers significantly higher on a small edge of the ship. These you leave first, as you can reach them later comfortably from the deck.
Continue to the front of the ship and collect the two coins between the large cannons. Then you dive under the ghost ship. A total of twelve Purple Coins are waiting here, which are easily overlooked if you only look at the water surface. Two coins are immediately below the ship’s hull, six more are near a toad standing underwater on a small rock platform. Three coins lie on a neighboring underwater ledge and the last one is located just below the bow. Collect all twelve and then swim back to the water surface. Check your counter before entering the deck: After the rocky outcrops and the underwater spots, you should have a little more than half of the 100 coins. If you are still missing, check the area behind the starting point and the small underwater platforms at the Toad first.
Now swim to the wooden staircase that leads to the ghost ship. Before you climb, you collect the individual coin on the opposite rock face. On the stairs are several more coins, which you can take directly on the ascent. Then you reach a narrow section with a large rope, next to which two coins float. Jump over it carefully and collect both. On the lower main deck there are two more coins on the left, while on the bow there are a total of six coins distributed. Run to the front of the ship and collect all six before returning to the stern. You have to pay attention to the Boos who float across the deck and chase Mario as soon as you turn your back on them. Turn to them briefly if necessary to stop them and then continue running. If you lure the Boos to the light cone of Toad, you can also eliminate them.
On the right side of the deck is a small raised wooden outcrop, on which lie three more coins. Collect them and then carefully drop on the slightly lower edge on which the previously omitted individual coin floats. Return to the main deck and walk to the stern of the ship. Here are a total of eight Purple Coins on the different wooden surfaces. Some of them are located directly on the outer edge. For a particularly high-floating coin, you have to perform a reverse balance. Collect all the coins and then go to the long climbing rod that leads to the upper lookout. Before you climb further, your coin counter should display about 75 to 83 coins, depending on whether you have already collected the coins at the rear.
Climb on the pole to the top section and jump over to a small platform on the left, where there are three coins. Collect them and then return to the pole. Before you jump on the actual lookout, you have to collect the two coins below the upper platform. These float on the wooden structure that connects the lookout to the main deck. Stand on one of the narrow beams and use a wall jump with subsequent twisting to reach the coins. Be careful not to accidentally fall into the water, otherwise you will have to repeat the entire ascension. Once both coins are collected, you finally climb to the upper platform.
On the big lookout is a blue toad. Around him are ten Purple Coins, which you should first collect completely. Another coin floats a little higher above the ground and can be reached with a backwards balance. Then check the coin counter. If you have completely searched all previous areas, you are now only missing a single coin. This floats a little off the lookout over the water. Stand on the appropriate edge of the platform and perform a well-set long jump. For this purpose, hold the Z key while running and then press the jump key. Touch the last coin during the jump and then try to land safely in the water.
After the hundredth Purple Coin, the wanted Power Star appears on the main deck of the ghost ship. Therefore, swim back to the wooden stairs, climb to the deck and collect the star. If you are missing individual coins at the end, especially the ten coins in the water behind the launch platform, the twelve coins under the hull, the two coins below the upper lookout and the single coin far outside the highest wooden platform. Since there is no time limit, you can always return to an already visited area.