

Pull Star Path
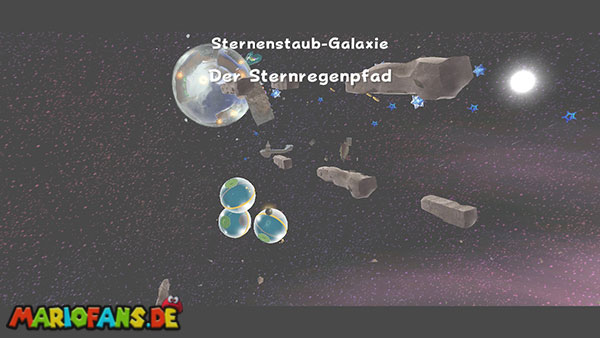
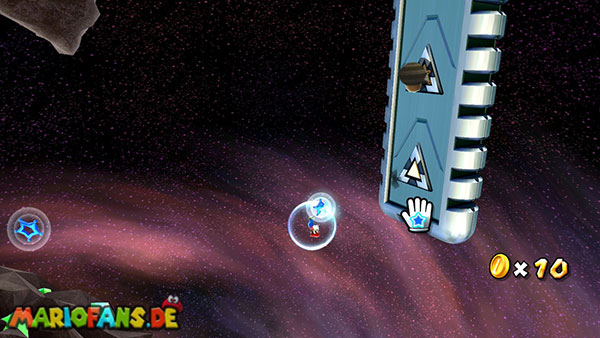
The Space Junk Galaxy is one of the first galaxies you can visit in the comet observatory bathroom. Once you’ve collected nine Power Stars and unlocked bathroom access, this new adventure is open to you. Unlike in previous galaxies, you spend much of your time here moving through space. Above all, you get to know the blue Pull Stars, with which you can pull Mario from one celestial body to the next. Already on your small launch platform, the first of these stars hovers before you. Point the Wii remote to it and hold down the A button so that Mario is captured by his attraction. Then you can target the next Pull Star and move step by step through space. Be careful not to let go of the A button too early as long as there is no solid ground near you. On the other hand, if you want to land on a planet, you can detach yourself from the Pull Star and be attracted by its gravity. A spin also helps to free you from his influence.
First, follow the row of Pull Stars until you reach an elongated, glassy planet. On its surface, you can already collect some Star Bits before you move further through space with the next Pull Stars. Finally, you reach a group of three small, spherical glass planets on which a total of five Star Chips are hidden. You need this to make the next Launch Star appear. Run over the surfaces of the three heavenly bodies and search for the yellow, star-shaped fragments. Pay special attention to the electrical enemies that move near the planets and can hurt you if touched. Since the individual balls are connected by gravity, you can switch between them and also search their undersides. Once you have collected all five Star Chips, it will make up a Launch Star. Use it to be hurled to the next planet.
You land on a massive rocket, on the surface of which numerous Star Bits are scattered. Some of them float freely in space, while others are enclosed in crystals. Destroy the reachable crystals with a spin and collect the Star Bits before you move on. Then you run over the rocket upwards, where the next Pull Stars are waiting for you. With their help you reach two small celestial bodies, whose gravity is determined by the blue stars. Move from one to the other and then follow the longer chain of Pull Stars through space. Especially at the longer intervals, be sure to pick up the next Pull Star before you let go of the previous one. At the end, you arrive at an elongated, T-shaped planet, where some hopping enemies are on the way. You can eliminate them with a spin or simply dodge them. Run across the narrow underground to the upper end of the planet, where several members of the Toad Search Force are trapped in crystals.
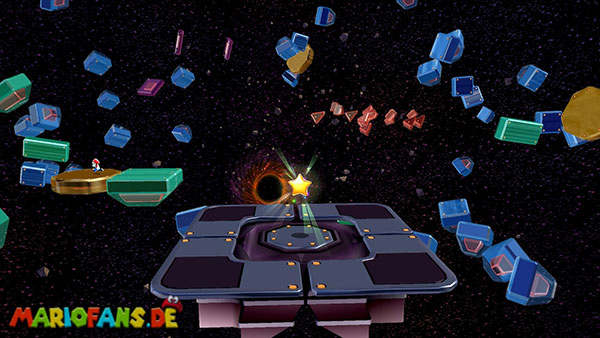
Free the Toads by destroying their crystals with a spin. After everyone is rescued, the mushroom spaceship of the search party appears. Go to the round platform below the ship and jump up. Gravity pulls Mario to the bottom of the spaceship so you can walk over its surface to the roof from there. On the top is another Launch Star that takes you to the actual Star Rain Path. This consists of numerous small platforms that seem to float in a disorderly manner in the middle of space. As soon as you approach them, the individual parts move towards each other and sit together in walkable paths. Below the entire area, however, there is a black hole, which is why you should move particularly carefully at the edges. In the case of incomplete paths, wait a short moment until the next platform pieces have reached their position before you continue running.
On the Star Rain Trail you have to collect a total of five Silver Stars to uncover the actual Power Star. First leave the starting platform and run straight ahead until the first path is assembled in front of you. At the first fork of the road, you keep yourselves on the left and follow the newly emerging platforms to the end, where the first Silver Star is already waiting for you. Then return to the crossroads and take the other path that leads you to the second Silver Star. Then it goes back and straight into the larger area of the Star Rain Path. Here the path branches several times. Follow the individual sideways and especially examine the platforms that float a little off the main route. The remaining three Silver Stars are each at the end of the different turns. Keep an eye on the meter on the screen so you know how many stars you are missing. Do not try to skip larger gaps ill-considered, but first wait to see if more platform parts come together near you. Once you find all five Silver Stars, the Power Star will appear on the original launch platform. Return to it through the paths that have been created in the meantime and collect it. This completes your first mission in the Space Junk Galaxy. You have to tackle the same path later in the time attack on the Star Rain Path again under time pressure.
Kamella's Airship Attack
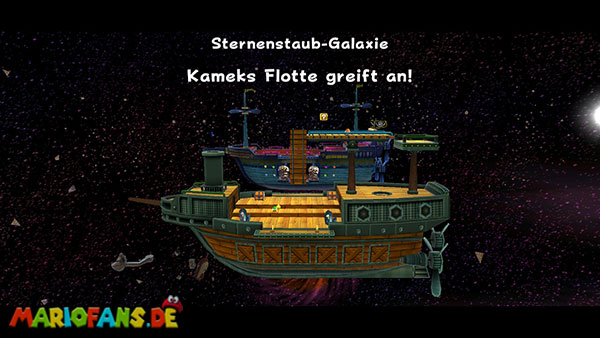
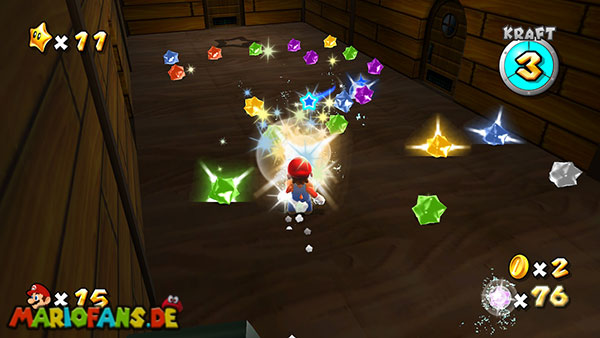
On your second visit to the Space Junk Galaxy, the environment has changed significantly. Bowser has sent an entire fleet of armed airships guarded by Kamella’s henchmen. Your task is to advance from one ship to the next and finally defeat the mighty Kamella. You start on a small mushroom spaceship of the Toad search party. Run up and jump on the next mushroom from where you can reach the Launch Star. This hurls you directly on the first enemy airship. First complete the two Goombas on the deck and collect the reachable Star Bits. On the right front there is a large lever that you can activate with a spin. This lowers a bridge over which you reach another platform. Here you will find some Star Rabbits who give you clues about movement. Jump on the raised wooden boxes and use a spin in the air if necessary to gain additional height. In one of the boxes is another Launch Star, which will transport you to the next airship. Before you fly on, you can also collect the reachable 1-Up Mushroom.
On the second airship, in addition to some Goombas, you will also find a camel who attacks you with magic bullets. First, get rid of the usual enemies and then grab one of the green Koopa shells lying on the deck. These are your most important weapon for the further course of the mission. Pick up a shell and shake the Wii Remote to throw it in your eye. This way you can not only defeat enemies, but also open the locked treasure chests on the airships. Take care of the Camella first and then examine the two chests. If you throw a shell next to it, this is not a problem, as new shells appear on the ship regularly. On the side of the ship you will also find a? block and a screw that you can edit with your spin to get additional Star Bits. Especially important is the treasure chest on the raised part of the ship. Take another shell, climb the stairs and throw it against the chest. Inside is the next Launch Star with which you can leave the ship.
On the following airship you should first run to the left and get an overview of the surroundings. The next ship is already in front of you, but the connecting bridge is not yet accessible. Jump to the lower deck and take care of the two Koopas running around there. Jump on their heads to retreat into their shells and pick up one of them. On the opposite ship are two enemies who attack you from a distance with shells. Shoot the shells at them and try not to be hit yourself. Once both enemies are defeated, the bridge descends and you can enter the next ship. Before you move on, it is worthwhile to open the two treasure chests on your current ship. In one, you will find a red Koopa shell that can independently target opponents. The other contains a Life Mushroom that increases your maximum health from three to six units. Be sure to take this improvement with you, as a boss fight awaits you immediately afterwards. You can also explore the interior of the airship by entering the chimney or the corresponding opening in the deck. There are additional Star Bits hidden. Then you cross the bridge and use the Launch Star to reach the upper deck of the last airship.
Kamella, a particularly powerful witch who fires various bullets at Mario with her wand, finally awaits you. Stay moving as much as possible during the fight and watch what kind of magic she is using. You should definitely avoid the red fireballs, while their green magic bullets turn into Koopa shells when they hit the ground. This is exactly what you need to hurt Kamella. Wait until a green shell is on the deck and pick it up. Then align yourself with the Witch and throw him directly at her with a movement of the Wii Remote. As soon as she lands a hit, she is incapacitated for a short time. Repeat this procedure a second time and be careful not to run into their fireballs unnecessarily. If your health becomes scarce, you will find a? block on the upper deck from which you can get coins.
After the second hit, Kamella becomes angry and calls two more Magikoopas for support. Now significantly more magic bullets fly over the deck, so you should change your position regularly. You can defeat the additional witches, but this is not necessary to complete the fight. Instead, focus on Kamella and wait for her next green magic attack. Once the projectile has turned into a shell, grab it and put yourself in a favorable throwing position. Throw it as directly as possible on the great witch, so that the shell does not get stuck on one of her helpers or an obstacle. After a total of three successful goals, Kamella is defeated. Your wand breaks and releases the Power Star you are looking for. Collect him to complete the second mission of the Space Junk Galaxy.
Tarantox’s Tangled Web
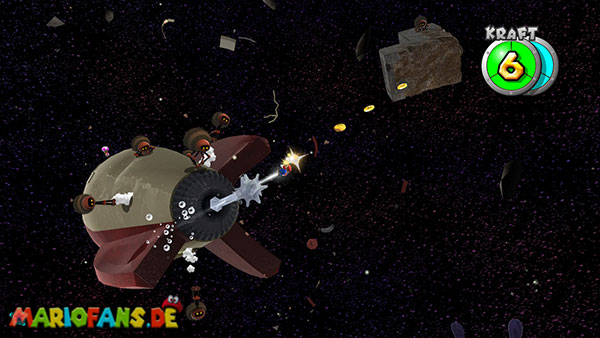
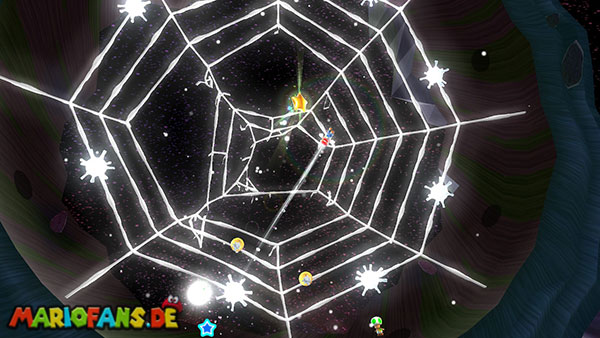
The third mission takes you through a large part of the Space Junk Galaxy before you finally reach a massive spider planet. Already at the beginning you will find yourself on one of the mushroom spaceships of the Toad search group. Use the blue Pull Star to pull you to the first glass planet and collect the reachable Star Bits. On the ground there are some jumping enemies that you can eliminate with a spin. Then you follow the next row of Pull Stars to a larger planet, the surface of which is surrounded by a transparent glass envelope. Here is also the access to the secret Power Star “What is Yoshi doing here?”, which you can collect during this visit. However, you need 50 Star Bits for a Hungry Luma who is on the planet. If you want to get the regular star first, instead look for an opening in the glass envelope and jump inside. There you will find a small labyrinth of narrow paths, Goombas and various crystals. Search the corridors and collect the Star Bits that are trapped in the crystals. Follow the paths until you finally reach the Launch Star inside. This hurls you out of the glass planet and directly into the next area of the galaxy.
You land on a small, stone celestial body on which some more enemies are on the way. Run forward along the narrow paths until you discover a Toad stuck in a gray, sticky ball at the end. This is a Sling Pod with which you can move through space like a slingshot. Target the cocoon with the Wii remote and hold the A button. Subsequently pulls it backwards so that it expands against the desired flight direction. If you release the button, the contents of the cocoon are thrown in the opposite direction. First free the captured Toad by throwing away his cocoon, and then jump into the sticky structure yourself. Align yourself to the next Sling Pod and pull the pointer back before you let go. Pay special attention to your flight direction, because even a small deviation can cause Mario to fly past the destination. The coins floating in space help you to recognize the intended route. Repeat the process at the next cocoon and finally catapult yourself to the big rocket on the opposite side.
Once on the rocket, you should first eliminate the enemies and destroy the crystals on their surface. Particularly important is a crystal in which there is a Life Mushroom. This increases your maximum health to six units and is very helpful for the upcoming fight against the Tarantox. Collect it before you leave the rocket. Then you run to the opposite side of the celestial body, where the next Sling Pod is waiting for you. Use it to catapult you to more small asteroids and follow the series of cocoons further and further through space. Eventually, you reach a vast celestial body, completely surrounded by a dense spider web. Aim with your last Sling Pod directly on its surface and let yourself be hurled against it. As a result, the outer shell breaks and exposes the actual spider web. In its center hangs a large, white cocoon, in which the Tarantox hides. Before the fight can begin, you must hurl against this cocoon using one of the grey nodes to break it.
Now appears the huge Tarantox, which fills almost the entire web and attacks you with green acid bullets. During combat, you can only move along the circular network. Therefore, pay close attention to the direction in which the spider fires its attacks, and run out of the danger zone in time. Her real goal is the large, striking weakness in her abdomen. Move sideways around the web until you reach a suitable Sling Pod from which you can aim at the back of the spider. Drag the cocoon back and catapult yourself directly against the large round spot on the abdomen. A successful hit unbalances the Tarantox, causing it to turn around and expose its sensitive abdominal side. There are three red vulnerabilities, which you must now meet one after the other. Use the gray Sling Pods on the edge of the net again and hurl yourself against the individual places. Make sure that you retreat far enough for each attack so that your trajectory actually reaches the spider.
Once you have hit all three red vulnerabilities, the Tarantox turns around again and begins its second phase of combat. Now she moves faster and uses her acid attacks more often. Additionally, bullets can emanate from several sides of the body, making it harder to find a safe position. Stay moving as much as possible and orient yourself to the large adhesive cocoons on the edge. On the side parts of the body, the spider has other round spots, which you can use with targeted hits to temporarily stun them. This gives you some time to get behind her body again. For the actual damage, however, you have to hit the big weak point on the abdomen again and then turn the Tarantox on the back. As soon as her three red belly areas become visible, you attack them a second time with the Sling Pods. Between attacks, you can also fill up your health. There are coins in the net, which you can reach by clever movements or the use of Star Bits. Use this option especially if you have already had several hits.
Once you have destroyed all three red weak spots in the second round, the Tarantox is finally defeated. Her body disappears and the Power Star appears above the net. Use one of the remaining Sling Pods to catapult yourself in its direction and collect it. This concludes the third regular mission of the Space Junk Galaxy. This success will also make the Hungry Luma available in front of the comet observatory bathroom, giving you access to the Sling Pod Galaxy against 400 Star Bits. Also, don’t forget to pick up the secret Yoshi Star on a revisit of this mission if you haven’t spotted it on the way.
Yoshi's Unexpected Appearance
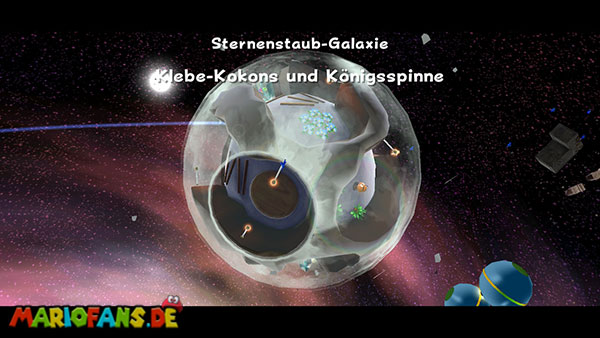
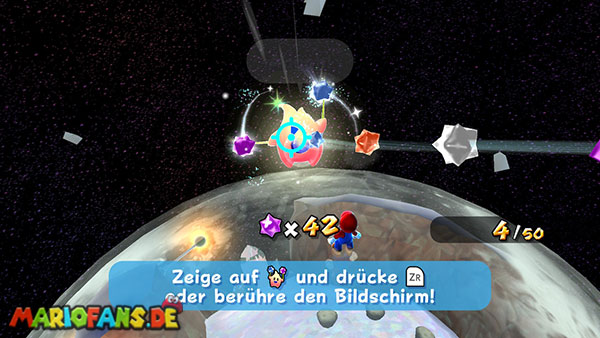
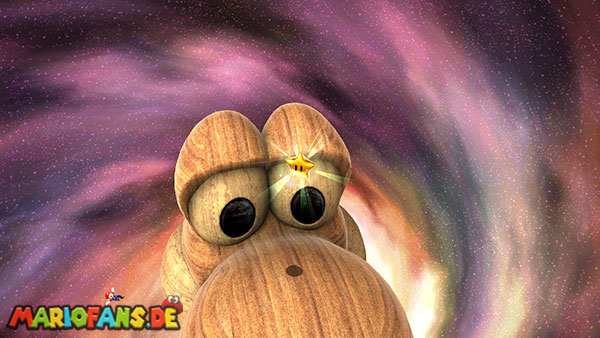
In the Space Junk Galaxy hides an additional secret Power Star, which you can get during the third mission “Sling Pods und die Tarantox”. Select this mission again and follow the familiar path over the mushroom spaceships and the blue Pull Stars. Your destination is the larger, glassy planet whose interior consists of a small labyrinth. On its outside is a hungry Luma, which you may have missed on your first visit. Talk to him and feed him a total of 50 Star Bits. If you do not have enough of them, you can first search the environment thoroughly. Destroy the crystals on the surface, collect the scattered Star Bits and also study the labyrinth inside the planet. There you will find more crystals, enemies and plants from which you can gain additional Star Bits. Once you have the required 50 Star Bits, you return to the Hungry Luma and feed it with it. The Luma then transforms into a new planet that has the distinctive shape of Yoshi’s head. At the same time, a Launch Star appears, with which you can travel directly to this unusual celestial body.
Arriving on Yoshi’s head, you will be received by a large group of Goombas who have spread over the entire surface. Your task is to defeat all 20 Goombas for the secret Power Star to appear. The easiest way to do this is with targeted spins and subsequent kicks against the dazed opponents. Of course, you can also jump on their heads, but you should be careful not to be accidentally encased between several Goombas. Also particularly dangerous are the two nostrils of the huge Yoshi head. They regularly produce hot steam blasts that injure Mario when touched. Therefore, keep enough distance and observe the distances between the eruptions as you move in this area. It’s best to work your way around the planet and eliminate all the Goombas you encounter along the way. Also pay attention to the opponents who are on the sides or on the back of the head. After defeating the last Goomba, the secret Power Star appears on the planet. Run over to him and collect him. You have also successfully completed the hidden mission of the Space Junk Galaxy.
Pull Star Path Speed Run
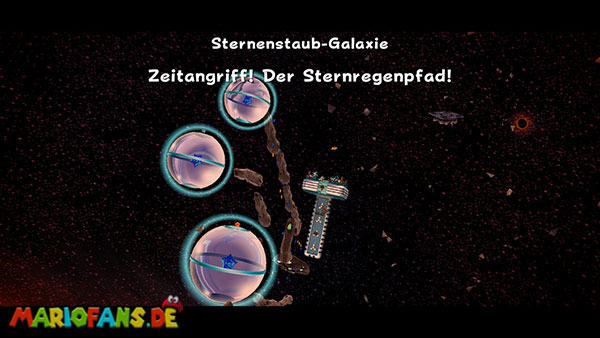
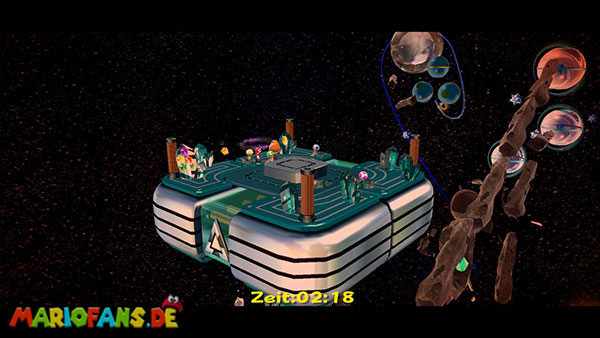
This additional mission will be available when a time comet appears over the Space Junk Galaxy. You have to cross the already known Star Rain Path from the first mission again, but this time only a time limit of four minutes is available. As soon as you land on the launch platform, the countdown begins. The track itself has hardly changed, which is why you should already know most of the sections. Nevertheless, it is worthwhile to go through the path carefully in your head before you start the mission. It is particularly important that you do not spend an unnecessarily long time with the Pull Stars and collect the five Star Chips on the small glass planets without detours. Draw directly from one Pull Star to the next and leave most of the Star Bits on the way, unless you can record them immediately with the pointer. On the three spherical planets you should collect the individual Star Chips one after the other and if possible avoid running several times over the same route. As soon as the Launch Star appears, use it and fly on to the big rocket.
Also on the rocket and the following celestial bodies you should not stay unnecessarily. Run immediately to the top, use the nearest Pull Stars and work your way to the planet with the captured toads. Free them as quickly as possible with your spins and then jump on the released mushroom spaceship. On its top, you use the Launch Star, which takes you to the final section. The actual Star Rain Path is also the part where you can lose the most time. Therefore, if possible, stick to the order from the first mission: first collect the two Silver Stars on the sideways of the first crossing and then follow the further turns until you have found all five stars. Avoid unnecessary jumps over larger gaps, because a crash means you have to start the entire time attack all over again. Once all five Silver Stars are collected, the Power Star will reappear on the launch platform. Run back without detours and grab it before the four minutes are up. With a clean route, you usually have enough time for minor corrections. Above all, it is important that you actually collect the star as long as the countdown is still running.
Purple Coin Spacewalk
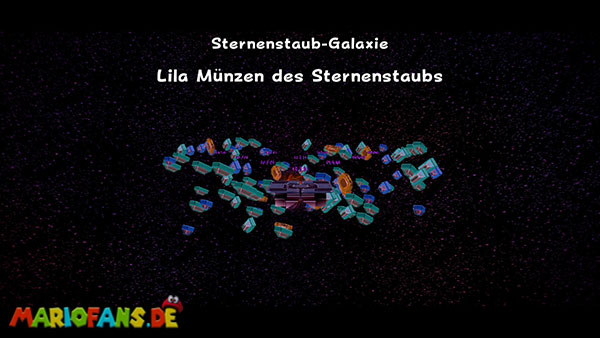
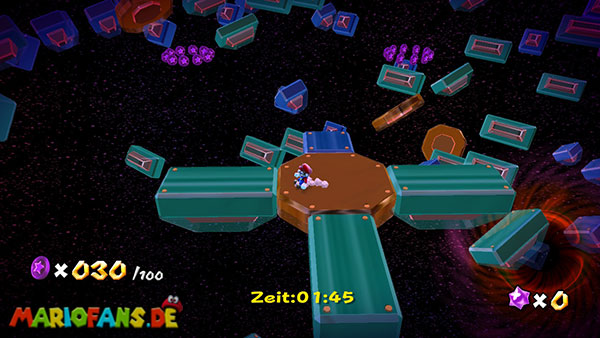
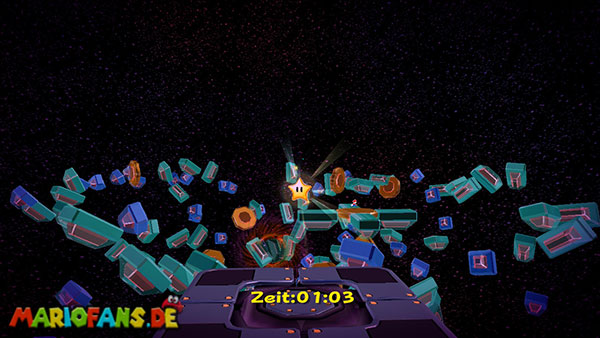
The final mission of the Space Junk Galaxy is one of the special tasks of the Purple Comets, which can only appear after you defeat Bowser in the center of the universe. Once such a comet hovers over the Space Junk Galaxy, you can select this additional challenge. Unlike the previous missions, this time you start directly on the Star Rain Path, which you already know from the first mission and the time attack. Your task is to collect all 100 Purple Coins within just two minutes. The coins are distributed in a total of ten groups with ten copies each over the floating platforms. This allows you to easily track your progress, but you should not miss a single coin. Unlike some other Purple Coin missions, there are no excess copies here, so you actually need all the coins. In addition, the arrangement of the platforms has been slightly changed compared to the normal mission. Some paths lead into the void or end in larger gaps, which you have to overcome with a jump. Since the platform pieces only assemble when you approach them, it is important to proceed quickly and yet in a controlled manner.
Run straight from the starting point and collects the first ten Purple Coins, which are arranged in a clearly recognizable circle. Then follow the path to the left and keep forward at the next intersection until you reach the second group. Take all ten coins and continue your path to the left. At the next turn, you run forward again, where the third coin circle is waiting for you. So you should already have 30 out of 100 coins. Then stay left and skip the gap between the platforms. On the opposite side, follow the way forward and then turn right to reach the fourth group. You have already collected 40 coins. From here, the next path leads you forward again to an intersection where you turn right. Overcome the two small gaps on this route and follow the path down to the next coin circle. If you have collected all ten, your counter increases to 50 coins. Now continue from this group to the left, where the sixth group is already located. With a total of 60 Purple Coins, you have the largest part of the challenge behind you, but should still pay attention to the remaining time.
For the next coins, you must first run down from the sixth group, then turn right and follow the path down again. There, the seventh group waits with another ten coins. The following section is a bit more difficult because you have to overcome a larger gap between the floating platforms. Follow the path from the seventh group to the end and then jump obliquely to the right to the next accessible platform. A well-designed long jump helps you to bridge the distance safely. From there you get to the eighth coin circle, with which you increase your counter to 80 out of 100 coins. Run to the right and then forward until you reach the ninth group. Take all ten coins and continue your way forward. At the next turn, turn right and follow the subsequent path forward again. This is the tenth and last group. Collect them completely so that the counter finally displays the required 100 Purple Coins.
With the collection of the last coin, however, the mission is not yet completed. The Power Star appears on the original launch platform, to which you must now return within the remaining time. The countdown continues even after collecting all coins, so you should make as no unnecessary detours as possible. Orient yourselves on the paths already formed and work your way back towards the middle of the Star Rain Path. From the last coin group you can first walk down and then to the left until you reach the central platforms again. Use the shorter connections there and skip smaller gaps, as long as you are sure when landing. It would be particularly dangerous to fall into the black hole below the platforms and thus have to repeat the entire challenge. Once you have reached the launch platform, you collect the released Power Star. You have also completed the last mission of the Space Junk Galaxy and secured all six Power Stars of this galaxy.