

Soaring on the Desert Winds
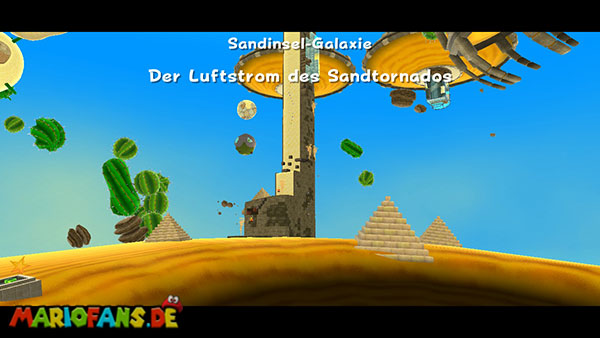
Run forward on the launch planet and jump to the next sand island. Eliminate the two bone drys with spins or jumps and then move to the first sand tornado. Jump in and wait until Mario is carried up. Then perform a spin to get you out of the tornado. While Mario swirls through the air with his arms outstretched, you can steer him towards the next platform with the control stick. Make sure you leave the tornado if possible when it is close to your destination. The upward movement lasts only a short time, so a jump too early can cause Mario to land in the quicksand. It immediately devours you and costs a life. First, follow the small sand islands to the right and use the next tornadoes to overcome larger gaps. On one of the platforms, you can also collect a? coin, which makes additional Star Bits appear. Finally, move to the horseshoe-shaped planet and stay on its right side. From here you can reach with another tornado the small island with the green warp tube. Jump in to enter the underground section.
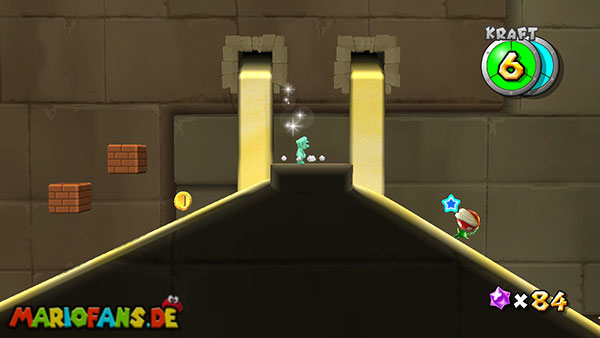
Inside, you are in a two-dimensional obstacle course with moving sand, stone blocks and several large stone block opponents. Run first to the right to the high wooden blocks and destroy the right row with a ground pound. This brings you into the lower aisle, where the flowing sand transports you to the right. Duck yourselves with the Z button to get through the low opening. Once you reach the first large block of stone, wait until it goes upstairs and then walk through it. On the opposite side there is a small wooden platform, via which you can get to the top of the next block with a backflip. There you will find an optional 1-Up Mushroom and a Life Mushroom that increases your maximum health to six units. In order to reach the objects, you should first jump on the lowered stone block and then transport yourself with another jump or a spin on the upper platform. Collect both mushrooms and return to the main path before moving further to the right.
In the next section, there are two blue switches under another large block of stone. Wait until it moves up and activates the two switches with spins. As a result, numerous Star Bits appear along the three large gears on the right. These have their own gravity, so Mario can also walk on their side surfaces. Jump first on the lowest gear and run over its surface to the next. Collect the reachable Star Bits on the way and work your way up to the top gear. Above it is a? block from which you can get additional coins. Then jump right onto the wooden blocks and touch the yellow? coin. Then a Fire Flower appears on the lower path. Collect them and run to the right as Fire Mario. With fireballs, you can eliminate the numerous piranha plants along the way without having to approach them directly. Shortly afterwards you reach a steep sand slide, on which suddenly a huge boulder rolls after Mario. Run immediately to the right and jump over smaller obstacles. Do not stop at the individual Star Bits, but reach the secure platform at the lower end as quickly as possible. There is another? block with additional items and a Launch Star that will transport you to the warp tube on the ceiling.
After leaving the tube, you will be outdoors again. Use the big Launch Star to get to the massive sand tower. Right on the lower level, a flying bomb chicken awaits you, which regularly drops explosive eggs. Stun it with a star part and then defeat it with a spin. Jump into the first tornado and get carried upstairs. Leave the vortex with a spin and land on the higher sand platform. Run against the flow direction of the sand to the right and collects the reachable 1-Up Mushroom. Make sure that the sand does not pull you back into the depths. Then you use the next tornado to get another level up. Jump from one block to the next and work your way up to the top of the sandfall. Here are two more tornadoes that regularly run along the rock face. Wait until one of the vortices is among you, jump in and get carried up with a spin.
On the next platform floats a?-coin, which you can reach with a targeted jump. After their activation, two small Launch Stars appear, which automatically transport you to the next row of tornadoes. Use both one after the other and get carried from the following tornado to the upper rock platform. There are more? coins that make additional Star Bits appear along the narrow walls. Collect them and then start climbing between the two vertical stone walls. First jump against the left wall and press the jump button again during contact to push you off to the right wall. Repeat these wall jumps until you reach the next platform. Run to the right, let yourself slide down a little bit on the left wall and then jump to the opposite edge with a twist. Here you have to pay particular attention to the open sides of the tower, because an inaccurate jump can transport you directly into the quicksand.
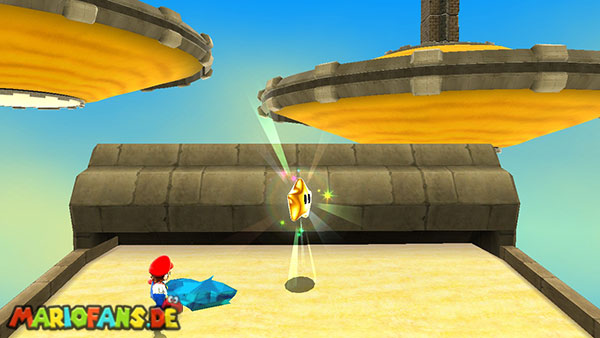
In the last section, several moving stone blocks block the way up. First, wait for the bottom block to move out of the wall and jump to its top. From there, you reach the next block with a backflip or a wall jump. Observe the movement of the upper blocks and do not jump until a suitable platform is among you. On the last level, a narrow path of four brown stone blocks awaits you, which retreat into the wall shortly after entering. Therefore, run to the left as quickly as possible and jump onto the subsequent sand surface. Here the sand flows strongly downwards, so that you constantly run against the current and have to make up for additional soil with jumps. At the top is the Power Star in a large crystal. Reach the small platform immediately in front of it and destroy the crystal with two spins. Collect the exposed star before the sand pulls you back down.
Blasting through the Sand
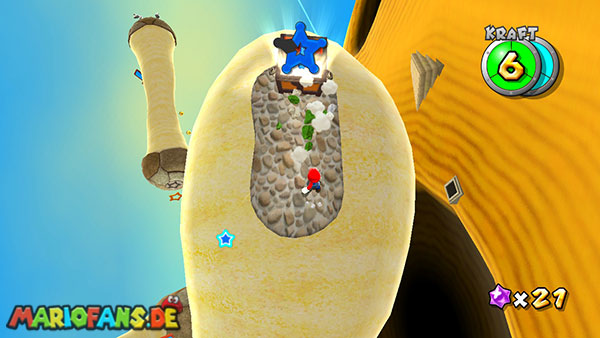
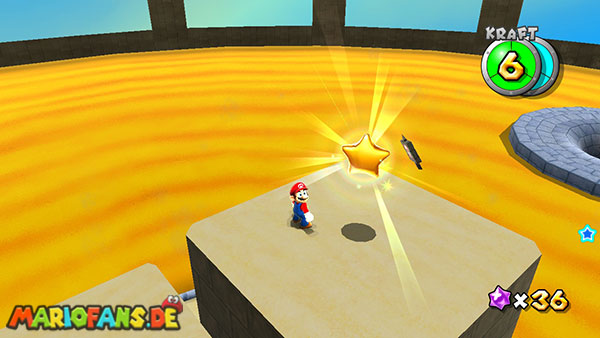
Jump from the launch planet to the next big sand island and collect the single coin in its center. Then several small pokeys appear that attack you from different directions. Eliminate them with spins or jumps and be careful not to be pushed off the platform. Once all the small opponents are defeated, a large pokey appears whose head is high above the ground. Its individual body segments can be thrown away with spins. Approach the side and destroy the lower segments until the head is within reach. Then jumps up and attacks the head with a spin. Do not wait too long, as the pokey can restore its lost body segments after some time. After his victory, a Launch Star will appear, which will transport you to a group of small platforms near an annular rock planet.
Before you continue on your way, you should examine the bottoms of the floating platforms. On one of the rear platforms you will find a hidden Life Mushroom that increases your maximum health to six units. On the remaining bottoms are additional Star Bits and a Hungry Luma. You need this for the secret green Power Star “Treasure of the Pyramid”. It only requires 20 Star Bits, so you can feed it now. If you want to collect the regular star first, you return to the top and use the small Launch Star at the end of the platforms. Directly below is also a rainbow star, with which you become invulnerable. Use it to touch the large rolling boulders on the annular planet and collect additional Star Bits. Then you jump into the next Launch Star and get transported to the first of the interconnected sand planets.
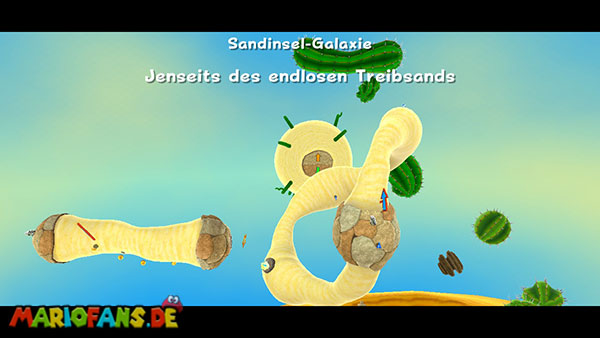
You land on a narrow stretch of sand over which the current draws you in a certain direction. First, follow the path to the next Launch Star and use it to reach the actual sand cycle. This consists of several small celestial bodies connected by fast-flowing sand streams. On the track you have to collect a total of five blue Star Chips. Four of these float visibly over the sand or on small fixed platforms along the circuit. If possible, run in the direction of flow of the sand and jump if necessary to correct your position. It is especially important that you do not have to run back against the strong current in a missed spot. Instead, follow the cycle completely until you pass the same place again. On the way, you will encounter some bone drys, which you can turn off with spins at short notice. Also pay attention to the open sides of the sand streams, because a crash leads directly into the black hole.
The fifth Star Chip can be found in a treasure chest on a small fixed platform within the sand cycle. Near it is a green Koopa shell. Grab it and throw it directly against the chest with a movement of the Wii Remote. As a result, it opens and releases the last Star Chip. Collect it before the sand current moves on. Once all five pieces are collected, several blue Pull Stars appear above the sand cycle. Target the first star and hold the A button to pull Mario up from the sand. Follow the chain of Pull Stars to the next small planet. Here, the path divides in two directions, which are marked by large arrows. The right path leads via several fast moving stone platforms directly to the next Launch Star. On the left, on the other hand, there is an optional bonus area with particularly worthwhile rewards.
For the three additional 1-Up Mushrooms, take the left path. Jump over the stone platforms against the direction of flow of the sand, taking care not to fall into the depth between the moving blocks. At the end, you get to a green warp tube that transports you to a hidden room. Run up there over the sloping walls and activate the yellow? coin. Then a longer series of musical notes appears, which you have to collect completely before they disappear again. Follow the track without interruption and use the walls to reach the higher notes. Once you have collected the entire melody, three 1-Up Mushrooms appear as a reward. Collect all three and then use the warp tube at the end of the room. This brings you directly to the large disk-shaped sand planet on which the desired Power Star is located. The optional path is therefore also a useful shortcut, as you do not have to travel via the right stone platforms and the additional Launch Star.
On the large sandwich planet you already recognize the Power Star above a circular platform. However, it is too high to reach it with an ordinary jump. You must first bring forth the large stone blocks from the opposite side of the planet. Run to the right and follow the narrow path along the sandy surface. Pay attention to the small tornadinos who regularly cross the path. Unlike the large sand tornadoes from the first mission, they can hinder your movement and hurt you by their entrained stones. Therefore, avoid them as much as possible and jump over smaller gaps. Then you reach an opening that leads through the entire planet. Jump in to be pulled by gravity on its opposite side.
There are several large stone blocks here that stick out of the sand like stairs. Climb above them until you reach a large blue floor switch. Activate it with a ground pound to move the entire stone structure through the planet to the other side. This creates a walk-in staircase under the Power Star. However, the mechanism remains active for a limited time, so you should immediately make your way back. Run across the narrow platforms back to the opening and jump through it. On the other side you follow the path to the middle of the sand basin, where the previously lowered blocks now protrude from the ground. Jump up the individual steps and collect the Power Star before the construction moves back. If the time is not enough, you can activate the ground switch again and repeat the last section.
Sunbaked Sand Castle
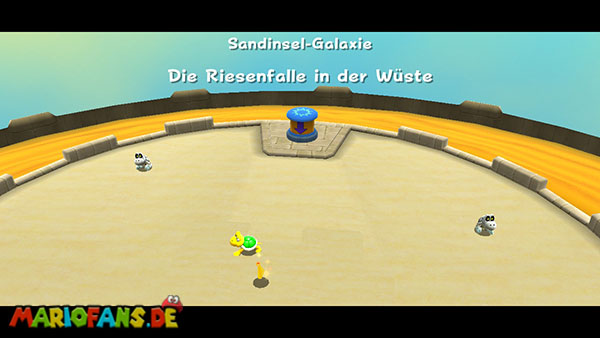
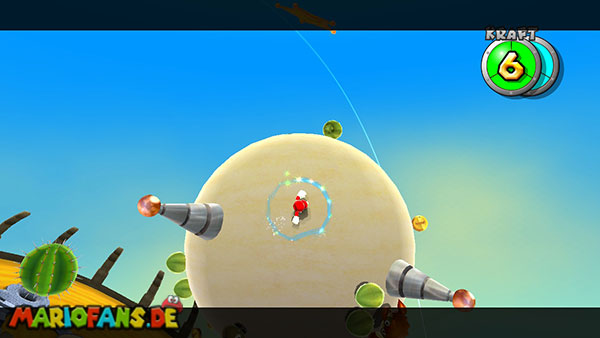
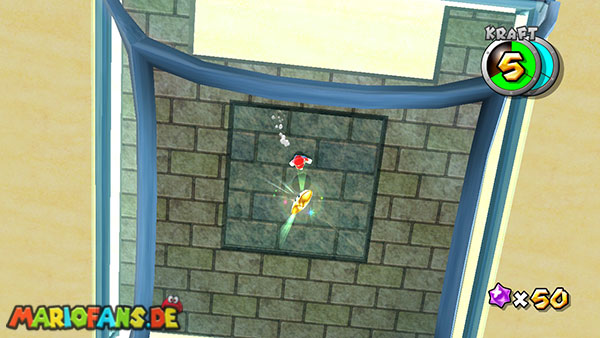
Activate the orange ground switch with a ground pound on the launch planet. As a result, the sand begins to rise under the entire platform and transports Mario slowly upwards. During the ascension, you will have to avoid several large stone blocks that cannot move with the platform and crush you between the floor and ceiling. Therefore, observe the position of the blocks and change to a free side of the platform in time. On the outer edges, various coins and Star Bits appear, which you can collect during the journey. Pay particular attention to a yellow? coin, which makes numerous additional Star Bits appear. In addition, a bomb chicken flies around the platform and throws explosive eggs at Mario. Stun it with a star part and then eliminate it with a spin. On the left is an optional Life Mushroom during Ascension that increases your maximum health to six units. If possible, take it with you before the platform moves further up. In addition, you can collect a 1-Up Mushroom that hovers a little higher along the route. Once the sand reaches its highest position, a Launch Star will appear above the platform to take you to the next planet.
You land on a disc-shaped sand planet, the center of which is covered by a large construction. First collects the clearly visible first Star Chip and then activates the blue ground switch with a ground pound. As a result, the sand begins to sink and exposes a large stone tower, on the sides of which are the remaining four Star Chips. Run around the tower and examine the different levels. A Star Chip can be found in a small niche, which is guarded by several bone drys. Eliminate the opponents with spins and collect the star piece. You reach another chip over a narrow shaft, in which you have to climb up with wall jumps. Do not wait too long, as the sand rises again after some time and covers the lower areas again. On the opposite side, there is also a treasure chest, which contains another Star Chip. Pick up one of the green Koopa shells that appear in this area and throw it against the chest to open it.
Once you have examined the lower areas, you activate the red floor switch so that the sand moves back up. This will make it possible to access other platforms and niches that were previously still below the sand. Collect the last missing Star Chip and be careful not to be pressed against a ceiling by the rising sandy surfaces. Once you have all five Star Chips, a Launch Star will appear on the top of the tower. Climb above the exposed platforms and activate it. You come to a small planet whose surface is regularly contracting and expanding again. Here is also the access to the secret Power Star “Bullet Bill on Your Back”. For the regular star, you first follow the further path and dispense with the optional musical note challenge.
On the small planet, several red and blue crabs move, which attack you when approached. The red crabs leave Star Bits, while you can get a 1-Up Mushroom from one of the light blue crabs. Do not attack enemies directly from the front, as their hard shells protect them. Stuns them with a spin, then runs around them and hits their unprotected back. In the middle of the planet there is also a large spiky plant that you have to destroy with a coconut. Wait until the planet has contracted sufficiently far and the coconuts are at a convenient distance from the plant. Stand behind a coconut and perform a spin so that it is hurled directly against the plant. After a successful hit, the obstacle disappears and a new Launch Star appears. Use it to get to the next celestial body.
On the following planet, you will find a huge pokey standing on a raised surface of sand. Since sand is constantly moving under him, you can not reach him simply with a spin or an ordinary jump. First run to the bottom of the planet and use the small Launch Star to get to a neighboring celestial body. On this lie several coconuts that you need for the fight. Stand behind one of the coconuts and shoot it with a spin towards the big pokey on the opposite planet. Then you use the Launch Star to get back there. Run to the overshot coconut and transport it with another spin against the body of the pokey. Through the hit, he loses his lower body segments and his head sinks to the ground. Now jump over to him quickly and attack the head with a spin before he can stand up again. After his victory, the next Launch Star will appear.
This takes you to the top of a large upside down sand tower, inside which is the Power Star. First jumps over the edge down and lands on the fixed platform on the outside. Collect the reachable Star Bits and destroy the wooden box behind which hides a green warp tube. Enter the tube to get inside the tower. Here, gravity changes, so that Mario runs along the ceiling. First destroys the wooden boxes with turning attacks and follows the aisle to the left. Once you reach the first major opening, the entire tower begins to slowly sink into the sand. As a result, the interior increasingly fills with sand, which can push you against the ceiling and crush. Therefore, run as quickly as possible through the narrow corridors and stop at the intersections in the direction of the next free passage.
In some rooms, wooden boxes block the path, which you have to destroy with a spin. Especially in the tight spots you should already perform the spin while running so that Mario does not stop unnecessarily. Further forward you have to wait until the sand has lowered far enough to jump to a higher platform. If necessary, use a backflip to reach the next level faster. Between each aisle are a few Star Bits and another 1-Up Mushroom that is enclosed in a niche. Only take it with you if the sand gives you enough time, and then continue your way immediately. At the end of the labyrinth you follow the last narrow corridor to the center of the tower. There is the Power Star, which you have to collect before the entire room is completely devoured by the sand.
Bullet Bill on Your Back
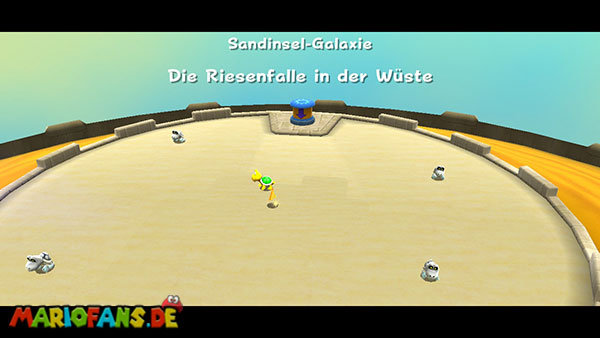
Select the third mission “Sunbaked Sand Castle” and follow the familiar path over the ascending sand platform. Then collect all five Star Chips on the next planet so that the Launch Star appears on the top of the tower. Use it and fly to the small planet, whose surface regularly expands and contracts. For the secret star, you do not have to immediately destroy the large spiky plant here. Instead, look for a wooden plug on the lower level that will only be fully visible when the sand is low. Wait until the planet contracts and the plug is exposed. Subsequently jump over it and activate it with a ground pound. As a result, a total of 15 musical notes appear, which are distributed along the planet.
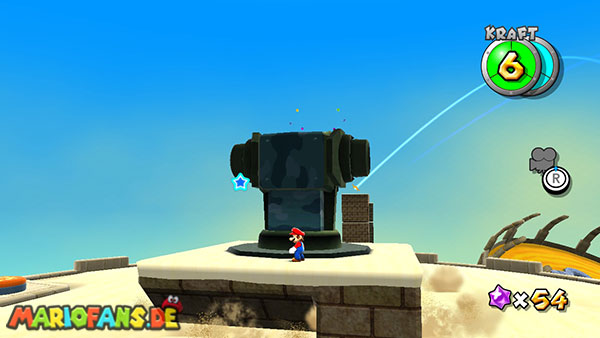
Follow the music track immediately and collect all 15 notes before they disappear. Since the sand level continues to change regularly, you should not take any unnecessary detours. Especially at the higher levels you have to jump in time so that you are not stopped by the sand current. Once you have collected the last note, a new Launch Star will appear, taking you to a small planet with several ball-willi cannons. On this celestial body are several glass cages, which you can open only using the target-seeking storeys. First collect the reachable Star Bits and get an overview of the position of the cannons and the cages. One of the cages contains the wanted Power Star, while another contains a rainbow star.
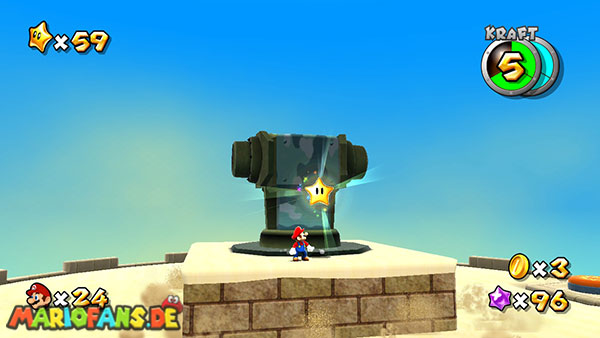
First stand near one of the cannons and wait until a Bullet Bill becomes aware of Mario. You can see this from the fact that his eyes turn red and the projectile begins to haunt you. Now guide it towards the big blue floor switch and activate it with a ground pound. As a result, the platform begins to lower and gradually exposes the lower glass cages. Meanwhile, keep moving and make sure that the Bullet Bill continues to follow you. Run as straight as possible and avoids tight curves so that the projectile does not prematurely hit a wall. As soon as the cage with the Power Star becomes visible, you stand immediately in front of it and dodge to the side at the last moment. The Bullet Bill was now to hit the glass envelope and destroy it by its explosion. If the projectile explodes before, you can return to the cannon and attract another Bullet Bill.
After the destruction of the cage, the Power Star is exposed and transported to the top of the construction. To reach it, you have to raise the sand level again. Therefore, run to the red ground switch and activate it with a ground pound. This moves the platform back up and brings you to the height of the star. Jump over to the exposed Power Star and collect it. If you want to receive additional Star Bits beforehand, you can destroy the cage with the Rainbow Star with another Bullet Bill. As a rainbow Mario, you can then remove the numerous bone drys on the planet by mere touch and collect the resulting Star Bits. However, make sure that the transformation lasts only a short time. Then you can activate the red switch and collect the secret star.
Treasure of the Pyramid
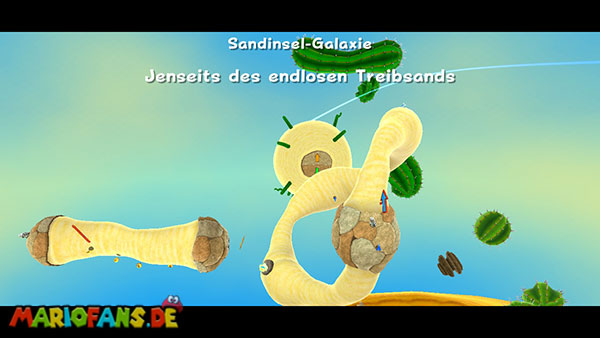
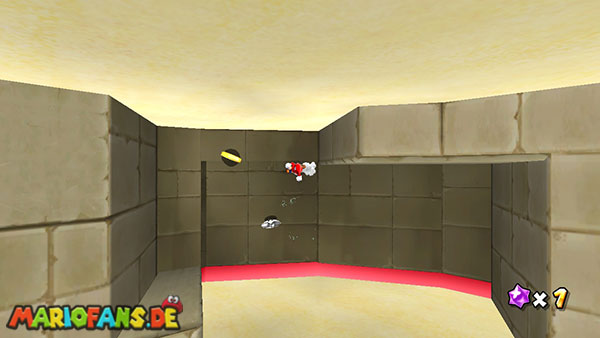
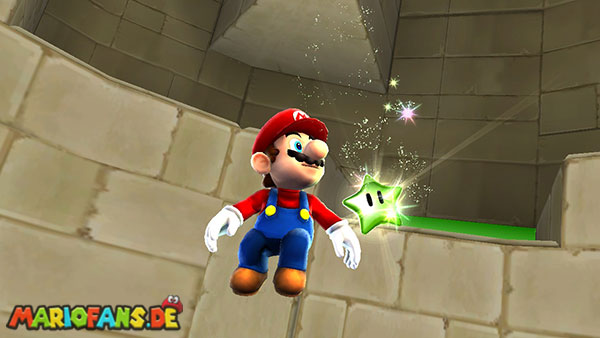
The secret green Power Star can be found in the second mission “Blasting through the Sand”. Select this mission and first defeat the small pokeys as well as the big pokey on the launch planet. Then use the released Launch Star to get to the floating platforms in front of the annular rock planet. On the bottom of the platforms is a hungry Luma, which you have to feed with a total of 20 Star Bits. Run over the edge of the platform and follow gravity to the bottom until you discover the Luma. If you don’t have enough Star Bits yet, you can destroy the crystals on the neighboring platforms or collect the hidden Rainbow Star. With this you can defeat the large rolling boulders on the Ring Planet and get additional Star Bits. Once you have collected the required 20 Star Bits, you return to the Hungry Luma and feed it with it.
The Hungry Luma then transforms into a new planet that looks like a large double pyramid. Use the released Launch Star to land on the bottom of the pyramid and then climb through the green warp tube into its interior. There you will find a branched labyrinth of several superimposed sand chambers. In total, you have to collect five Silver Stars, which are enclosed in different crystals. Destroy the crystals with spins to expose the individual stars. The first Silver Star can be found in the lower entrance chamber, immediately after leaving the warp tube. Run around the room once and destroy the highly visible crystal before devoting yourself to the actual labyrinth. On the walls you can see several green lines that serve as switches for the movable sand structures.
Enter the first green line so that it changes color and the sand floor with the adjacent walls slowly moves up. This uncovers new corridors and niches that were previously completely covered by the sand. Follow the coin rows on the wall and walk up the newly created platforms. Along the way you will find the second Silver Star in another crystal. Be careful not to get caught between the moving sand surfaces and the ceiling. Once you reach the upper level, gravity changes, allowing Mario to continue walking on the former ceiling. Here is the third Silver Star in a small lateral chamber. Destroy the crystal and follow the next green line to set another part of the labyrinth in motion.
On the upper level, several paths lead along the outer walls to further sand chambers. First examine the rooms on the right and activate the green lines there to uncover the next platforms. In one of these chambers is the fourth Silver Star, which is also enclosed in a crystal. Then you have to walk back part of the way and activate another green line so that the sand construction moves again. As a result, the previously blocked gears on the opposite side become accessible. Follow the new path and pay attention to the narrow spots where the floor and ceiling move towards each other. If necessary, wait until the construction has completed its movement before running into the next chamber. There, the fifth Silver Star waits in another crystal.
Once you collect all five Silver Stars, they combine to form a green Power Star. At the same time, the movable sand structures disappear and clear the way back to the lower level. Run down the resulting paths and head to the middle of the pyramid where the green star awaits you. Collect him to complete the secret mission. This star is one of the three green Power Stars in Super Mario Galaxy. The other two can be found in the Buoy Base Galaxy on “Find from the Naval Fortress” and in the Battlerock Galaxy on “Luigi under the Saucer”. Once you have collected all three green stars, you can activate the green Launch Star in the Comet Observatory and reach the Planet of Trials.
Sandblast Speed Run
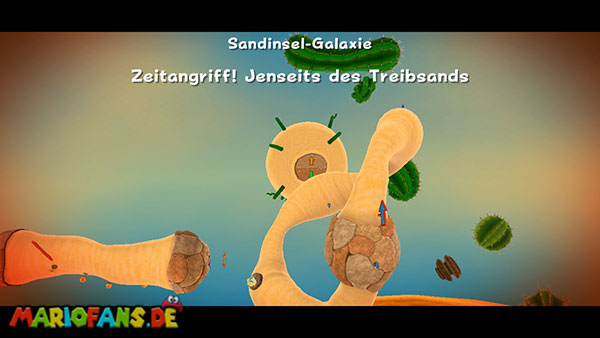
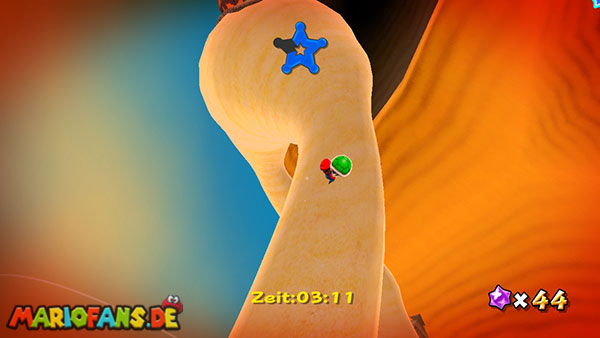
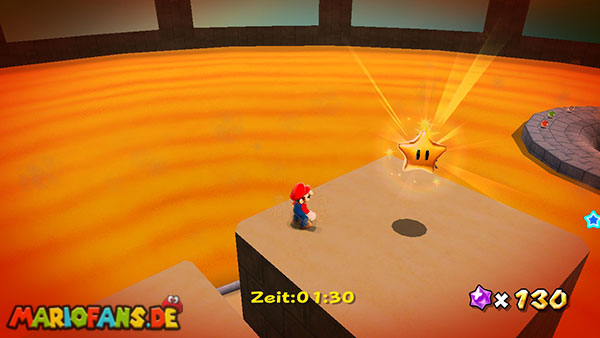
This mission appears as soon as a time comet hovers over the Dusty Dune Galaxy. You have to complete the second mission “Blasting through the Sand” again, but this time within four minutes and 30 seconds. The countdown begins immediately after your landing. Jump immediately to the next sand island and collect the coin in its center so that the small pokeys appear. Eliminates them as quickly as possible with turning attacks and jumps. As soon as the big pokey appears, you destroy his lower body segments with a spin and then attack the head. Use the released Launch Star immediately after his victory and fly to the next platforms. You can ignore the optional Hungry Luma, the Rainbow Star and the hidden items on the bottoms this time, as they are not needed for the time attack.
Use the next Launch Stars and get to the sand cycle with the five blue Star Chips. Here you lose a lot of time if the control is inaccurate. Therefore, try to collect the first four Star Chips during a single round. The sand current transports Mario automatically along the track, so you only have to jump at the higher chips or correct your position. The fifth chip can be found in the treasure chest as usual. Take the green Koopa shell from the small fixed platform and throw it directly against it. Once the chest is open, you collect the last Star Chip and immediately use the blue Pull Stars that appeared. This brings you to the fork in front of the large sand disk planet. Choose the left path, as you can reach a favorable shortcut to the last section via the warp tube there.
Jump against the sand current across the small platforms and enter the green warp tube at the end of the left path. In the hidden room you do not have to collect musical notes this time, as the three 1-Up Mushrooms would only cost you unnecessarily time. Instead, runs directly to the opposite warp tube and thus gets to the large sand disk planet. First follow the path through the opening to the other side and then run to the right to the large stone blocks. Since some of the otherwise existing tornadinos are missing in the time attack, you can cross this section a little faster. Climb over the blocks to the blue floor switch and activate it with a ground pound. This moves the stone stairs to the opposite side of the planet.
Now return as quickly as possible through the opening to the side with the Power Star. Run directly to the center of the sand basin and jump up over the newly released stone blocks. Don’t try to skip several levels at once with risky jumps if you risk falling into quicksand. Once you reach the top level, you collect the Power Star before the four minutes and 30 seconds have expired. If the time is not enough, you should optimize the sand cycle with the five Star Chips and cross the optional bonus room without detours.
Purple Coins in the Desert
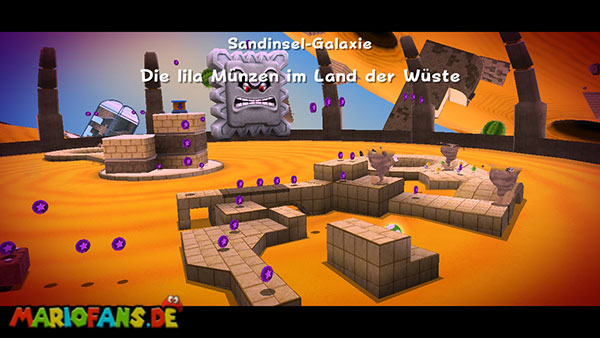
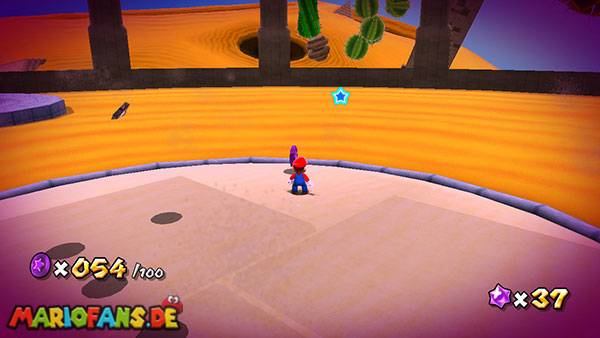
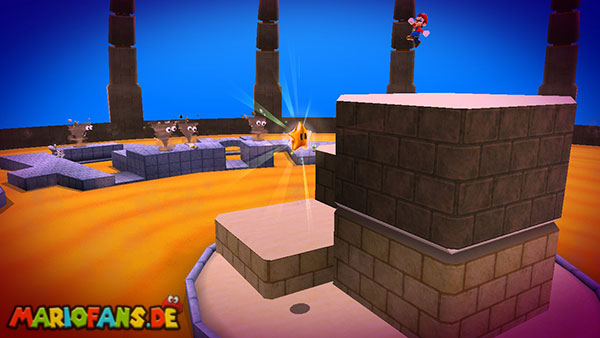
This mission will be available after you defeat Bowser at the center of the universe and a purple comet appears over the Dusty Dune Galaxy. On the large disk-shaped sand planet from the second mission you have to collect a total of 100 Purple Coins. There is no time limit, but there are exactly 100 coins, so you can not miss a single one. The coins are distributed over both sides of the planet, the interconnected sandways, several tornadoes and the large moving stone platform. Particularly important are the coins above the large stone blocks as well as the last five coins, which you can only reach after the activation of the blue floor switch. Since the quicksand immediately devours you in the event of a crash, you should search the individual areas as systematically as possible and check the counter for each larger coin group.
You start on a small stone platform with a large opening in the middle. First, collect the five Purple Coins that are distributed around the edge of the platform. Then you jump into the opening and take the sixth coin with you during the fall, which floats about halfway through the tunnel. On the opposite side you reach a wide sand path, on which several tornadinos go back and forth. First, follow the way forward and collect the three coins between the first two tornadoes. Another three coins are located near the third tornado. Then jump into this vortex and perform a spin to let you hurl upwards. Above the first two tornadoes hover another three Purple Coins, which you can collect during the flight. Then, if possible, land on a safe platform and use the third tornado again to reach three more coins on the opposite side of the sandway. Make sure that you do not jump out of the vortex too early, otherwise Mario will end up in the middle of the quicksand.
On the next platform is a large stone block opponent who regularly falls down and can crush you when touched. Wait for the block to move up, and then walk underneath it to collect the four Purple Coins below. To the left of the block are another three coins, which you can reach with a backflip. However, the three coins on the top of the stone block are particularly easy to overlook. Wait until it lies on the floor and stand next to it. Perform a backflip and then uses a wall jump with a spin to reach the top. Collect all three coins and then jump back to the secure platform next to it. On this are four more coins. Then jump onto the mobile platform that regularly travels across the quicksand and collect the five coins along its route. On the opposite side, three additional coins are waiting near several bone drys. Eliminate opponents with spins as needed and then use the next tornado to collect three more coins high above the sand. Pay attention to the circular shadows beneath the floating coins that show you their position.
At the end of this section, you again reach a platform with a large opening through the planet. First collect the three coins at the outer edge and then jump into the tunnel. Halfway up there is another coin, which you can reach with a short backflip. Check your counter before entering the other side. You should now have about half of the required coins. On the opposite side floats directly above the opening another coin, which you can collect with a backsalt or triple jump. Then you can see in the middle of the sand basin a small circular platform, to which a narrow sand path leads. Run carefully and collect the five coins along the way. Another coin is right in the middle of the platform. Be careful not to run too far beyond the edge, otherwise the quicksand will immediately devour you.
Then return by the same path and stay right where several small platforms and tornadoes are located along the edge. Near the Toad you will find four Purple Coins on a higher sandy surface. Collect them and then use the neighboring tornado to reach two more coins above the platform. After that, let yourself fall into the whirlwind again and wait until it approaches the edge of the platform. Now perform a spin to hurl to the middle of the sand basin. During this flight, you can collect three more coins floating high above the sand. Then try to land on one of the narrow sand paths and not directly in the quicksand. Follow the path to the next tornadoes and collect six additional coins on the lower platforms. On the second elevated area of sand are two more coins, which you can reach with a targeted flight from the tornado.
Now use the tornado near the platform with the large opening to collect another three floating coins on the way back. Then you jump through the tunnel again to the opposite side of the planet. Around the opening are four Purple Coins, which you should first collect. Then follow the path forward until you reach two tornadoes that regularly run along a narrow sand path. Between them are five coins directly on the floor. Collect these and then use the two tornadoes to reach the six higher floating coins on both sides of the path. Since the vortices regularly change their location, you should first wait until they are in a favorable position before you are ejected. Pay particular attention to the boulders that are swept up by some tornadoes and can injure Mario during the flight.
At the end of the sand path you reach the large stone structure, on the top of which is the blue floor switch. First collect the three coins at the foot of the construction. One of them hovers a little higher and can only be reached with a backflip. Then climb over the individual stone blocks and collect the coin on the first step. Just above the blue floor switch is another coin that is particularly easily overlooked. Therefore, jump up with a backflip and take it with you before you activate the switch. Check your coin counter now: Before activating the switch, you should have 95 out of 100 Purple Coins. If you still lack coins, you have to search the already visited areas again. Especially often the three coins are overlooked on the large stone block opponent, the high floating coins over the tornadoes and the coins within the two tunnel openings.
Once you have collected 95 coins, you stand on the blue floor switch and activate it with a ground pound. As a result, the large stone structure shifts through the planet and appears on its opposite side. At the same time, the last five Purple Coins will be accessible there. However, the mechanism only remains active for a short time, so you have to hurry now. Jump down from the construction and walk directly to the next tunnel that leads to the opposite side. Follow the path to the middle of the sand basin, where the large stone blocks now protrude from the ground. Jump up the individual steps and collect the last five coins before the construction sinks again. Once you touch the hundredth Purple Coin, the Power Star appears at the foot of the large stone structure. Jump carefully down to the safe platform and collect it to complete the final mission of the Dusty Dune Galaxy.