

Star Bunnies on the Hunt
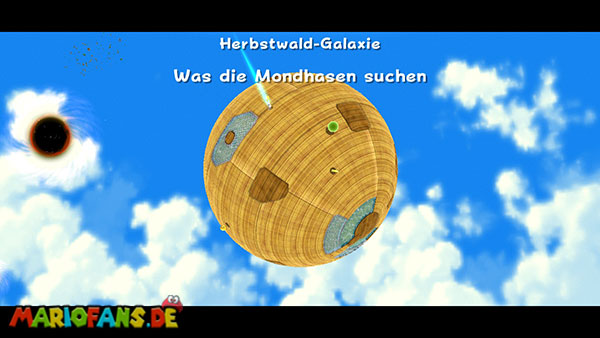
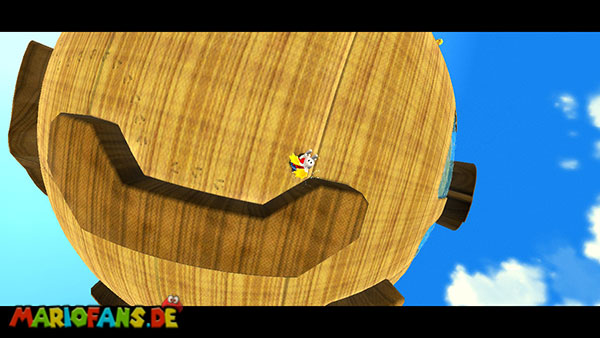
The Gold Leaf Galaxy can be reached in the engine room of the Comet Observatory with at least 34 Power Stars. After your landing, first walk up the path to the left and pay attention to the large boulders that regularly roll down the slope. At the next turn, you hold on the left again and follow the narrow path at the edge of the rock face. Here is a Star Rabbit waiting to alert you that his friends have lost five blue Star Chips. Run past it and follow the rock face up to a narrow opening between two vertical walls. Take turns jumping against the left and right walls and work your way up with wall jumps. On the plateau, you can expect three snap piranhas, which you can defeat with spins or targeted jumps. Between them hovers the first blue Star Chip. Collect it and then jump back down on the right side of the plateau.
Follow the path to the small water basin, near which hangs a green liana swing. Jump over to her and hold on tight. Swing back and forth with the control stick until Mario has built up enough momentum to reach the higher platform. There is a small Launch Star that transports you to a plateau with a fountain. Jump into the pool and stand directly on the water fountains to be carried upwards. Above the fountain hovers the second blue Star Chip. Jump off at the right moment and collect it. On the lower platform there are also three large wooden plugs. Activate all three consecutively with ground poundn by jumping over it and pressing the Z button in the air. As a result, another Launch Star appears in the middle of the plateau. Use it to reach a higher platform where the third Star Chip is located. Take it with you and then drop back to the lower level.
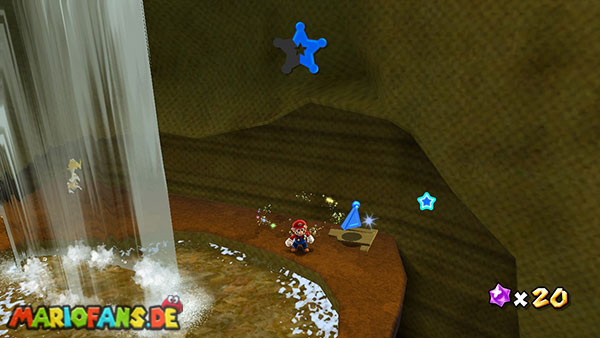
On the right side of the plateau you can see a small waterfall. Jump over to the upper platform next to the waterfall and examine the area behind the water flowing down. There is a wooden box that you can destroy with a spin. Inside it is the fourth blue Star Chip. Before you return to the starting position, it is worth a short detour under the wooden bridge on the upper plateau. There is a 1-Up Mushroom hidden, which you can reach from the side. There are also other wooden sticks nearby: one makes additional Star Bits appear in the water when sinkped, while another releases coins. Collect the accessible objects and then return to the starting area.
Behind your original landing position, there is a large flower line that takes you to another plateau. Stand by her foot and perform a spin so that Mario is thrown up along the vine. Arriving at the top, you first eliminate the Snap Piranha and the Wiggler who run across the platform. Near the wiggler is also a wooden plug, which makes numerous Star Bits appear when activated. Jump to the Bee Mushroom and turn into Bee Mario. Run to the large floating flower and hold the A button to fly over to the flower platform. Wait there until your flight energy has fully recharged and then fly to the next higher level. Eliminate the piranha plant you encounter on the way and follow the narrow wooden walkway to the small jumping platform. Stand on it and jump up to reach the fifth and final Star Chip.
Once you have collected all five Star Chips, several blue Pull Stars will appear near your original starting point. Return there, target the first Pull Star with the Wii remote and hold the A button. Move from one Pull Star to the next until you reach the big Launch Star above the launch area. This transports you to a small, cube-shaped planet, where another star bunny awaits you. Speak to him and accept his challenge. The rabbit then begins to walk across the planet, changing again and again between the different sides. At first, don’t try to just run after him. Instead, look for the big red floor switch and activate it with a ground pound. As a result, several walls and obstacles move out of the ground, to which the rabbit regularly gets stuck or has to turn around. Take this opportunity to cut his path. This works especially well if you stand at a corner between two obstacles and wait until the rabbit runs in your direction. On longer straights, you can catch up with a long jump by pressing the Z button and then the jump button when running.
There are also several? plates on the rabbit planet that can move over the ground when touched. Don’t let them meet you while you pursue the rabbit. If you want to collect their rewards, stand on the respective record and activate it with a ground pound. Once you touch the Star Rabbit, the chase ends and he hands you the first Power Star of the Gold Leaf Galaxy.
Cataquack to the Skies
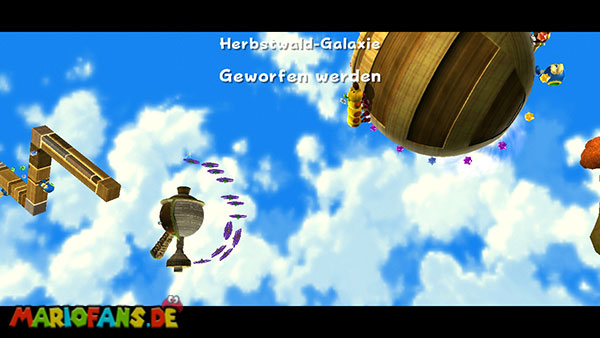
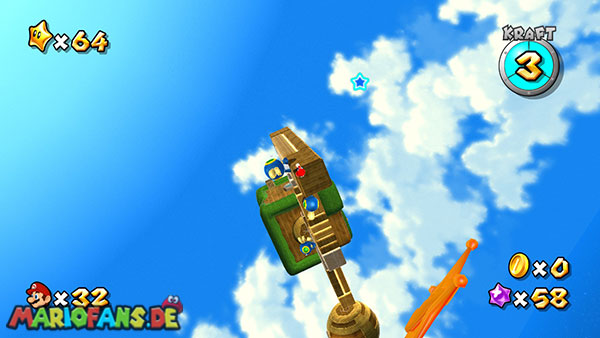
Run from the starting point up the slope to the left and avoid the rolling boulders. At the turn, keep your left until you reach a fenced area with a cataquax. The blue enemies with the large beak hurl Mario up into the air as soon as they touch him. This is exactly what you have to use for the further path. Run towards the Cataquacks and stop approximately below the Launch Star, which hovers above the enclosure. As soon as the opponent throws Mario into the air, you align with the Launch Star and activate it with a spin. This will transport you to the higher plateau by the big tree.
On this plateau is the access to the secret star “The Bell on the Big Tree”. If you want to get the regular Power Star first, you run to the Bee Mushroom, which is on one of the small platforms. Turn into Bee Mario and move on to the next Cataquacks. Let yourself be hurled up again and use your bee ability during the flight to overcome the remaining altitude to the upper rock edge. Press the A button and fly towards the small platform with the big Launch Star. This will transport you to a separate wooden planet.
After you land, you lose the bee transformation as soon as Mario falls into the small water basin. First eliminates the enemies on the surface and then searches for the next Cataquacks. On the ground there is a clearly visible field with the image of the opponent. Run to the Cataquacks and let him follow you. Then guide him to this mark and stand as close as possible in the middle of her. As soon as he hurls Mario upwards, you reach the next small planet through the additional altitude. Here you will find a labyrinth of hedges and wooden boxes. First destroys the boxes with turning attacks so that the path is clear. Then you search for the Cataquacks and lure it through the corridors to the opposite side of the planet. Do not jump over the hedges, because the opponent cannot follow you in this way. Instead, stay on the intended path and run so that the Cataquacks remains as close as possible behind Mario. Once you reach the next marked floor area, let it throw you into the air again.
You land on a narrow, twisted metal platform hovering over another planet. Run carefully to their opposite end and look for the next Launch Star. Again, you have to be hurled up by a cataquax to reach it. After the flight you land on a larger celestial body, in the middle of which stands a high wooden tower. Before you start ascension, you should use the two? blocks on the planet to collect additional Star Bits. Also eliminates the moles and octopods that move on the lower platforms. You can get the moles from the ground with a ground pound and then defeat them with a spin. This allows you to concentrate undisturbed on the Ascension later.
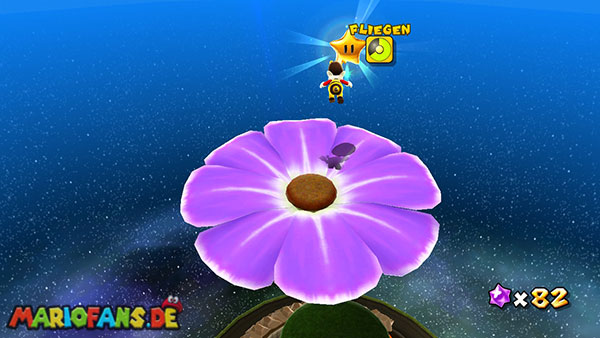
On top of the planet is another cataquax. At first, lure him to the small area of grass over which a Bee Mushroom floats. Let yourself be thrown up there and collect the mushroom during the flight. Then you will lead the Cataquacks to the foot of the large wooden tower. Stand as close as possible to the wall and let yourself be thrown into the air again. As Bee Mario, you can now fly further up with the A button pressed and reach the upper platform of the tower. Be careful not to use your flight energy completely at the first upward push. Once you reach the top of the tower, jump to the next small platform and follow the row of large flowering platforms. These are hovering at different heights above the abyss. Fly from one flower to the next and wait on each platform for your flight energy to recharge.
Between the last flowers, several dung beetles move, which can take the bee transformation when you touch them. Therefore, keep enough distance and fly as far as possible over their heads. Some bugs move circularly around the flowers, so you should first observe their position before moving to the next jump. The Power Star is on the last flowering platform. Jump from the penultimate bloom and fly directly towards it to complete the second mission.
When It Rains, It Pours
Run to the left from the starting point and follow the path along the rock face until you reach the narrow opening between the two walls. Climb up with several wall jumps and collect the Bee Mushroom on the plateau. Then jump back to the lower level and go to the first big flower. As Bee Mario, you can fly over to her and reach the first rain cloud from there. The clouds can be used as platforms in your bee transformation, but you must avoid being hit by their rain. As soon as Mario comes into contact with water, he loses his ability to bee. Therefore, if possible, fly over the raining area or land on the dry top of a cloud. On the first cloud there is also a? coin, which makes a 1-Up Mushroom appear when collected. Take the mushroom with you and continue your way across the flowers to the opposite rock platform.
On the next level you will find a longer wooden walkway that leads to the big tree. Along the way, you will encounter several dung beetles that run over the narrow planks. Avoid them as much as possible, as they can push Mario off the platform when touched or end his bee transformation. If you lose the transformation, you will find another Bee Mushroom in a crystal behind one of the dung beetles. Destroy the crystal with a spin and collect the mushroom. At the end of the first wooden walkway you reach a green liana swing. Jump over to it and swing upward until you have built up enough momentum to reach the next rain cloud. Let go at the right moment and fly as Bee Mario to the next cloud. Follow the moving rain clouds until you reach a large, hexagonal wooden walkway on the opposite side.
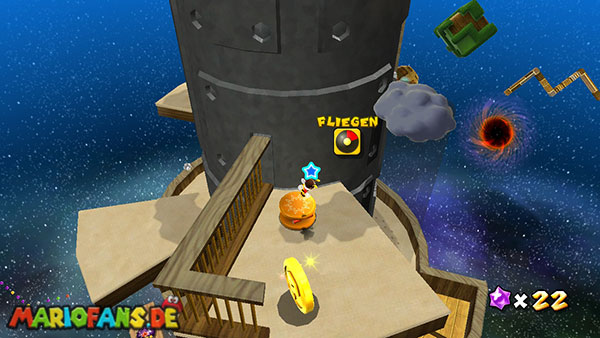
On this wooden walkway more dung beetles patrol. If necessary, remove them with ground poundn and keep yourself in the middle of the planks as far as possible. The rain clouds move here partly directly over the path, which is why you have to wait in several places until they have passed. Once you have reached the end of the jetty, you jump onto the large jumping platform, which transports you to another liana swing. Swing up at it and then fly to the foot of the big tree tower. This is where the most difficult part of the ascension begins. Several rain clouds move around the outer wall of the tower and regularly block the path. First, walk up the narrow wooden steps and use the small niches in the rock face as protection as a rain cloud approaches. Wait until the rain has passed and continue your ascension afterwards.
Further up you reach another jumping platform that transports you to a moving rain cloud. Jump to the top and let yourself be transported to the left until you can fly to the next small niche. Follow the narrow projection and use the next jump platform as soon as the cloud above is sufficiently far away. At the top of the tower, you will discover a single boulder that lies in the middle of the path. Stand on it and run a ground pound to destroy it. This creates a long vine that grows to the top of the tower. Stand by her foot and use a spin to hurl Mario up the vine. You will now land on the roof of the observatory, where the intermediary Monty Bubble Cannon awaits you.
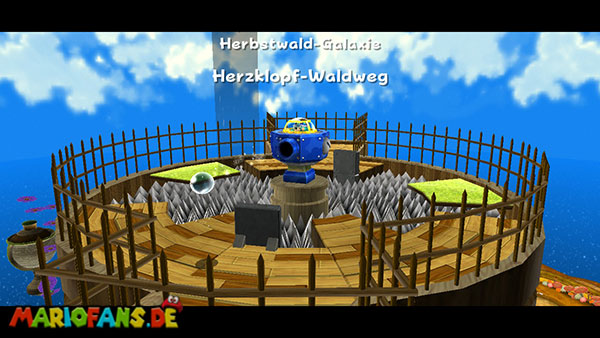
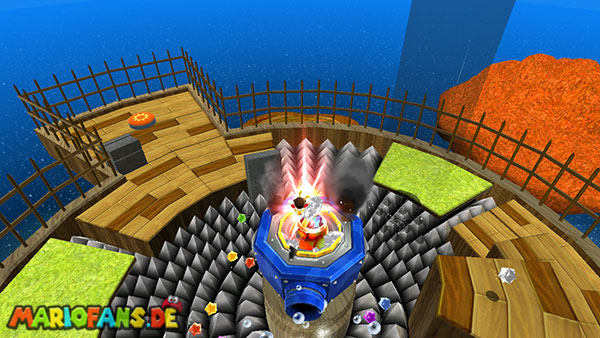
The mole sits in a large, mobile machine and shoots you with water bubbles. Especially as Bee Mario, you have to dodge these bullets, as a single touch ends your transformation. In addition, the machine is surrounded by a large barbed field, so you can not just walk from below to it. First runs over the outer wooden walkway to the opposite side of the arena. There is a large red ground switch, which you have to activate with a ground pound. As a result, several wooden platforms move out of the ground, temporarily forming a path to the top of the machine. Return immediately to the opposite end of the arena and jump up the extended platforms. If you are still Bee Mario, you can fly over part of the way and save time. Once you’re on the machine’s glass dome, you’ll run a ground pound to give Monty Mole the first hit.
After the first hit, the opponent drives his machine back up and continues his water bubble attacks. Jump down from the glass dome and run again to the red floor switch. Dodge the projectiles on the way and activate the switch a second time. The wooden platforms move up again and give you access to the machine. Use a long jump to bridge larger distances between the individual platforms faster. For this purpose, hold the Z key while running and then press the jump key. Jump back to the glass dome and run another ground pound. After the second hit, Monty Mole becomes more aggressive and shoots his water bubbles more often. At the same time, the rain clouds move faster around the arena, so you have to be extra careful when switching between the two sides.
For the last hit you have to activate the red ground switch again and climb the platforms again. If you have lost your bee transformation by now, you can also overcome the entire path as a normal Mario. It is particularly helpful to jump directly from the first extended platform with a long jump to one of the higher wooden surfaces and then reach the glass dome with another jump. If possible, wait until the machine does not move and Monty Molwurf does not fire a new water bubble. Then jumps to the top and lands the third ground pound. After this hit, the machine is completely destroyed and the Power Star appears in the middle of the arena. Collect him to complete the third regular mission of the Gold Leaf Galaxy.
The Bell on the Big Tree
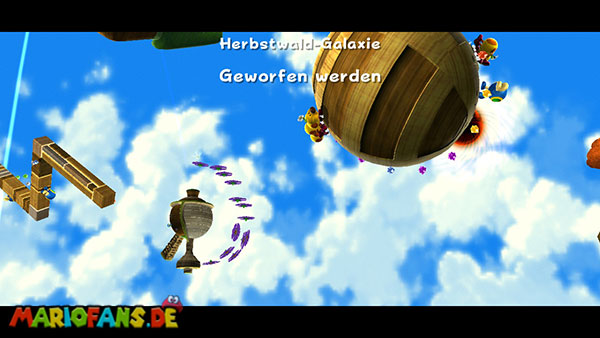
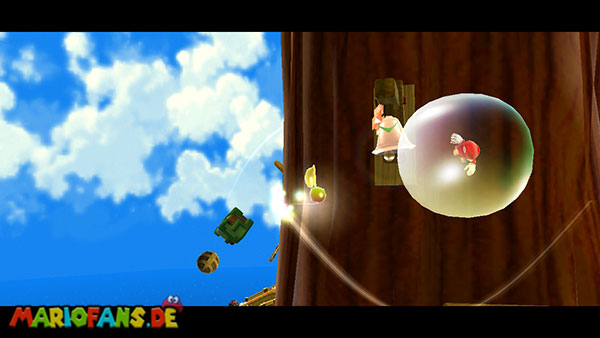
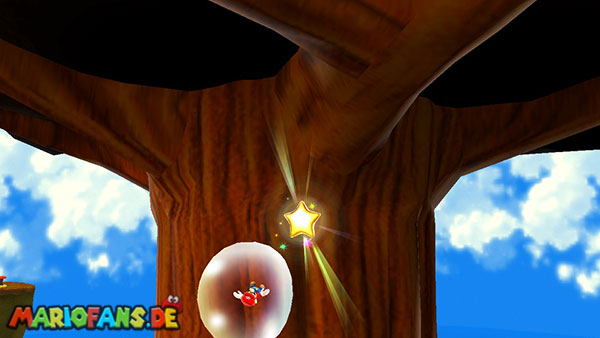
Select the second mission “Cataquack to the Skies” and head left up the slope. Enter the enclosure of the first Cataquacks and let it hurl you to the Launch Star above the platform. This will take you to the higher plateau with the big tree. Now do not run to the Bee Mushroom, but circle the tree until you discover a small bladder donor on its foot. Jump into the appearing bubble and use the pointer of the Wii Remote to move Mario upwards through targeted air puffs. If you blow to the right side of the bubble, it moves to the left; if you direct the airflow to its bottom, it rises upwards. Keep as close as possible to the tree trunk, so that you do not fly too far in the direction of the outer rock face.
On the upper half of the tree you will first find a? block, from which additional Star Bits appear when touched. Follow the star part track to the small protrusion on which lies a 1-Up Mushroom. Collect the extra life and then return to the small platform with the big bell. This hangs laterally next to the tree trunk. To ring them, move the pointer of the Wii remote control several times horizontally over the bell. Then a long musical note trail appears, spiraling around the entire tree. The notes disappear after a short time, which is why you have to collect them as much as possible without major interruptions.
Drop back to the ground and jump into a bubble again. Now move slowly along the music track around the tree. It is especially important not to let the bubble rise too quickly, otherwise you will have to miss individual notes on the lower levels and fly down again. Directs the airflow as laterally as possible against the bubble so that Mario can follow the spiraling route around the trunk. Once you have completed a full lap, the note track rises to the next higher level. Keep following and collect the notes in their intended order. For tighter turns, you should move the pointer briefly to the opposite side of the bubble to reduce your speed and then fly precisely. Once you have collected all the musical notes, the secret Power Star appears high above the tree. Direct the airflow under your bubble and let Mario rise straight up until you touch the star. With this you have received the hidden star of the Gold Leaf Galaxy.
Cosmic Mario Forest Race
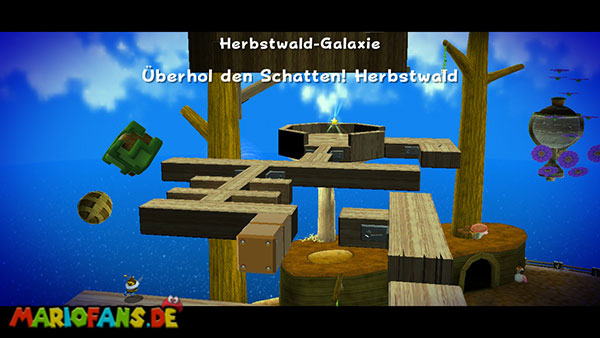
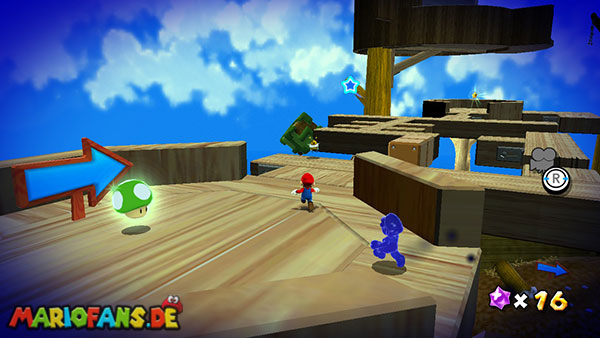
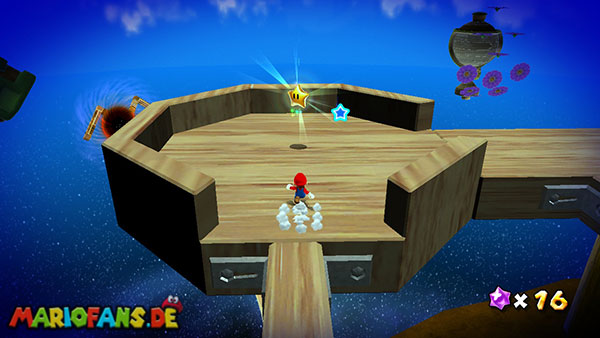
This mission will be available when a shadow comet appears over the Gold Leaf Galaxy. You start again on the big forest planet and have to run against Shadow Mario to the Power Star. This time the path leads over the raised wooden webs, which you already know from the third mission “When It Rains, It Pours”. As soon as the start signal sounds, you immediately run forward and use a long jump on the longer straights to progress faster. Hold the Z key while running and then press the jump key. However, make sure that you do not fall from the narrow wooden walkways. Especially at the beginning, you can save valuable time by jumping right onto the higher wooden boxes instead of walking the entire winding path.
Follow the slope upwards and jump as directly as possible on the first larger wooden platform. Here the path is divided into several narrow webs. Shadow Mario uses some abbreviations yourself, which you should also use. Do not jump every single curve on the longer wooden walkways, but tries to reach the opposite platform with a long jump. Make sure you land in the middle of the planks. On a larger hexagonal wooden platform you have to continue to the left and then jump to a narrower footbridge on the opposite side. There is a particularly favorable shortcut: Instead of following the bridge completely around the platform, you can get directly to the next wooden surface with a precise long jump. This gives you several seconds over the normal way.
In the final section, several wooden platforms lead to a higher round surface on which the Power Star is located. Run as straight as possible towards them and use a triple jump if necessary to overcome the last height differences. Avoid unnecessary spinning attacks while running, as they can slow Mario down for a short time. Especially on the narrow wooden walkways you should use the long jump only if the landing area is sufficiently wide. Once you reach the last platform, you run directly to the Power Star and collect it. Once you arrive before Shadow Mario, the comet mission is complete. If you lose the race, you should use the two big shortcuts over the wooden boxes and the hexagonal wooden platform.
Purple Coins in the Woods
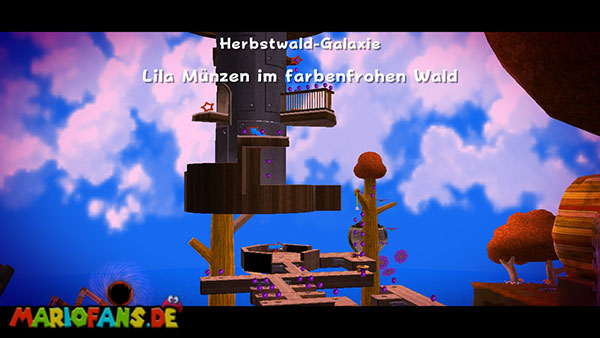
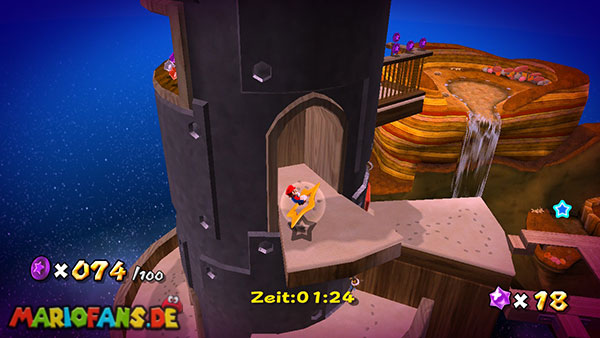
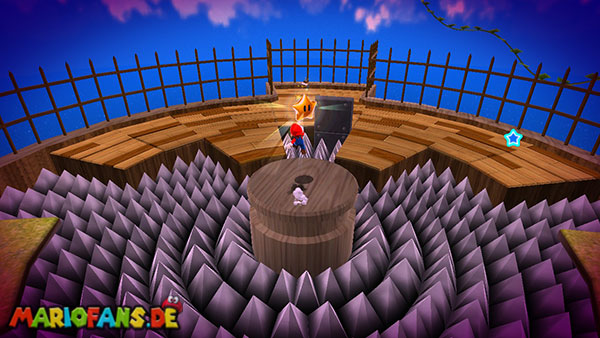
This mission will be available after you defeat Bowser at the center of the universe and a purple comet appears over the Gold Leaf Galaxy. In total, you have to collect 100 Purple Coins, for which you only have three minutes and 30 seconds. The coins are distributed along the path that leads from the launch area over the wooden webs to the top of the observatory. Exactly 100 coins are available, so you should not miss a single one. The Power Star appears after collecting the last coin on the top platform of the observatory. Since the countdown continues afterwards, you should collect it immediately. There are several honey bees on the way, telling you how many Purple Coins you should have already collected at the respective position. Use these hints as checkpoints so that you notice missing coins as early as possible and do not have to turn back at the end.
Start immediately after your landing and walk straight up the slope. Collect the first coins along the way and keep yourself as central as possible so that you do not miss a coin on the sides. At the first major turn, you can get directly to the raised wooden platform with a long jump instead of walking the entire path. There are several coins close together. Collect them and then follow the planks to the left. Near the first honey bee you should have 20 Purple Coins. Ideally, the countdown here shows about three minutes. If you are missing coins, check the short row on the lower slope and the coins next to the first wooden boxes before you continue.
Then follow the path to the large tree group and walk over the narrow wooden webs towards the observatory. Most coins are located directly on the planks or float only a little over them, so you can collect them while running. However, pay attention to the four coins to the left of the big tree, which are a bit off the road. Run over to them briefly and collect all four before returning to the main path. On the larger platforms you should collect the coin rows in a continuous run and avoid unnecessary changes of direction. Use a long jump for longer distances between two wooden walkways, but be careful not to jump over individual coins. For the next honeybee, your counter should display 50 Purple Coins. If you have about two minutes and 20 seconds left up to here, you're well in time.
After the second checkpoint, the path leads you across several narrow wooden webs and movable platforms to the large observatory. Pay particular attention to the places where coins float slightly above the planks. Collect them with short jumps and try to take the following coins directly. Near the observatory is a small jump platform that can be easily overlooked. Be sure to jump on it, because during the upward jump you can collect five Purple Coins. Without these five coins, the challenge cannot be completed. Then land on the higher wooden platform and follow the path to the tower. Here is another honey bee, where you should now own 70 Purple Coins. The countdown should ideally show about one minute and 40 seconds.
Now you have to climb the observatory storm. Run first to the lower wooden steps and jump with a backflip to the next higher platform. Collect the coins there and then jump to the opposite edge. At the highest point of the jump, perform a spin if necessary so that Mario reaches the platform. Follow the narrow path around the outside of the tower and take all the coins floating along the wall. Further up is a large boulder that you can destroy with a ground pound. This creates a vine that transports you to the next level. Activate it with a spin and let yourself be thrown upwards. On the upper platforms, more coin groups are waiting, which you should collect if possible without major detours. Once you reach the roof of the observatory, there is the last honey bee. Your counter must now display 90 out of 100 Purple Coins. For a safe conclusion, you should still have about 45 seconds at this time.
The last ten Purple Coins are on the top platform of the observatory. First runs along the outer edge and collects the coins there. Then follow the remaining coin track in the direction of the center. Since you do not have to overcome any major jumps on this level, you should be able to collect the ten coins within a few seconds. Once you touch the hundredth Purple Coin, the Power Star appears in the center of the observatory roof. Run there immediately and collect it before the time limit expires. If you are missing a coin on the way, check first the four coins to the left of the big tree, the five coins above the jump platform and the higher floating coins on the wooden walkways. Especially important are the checkpoints at 20, 50, 70 and 90 coins, as you can see early in which section you missed something.