

Kingfin’s Fearsome Waters
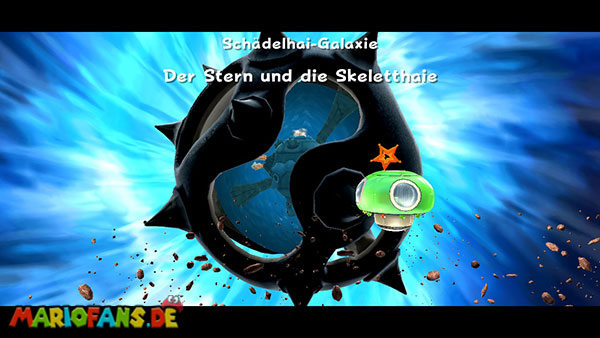
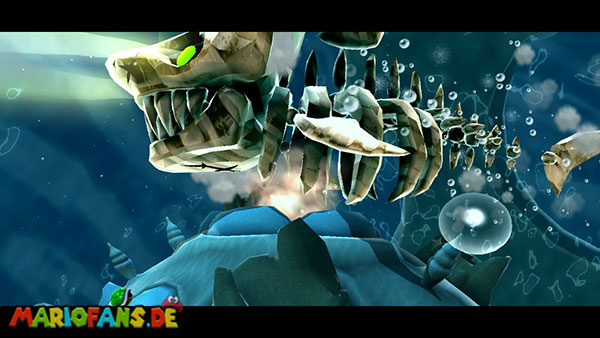
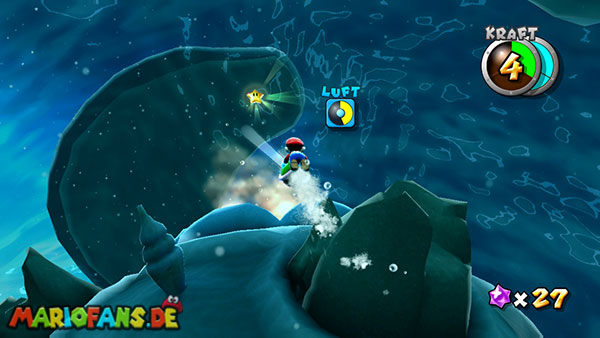
The Bonefin Galaxy is located in the engine room of the Comet Observatory and will be unlocked once you have collected at least 55 Power Stars and completed the mission “Eel Eruption” in the Drip Drop Galaxy. From the starting point on the abandoned mushroom spaceship, use the Launch Star to reach the large water planet. Immediately after your landing, the massive skeleton shark emerges, swimming through the water with its glowing eyes and huge bone skeleton. To defeat him, you have to hit him five times with a Koopa shell. First, dive down to the bottom of the sea and look for the green and red shells that lie between the rocks. With a shell in your hands, you can move much faster underwater and follow the skeleton shark more easily. For the fight, especially the red Koopa shell is recommended, as it pursues an opponent independently after the drop. The red shell can be found near a striking, horn-shaped rock ledge on the seabed. The green shells, on the other hand, move straight ahead and must therefore be aligned as closely as possible with the skeleton shark.
Before you start the first attack, you can collect a hidden 1-Up. Look for the large stone arch at the bottom of the sea, near which there is a treasure chest. Pick up one of the green Koopa shells and throw it against the chest with a rotation of the Wii remote. This opens it and releases a 1-Up Mushroom. Collect it and then dip back down to the Koopa shells. Meanwhile, pay attention to the air bubbles that regularly rise from the seabed. Since you are fighting the entire boss fight under water, you have to keep an eye on your aerial display. If necessary, swim through an air bubble to completely replenish your oxygen supply. In some places, you can also collect coins that also fill up your aerial display and restore lost health. Try to memorize the positions of the air bubbles at the beginning so that you do not have to search for them long during the later phases of the fight.
Now grab a red Koopa shell and swim towards the skeleton shark. First, keep some distance to his head, because a direct contact with the huge opponent costs you health. Wait until he swims by about your altitude and align Mario on his head or the front part of his body. Once you have a free trajectory, you drop the shell with a movement of the Wii Remote. The red shell tracks the skeleton shark independently and hits it even if it changes direction slightly during the flight. With a green shell, on the other hand, you have to aim more accurately and, if possible, only drop if you have already come relatively close to the enemy. After the first successful hit, the skeleton shark begins to swim faster and calls two smaller skeleton fish to help. They move like target-seeking torpedoes through the water and head straight for Mario as soon as they discover him.
The smaller skeleton fish are best eliminated by luring them against fixed obstacles. First swim towards a rock face or one of the large stone pillars and wait until the opponents are behind you. Then quickly change direction and swim laterally past the obstacle. Since the skeleton fish fly much larger curves than Mario, they often hit the rocks and explode. You can also lure them to the water surface, where they will also be destroyed. Alternatively, they can be shot with a Koopa shell and leave three Star Bits each. However, you need the shells primarily for the boss, which is why you should not waste any unnecessary shells if possible. Stay moving during the fight and if possible do not immediately swim back in the direction you came from. This will prevent skeleton fish that are already following you from coming head-on.
After the first hit, the skeleton shark also destroys several large stone pillars by swimming with its body against them. Hidden within one of these pillars is a red Life Mushroom that increases your maximum health from three to six units. Therefore, look for the ruins of the destroyed pillars and look for the red mushroom. It becomes accessible only after the skeleton shark has smashed the corresponding pillar. Collect it as early as possible so that you have enough health for the rest of the fight. Especially in the later combat phase, this additional protection is helpful, as several skeleton fish will track you at the same time. If the Life Mushroom is not visible after the first hit, continue the fight first and check the destroyed pillars again after the next hits.
For the second and third hits, you are again looking for a red or green Koopa shell on the seabed. Pick it up and swim at some distance parallel to the skeleton shark until there is a favorable opportunity for the next attack. You’ll find him particularly easy when he’s swimming a bigger corner and pointing his head directly at Mario for a short time. Do not throw the shell off until there is no rock face between you and the enemy. Also pay attention to the smaller skeleton fish that follow you from behind. If several enemies come at you at the same time, it is better to first swim a big turn around the water planet and lure them against the rocks before you approach the skeleton shark again. After the third successful hit, the skeleton shark intensifies its attacks and calls in four more skeleton fish. Now several enemies can track you at the same time, so you have to pay special attention to your surroundings.
In the last phase of the fight, you should as far as possible secure a red Koopa shell and thus first gain some distance to the skeleton shark. Swim around the planet in a wide curve and try to collect the smaller skeleton fish behind you. Then guide them against a rock face or one of the remaining pillars so that as many as possible explode at the same time. Then check your air gauge and swim through one of the rising air bubbles if necessary. Once you have enough air and no skeleton fish swim immediately in front of you, you can attack the skeleton shark again. After the fourth hit, his bone skeleton begins to crackle visibly and spray sparks. This shows you that only one more successful attack is needed. Therefore, get one last Koopa shell and wait for a shooting path as free as possible. Especially with the red shell, it is enough to approach the enemy’s head at medium distance and then fire the projectile.
After the fifth hit, the skeleton shark breaks into numerous pieces of bone and finally disappears. At the same time, the remaining smaller skeleton fish are destroyed and the wanted Power Star appears near a hot spring on the seabed. Swim to its position and collect it. You have completed the only mission of the Bonefin Galaxy. For a safe run, you should start the fight with the hidden 1-Up Mushroom from the treasure chest, collect the Life Mushroom from the destroyed stone pillar after the first hit and regularly check your aerial display during the entire dispute.