

Infiltrating the Dreadnought
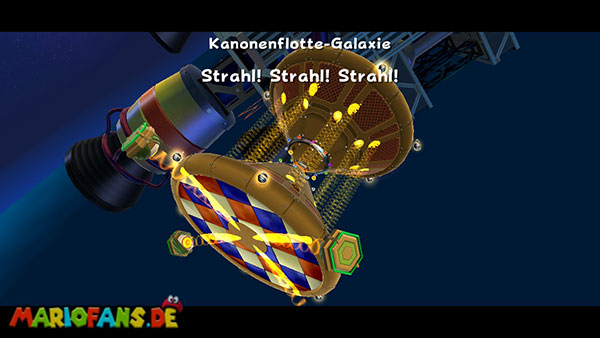
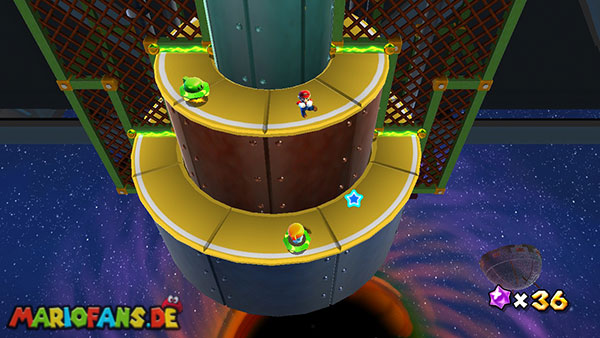
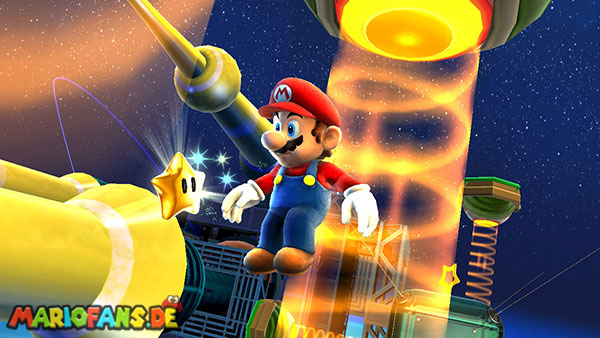
You land on an hourglass-shaped planet where several laser robots regularly emit dangerous light beams. Runs upwards from the starting point over the lateral surface, paying attention to the rotating lasers. Once a beam reaches your direction, jump over it or wait on a protected surface until it passes. On the top of the planet, a jump robot awaits you, the top of which Mario flings up like a trampoline. Wait until his electric attack is over and then jump on him. Use the momentum to reach the high-floating Launch Star. Activate it with a spin and get transported to the cannon fleet.
You land in a small bowl-shaped platform with three armored Goombas. Their metal helmets protect them from ordinary jumps. Therefore, first attack them with a spin so that they fall on their backs, and then jump on their unprotected underside. Once all three opponents are defeated, the warp tube opens in the middle. Enter them and you get inside the huge spaceship. Here you can expect a two-dimensional obstacle course in which the direction of gravity changes several times. Run to the right first and wait for the first moving walls to move away from each other. Then jump up between them by jumping away from the left and right walls. Be careful not to get caught between the walls. On a higher platform you will find an optional power fungus that you can reach via the moving walls. Collect it to increase your maximum health to six units.
Follow the aisle further to the right and cross the next three large squeezing blocks. Wait until all three are lowered and then run quickly over their tops. At the end you reach a large gravity arrow. Activate it with a spin so that gravity rotates and Mario can walk along the previous wall. Follow the new path and climb up again between the moving blocks. Once they approach, you can gain additional height with several quick wall jumps. Then you reach a section with several cannons that regularly fire large black bullets. First observe their trajectories and only jump to the next platform when the last projectile has flown by. Further to the right is a second gravity arrow, which you also activate with a rotary attack. This pulls Mario to the ceiling.
In the last section of the interior you have to overcome several movable platforms and other cannons. Runs to the right on the ceiling and waits for a sufficiently wide opening for the large squeezing blocks. Then jump to the jump platform, which transports you through the next shaft. Pay particular attention to the cannon balls that fly across the opening. Jumps off only when a full salvo has passed. At the top end are two more jump robots. Jump at first to get to the higher platform, and then use the second to reach the warp tube on the ceiling. This will bring you back to the outdoors.
On the next planet, the path leads over a high tower, whose platforms descend upon entering. First eliminate the bob-ombs on the lower level or dodge their explosions. Then you jump on the first jump Topman to hurl to the next platform. Once you land there, the previous platform starts to fall down. Therefore, jump up without any major interruption and use the next jump Topman. On several levels are Goombas, which you can turn off with ordinary jumps. However, be careful not to stop for too long as the platforms continue to sink. On one of the upper levels is again a jump Topman, with which you reach the next higher platform. Finally, you get to two vertical walls that slowly approach each other. Jump up between them and make several wall jumps until you reach the Launch Star above the tower.
The Launch Star transports you to a small blue planet, on the surface of which several laser robots stand. Wait for their rays of light to swing away from your path, and run across the surface to the opposite side. There is a small Launch Star that takes you to another planet. On this planet stands a large ball willi cannon. You must use one of their target-seeking bullets to destroy a locked glass cage on the bottom. Run past the cannon and follow the path down until you recognize the position of the cage. Then return to the cannon and wait until a ball willi is fired. Approach the projectile to pursue Mario and then walk on the previously explored path to the cage. Avoid tight curves and collisions with the metal walls, otherwise the ball willi will explode prematurely. Stand in front of the cage and dodge aside at the last moment. The projectile hits the glass envelope and destroys it.
Once the cage breaks, the entire planet is flooded. The rising water level now gives you access to the higher platforms, while several laser robots point their light beams at the new water area. Swim back to the original landing area and climb to one of the mobile robot platforms. The flat tops of these enemies can be used as transport surfaces. Wait for the first robot to move towards the next platform and jump on it. Pay attention to the light beam of the robot lying above it. Once you reach the next platform, you eliminate the mechanical opponent with a ground pound and then jump to the next moving surface. Follow the path upwards and use the robots again as platforms until you reach the last increased lead. Here is the Power Star you are looking for. Avoid the last orbiting laser beam and jump to the small platform with the star to complete the mission.
Dreadnought's Colossal Cannons
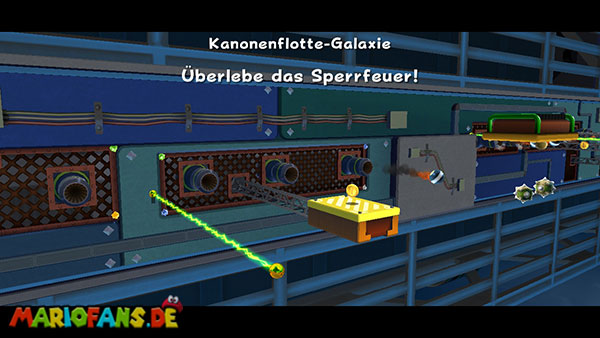
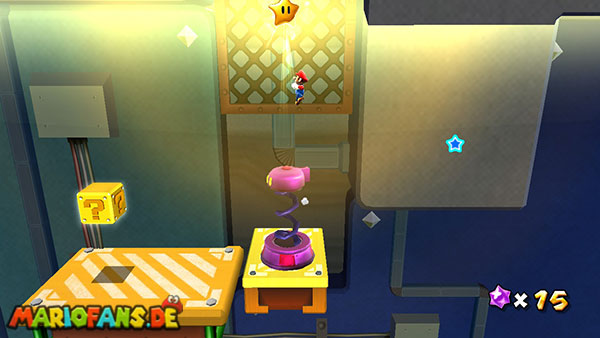
You start on a small platform next to several large nuts that can be moved over an abyss. Before entering the main path, you can jump down to the lower green platform. There is a 1-up mushroom in a glass cage. Several Bob-ombs walk around nearby. Pick up one of the bombs and place or throw it next to the cage. Wait for the explosion and then collect the exposed 1-up mushroom. After that, return to the upper platform and jump to the first large screw nut. Stand on her right side so that she turns in the desired direction and slowly moves to the next platform. Once the distance is small enough, jump over. Be careful not to accidentally run to the opposite side of the screw, otherwise it will turn in the wrong direction.
On the next section there is a long ramp, over which numerous small wowaus roll. At the same time, several electrical barriers block the path. To turn them off, you need to activate the blue turning fields on the ground. Once Mario runs over one of the fields, it turns yellow. If you enter the same field again, it turns blue again. Therefore, if possible, run over the ramp so that you only touch each field once. Dodge the small wowaus with short jumps and try not to fall back on already activated fields. Once all the fields of a group are yellow, the associated electrical barriers disappear. Repeats this procedure in the second field group above. After their complete activation, the remaining wowaus and current barriers are also eliminated. Follow the ramp until the next nuts.
The second group of nuts can also be set in motion by your position. Stand on the side where they turn forward and jump to the next as soon as you can reach them safely. At the end of the section, two octopods appear, shooting at you from elevated platforms. Wait until one of the enemies fires a green coconut and throws it back with a spin. Repeats the attack on the second octopod. Once both are defeated, a bridge will be deployed, over which you will reach the next platform. There are two? blocks with coins and Star Bits. Collect the rewards and then use the Launch Star, which takes you to the outside of the massive cannon fleet.
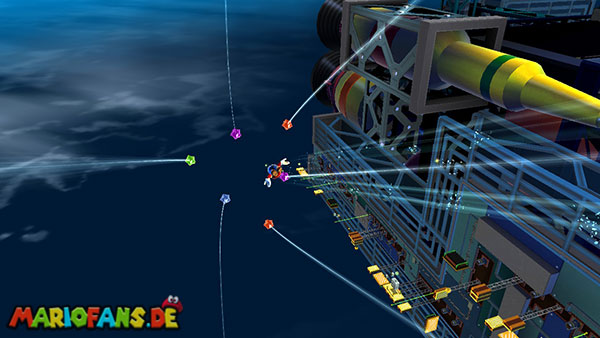
Now follows the longest and most dangerous section of the mission. You land on a small mobile platform that automatically passes numerous cannons and electric obstacles. If possible, stay in their center and observe the cannon balls, which are regularly shot from the large pipes. If a bullet is flying directly towards Mario, you can shoot it with a star part and destroy it in time. Save your Star Bits, however, for the particularly narrow places where avoidance is hardly possible. Jump over the first electrical barriers and make sure to land on the moving platform again. A single hit can push Mario back so far that the platform continues without you. Therefore, if possible, use the small immovable platforms as safe intermediate stations when several shells fly by at the same time.
After the first section with cannons, you must jump to a higher platform, at the bottom of which gravity reverses. Mario now walks along the ceiling as the platform continues to move forward. On this surface is a small Goomba, which you can eliminate with a jump or a spin. Watch out for the cannonballs that are flying towards you from a different direction now. Runs as centrally as possible over the platform and jumps over smaller obstacles. At the end, you reach a section of normal gravity again. Jump down to the next moving platform at the right moment and follow it forward. Especially dangerous is the next stone block, which regularly hits down. First, wait on a secure platform until it moves up again, and then run quickly underneath.
Here is also an optional 1-up mushroom on top of the large stone block. If you want to collect it, wait until the block is placed on the lower platform. Jump to its top with a back flip and take the mushroom with you. Then you have to jump back to the next safe platform as quickly as possible before the block lifts again and the moving platform is too far away. Anyone who plays the section for the first time can easily miss this detour. Then follow the next moving platform upwards. On the side wall, gravity changes again, allowing Mario to stand on a vertically aligned platform. Jump onto this surface in time, paying attention to your shadow that shows you where Mario will land. As soon as the platform moves upwards, it remains as far as possible in its center and avoids the laterally passing cannon balls.
In the following section you have to switch to a headfirst platform again. Wait until she approaches your position and jump off so that Mario is attracted to her gravity. On the way there are other electrical barriers, which you have to avoid with well-timed jumps. Shortly afterwards you reach a platform with normal gravity again. This is followed by a particularly dense salvo of cannons, in which several shells fly almost simultaneously over the path. If possible, stay on the back half of the platform and shoot the bullets that would hit Mario directly with Star Bits. However, do not wait too long with your avoidance maneuvers, as the platform continues and you can get stuck on the next electrical barrier.
At the end of the barrage, you encounter two jump robots that regularly emit circular energy waves. Wait until the next wave of energy has passed, and then jump to the first robot. This throws Mario to the higher platform. On the last platform awaits the second jump robot, above which the Power Star is already located. Jump on him as soon as his electric attack is over and let yourself be carried high into the air. Touch the star during the jump to complete the second mission of the Dreadnought Galaxy.
Revenge of the Topman Tribe
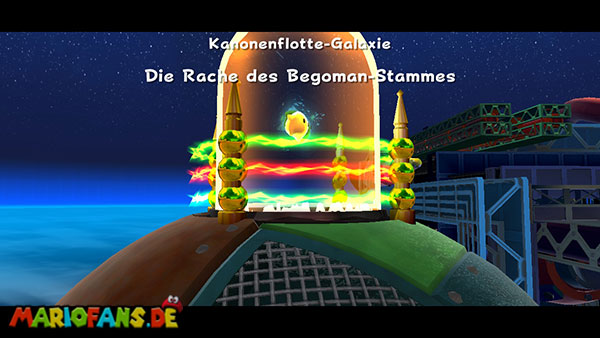
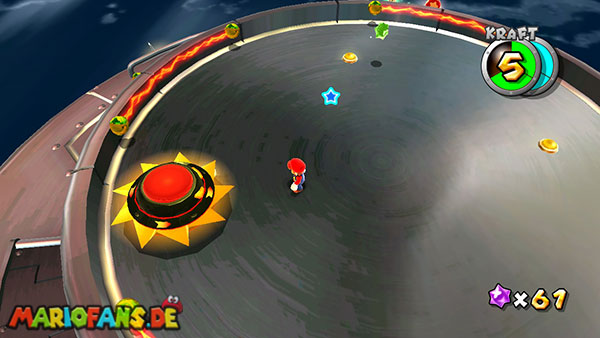
You start on a large flying saucer, on the top of which a green jump begoman moves. Before you fly on, you can spot a warp tube on the bottom of the UFO. She leads to the secret mission “Dreadnought’s Garbage Dump”. For the regular star, you stay on top at first. Wait until the jump Topman is in a favorable position and jump on him. This will throw Mario high enough to reach the small Launch Star above the UFO. This takes you to a round planet, in the middle of which a Luma is trapped behind an electrical barrier.
On the planet, two red sting begomans move, causing damage when touched. Attack one of the two opponents with a spin, so that it is thrown back a bit. The goal is to push him against the electrical barrier around the locked Luma. If possible, position yourself so that the Topman is exactly between Mario and the power fence. Then execute a rotary attack to throw it against the shutoff. Repeat the same on the second Topman. Once both have been pushed against the power fence, the electric barrier disappears and the Luma is freed. On one of the higher protrusions of the planet, you will also find a hidden 1-up mushroom, which you can reach with a backflip and a subsequent spin. Collect it and then talk to the Luma, who is turning into a Launch Star.
On the nearest cube-shaped planet is a large blue ground switch. Activate it with a ground pound so that a total of five blue star chips appear on the different sides of the cube. First runs over the neighboring surfaces and collects the highly visible star chips. Since gravity acts differently on each side of the cube, you can simply walk over the edges to get to the next surface. However, a star chip hovers too high to reach it with an ordinary jump. For this you need the green jump Topman, which also moves on the planet. Jump on it and get promoted to the raised star chip. On this occasion you can also reach an optional 1-up mushroom above one of the dice sides. Collect it and then get the remaining star chips. Once all five have been found, several blue Pull Stars appear, leading you to the next Launch Star.
The Launch Star takes you to a small rocket floating between two large cannon walls. On its bottom you will find a red power mushroom that increases your maximum health from three to six units. Therefore, first run over the side of the rocket and collect it. Then you pull with the blue Pull Stars towards the opposite cannon wall. Here, large black cannon balls regularly fly between the walls. Wait until a bullet has flown by and then move quickly to the next Pull Star. If necessary, you can briefly release the Pull Star to let a cannonball pass and then hold on again. However, be careful not to drift too far into open space. Shoot down disturbing space mines with Star Bits before you approach them. At the end of the Pull Star series you reach a Launch Star, which takes you to the big runway of the cannon fleet.
On this long platform are several laser robots that emit circular electric shock waves. The white circles on the ground show you approximately how far the respective energy wave reaches. Run forward first and jump over the first wave as it approaches your position. Further forward, several robots are closer together so that their shock waves can overlap. Wait as far as possible at a safe place between the marked circles and only jumps further when the next wave has already passed. On the way, you will also encounter some moles that throw wrenches at Mario. Eliminate them with spin attacks if necessary and follow the path further forward.
On the runway you will also find a green Koopa, whose tanks you can use for several treasure chests. Jump on the Koopa, pick up the tank and throw it against the chests for additional coins and Star Bits. On one of the side platforms there is also another Kraft-fungus. Take it with you if you have already lost health on the way. Follow the last section of the runway and avoid the closely successive shock waves. At the end there is a Launch Star, which transports you to the giant saucer of the Topmaniac.
On the saucer, several small sting begomans move first, which you should hurl as far as possible by targeted rotary attacks against the lateral electrical barriers. Then work your way through the narrow platforms to the top of the UFO. Before you enter the actual boss arena, you can target a Hungry Luma who will sell you either a 1-up fungus or a red power fungus for 30 Star Bits. If you have not yet increased the maximum health to six units, you should choose the power mushroom. Then you climb over the last steps to the upper platform, where the Topmaniac is waiting for you.
The Topmaniac begins the battle with two smaller Stachel-Topmen who follow you across the arena. At the same time, it rotates even with extended spines over the ground. In order to attack him, you must first hit him with a jump on his top. As a result, his spines are retracted and he remains vulnerable for a short time. Run over to him immediately and perform a spin attack to hurl him against the electrical barrier at the edge of the arena. As soon as he touches the power fence, he suffers the first hit. If possible, try to stand directly behind the topmaniac so that it is thrown directly against the barrier by your spin. Then jump to the side in time so that the rebounding enemy does not hit you.
After the first hit, the Topmaniac starts to rotate again and moves faster across the platform. Avoid the two smaller Topmen and wait until the king comes near you. Jump back to its top so that it pulls its spikes in, and then throws it against the electric barrier with a spin. After the second hit, the opponents become even more aggressive and the electrical barriers around the arena move faster. If possible, stay in the middle of the platform and let the Topmaniac come to you. As soon as he is close enough, you jump on his head one last time and immediately afterwards perform a spin. If he hits the electrical barrier for the third time, he is defeated. In its place, the desired Power Star appears, which you can now collect.
Dreadnought's Garbage Dump
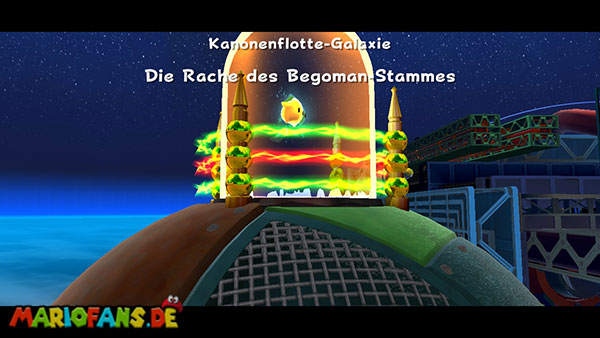
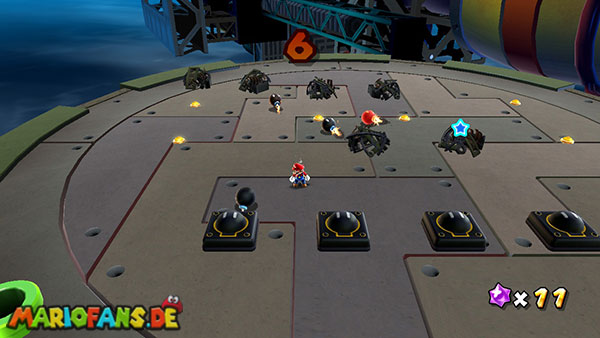
The secret Power Star of the Dreadnought Galaxy is reached via the third mission “Revenge of the Topman Tribe”. Select this mission and stay on the large launch saucer after your landing. Instead of using the green jump Topman, you first run over the outer edge to the bottom of the UFO. There is a hidden warp tube that takes you directly to the landfill. You do not need a Hungry Luma or a certain number of Star Bits for this secret star. After leaving the warp tube, you stand on a small platform with several large heaps of garbage. Near them is a mechanic robot who asks you to clear all garbage.
Talk to the robot and accept its challenge. Then a countdown of 30 seconds begins, in which you have to destroy all heaps of garbage with Bob-ombs. The bombs are deployed at several locations on the platform and explode about ten seconds after being lifted. Therefore, you have to record them as early as possible and place them in the right places. There are several small red markings on the ground that show you where the bombs should best land. Try to throw a bob-omb at each of these markings so that their explosion captures as many heaps of rubbish as possible at the same time. You don’t have to use your own bomb for every single heap of rubbish. It is crucial that the bombs are distributed in such a way that their explosion radii overlap as well as possible.
Start with the garbage pile on the left and throw the first Bob-omb as centrally as possible on the corresponding red marking. Then immediately take the next bomb and place it on the right side. Then you work on the other markers to the center of the platform. Avoid hitting the same spot twice as long as there are several heaps of garbage in another area. It is particularly helpful to place the bombs in such a way that an explosion can trigger already discarded Bob-ombs. As a result, larger areas of the landfill can be cleared almost simultaneously. Also, make sure not to pick up the last bomb until less than ten seconds are left. Otherwise, the remaining time may not be enough for it to explode on its own.
Once all garbage pile has been destroyed within the time limit, the mechanic robot completes the challenge and hands you the secret Power Star. If there is still garbage after 30 seconds, you can try the task again immediately. You do not lose a life. In another attempt, you should use the position of the red markings and throw the bobs one after the other as quickly as possible, instead of waiting for each individual explosion.
Topman Tribe Speed Run
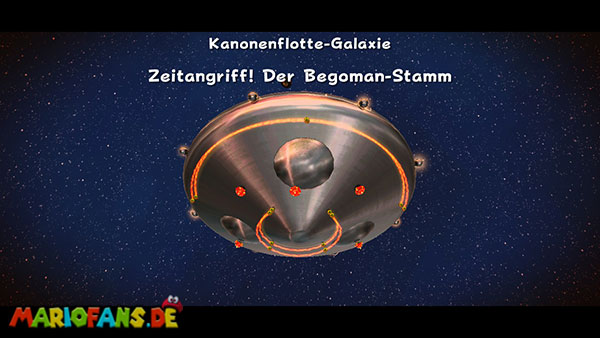
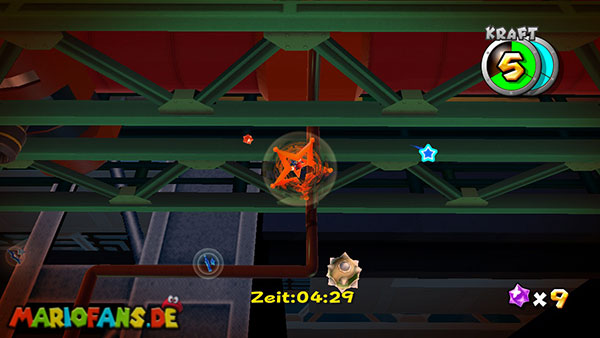

This mission will be available as soon as a time comet appears over the Dreadnought Galaxy. You have to complete the third mission “Revenge of the Topman Tribe” again, but this time within six minutes. Unlike the normal pass, there are additional sting begomans in some places that can hinder you from climbing. As soon as the countdown begins, jump immediately on the green jump begoman of the starting saucer and get hurled to the first Launch Star. You should skip the detour to the hidden warp tube and the landfill this time, as you have to reach and defeat the Topmaniac within the time limit.
On the next planet, you must once again hurl the two Stachel Topmen against the electrical barrier to free the captured Luma. If possible, position yourself so that there is a Topman between Mario and the power fence, and attack him with a spin attack. Once the barrier has disappeared, you immediately use the resulting Launch Star. On the following cube planet you activate the blue ground switch and collect the five star chips. Especially the raised chip you should reach as directly as possible with the jump Topman. This will save you unnecessary detours across the different sides of the dice. As soon as all five chips are collected, you use the resulting Pull Stars and the subsequent Launch Star.
On the small rocket you can again collect the red Life Mushroom on the bottom. If you have enough health, you can skip it for a faster run. Afterwards you pull with the blue griffin stars through the cannon corridor. Do not try to stop at one grab star for a long time, but change to the next as soon as the cannon ball flying immediately in front of it has passed. You can destroy the space mines with individual Star Bits so that they do not hinder your trajectory. At the end you activate the Launch Star to the large runway of the cannon fleet.
Crosses the runway with the laser robots as far as possible without unnecessary fighting. Jump over the red energy waves and stay on the safe surfaces between the white circle marks. For the most part, you can ignore the moles and other enemies as long as they do not block your direct path. The optional treasure chests and the Koopa shell are also not necessary for the time attack. Run to the end of the platform and use the Launch Star to take you to the saucer of the Topmaniac. There you can throw the smaller sting begomans to the side with spin attacks and then climb directly to the top of the UFO.
In the last section you have to throw the Topmaniac against the electrical barrier again three times. Wait for him to come near you with the spikes extended, and then jump to his top so he becomes vulnerable. Immediately thereafter performs a rotary attack and throws it as straight as possible against the power fence. After each successful hit, you repeat the same procedure. Do not try to defeat the smaller Topmen individually, as long as they do not attack you immediately. Once the king touches the electrical barrier for the third time, he is defeated and the Power Star appears. Collect it before the six minutes are up. With a direct route over the cube planet and the runway, there is usually enough time for the boss fight.
Battlestation's Purple Coins
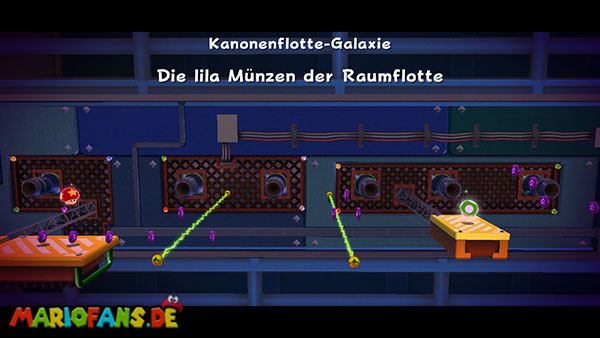
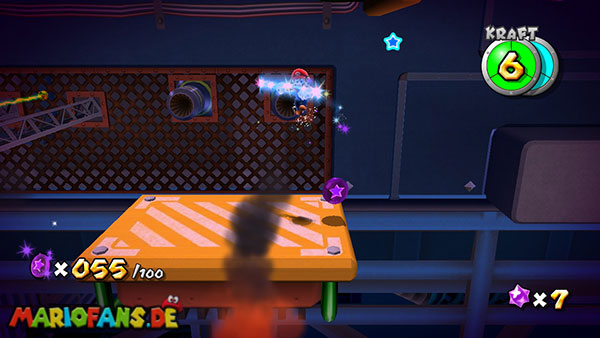
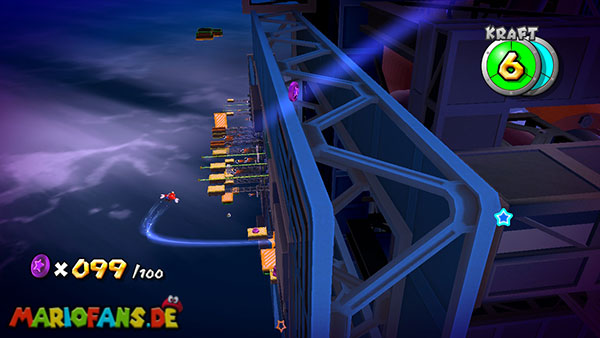
This mission will be available after you defeat Bowser at the center of the universe and a purple comet appears over the Dreadnought Galaxy. In total, you have to collect 100 Purple Coins distributed along the moving platforms on the outside of the huge spaceship. Unlike several other comet missions, there is no time limit here. However, there are exactly 100 coins on the track, so you should not miss a single one. Most coins are located directly on the moving platforms, while some hover slightly above the normal walkways. Especially easy to miss are the three coins on the large stone block as well as the last coin during the flight with the Launch Star. Therefore, you have to drive the route as completely as possible and make sure not to miss any coins during each platform change.
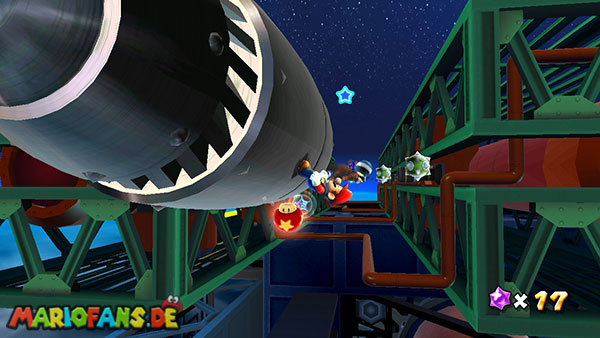
Right at the beginning you stand on a small moving platform that moves automatically along the cannon fleet. Collect the first coins on their surface and jump over the electrical barriers as they approach your position. The cannons regularly fire large black bullets, which can push you off the platform if hit. Therefore, keep some Star Bits ready and shoot particularly dangerous cannon balls in time. Near the launch, there is also a power fungus that allows you to increase your maximum health to six units. Collect it if possible, because on the long platform route smaller errors are hardly avoidable. Follow the coin rows until the first major platform change. Before you leave the original platform, your counter should display 17 Purple Coins.
Jump now to the higher platform, on the bottom of which gravity reverses. Mario now runs headlong along the cannon fleet while the platform moves automatically. Follow the row of coins on the new surface and collect all the specimens floating along the platform. Pay attention to the electrical barriers and jump if possible only if there is no cannon ball directly in front of you. On this section you can collect another 15 Purple Coins. This should put your counter at 32 out of 100 coins before you leave the headlong platform. Then jump to the lower platform with normal gravity and collect the three coins there. Then you follow the next moving platform, on which another five coins lie. Move as far as possible to the center of the platform, so that you are not pushed directly from the edge at the next round of cannons.
The next section leads to a large stone block that regularly hits down. In its vicinity, there are initially three coins on the side platform. Collect them and then wait until the stone block sits on the ground. On its top hover another three Purple Coins, which you absolutely have to take with you. Jump to the block with a back flip once it is lowered. Collect the three coins and then jump back to the moving platform before the stone block lifts again. This is one of the most important points of the entire mission, because the three coins on the top can hardly be made up later. After collecting them, your counter should display 46 out of 100 coins.
Now follow the next moving platform, which brings you first up and then to a vertical wall. Here, gravity changes again, so that Mario can stand on a laterally aligned platform. Completely collect the rows of coins along the wall and be careful not to jump too far to the wrong side when changing platforms. Especially dangerous are the cannon balls that fly towards you during the journey from the opposite wall. If possible, stay on the front half of the platform and watch from which direction the next round of cannons comes. As soon as a bullet immediately approaches Mario, you can destroy it with a star part. After the side section you reach again a headlong platform. If you have collected all the coins on the previous surfaces, your counter should show about 69 out of 100 coins.
On the last large platform section you have to overcome several electric barriers and cannon salvos again. Collect the coins along the upside down platform and then jump to the next surface with normal gravity. Pay particular attention to the short coin rows between the immovable platforms. Some of them hover slightly higher than the other specimens and must be collected with a small jump. Do not try to make unnecessarily large jumps, otherwise you can fly over several coins. When the platform passes the next cannon wall, you should hold yourself in the middle and shoot down disturbing bullets with Star Bits. Follow the coin rows to the last section with the two jump robots.
Here are the last four coins on the moving platforms. They hover above the left jump robot. Wait for his electric energy wave to pass and then jump to his top. This will throw Mario high enough to collect the four coins during the jump. Then, as far as possible, return to a secure platform. Once you have received the four coins, your counter must display 99 out of 100 coins. The last coin is not on the ground, but right on the trajectory of the big Launch Star who promotes you to the mechanic robot. Jump on the right jump robot and get hurled up to the big Launch Star. Be sure to activate this ring and not the adjacent little Launch Star, otherwise you can miss the hundredth coin.
During the flight with the big launch Star, Mario automatically collects the hundredth Purple Coin. Then you land on a secure platform, where a mechanic robot is already waiting for you. Talk to him so that he checks your coin counter. If you have found all 100 coins, he will give you the Power Star you are looking for. If, on the other hand, you are missing coins, he refuses the reward and the challenge must be started again. Therefore, especially control the three coins on the large stone block, the rows of coins on the vertical gravity platforms and the four coins above the left jump robot. These spots are the most common causes that individual coins are missing in the end.