
Peewee Piranha's Temper Tantrum
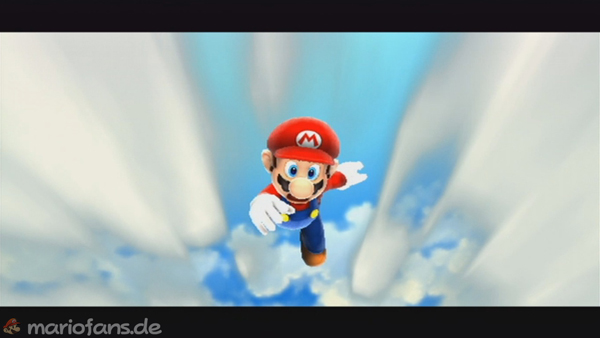
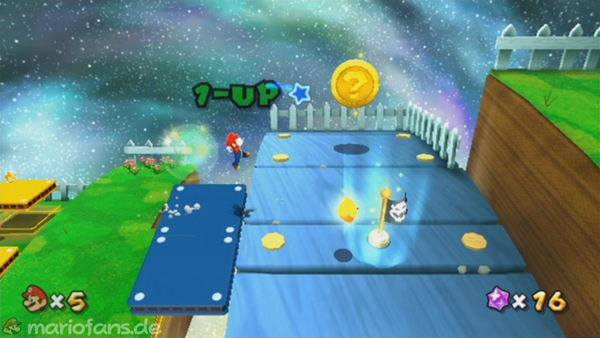
At the beginning is a Luma telling you that Bowser stole all the Power Stars. On the first planet everything is very simple, in many bushes there are coins and Star Bits.
Tip: If you take the orange tube to the left of the start, you can get a 1-Up Mushroom. To get ahead, take the green tube that transports you to the bottom of the planet. There are some coins, Star Bits and opponents. To get to the roof of the house, you have to smash the crystal. On the upper side of the house you discover some fruits to get to the next planet, you have to talk to a Luma
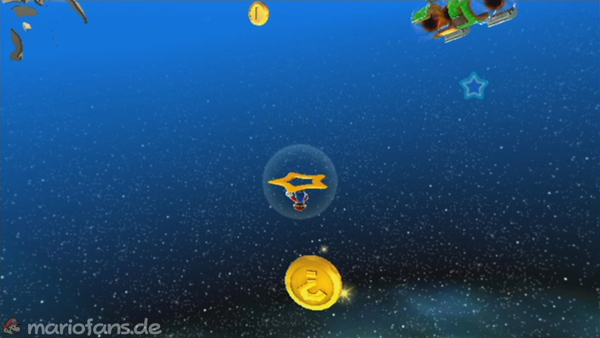
The Luma transforms into a Launch Star that catapults you to the next planet. The next planet is populated by many Octoombas who shoot small black balls. You can defeat them with a spin or a simple jump. To get ahead, you just have to follow the Luma.
Follow the Luma to the checkpoint.
If you follow the Luma again, you will soon come to a tower that you have to climb. The difficulty is that the platforms disappear again and again after a short time after they have driven up. Once you reach the top of the tower, the Luma turns into a Launch Star and catapults Mario to a planet group. The group of planets consists of three small planets, each of them has its own attraction. To reach the Launch Star, you should take the small Launch Star on the grey planet to get to the brown planet. With the Launch Star on the brown planet, you will be catapulted to the next planet.
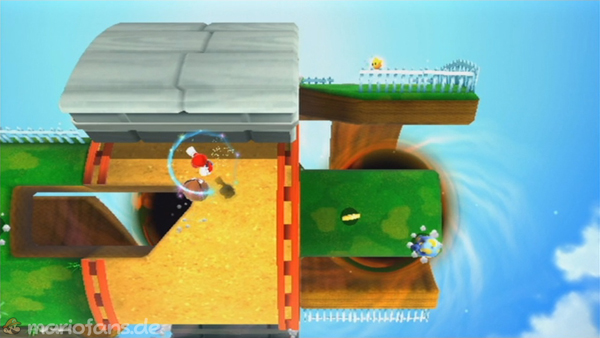
The next planet resembles a cylinder. Right at the beginning is a checkpoint, it goes on by going to the right and not being pushed by rolling wagons from the planet. The plant is moved by three carriageways, so you have to cross three carriageways.
Comet Medal
On the third carriageway, you have to jump on a wagon and wait until you are on the other side of the planet. This is where the Comet Medal is located.
After you make it to the end point, a Luma turns into a Launch Star and catapults you to the next planet. At the nearest planet there is a Max at the beginning. Life Mushroom and a checkpoint. On the other side of the planet are some oktumbas and the Launch Star that sends you to the last planet.
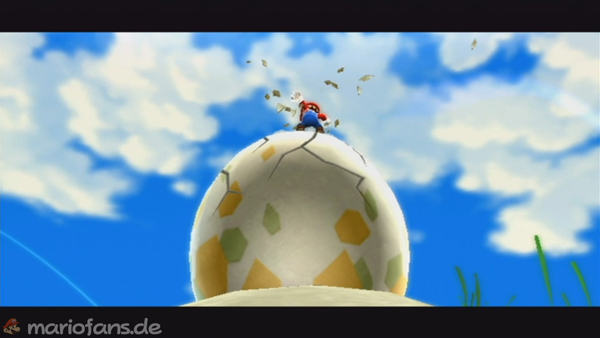
Arriving on the last planet, you meet an egg, which then hatches shortly afterwards. In the egg is Dino Piranha Jr., who is very angry. To defeat him, you have to hit him twice three times on the rear part that remains in the egg with a spin. After you get him completely out of the egg, he runs around the planet. You have to run towards him and then when you meet him, he turns around and you have to hit him with a spin. After the first time he regenerates the egg again and gets angrier, but after the second time he is defeated and Mario receives the first Power Star.
Storming the Sky Fleet
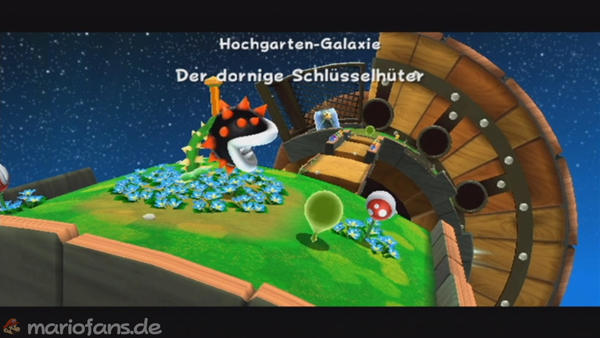
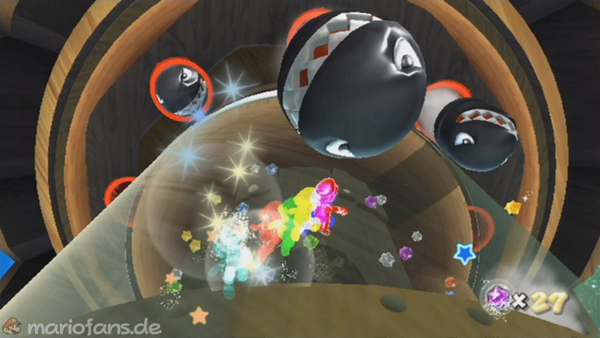
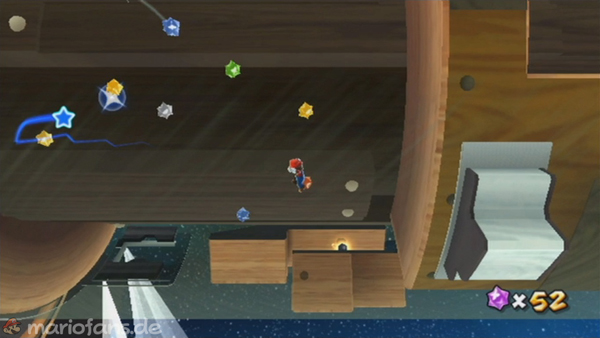
The first planet is the same again as in the first mission. This time, however, the planet is populated by small Chain Chomps, which you can defeat by Burrberies. To get further, you have to take the green tube again. On the other hand, you see that a Luma is trapped in a glass container and you can only free it with a key. You get this by defeating the second Luma to the left of the Green Tube with the Burrbery.
When you have picked up the key, the Luma is released. The Luma turns into a Launch Star and you reach the next planet. The next planet resembles a combat station, many giant Bullet Bills fly lengthwise along the platform.
To get ahead, you need to find the trap door, which is marked by two headlights. Inside the planet, there are other gravity conditions. Go to the right and drop. During the fall, you can collect many Star Bits.
Further to the right, you reach several platforms that move up or down in several rows. In between are usually either coins or Sparkys, small electric balls.
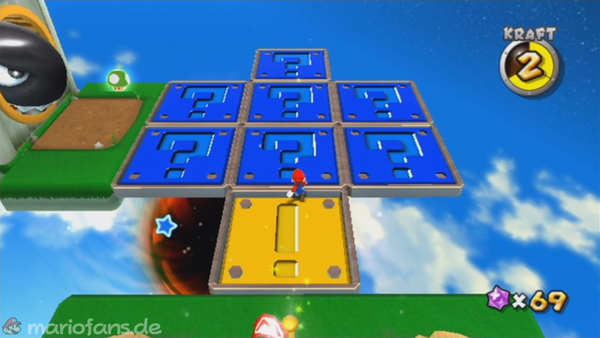
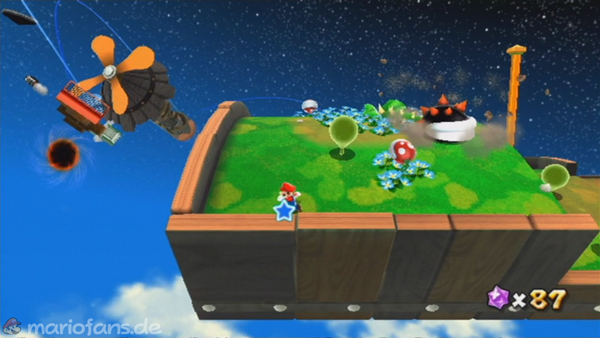
Then use the Launch Star to get to the next planet. On the next planet, you have to turn Flipswitch Panels from blue to yellow, but you only have to enter each platform once, not a second time. Beware of the giant Bullet Bill.
Once all the fields are colored, the second part of the planet appears. In this part, you also have to do the same thing as in the first part, only that now several Cosmic Clones follow you, which reproduce your movements. You must not clash with a clone, otherwise you will lose strength! When all platforms are colored, the Cosmic Clones disappear and the Launch Star appears. On the next planet, the last planet, there is a checkpoint at the beginning. After this, there are several large Bullet Bill cannons. The key is located a little far to the left, on another part of the planetoid. At the last Bullet Bill cannon, the large Bullet Bill tracks you to the end of the straight, so beware. The key is in possession of a Prickly Piranha Plant that you can defeat using the Burrbery. You just have to make the Prickly Piranha Plant crash in the right direction. Then you can give the rest to the plant with the Burrbery. Then the key appears that frees the Power Star. This one is a little further forward on the planet, while going back on giant Bullet Bills watch out! Then you can hold the next Power Star in your hands!
Peewee Piranha's Speed Run
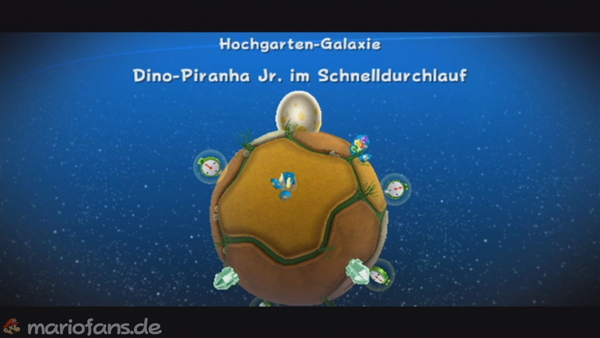
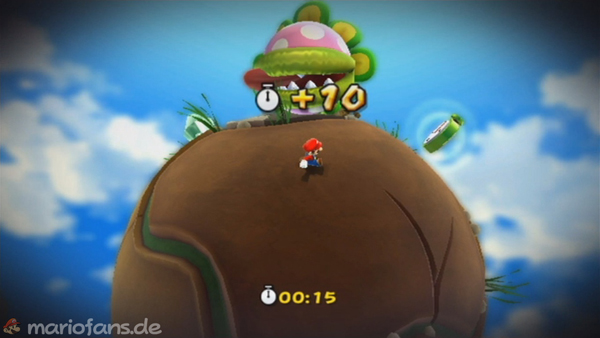
Select this challenge when the Prankster Comet appears. This mission is a shortened version of the first mission. You have a time limit that you can make longer with time bonuses. Each time bonus is 10 seconds. On the first planet you have to go back through the green tube, on it is a time bonus. Through the green tube, then on the way to the hill is another time bonus. After you smash the crystal and get on the other side of the planet, use the Launch Star.
This is how you come to the cylindrical planet. Jump over the mud so you don’t waste time. Collect all time bonuses on the way to the Launch Star.
After taking advantage of the Launch Star, you will come to the planet of Dino Piranha Jr., on which five watches are distributed. So you have approx. 1 minute, Dino Piranha Jr. To defeat, that sounds like little, but that goes, you just have to always hit. After you Dino Piranha Jr. Once you have defeated, the clock stops, so you have infinite time to collect the star.
Comet Medal
On the cylindrical grass planet, stay on the second moving stone platform as it travels around the surface. Ride it beyond the normal exit to collect the medal.
Green Stars — unlock requirement
Collect all 120 regular stars and defeat Bowser again to unlock the Green Star hunt. Choose the corresponding Green Star mission from this galaxy’s mission screen. Follow the detours below rather than collecting the normal mission’s ending star.
Green Star 1
Circle behind Yoshi’s House on the starting planet. Backflip and wall-jump into the star above the roof edge; alternatively, use the pipe underneath the planet, break the crystal and emerge on the roof before dropping towards it.
Green Star 2
Follow the first mission to the Launch Star on Green Hill Planet. Look beyond the fence before launching. Jump over the fence towards the suspended star; collecting it ends the attempt, so there is no need to land back on the path.
Green Star 3
Choose Storming the Sky Fleet. Near the ship’s final teleporter, look overhead. Reach the star with a backflip and wall jump from the teleporter area, or jump from the last rotating platform when it rises into position.
Check each numbered Green Star on the mission screen after collecting it. The routes finish immediately when the star is touched, including stars suspended over a gap.