

01: Atop a Propeller Pillar
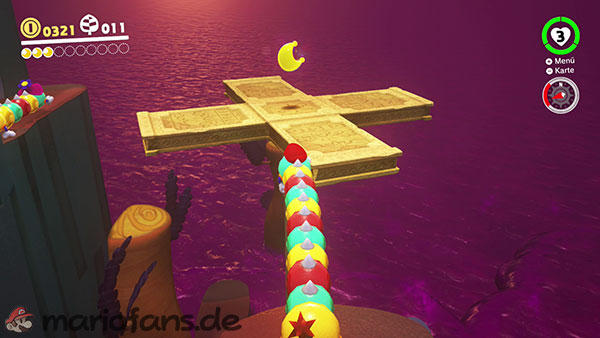
Travel to the swamp hill and capture one of the Tropical Wigglers. Southwest of the checkpoint, there are two large propeller platforms above the poison swamp.
Extend the Tropical Wiggler to the first platform. From there, you can reach the second propeller column, where the Power Moon is already visibly waiting for you.
02: Below the Cliff’s Edge

Travel to the Swamp Hills checkpoint and go to the eastern edge of the platform.
Carefully peer over the cliff. A little below the marshy hill is a small rocky outcrop with a tree stump.
Drop down onto the ledge and collect the Power Moon lying there.
03: Inside the Stone Cage

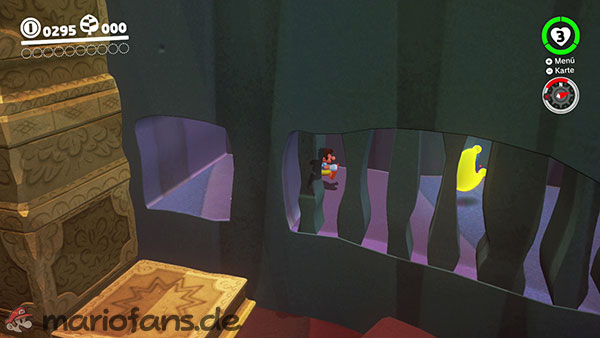
Below the swampy hill, you can see a Power Moon trapped behind several stone pillars.
Climb the reversible stone steps to the level above the cage. There, a large yellow stone block protrudes from the ground.
Perform a ground pound attack on the block. This will shift the stone structure and open a passage to the cage.
Jump to the lower level and get the Power Moon.
04: On a Tree in the Swamp
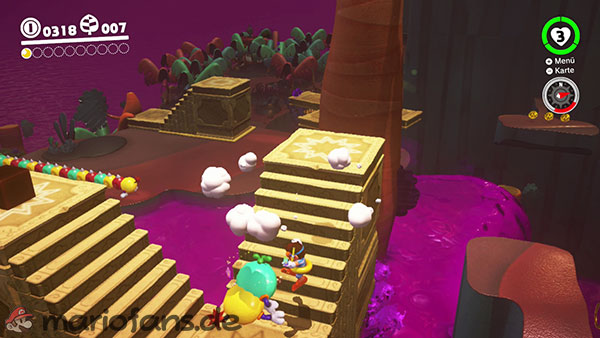
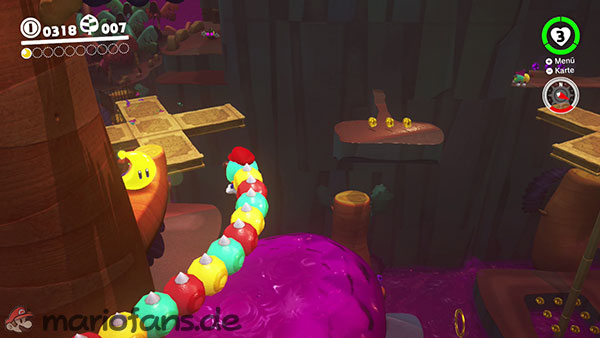
Travel to the swamp hill and capture a Tropical Wiggler. Follow the narrow path along the northern edge of the platform until you reach a reversible stone staircase in the poison swamp.
Stretch out onto the stairs with the Tropical Wiggler and then exit it with ZL. Stand on the middle element and perform a ground pound attack so that the two outer stone pillars rise up.
Capture the Tropical Wiggler again and stand on the southern pillar. Stretch its body around the nearby tree.
You can collect the Power Moon on the back of the tree.
05: Over the Fuzzies, Above the Swamp
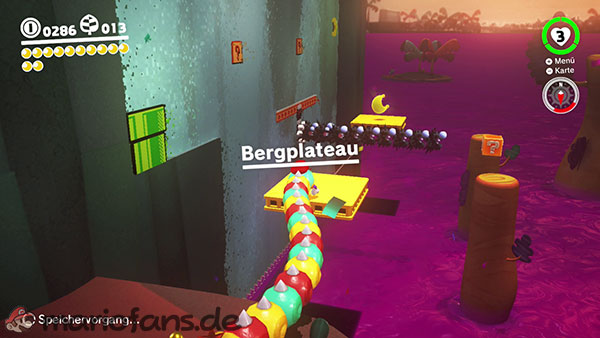
Travel to the Mountain Plateau checkpoint and capture a Tropical Wiggler nearby.
Several yellow platforms move across the toxic swamp in front of you. At the same time, Fuzzies circle the platforms and the small tree stumps.
Stretch from one safe point to the next. Always wait until the moving platforms are in a favorable position and the Fuzzies clear the way.
The Power Moon is floating above the rear platform. Extend the Tropical Wiggler there at the right moment to collect it.
06: Avoiding Fuzzies Inside the Wall
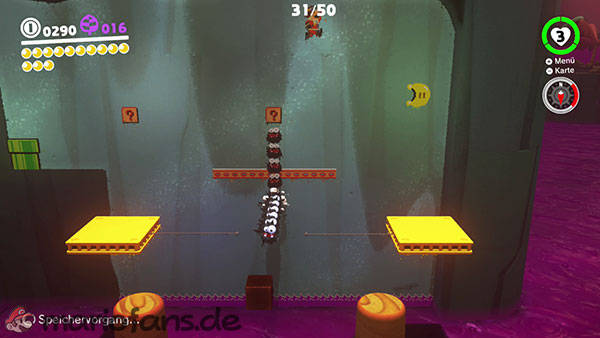
Right next to the Mountain Plateau checkpoint is a red door with a hat symbol.
Throw Cappy at the door and enter the green pipe behind it. This will take you to a two-dimensional section inside the rock face.
Cross the moving platforms and avoid the Fuzzies. Some enemies switch between the three-dimensional area and the two-dimensional wall.
Observe their movements carefully and only jump further when a sufficiently large gap has formed. The Power Moon awaits at the right end of the section.
07: Inside the Rising Stone Pillar

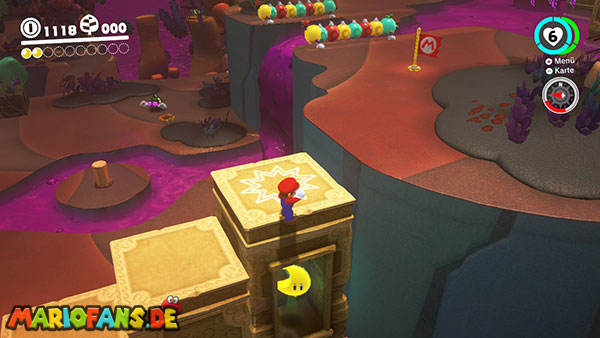
Go to the level below the Swamp Hill checkpoint. There you will find four large stone pillars arranged like a reversible staircase.
Perform a ground pound attack on the appropriate side so that the western pillar, or the pillar in the direction of the swamp hill, rises completely.
Then jump to the northern side of the stone structure and turn around.
On the back of the now towering pillar, you’ll see a small opening. Inside is the Power Moon.
08: Enjoying the View of Forgotten Isle
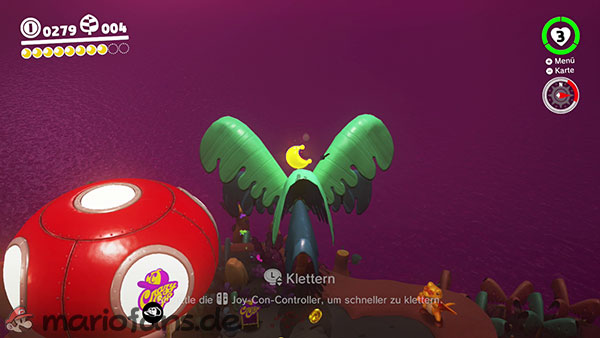
Make your way to the top of the mountain and activate the Rocky Mountain Summit checkpoint there.
Next to the Crazy Cap shop stands a tall palm tree. Climb the trunk all the way to the top.
Perform a handstand jump at the top and collect the Power Moon floating above the treetop.
09: On the Mountain Road


Follow the path from the swampy hill towards the rocky heights. Along the way, you must use the Trapeetle to destroy two stone blockades.
Beyond the second barrier, you reach a small mound of earth. Several butterflies flutter on the ground above a conspicuous spot.
Perform a ground pound attack in the center of the butterflies. This will reveal the buried Power Moon.
10: A Propeller Pillar’s Secret
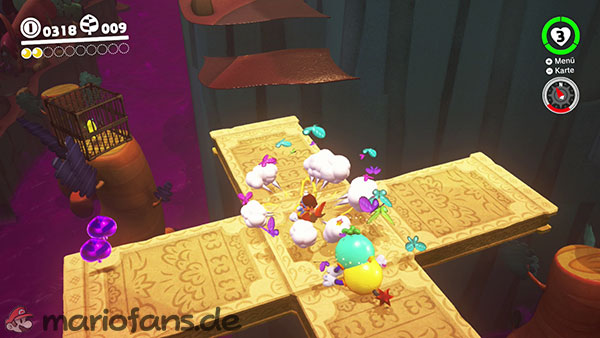
Southwest of the swamp hill is the first large propeller platform, which you can also use to reach Power Moon number 1.
Several butterflies are fluttering in the center of the platform. Stand precisely at this spot and, if necessary, wait until the rotating platform is still beneath you.
Then perform a ground pound attack. The hidden Power Moon will be launched from the propeller column.
11: Wrecked Rock Block

Go to the level below the swampy hill. Near the stone steps lie several large stone blocks. One of them sparkles conspicuously.
Mario cannot destroy this block with normal attacks. You need one of the trapeetle blocks in the area.
Throw Cappy at your opponent and then position yourself in front of the glowing block so that the Trapeetle is aimed directly at you.
Dodge to the side just before the collision. The Trapeetle will crash into the stones and destroy the block containing the Power Moon.
12: A Butterfly’s Treasure
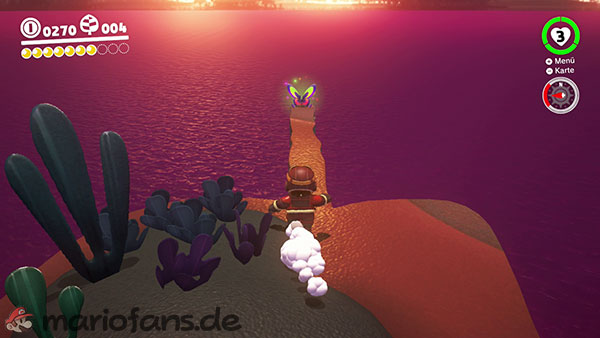
Travel to the Rocky Mountain Summit and stand to the west of the Crazy Cap store.
Look over the cliff. Below the summit, you can see a narrow, rocky ledge jutting far out from the mountain. At its end sits a luminous butterfly.
Carefully lower yourself onto the jetty and approach the butterfly slowly. If you get too close, it will fly away.
Therefore, stand at a sufficient distance and throw Cappy at him. If it hits, the butterfly will drop the Power Moon.
13: Caught Hopping in the Jungle!
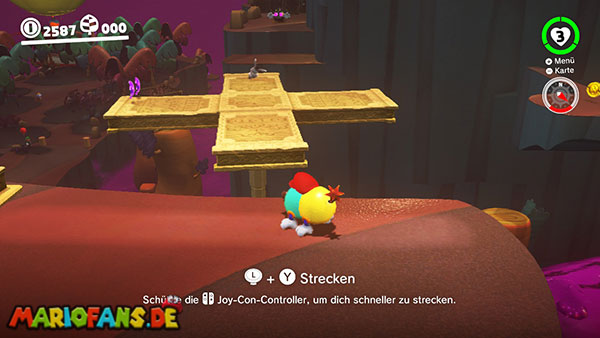
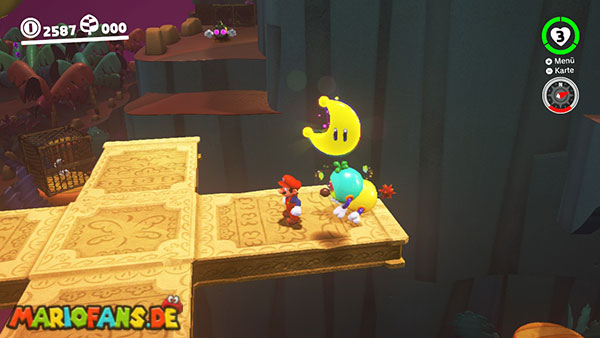
This Power Moon appears after you leave the Lost Kingdom and then re-enter it.
A rabbit is now hopping around on the first propeller platform southwest of the swamp hill. It’s difficult to catch it on the small, rotating platform with Mario alone.
Therefore, capture a Tropical Wiggler and go onto the platform. Extend the Wiggler’s body and use it to block the rabbit’s path.
As soon as you touch it, it releases the Power Moon.
14: Cave Gardening


Travel to the Rocky Mountain Summit and drop down to the lower level with the parrot.
Follow the rock face towards the mountain. Behind some plants is a small, easily overlooked cave.
Inside, several rows of closed flowers are growing. Throw Cappy at the plants to make them bloom.
The best way to use a spin throw is to hit as many flowers as possible at once. Once all the plants are blooming simultaneously, the Power Moon will appear.
15: Moon Shards in the Jungle
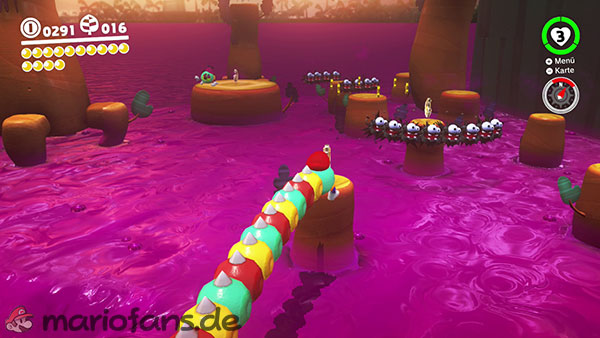
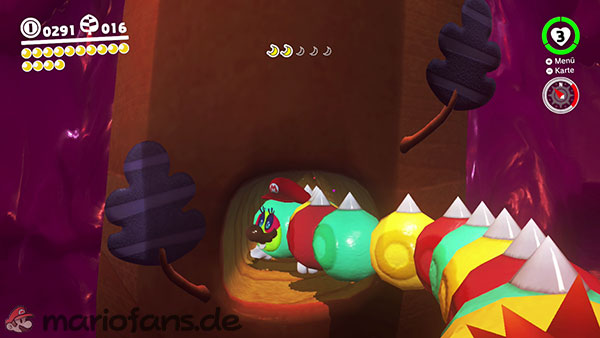
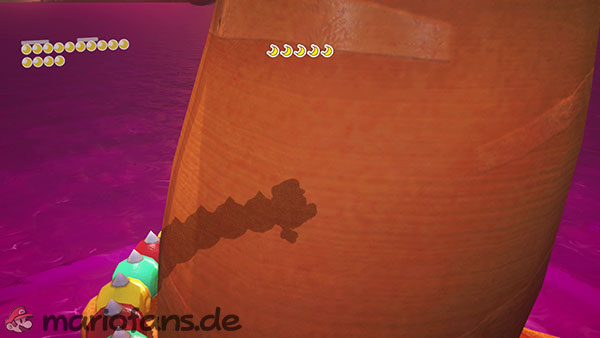

West of the swamp hill and north of the mountain plateau, there are several small tree stumps and rocky islands in the poison swamp.
Capture a Tropical Wiggler and collect a total of five Moon Pieces in this area.
Three fragments are already clearly visible from the main platforms. Another is located behind the large tree. The last moon fragment is hidden in a small opening in the rock face.
Once you have collected all five fragments, the Power Moon will assemble itself on one of the safe platforms.
16: Peeking Out from Under the Bridge
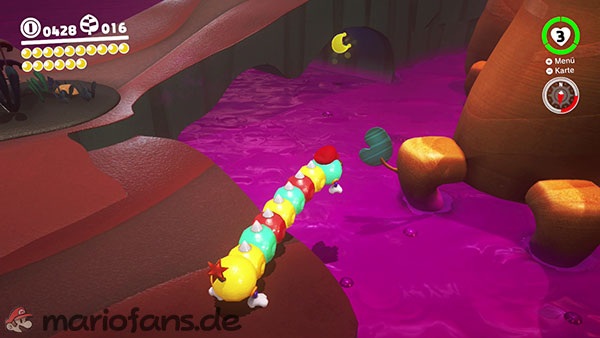
A Power Moon is hidden under the stone bridge between the Odyssey and the swamp hill.
Capture a Tropical Wiggler and head for the small tree stumps and roots in the poison swamp below the bridge.
Work your way from one safe point to the next. Extend the Tropical Wiggler at the end towards the underside of the bridge to reach the Power Moon.
17: Twist ’n‘ Turn-Up Treasure
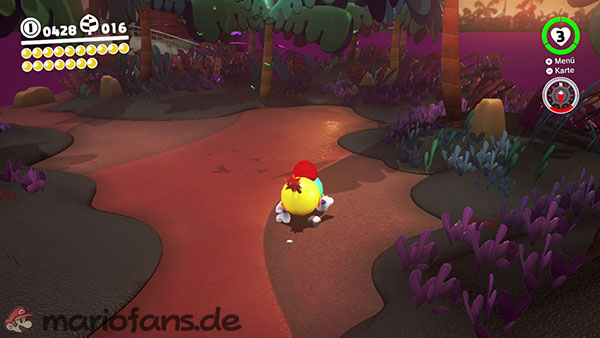

South of the Odyssey is a lower-lying platform with a large keyhole symbol.
Capture a Tropical Wiggler and bring it to this platform. From there, look towards the cliff face below the mainland.
Extend the Tropical Wiggler into the narrow opening or niche under the rock face. The required key is floating there.
As soon as you touch it, the lock will open and the Power Moon will appear on the marked platform.
18: Soaring Over Forgotten Isle!
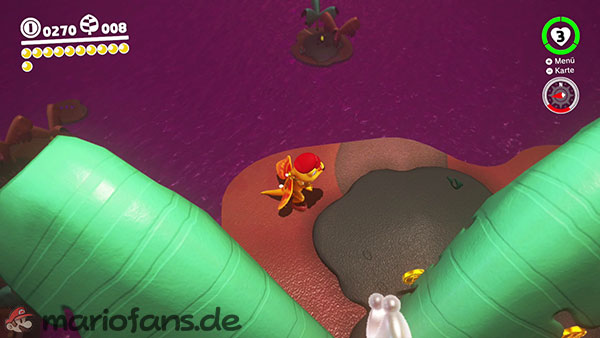
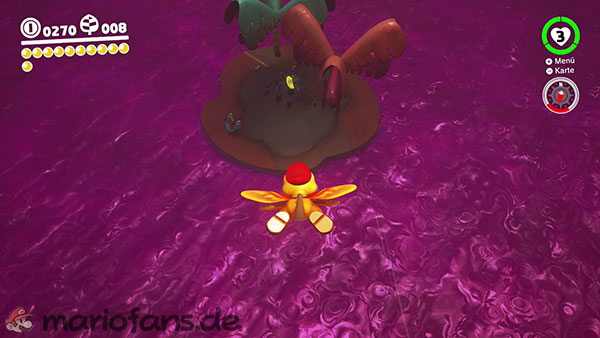
Travel to the Rocky Mountain Summit checkpoint and capture the Glydon waiting there.
Stand at the southern edge of the summit and look towards the lonely island at the bottom of the map.
Jump off the mountain and glide directly to the island using the sailboat. Try to lose as little altitude as possible.
The Power Moon is located on the island. You can then use the blue slingshot to return to the main area.
19: The Caged Gold
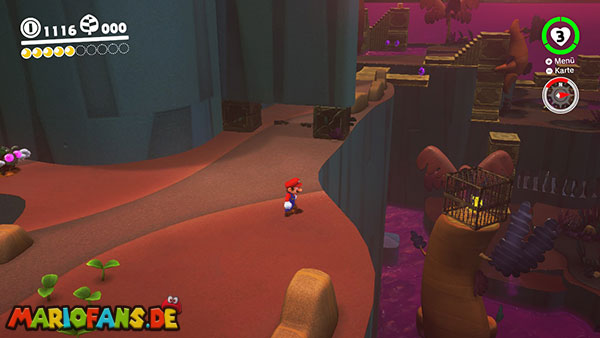

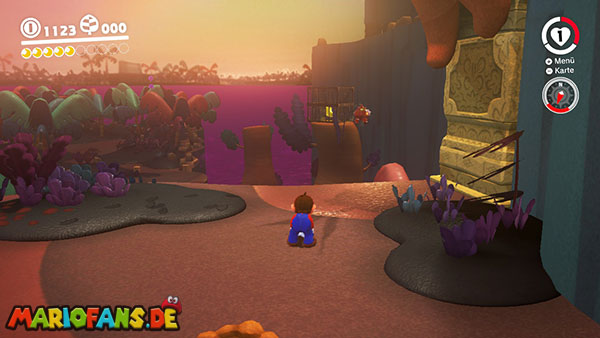
South of the swamp hill you will see a Power Moon enclosed in a cage on a small platform.
Go to the level below with the Trapeetles. Throw Cappy at the southern enemy and position yourself so that Mario, the Trapeetle, and the cage form a straight line as closely as possible.
Before the Trapeetle can throw Cappy back, jump off the cliff towards the cage. Since Mario is now below the normal flight path, Cappy continues flying straight ahead instead.
If Cappy hits the cage, it will be destroyed. Then carefully drop down onto the small platform with the Power Moon.
20: Get Some Rest, Captain Toad
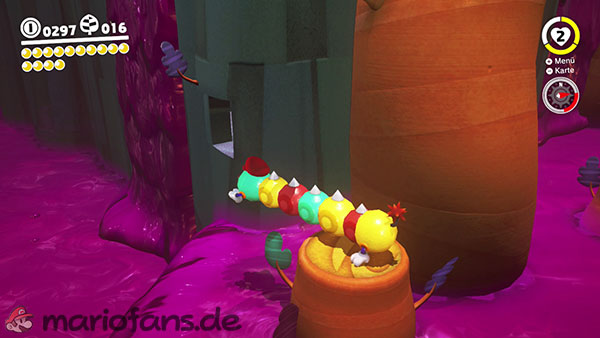

Go to the area where you collected the five Moon Shards for Power Moon Number 15.
Capture a Tropical Wiggler and work your way across the small tree stumps to the northern end of the swamp.
Look around the corner of the rock face. There’s a small opening below the cliff.
Extend the Tropical Wiggler to the entrance and enter the cave. Inside, Captain Toad awaits you; after a brief conversation, he will give you the Power Moon.
21: Shopping on Forgotten Isle

Travel to the Rocky Mountain Summit and enter the Crazy Cap shop at the summit.
Speak to the yellow vendor. You can buy the Power Moon there for 100 gold coins.
22: Taxi Flying Through Forgotten Isle
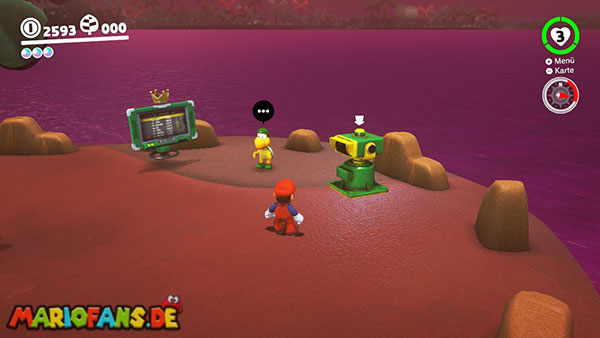


Available only after completing the main story.
A large pair of binoculars is now located near the Odyssey. Capture it and scan the sky to the east and northeast of the island.
There’s a taxi flying there, attached to a white balloon. Zoom in on the vehicle and keep it in view for a few seconds.
The Power Moon then falls from the sky and lands on a nearby palm tree. Climb the tree to collect it.
23: I Met a Tropical Wiggler!


Available only after completing the main story.
A visitor from the Cap Kingdom is waiting on a freestanding stone wall east of the Swamp Hill checkpoint. He wants to see a real Tropical Wiggler up close.
Capture a Tropical Wiggler and head to the reversible stone staircase below the wall. Stretch onto the stairs and briefly exit the Wiggler.
Perform a ground pound attack on the middle element to raise the opposite side. Capture the Wiggler again and stretch onto the raised stone wall.
Approach the visitor in the form of the Tropical Wiggler. Once he sees the creature, you will receive the Power Moon.
24: Lost Kingdom Regular Cup

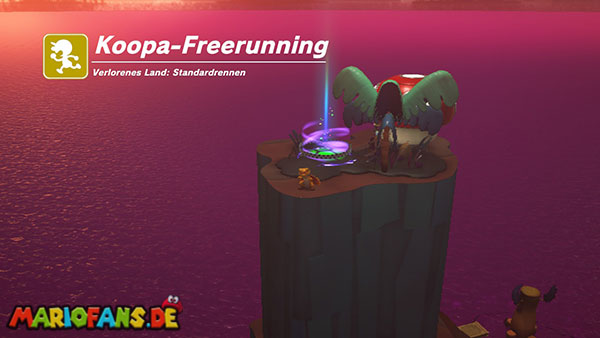
Available only after completing the main story.
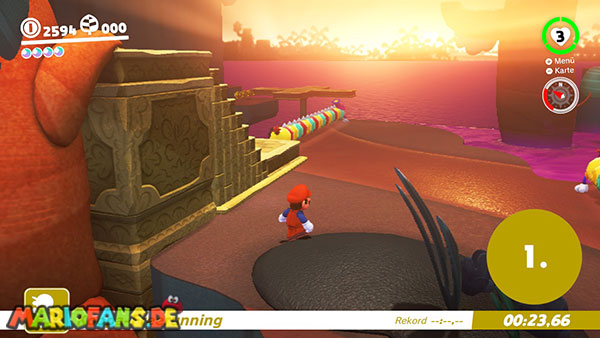
Next to the binoculars near the Odyssey, a Koopa is waiting to host the standard race in the Lost Kingdom. The finish line is at the summit of the Rocky Heights.
Start the race with a roll and several long jumps. Then, instead of following the entire normal path, keep to the left towards the large tree stumps above the poison swamp.
You can use stomp jumps, cap throws, and diving leaps to reach the higher levels by jumping over the tree stumps. This will allow you to skip a large part of the route.
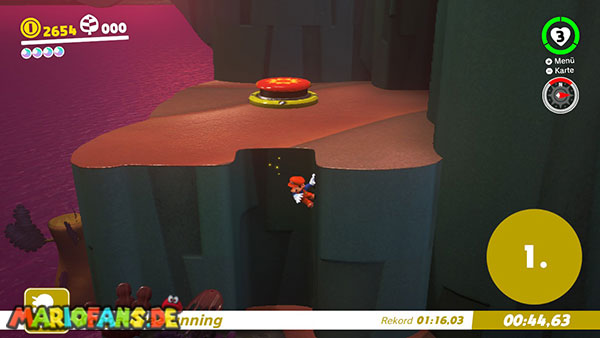
Work your way past the trapeets and stone barriers. At the end, activate the red floor switch and use the appearing walls for several wall jumps.
If you reach the summit before the other Koopas, you will receive the Power Moon.
25: Peach in the Lost Kingdom

Available only after completing the main story and visiting the Mushroom Kingdom.
Travel to the Rocky Mountain Summit checkpoint.
Princess Peach stands on the summit near the Crazy Cap shop and enjoys the view over Forgotten Isle.
Speak to her to obtain the Power Moon.