

After completing the main story, you can activate the Moon Rock in Metro Kingdom. This will reveal 15 additional Power Moons that could not be collected before.
67: Hanging Between Buildings
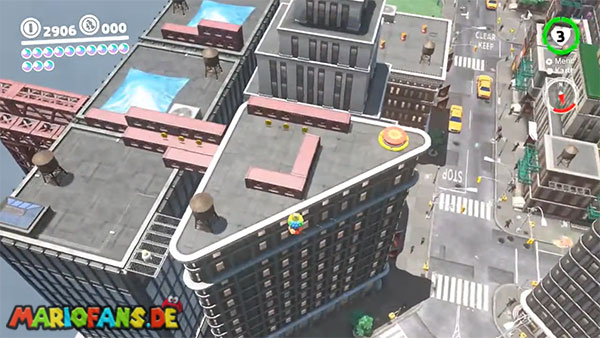
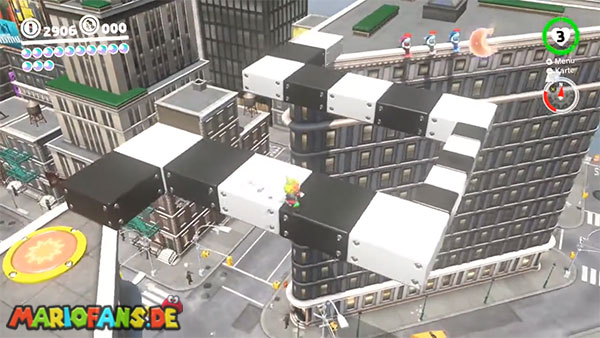
Go to the smaller triangular building southeast of the town hall. There is a large red floor switch on the roof.
Perform a ground pound attack on the switch. This will briefly create a black and white patterned path between the two triangular buildings.
Immediately run onto the path and look for the Power Moon hovering high above you, roughly in the middle.
You can’t reach it with a normal jump. Instead, perform a ground pound: Jump upwards, perform a ground pound, and immediately after landing, press the jump button again.
Alternatively, you can use a backflip followed by a cantilever dive and a dive. Touch the moon before the temporary path disappears again.
68: Crossing Lines
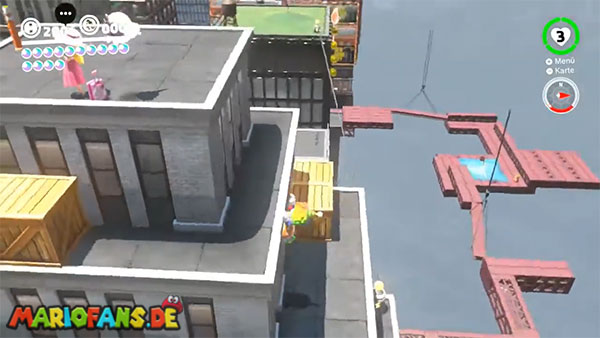
Travel to the Rooftop Garden checkpoint. There you will find a power pole whose line leads to the building to the north.
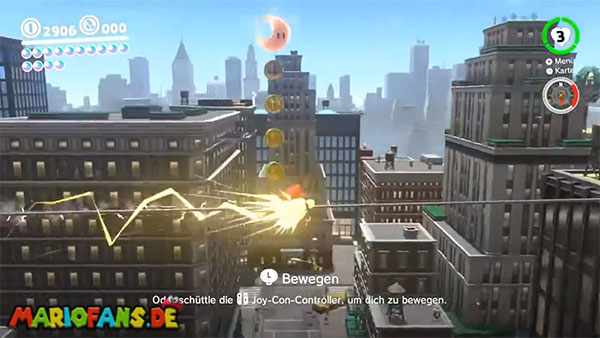
Capture the power pole and glide across the line as a sphere of electricity.
Approximately halfway along the route, you’ll see three golden coins floating in an arc above the cable. The Power Moon is located directly above the coins.
Accelerate at this point by repeatedly pressing the action button or by shaking the controller. Mario will follow the coin arc upwards and automatically touch the Power Moon.
The electric sphere then lands back on the line and continues on to the opposite building.
69: Out of a Crate in the City
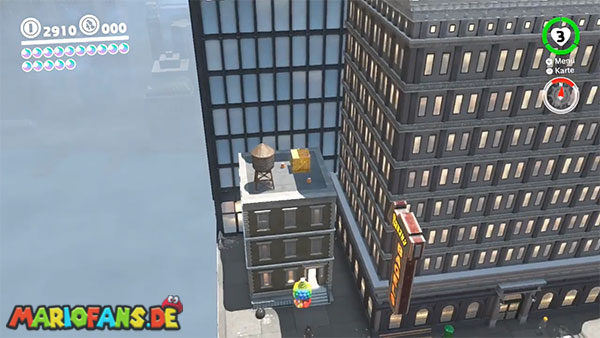
Travel to the Outdoor Cafe checkpoint. Go to the building where the large crowd from Power Moons 37 and 38 is located.
Go into the narrow alley next to the building and jump onto the roof using several wall jumps.
There’s a conspicuously sparkling wooden crate there. Destroy it with Cappy or a ground pound.
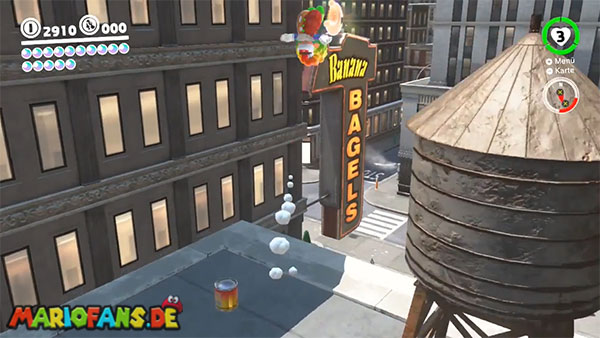
The Power Moon flies out of the box and lands on the large Banana Bagels sign on the neighboring building.
Climb the water tower and jump from there towards the sign. Throw Cappy forward in mid-air, jump on the cap, and then perform a diving jump to the Power Moon.
70: Bird Traveling in the Park

Travel to the checkpoint Mayor Pauline Honor Park.
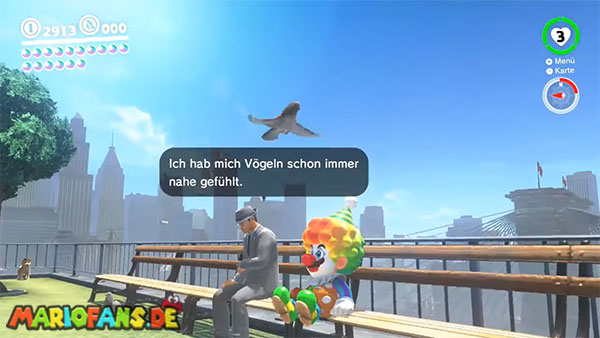
A luminous bird flies around the park in a short, consistent route. Because it flies relatively high above the ground, it is difficult to spot from a normal vantage point.
Go to the park benches on the eastern side or climb the tree that is particularly close to the corner of the park.
Watch the bird’s shadow and wait until it approaches your position.
Perform a backflip or a ground pound and throw Cappy at the bird. If he hits it, he’ll drop the Power Moon.
71: Metro Kingdom Timer Challenge 3
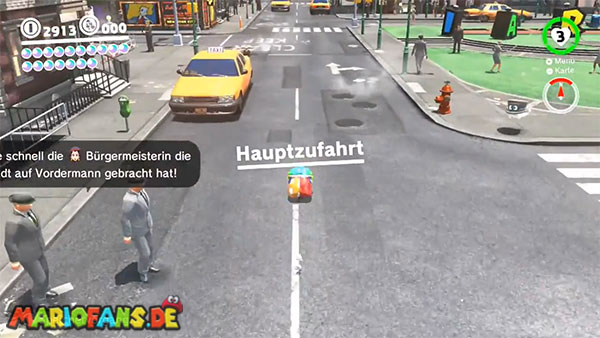
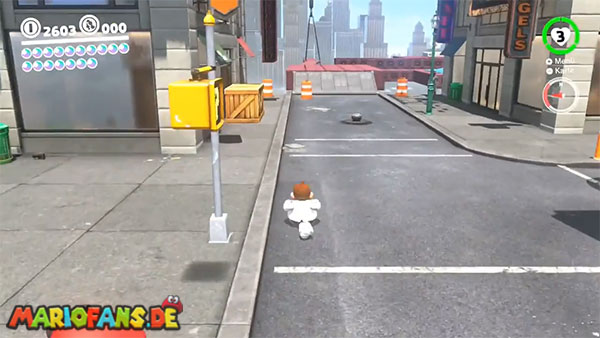
Southwest of the Crazy Cap shop, or near the RC car course, there is a scarecrow.
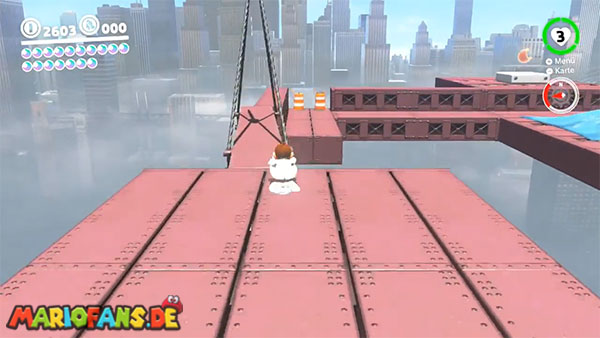
The Power Moon appears on a square platform within the adjacent construction site after activation. You only have about ten seconds.
The easiest way to complete this task is with a scooter. Park the vehicle next to the scarecrow before activating it.
Throw Cappy at the scarecrow, immediately get on the scooter and ride across the narrow, swaying steel beams.
At the end, jump onto the square platform and leave the scooter to collect the Power Moon.
Without a scooter, you can also complete the course using rolls, long jumps, and dives. However, there is virtually no room for error.
72: Found in the Park! Good Dog!
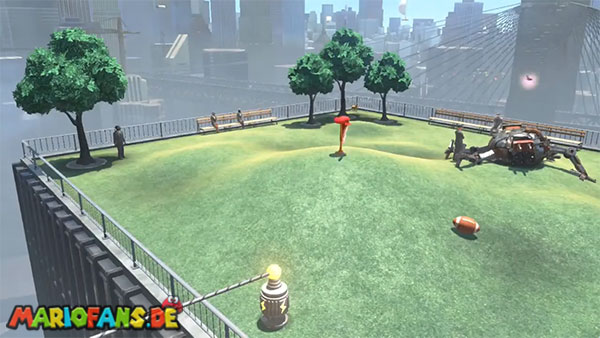
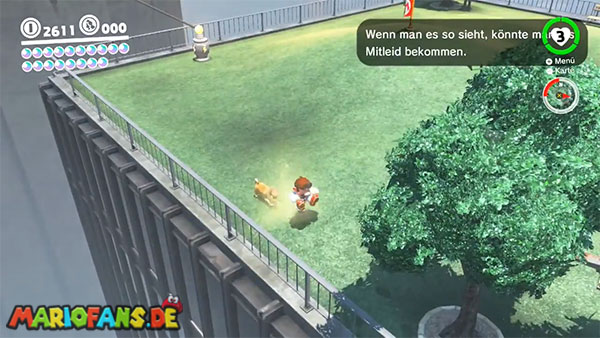
A trip to the Mayor Pauline Memorial Park. A small dog is waiting in a corner of the park.
Approach him and play with him for a moment until he follows Mario. Then walk slowly through the park.
The dog starts sniffing at various spots and eventually digs in the ground with its front paws. Perform a stamping attack at each of these spots.
On your first few attempts, you’ll usually only find a few coins.
Follow the dog further into the southeastern part of the park, near the three trees. There he will finally discover a glowing spot.
Perform a ground pound attack on the marked spot to uncover the buried Power Moon.
73: RC Car Champ!
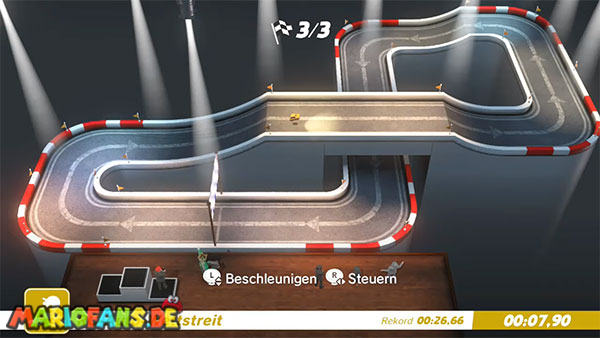
Return to the building with the RC car race where you already received the Power Moon RC Car Pro!
Capture the New Donker again using the remote control. This time you must complete three full laps in less than 26 seconds.
Keep the acceleration button pressed throughout the entire race. Steer only with small, careful movements, as the RC car will quickly crash into the barrier if you change direction too sharply.
Take the corners as tightly as possible and stay within the lane. Every collision with a wall costs crucial seconds.
If you beat the required time after three rounds, you will receive the Power Moon.
74: Metro Kingdom Master Cup
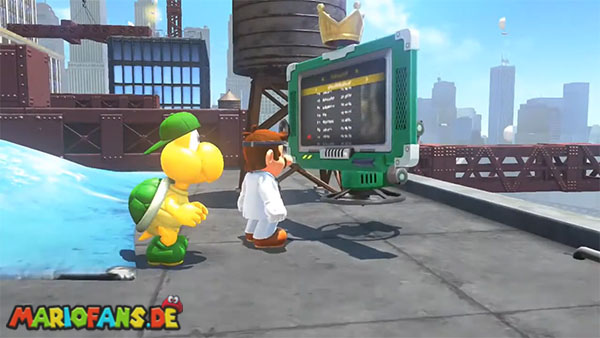
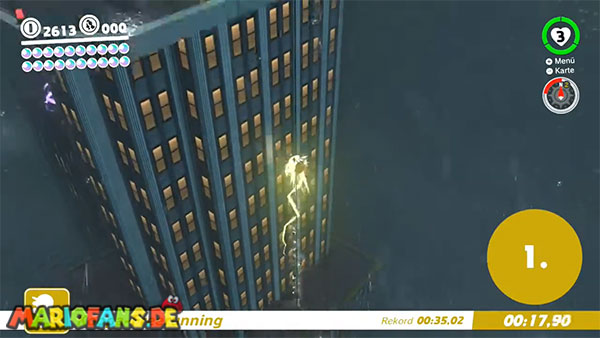
Return to the Koopa on the rooftop east of the park, near the main entrance. After winning the standard race, you can compete against the experts.
The finish line is once again at the swimming pool on the westernmost rooftop. The golden Koopa uses several shortcuts and is difficult to catch on the normal route.
Immediately after the start, jump onto the steel beam in front of you and then to the left to the horizontal bar on the wall of the house.
Launch yourself from the pole onto the roof and run across the entire building. Finish with a long jump, including a canter and a dive, to the opposite roof.
Use the nearest pole there to launch yourself towards the building with the swimming pool.
Work your way onto the roof and be the first to touch the finish line. Using the same shortcut as in the standard race, you should be able to narrowly beat the golden Koopa.
75: Hat-and-Seek: In the Crowd
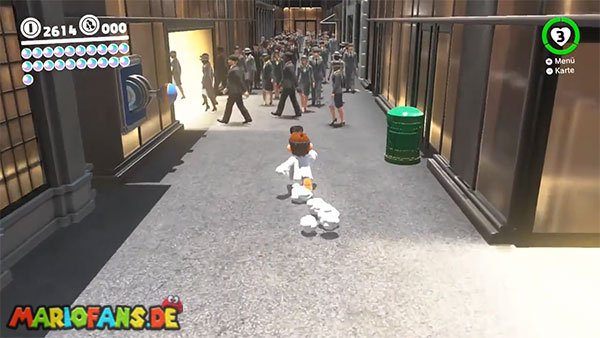
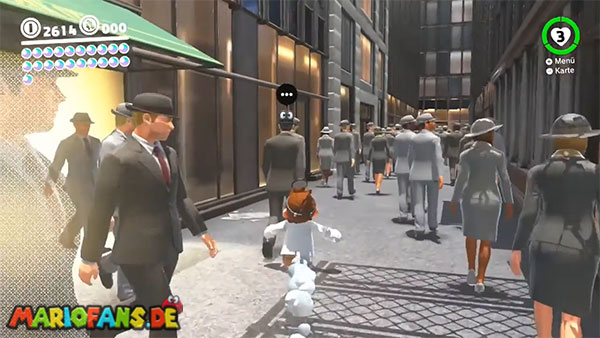
Re-enter the building at the outdoor café, where the large crowd from Power Moons 37 and 38 is located.
One of the New Donkers is carrying a resident of the Cap Kingdom on his head. You can recognize the hat you’re looking for by the distinctive eyes on its back.
First, stand at the edge of the room and observe the people walking by. From there you can see the backs of the hats particularly well.
Once you’ve spotted the hat with the eyes, make your way through the crowd and approach the corresponding New Donker.
The discovered Bonneter leaves its hiding place and hands you the Power Moon.
76: Scaling Pitchblack Mountain
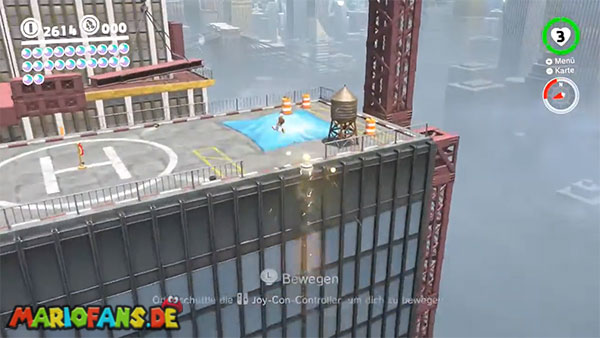
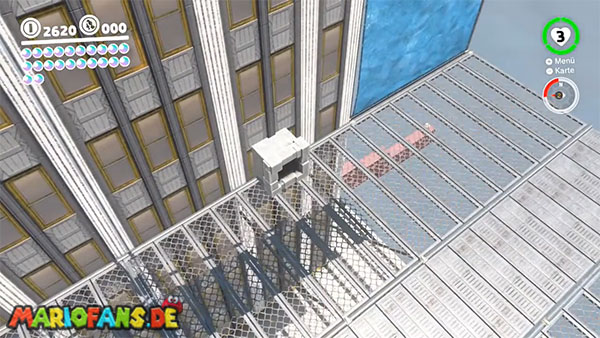
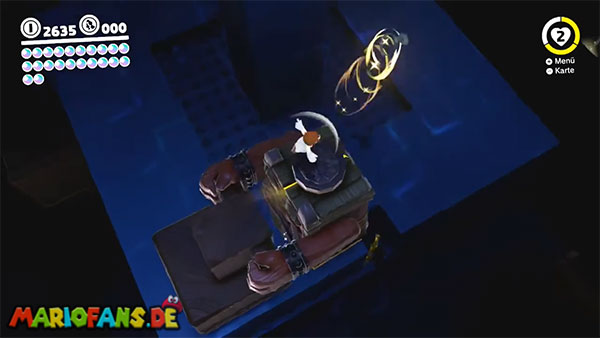
Travel to the Heliport checkpoint and drop down onto the lower metal platform where you previously found Pauline’s handbag.
A grey moon tube has appeared on the house wall after activating the Moon Rock. It leads you to a pitch-black bonus area.
Before you is a high mountain with several platform levels. Stair-horrors await on each step.
Approach an opponent and stand in front of their wooden striking surface. As soon as they prepare to attack, dodge to the side.
The striking surface remains on the ground for a brief moment. Jump onto it and use the stair climber as a step to reach the next level.
Circle the mountain and repeat the process with the remaining enemies. At times, you’ll need to navigate narrow side passages and overcome a short section requiring wall jumps.
At the top, one last stair-climbing monster awaits. Lure it into an attack and jump from its striking surface onto the spiked pillar.
You can collect the Power Moon there.
77: Reaching Pitchblack Island
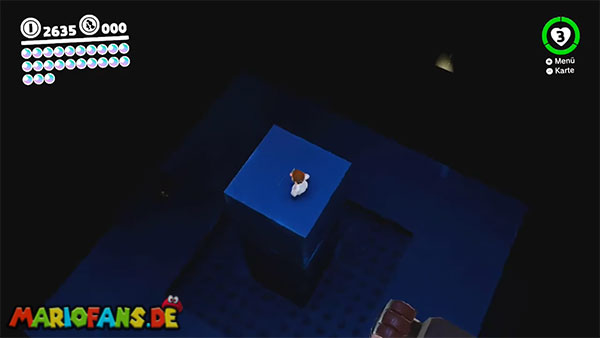
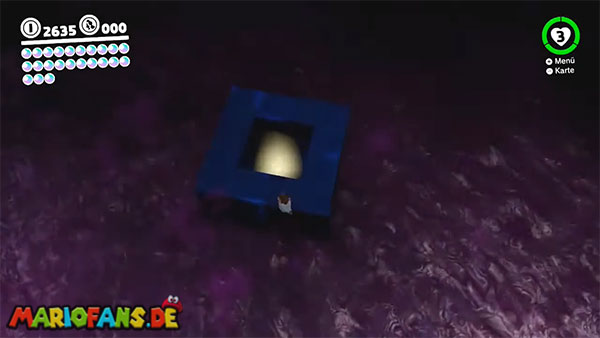
This Power Moon is located in the same dark bonus area as Moon number 76.
Go to the far side of the lowest mountain plateau. In the distance, above the poisonous sea, you will see a small island with a glowing spot.
There is an invisible path between the mountain and the island.
Repeatedly throw Cappy in front of Mario at the seemingly empty area. This will make the invisible blocks visible for a brief moment.
Work your way slowly from one block to the next. Throw Cappy again before each step so you can see the path ahead.
On the small island, perform a ground pound attack on the glowing spot. This will reveal the Power Moon.
78: Swinging Scaffolding: Jump!
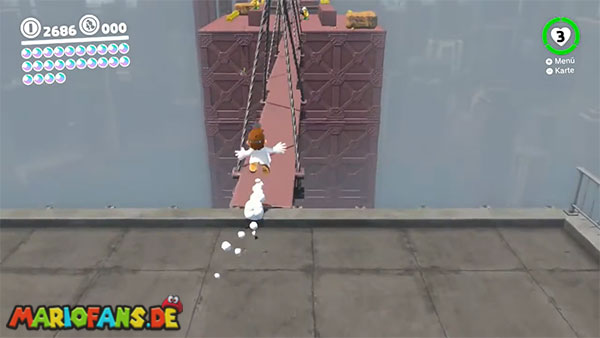
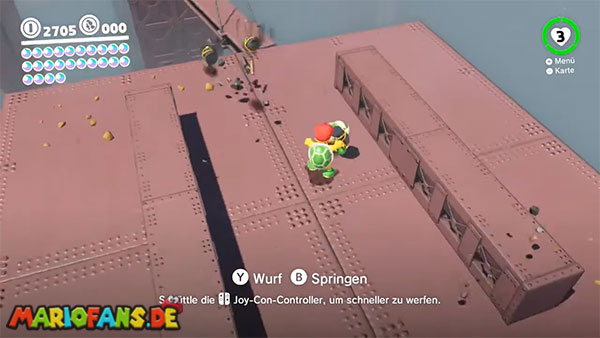
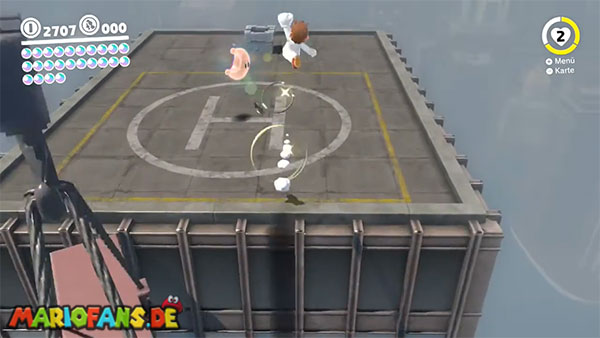
Go to the highest roof of the building where the Koopa is waiting for the Metro Kingdom races. There you will find another gray moon pipe.
In the bonus area, you have to cross several swaying steel beams that hang from large cranes.
Numerous Hammer Bros await on the carriers. You can defeat the enemies with Cappy or capture a Hammer Bro yourself.
As Hammer Bro, you can jump especially high and take out other enemies with thrown hammers. However, Mario can be controlled more precisely on very narrow steel beams.
Wait until the swinging supports are as close together as possible, and then jump onto the next platform.
After the first section, you climb up the facade and cross another group of swaying steel beams.
The Power Moon awaits at the end of the course.
79: Swinging Scaffolding: Break!
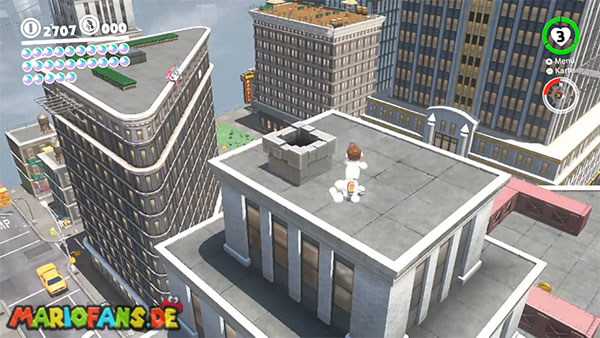
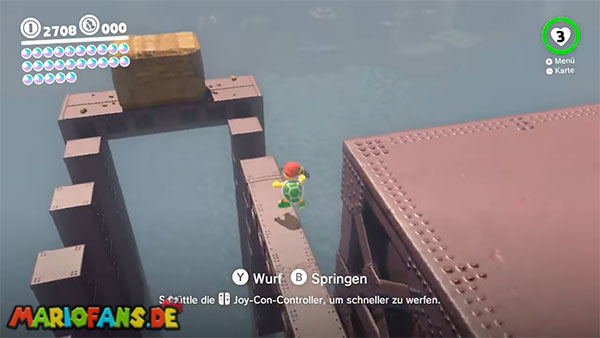
This Power Moon is located in the same bonus area as the previous moon.
Follow the course until you reach the second group of Hammer brothers. Capture one of the opponents there.
On the left side, off the normal path, you will see a large stone block on a swaying steel beam.
Jump onto the support with the Hammer Brother and throw hammers at the stone block until it completely breaks.
The hidden Power Moon is located inside the rock.
When throwing, be careful not to fall off the swaying steel beam. Stay as close to the center as possible and only jump further if the next beam is in a favorable position.
80: Motor Scooter Daredevil!
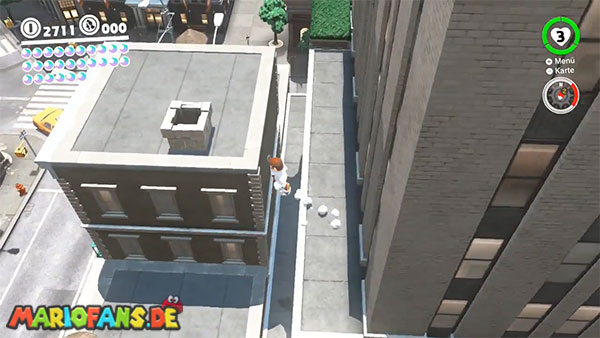
Travel to the Rooftop Garden checkpoint. From there, jump to the slightly lower building in the northeast.
There’s a grey moon tube on the roof. Alternatively, you can reach the building via the lantern and the elastic pole by the Crazy Cap building.
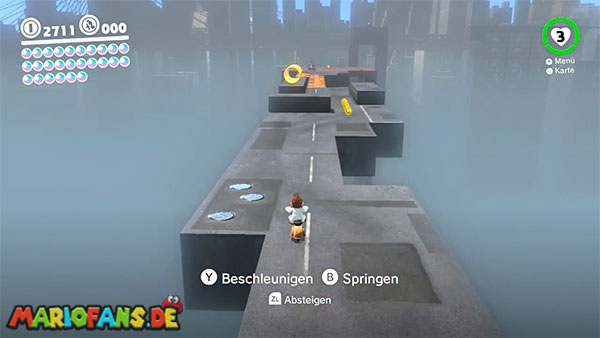
A scooter awaits you in the bonus area. Ahead of you are three sections with paths that only appear for a short time.
In the first section, drive over the P switch and accelerate immediately. Follow the resulting path and dodge the Sherms‘ projectiles with short steering movements and jumps.
In the second section, you have to jump upwards on the scooter across several platforms arranged like steps. Keep the accelerator pressed and steer as straight as possible.
In the third section, you’ll encounter a particularly large number of Sherms. Drive past them quickly and don’t stop, as their projectiles can destroy the temporary platforms.
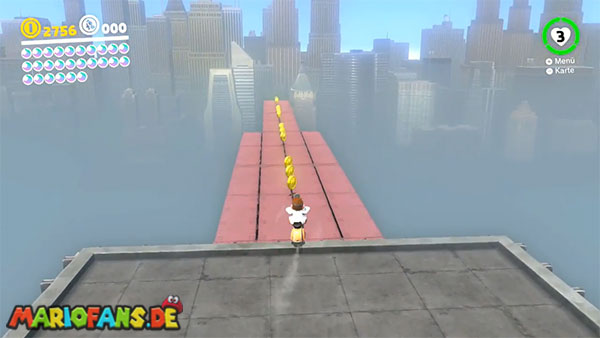
Finally, follow the red steel beams and at the end jump to the Power Moon on the scooter.
81: Full-Throttle Scooting!
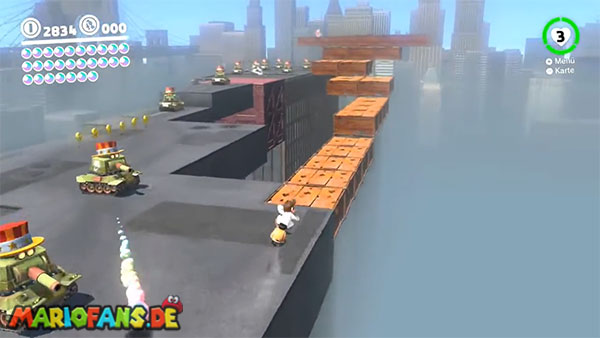
This Power Moon is located in the same scooter course as the previous moon.
Cross the first two sections and drive to the third P switch.
Activate the switch and accelerate. However, do not follow the normal path straight ahead through the many Sherms.
Immediately after the switch, turn sharply right onto the narrow orange platforms.
The platforms break shortly after being driven on. Therefore, keep the acceleration button pressed continuously and do not stop.
Jump over the gaps with your scooter and follow the narrow, stair-like rising side road.
At the end of this dangerous path awaits the last Power Moon of Metro Kingdom.