

After completing the main story, you can activate the Moon Rock in the Wooded Kingdom. This will reveal 22 additional Power Moons that could not be collected before.
55: High Up in the Cave
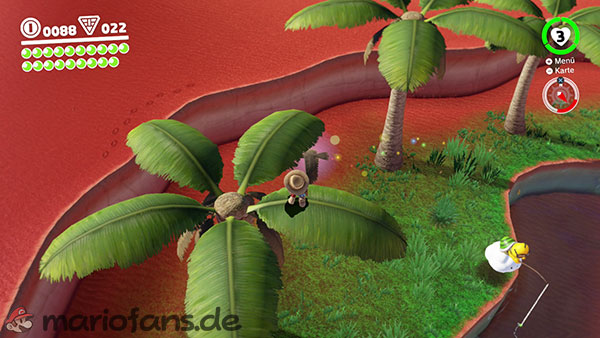
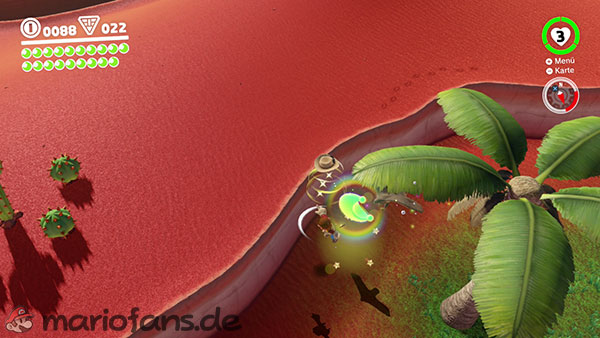
Enter the cave that connects the wooded starting area with the actual Steam Gardens. This is the passage that was originally guarded by the Sphinx.
On the Steam Gardens side, near the cave exit, you’ll find a Uproot. Capture it and return to the cave with it.
Approximately halfway through the passage, the Power Moon hovers high above the ground. Stand directly beneath it and fully extend the legs of the Uproot to reach it.
56: Lost in the Tall Trees
Travel to the reset point, the observation deck, and capture the glider there.
Stand at the edge of the observation deck and look southwest over the forest. You’ll see a small wooden platform with a crate on it, attached to a tall tree.
Glide to this platform and land as close to the center as possible. Then exit the glider and destroy the wooden crate with a ground pound.
The revealed Power Moon appears near a yellow pole. Jump to it and climb up to collect the moon.
57: Looking Down on the Goombas
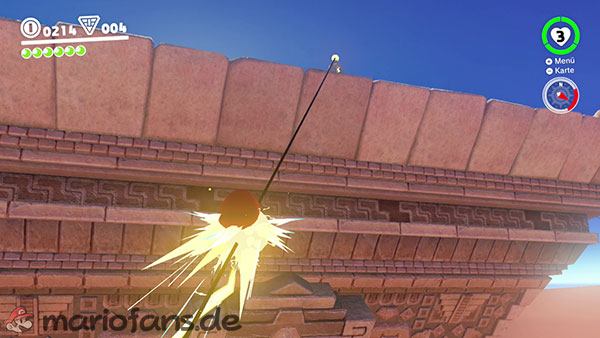
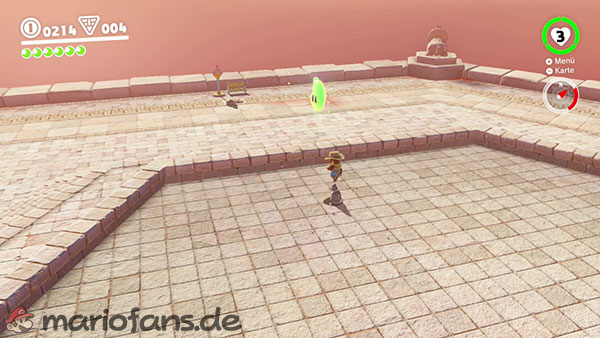
Return to the observation deck and capture the glider.
Go to the western corner of the platform and look towards the Odyssey. Between the observation deck and the landing pad is a tall metal wall. A large nut grows on top of this wall.
Glide directly to the nut and land on the narrow metal surface. Destroy the nut with Cappy or a ground pound.
The hidden Power Moon lives up to its name: From up here you can look directly down onto the Goomba area.
58: High Up on a Rock Wall

Follow Iron Road until you reach the area in front of the red metal labyrinth. There are three grey blocks on the rock face, above which a nut is growing.
Capture one of the mistletoe roots in the area and stand directly in front of the gray blocks. Extend your legs to reach the blocks.
From there, stretch fully upwards once more. The mistletoe breaks the nut and releases the Power Moon.
59: The Nut in the Robot Storeroom

Journey to the Iron Road checkpoint – entrance and take a Uproot.
Go with her to the storage room, which you’ll pass through on your way to the charging station. Several robot gardeners and two visitors from Luncheon Kingdom are in this room.
Directly above the entrance, a nut grows on the wall. Stand underneath it with the mistletoe and fully extend its legs.
As soon as the nut breaks, the power moon appears.
60: Above the Iron Mountain Path
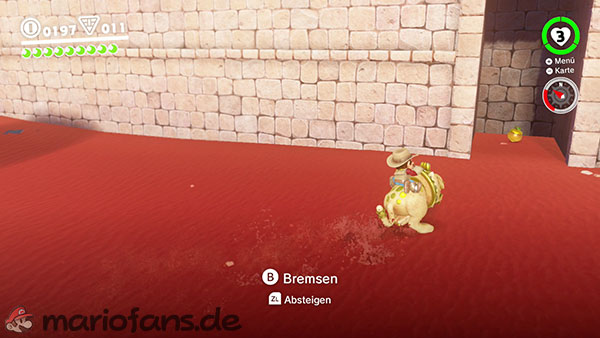
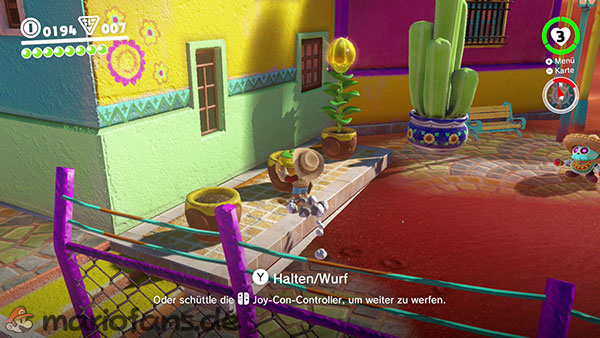
Travel to the observation deck and capture the glider waiting there.
First, jump onto the slightly higher platform with the large planter. Then look northwest towards the beginning of Iron Road.
In the distance, you can see the Power Moon floating freely in the air. Take a good run-up, jump off the edge, and glide directly towards it.
Keep the glider as level as possible during flight. The moon is located high above the entrance to Iron Road and can be collected as you glide past.
61: The Nut Under the Observation Deck
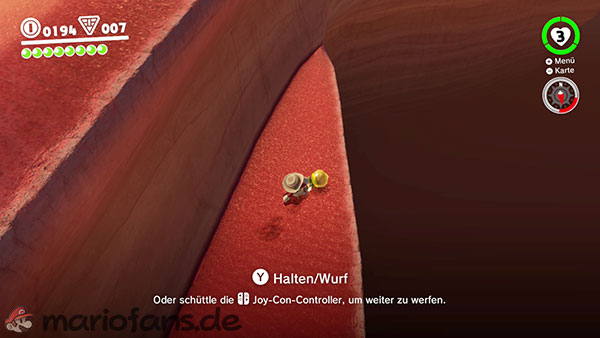


Travel to the Iron Mountain Path checkpoint – Station 8 and capture the Uproot below the platform.
Go with her up the ramp and turn right at the top. Walk past the P-switch to the railing and follow the metal wall around the corner.
A nut grows high up on the wall. Even a fully extended black broom plant cannot reach it from the ground.
Stand in the corner below the nut and extend your legs. This will reveal several invisible blocks. Jump onto the blocks and then stretch upwards again.
Now you can reach the nut and free the Power Moon hidden inside.
62: Bird Traveling the Forest
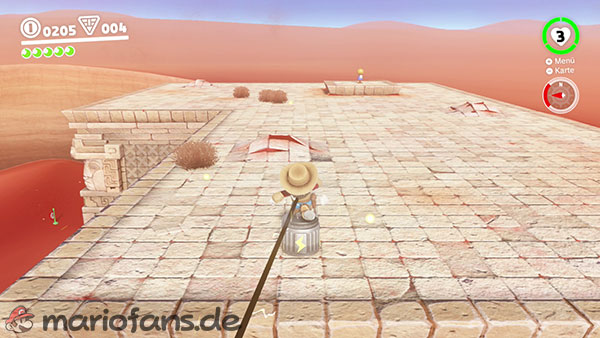
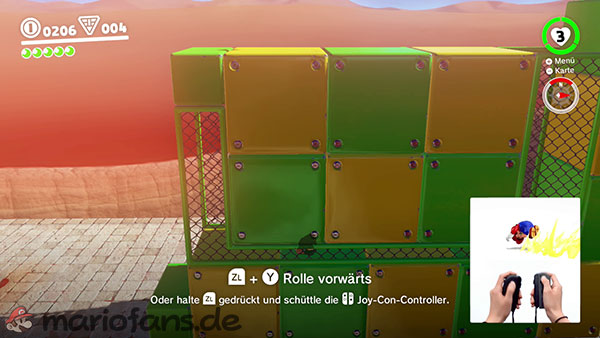
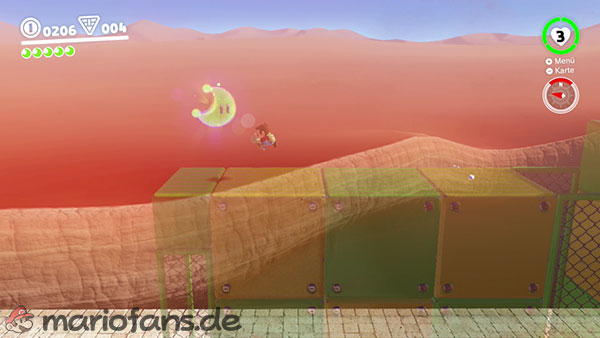
A bright blue bird flies along a fixed route through the forest. It circles, among other places, Iron Road, the Sky Garden, and the charging station.
A good spot to intercept the bird is at the Iron Road reset point – halfway along the route. Stand on the western railing there and wait until the bird flies by.
Throw Cappy at the bird at the right moment. If he hits, he loses his Power Moon.
If you miss him, don’t chase after him. Just stay in the same spot and wait until he’s finished his rounds and comes by again.
63: Invader in the Sky Garden
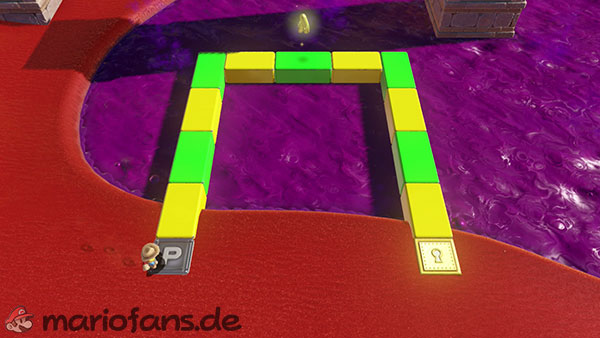

Travel to the Sky Garden Tower checkpoint and climb the stairs to the former boss arena. A flying troublemaker awaits you there.
Capture a Goomba and jump on the remaining Goombas to form a tall Goomba tower.
Approach the enemy cautiously. Be careful of its rotating arms and the spiky balls rolling across the platform.
If you are directly below the enemy, jump out of the Goomba tower and land on its head from above. Repeat this process until the troublemaker is defeated.
The Power Moon appears as a reward.
64: Hot, Hot, Hot from the Campfire
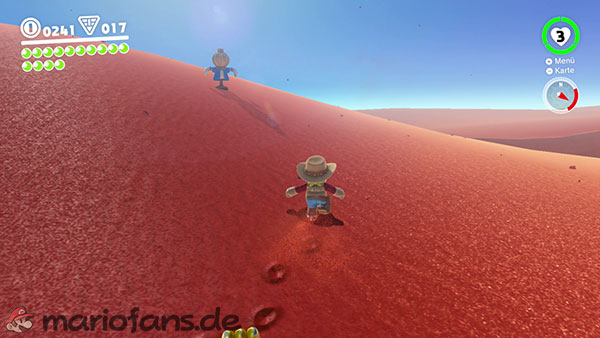

Near the small pond and the parrot, an inhabitant of Luncheon Kingdom waits in front of a campfire that has not yet been lit.
To help him, you need a Fire Brother. You can find a suitable enemy by the stream or near the cave where you obtained the Fire Power Moon.
Capture the Fire Brother and return with him to the campfire. Shoot a fireball at the stacked wood.
Once the campfire is lit, you will receive the Power Moon.
65: Wooded Kingdom Timer Challenge 3
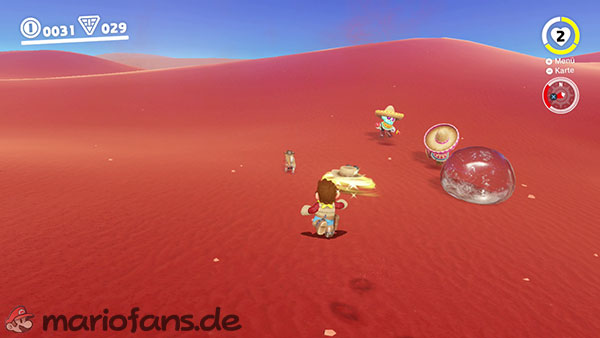

Travel to the Iron Mountain Path checkpoint – Station 8. Jump over the western railing there onto the lower ledge.
Here you’ll find a scarecrow. Throw Cappy at it to make an obstacle course appear on the rock face for a short time.
First, cross the two moving platforms. Then jump onto the red bars and swing from one bar to the next.
Cappy stays on the scarecrow during the tournament, so you can’t use cap jumps.
If you reach the end of the course in time, you can collect the Power Moon.
66: Moon Shards in the Forest
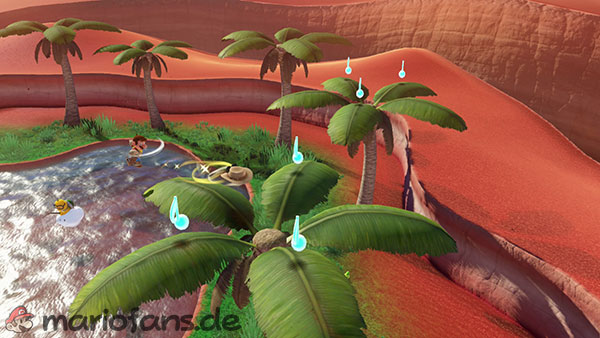

Go to the red metal labyrinth on Iron Road and capture an Uproot there.
After activating the Moon Rock, there are five Moon fragments within the labyrinth. Search both the ground and the elevated metal platforms.
Use the extendable legs of the mistletoe to reach the upper levels and the areas behind the sliding walls. Some Moon Shards are already visible from the main path, others are located in the side sections of the labyrinth.
Once you have collected all five Moon Shards, the Power Moon will assemble itself at the Iron Road checkpoint – halfway along.
67: Taking Notes: On Top of the Wall
Head to the high stone wall that surrounds the wooded starting area with the Odyssey. The wall can be reached via one of the yellow poles at the edge of the area.
On the southeastern side of the wall, you’ll find a glowing treble clef. Touch it to make a long string of musical notes appear.
The notes lead over the wall towards the Odyssey. The time limit is tight, so you should cover most of the distance by rolling.
Accelerate on the wide sections. If the wall narrows, you should roll a little slower and carefully correct your direction.
Once you’ve collected all the notes, the Power Moon will appear at the end of the track.
68: Taking Notes: Stretching


Travel to the Iron Mountain Path checkpoint – Station 8 and jump over the northwest railing to the lower level.
Capture a sapling there and touch the glowing treble clef. Several musical notes of varying pitches will then appear.
Alternately extend and retract the legs of the gentian to collect the notes. The arrangement should roughly form a large V.
First, move upwards on one side, then retract your legs and work your way back down on the other side.
After you’ve touched all the notes, the Power Moon will also appear high above the ground. Stretch out completely to collect it.
69: Wooded Kingdom Master Cup
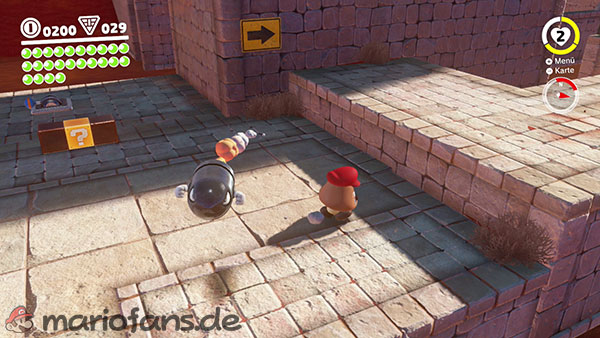
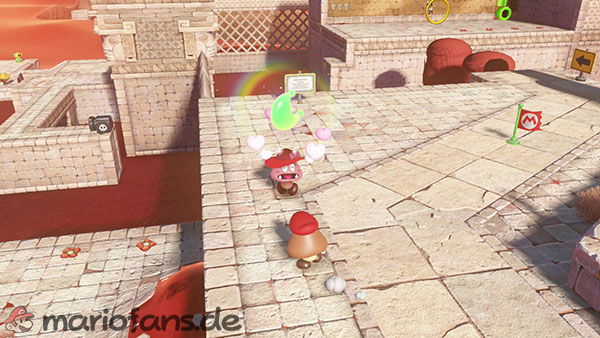
Travel to the charging station in the forest and talk to the Koopa again. After winning the normal race, you can participate in the expert race here.
The golden Koopa uses several shortcuts and is difficult to catch on the normal route through the red maze.
Shortly after the start, jump over the left railing and take the direct route through the lower section. Use rolls and long jumps to move forward quickly.
Don’t try to walk through the entire maze before entering the red labyrinth. Instead, jump across the gap from the platform next to the labyrinth. A combination of long jump, cap throw, and diving will get you to the other side.
Next, activate the P-Switch and follow the flower path towards the goal. If you arrive first, you’ll receive the Power Moon.
70: I Met an Uproot!
A resident of the Cap Kingdom is eager to get a close look at an Uproot. He waits on a metal platform behind the red labyrinth.
Capture an Uproot near Iron Road and use it to traverse the labyrinth. Then activate the P-Switch and follow the flower path that appears.
Cross the small islands and the crumbling platforms. The inhabitant of the Cap Kingdom awaits on one of the metal structures to the side.
Approach it without leaving the mistletoe. Once he has seen the creature up close, he will give you the Power Moon.
71: Invisible Road: Danger!

Go to the entrance of the Secret Flower Field. At the bottom of the ramp is a grey moon tube that appears after activating the Moon Rock.
In the bonus area, you have to cross a largely invisible path. The poisonous Piranha Plants unintentionally help you orient yourself: their purple poison remains on the invisible platforms, making their outlines visible.
Proceed slowly and observe where the poison lands on the ground. You can also deliberately make the plants spit in your direction to reveal more of the path.
At the large rotating platform, you should first wait until its position is clearly visible. Then follow the invisible path to the end of the area.
There you have to defeat three large poison Piranha Plants. Throw their poison balls back with Cappy or stun the plants and jump on them.
The Power Moon is released after the battle.
72: Invisible Road: Hidden Room
This Power Moon is located in the same bonus area as the previous moon.
Follow the invisible path until you reach the large rotating platform in the center of the area. First, eliminate the Piranha Plants so you can look around undisturbed.
On the opposite side of the original entrance, you’ll see a square opening in the wall. Between the rotating platform and this opening is another invisible path.
Wait until the platform is properly aligned, then walk straight towards the opening.
There’s a treasure chest in the hidden room. Open it to obtain the Power Moon.
73: Herding Sheep Above the Forest Fog
Near the charging station in the forest, in the Goomba area, there is a grey moon pipe. It leads you to a sheep-herding quest above the Misty Forest.
Your task is to herd the sheep across several narrow platforms to the fenced-in target area.
If you walk behind the sheep, it moves away from you. If you stand to the side of it, it changes direction accordingly. Hitting it with Cappy sends the sheep flying a greater distance forward.
Before each major jump, carefully align the sheep with the center of the next platform. If you launch it at an angle, it will easily fall into the abyss.
On narrow sections, you should only herd the sheep slowly ahead of you. Only use Cappy when the next section of the path is directly in front of him.
Finally, herd the sheep into the round enclosure. The Power Moon will then appear.
74: Herding Sheep on the Iron Bridge
After you have brought the first sheep into its pen, jump onto the lower metal platform on the opposite side of the target area.
Enter the green tube there. It leads to a second sheep-herding task.
First, carefully guide the sheep towards the P-switch and align it precisely with the opposite platform. Only activate the switch once the sheep is correctly positioned.
A narrow steel bridge appears briefly when you flip the switch. Throw Cappy as straight as possible at the sheep so it’s launched across the bridge.
Follow it quickly and propel it into the enclosure with another straight cap throw before the bridge disappears.
Once the sheep reaches the goal, you will receive the Power Moon.
75: Down and Back Breakdown Road
Travel to the Iron Road checkpoint – entrance. A grey moon tube is located below the movable metal platforms.
In the bonus area, a long road made of destructible blocks leads to a key. At the same time, large Bullet Bills fly towards you and destroy parts of the path.
Run across the road as fast as possible. Use long jumps to cross existing gaps and don’t stop unnecessarily.
At the end of the path you will find the key. As soon as you touch it, the Power Moon will appear at the starting point of the route.
Let the large Bullet Bill destroy the blocks at the end and jump down to the lower level. Another Bullet Bill will be flying along there.
Capture him and fly back to the beginning below the bumpy road. Leave the Bullet Bill in time and land on the launch platform to collect the Power Moon.
76: Below Breakdown Road
This Power Moon is located in the same bonus area as the previous moon.
First, run to the end of the bumpy road and wait until the big Bullet Bill has destroyed the blocks near the key.
Jump through the opening to the lower level and capture the Bullet Bill flying there.
Fly back towards the entrance with him. Stay below the bumpy road and look out for a wall of brown blocks below the launch platform.
Guide the Bullet Bill directly into these blocks. The hidden Power Moon is behind the destroyed wall.
Leave the Bullet Bill just before the collision or immediately after the breakthrough and land in the opened chamber to collect the last Woodland Power Moon.