

01: The Stone Pillar Seal
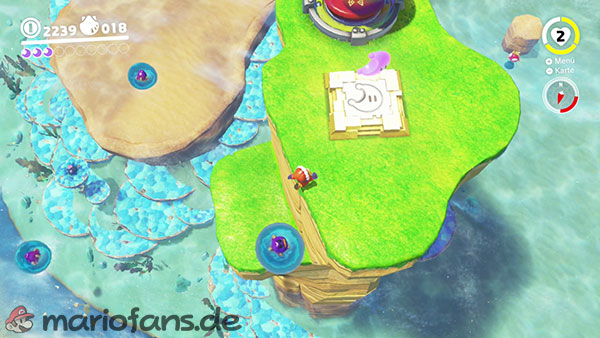
Follow Bowser’s footprints north from the Odyssey. You’ll spot the first Power Moon on a tall, verdant stone pillar.
Capture one of the Gushens in the water. Hold down the jump button to rise into the air with its water jet.
First, fly to the lower rocky ledges and replenish your water supply in one of the small pools if necessary.
Next, climb to the top of the stone pillar and collect the Power Moon. This will open the first seal and free one of the four precious water geysers.
02: The Lighthouse Seal
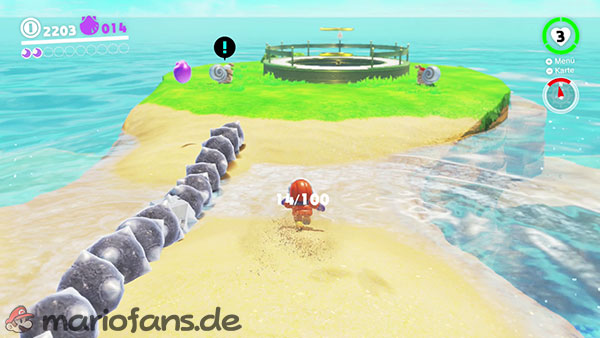
Go to the large lighthouse in the western part of the Seaside Kingdom.
The direct entrance is blocked. Therefore, walk past the lighthouse on the right and jump into the opening in the shallow water.
Dive down and capture a Cheep Cheep. Follow the dark underwater tunnel and swim through the coin rings.
Watch out for the large eels that dart out of their burrows. Wait for a safe opportunity and swim quickly past them.
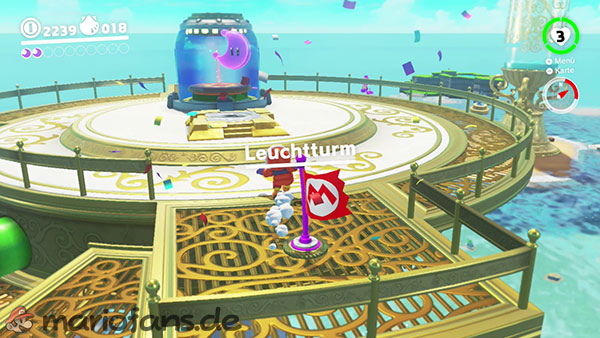
At the end of the tunnel you will reach a green pipe. It will take you to the top of the lighthouse.
Collect the Power Moon there to open the second seal.
03: The Hot Spring Seal
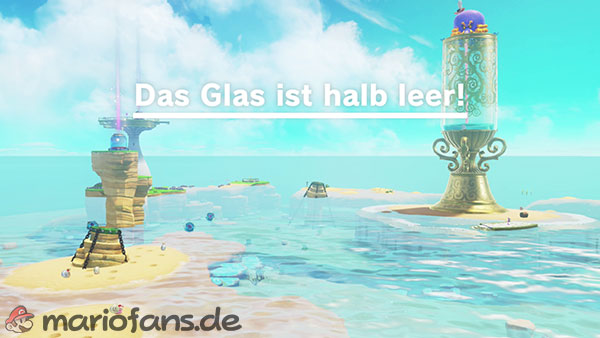
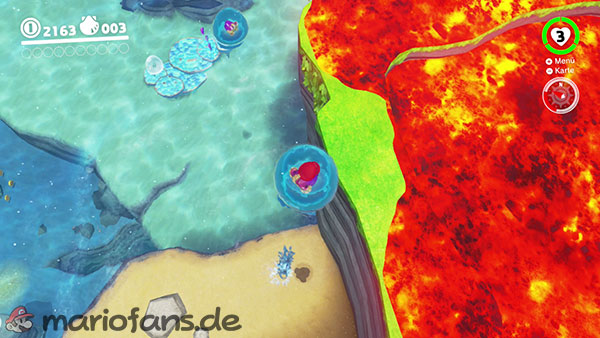
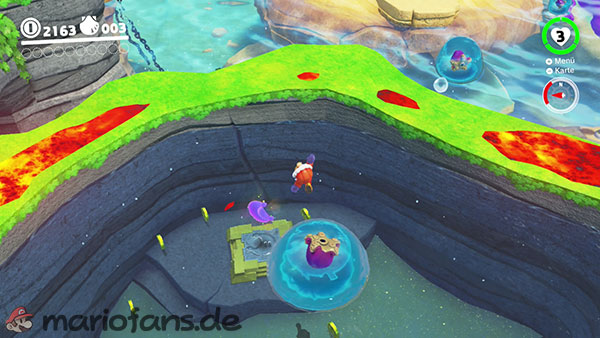
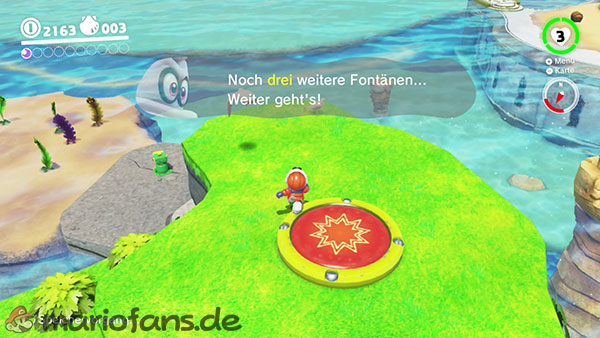
Travel to the Hot Spring Island in the northeastern part of the Seaside Kingdom and capture a Gushen.
The pools of water on the island are initially completely covered in hot lava. Spray the lava with the water jet of the Gushen to remove it piece by piece.
Be careful not to use up all your water. If you land in an already cleaned pool, the Gushen will refill.
Work your way to the large pool at the top of the island and wash away all the lava there.
Then dive into the exposed water. At the bottom of the pool lies the Power Moon, which you use to open the third seal.
04: The Seal Above the Canyon
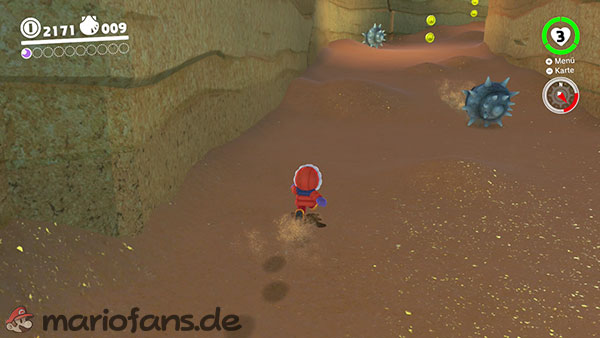
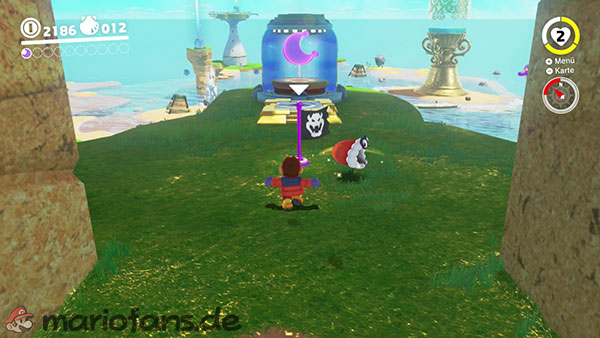
Go to the gorge in the southeastern part of the Seaside Kingdom.
Large spiny clams constantly roll towards Mario in the narrow passage. Run past the clams and use the small niches on the sides for cover.
Observe the rhythm of your opponents and only start running after a shell has rolled past you.
The spaces between the shells become shorter in the upper area. Therefore, do not stop in the middle of the path.
Destroy the wooden crates at the end of the canyon. Behind them is the Power Moon, which opens the fourth and final seal.
05: The Glass Is Half Full!
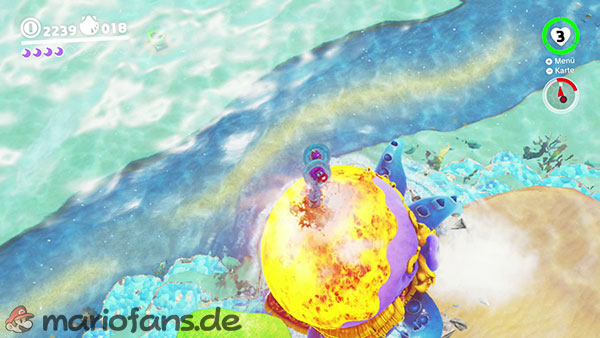
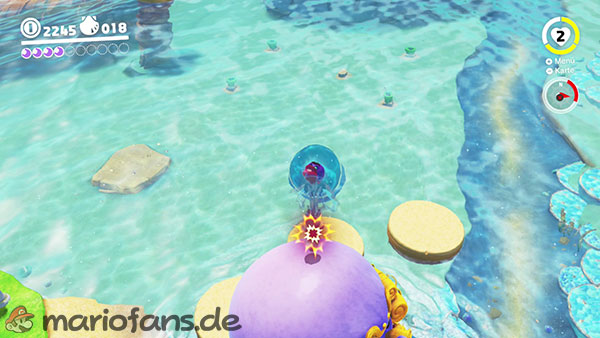
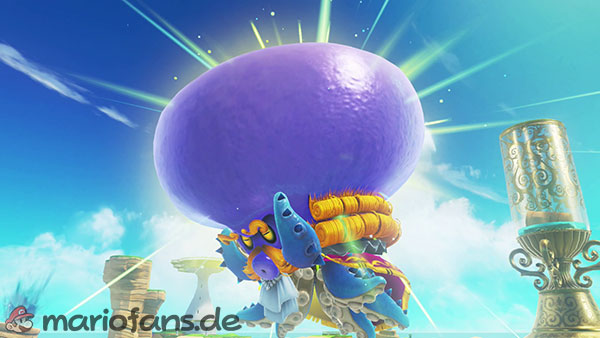
Boss fight against Mollusque-Lanceur
Once all four seals were broken, the precious water geysers erupted into the air. Mollusque-Lanceur left the Glass Palace and fled across the entire Seaside Kingdom.
Capture a Gushen and chase the boss. Use the water jet to climb over him and spray his head.
First, you must completely wash the lava off his head. Then you can continue to blast him with water or perform a ground pound attack on his unprotected head from above.
Mollusque-Lanceur is shooting large spiny clams and red shipworms at you. Keep moving and dodge the projectiles from the side.
Your water supply is limited. Land in the sea or one of the small pools from time to time to refill the Gushen.
After being hit, Mollusque-Lanceur flees to another part of the Seaside Kingdom and once again protects his head with lava.
Repeat this process a total of three times. After the third hit, Mollusque-Lanceur is defeated and you receive a Multi Moon.
06: On the Cliff Overlooking the Beach
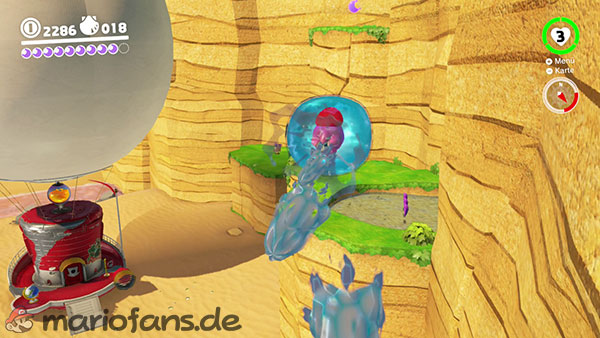
Views from the Odyssey looking south. High above the beach, a power moon hovers on a rocky cliff.
Capture a Gushen in the water and fly to the low ledges on the cliff face.
Halfway up, there’s a small pool of water. Land in it to fully replenish your water supply.
Then climb further upwards and fly to the highest cliff.
You can collect the Power Moon there.
07: Ride the Jetstream
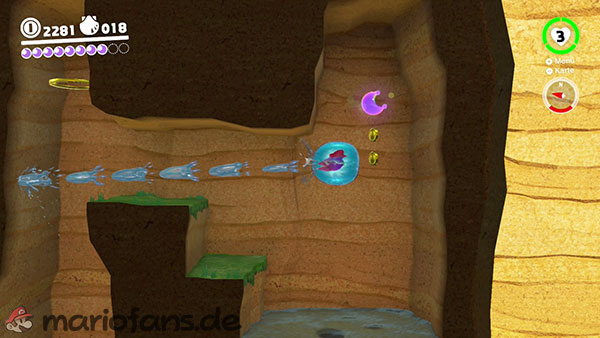
From the Odyssey, head west. Behind the landing pad, there is a large square opening in the ground.
Capture a Gushen and fly into the shaft.
Use the water jet to climb to the first rocky ledge and land in the small pool of water. This will replenish your supply.
Then, aim at the higher opening and use the water recoil again.
The Power Moon floats in the small chamber above the shaft.
08: Ocean-Bottom Maze: Treasure
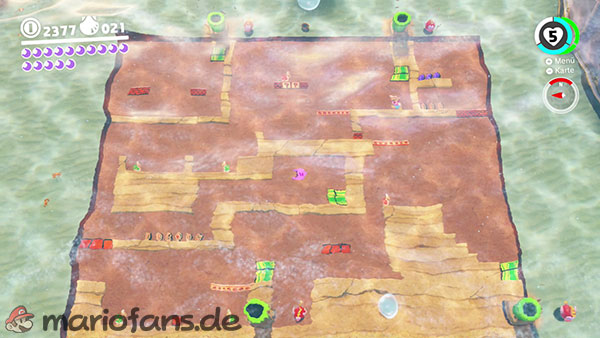
Dive to the seabed west of the Glass Palace. There you will find four green tubes leading to different areas of a two-dimensional labyrinth.
First, enter the southwest tunnel.
In the 2D area, walk to the left edge and jump several times against the seemingly empty ceiling. This will reveal three invisible blocks.
Then leave the labyrinth and swim to the northeastern tube.
Follow the path to the left and drop down onto the blocks you just uncovered. They now form a bridge to the central part of the labyrinth.
At the end of the path you can collect the Power Moon.
09: Ocean-Bottom Maze: Hidden Room
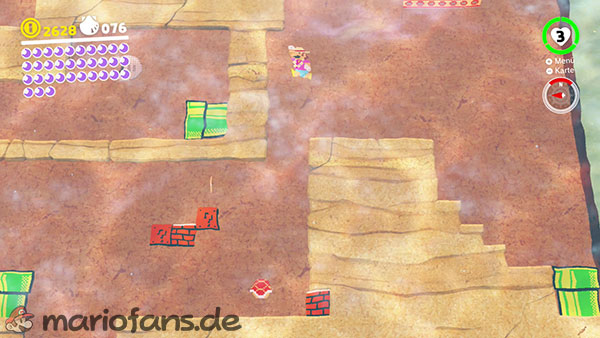
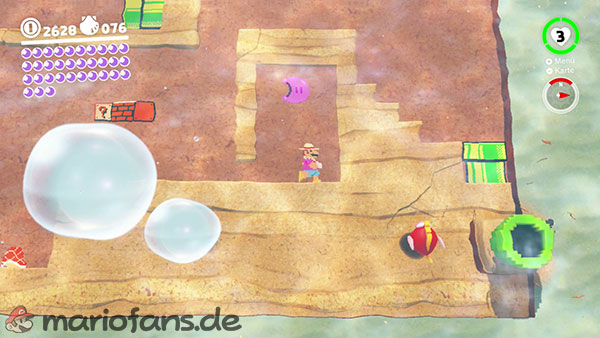
This power moon is located in the same seabed labyrinth as moon number 8.
This time, enter the southeast green tube.
Jump on the red Koopa on the upper platform. Its shell will then remain in place.
Kick the tank so that it falls over the edge to the left. Below, it destroys the single brick block in the wall.
Run to the opening you’ve created, take a short run-up, and duck while running. Mario will then slide through the narrow gap.
The Power Moon is located in the hidden room behind the wall.
10: Underwater Highway Tunnel
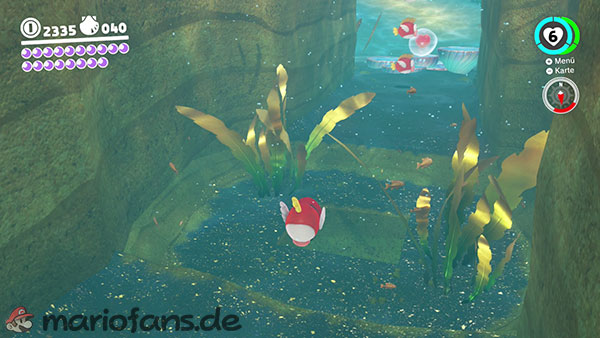
Search underwater for a wide tunnel, in front of whose entrance three Cheep-Cheeps are swimming back and forth.
Capture one of the fish and swim into the tunnel.
On the ground, you’ll see a square area of crumbling stones. Leave the Cheep Cheep and perform a ground pound on the stones.
Alternatively, you can destroy the blocks with the spin attack of the captured Cheep Cheep.
Another tunnel is uncovered beneath the stones.
Swim in and follow the short path to the Power Moon.
11: Shh! It’s a Shortcut!
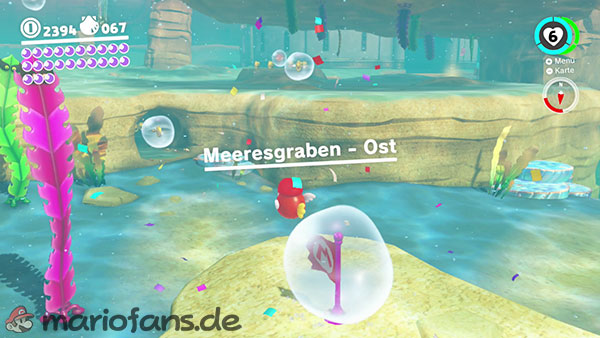
Go to the East Sea Trench checkpoint.
Slightly south of the flag, you’ll find a narrow underwater tunnel in the rock face. A coin floats in an air bubble in front of the entrance.
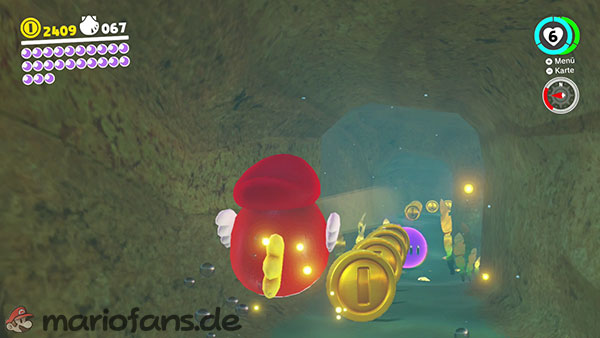
Capture a Cheep Cheep and swim into the tunnel.
The passage connects two areas of the Seaside Kingdom that are far apart, thus serving as a practical shortcut.
The Power Moon is floating roughly in the middle of the tunnel. Simply swim through it to collect it.
12: Gap in the Ocean Trench
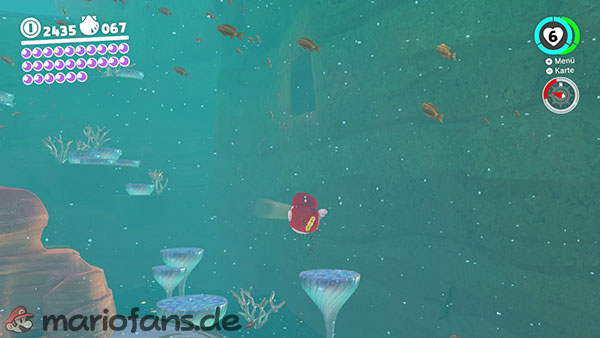

Travel to the Sea Trench – East checkpoint and dive down into the deep canyon.
A large sphinx stands at the bottom of the ocean trench.
Capture a Cheep Cheep and swim a short distance over the Sphinx’s head. In the rock face behind it is a small, easily overlooked opening.
Swim into the tunnel, turn right and then dive down.
At the end of the crevice you will find the Power Moon.
13: Slip Through the Nesting Spot
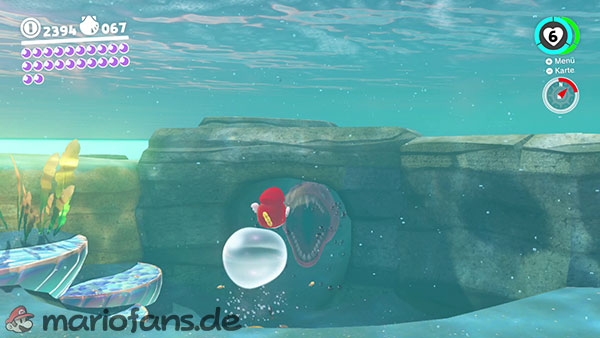
Head to the northeastern underwater area near the Hot Spring Island.
Look for a small tube from which air bubbles are constantly rising. Directly behind it is the entrance to a cave.
Capture a Cheep Cheep and swim carefully into it.
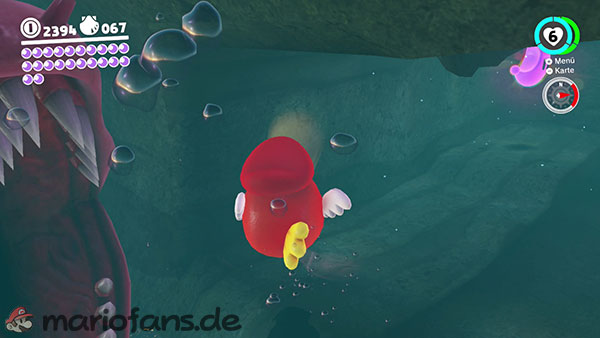
A large eel lurks in the cave, darting out of its hiding place as soon as you approach. Wait until it retreats, then swim quickly onward.
Turn right into the small side niche before reaching the nest.
The Power Moon awaits there.
14: Merci, Dorrie!
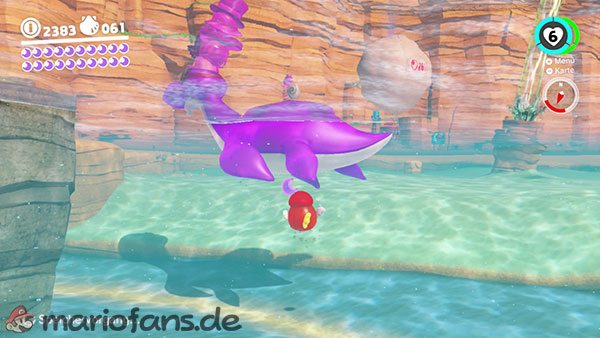
Search the Seaside Kingdom for the purple Dorrie. She carries the purple section of the Crazy Cap shop on her back and is therefore easy to spot on the map.
Dive under Dorrie.
The Power Moon floats in the water directly below her belly.
Capture a Cheep Cheep if needed, so you can more easily follow Dorrie and safely collect the moon.
15: Bonjour, Dorrie!
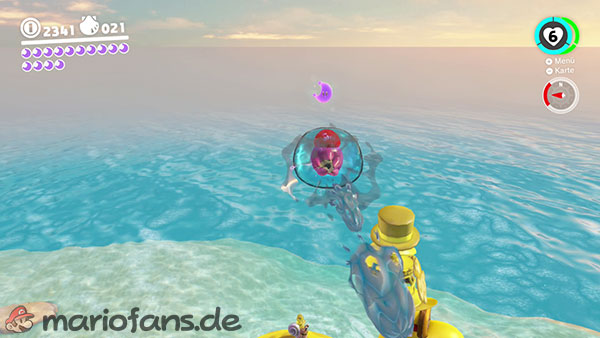
This Power Moon appears after defeating Mollusque-Lanceur.
Look for the yellow Dorrie who has the yellow Crazy Cap shop on her back.
The Power Moon hovers high above Dorrie.
Capture a Gushen, land on Dorrie’s back and refill your water supply there. Then ascend vertically to the moon.
Alternatively, you can capture Glydon at the top of the lighthouse and glide down to Dorrie from there.
16: Under a Dangerous Ceiling
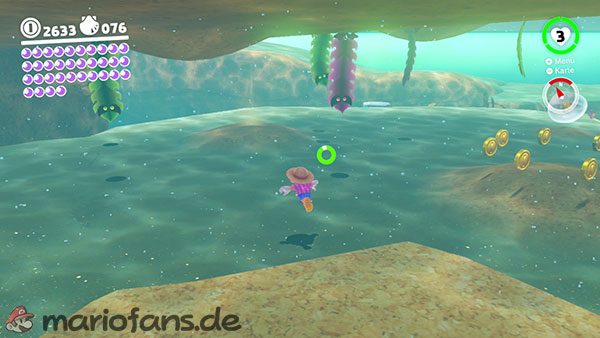
Go to the small island west of the Hot Spring Island and dive under its rocky dome.
Several Tang enemies are moving along the ceiling on the underside of the island.
Defeat the enemies with Cappy or the spin attack of a Cheep Cheep.
Directly below the seaweed opponents, there is a luminous spot on the seabed.
Leave the Cheep Cheep and perform a ground pound on the marker.
This reveals the Power Moon.
17: What the Waves Left Behind
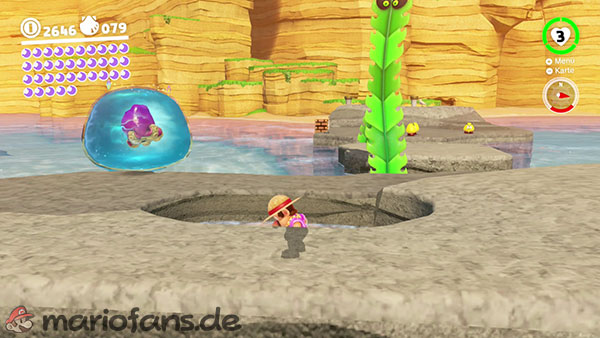
Go to the small rocky islands in the eastern part of the Seaside Kingdom.
On one of the islands there is a circular depression in which a single Tang enemy is walking around.
Defeat the opponent using Cappy.
Then stand in the middle of the depression and perform a stomping attack.
The Power Moon is hidden in the ground beneath the enemy’s former hiding place.
18: The Back Canyon: Excavate!
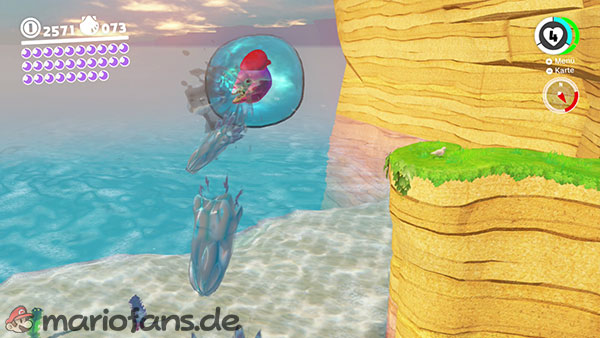
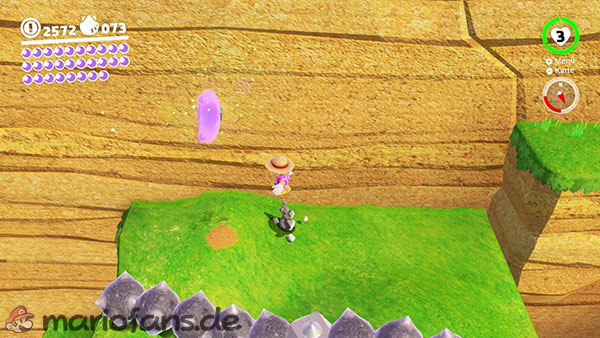
Go to the far southeastern part of the Seaside Kingdom.
Walk past the gorge with the rolling spiny mussels on the left and follow the rock face around the corner.
There you will find several green steps leading to a higher level.
Climb the steps and avoid the rotating stone shell.
A spot on the ground sparkles near the opponent.
Perform a ground pound attack there to reveal the Power Moon.
19: Bubblaine Northern Reaches
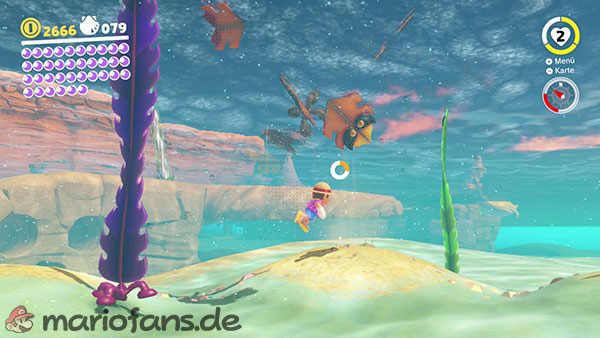
Go to the shallow underwater area in the far north of the Seaside Kingdom, near the eastern sea trench.
The sandy soil contains several small elevations as well as a larger hill in the middle.
One of the small bumps is sparkling. Perform a ground pound attack on it or use a Cheep Cheep’s spin attack.
Then several Tang opponents appear and another elevation begins to glow.
Defeat the enemies and clear all the glowing sand hills one after the other.
After you hit the last small rise, the large hill in the middle begins to sparkle.
Perform a ground pound attack there as well to obtain the Power Moon.
20: Wriggling on the Sandy Bottom
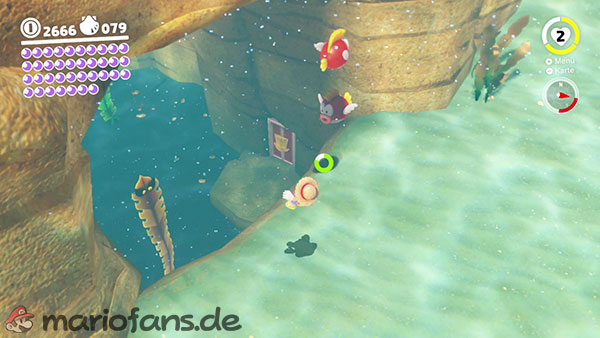
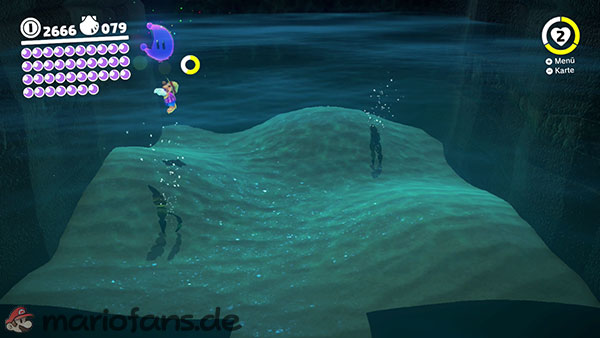
Dive into the water on the northern side of the lighthouse island.
Below the island or the adjacent bridge is a red door with a Cappy symbol.
Enter the bonus room behind it.
Beneath the sand, a luminous mound moves rapidly across the space.
Throw Cappy at the mound to stop it for a brief moment.
Immediately jump to the stunned area and perform a ground pound.
On a direct hit, the Power Moon jumps out of the sand.
21: Glass Palace Treasure Chest
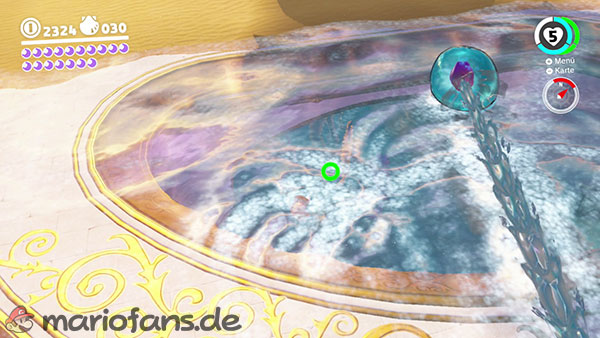
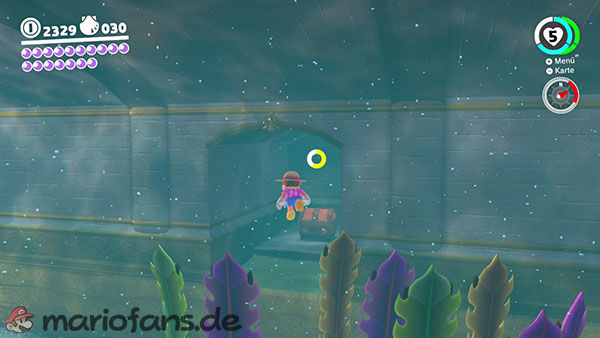
Capture a Cheep Cheep and dive beneath the large island of the Glass Palace.
On the eastern side of the island there is an underwater tunnel where numerous seaweed opponents are walking around.
Swim into the tunnel and keep to the left.
After a short time, a second, narrower tunnel branches off to the left.
Swim through the side passage. At the end, there’s a small cave with a treasure chest.
Open the chest with Cappy to obtain the Power Moon.
22: Treasure Trap Hidden in the Inlet
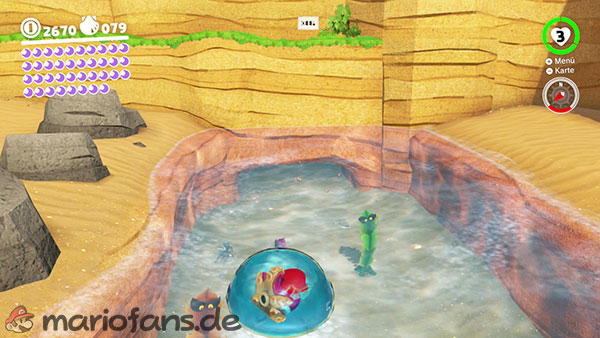
Go to the beach house in the southwestern part of the Seaside Kingdom.
In the narrow waterway between the beach house and the island of the Odyssey, there is a low underwater cave on the western side.
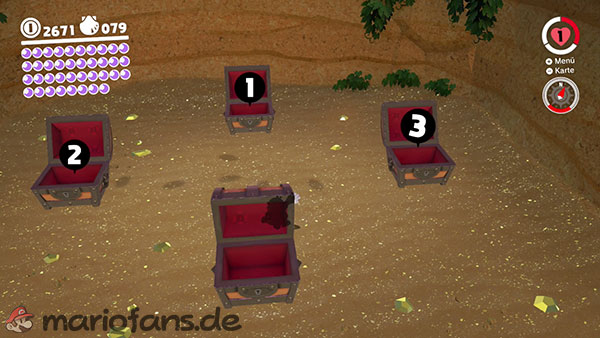
Dive in. Inside are four treasure chests.
You must open the chests in the correct order. Starting from the entrance, it is:
01: The Stone Pillar Seal
If you open the wrong chest, enemies will appear and you will have to leave the cave and re-enter.
If the correct sequence is followed, the Power Moon is located in the last chest.
23: Sea Gardening: Inlet Seed
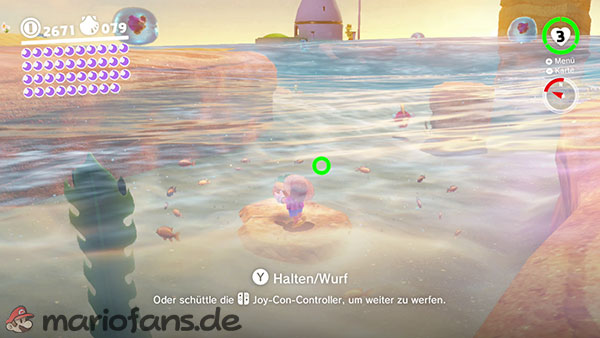
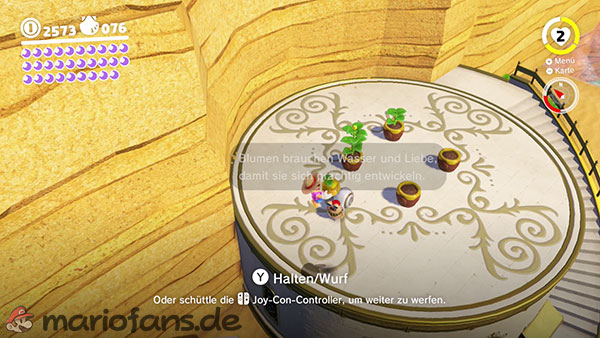
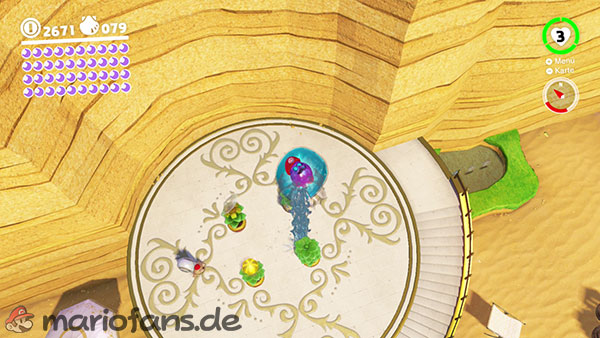
There are four empty flowerpots on the roof of the beach house. For moons 23 to 26, you need to bring four seeds scattered across the entire Seaside Kingdom to them.
The first seed lies underwater in the narrow inlet between the island of the Odyssey and the beach house.
Dive down, pick up the seed and carry it to the beach house.
Climb the stairs onto the roof and throw the seed into one of the four flower pots.
After a few minutes, a golden fruit will grow. Touch it to receive the Power Moon.
You can accelerate growth by capturing a Gushen and spraying the plant with water.
24: Sea Gardening: Canyon Seed
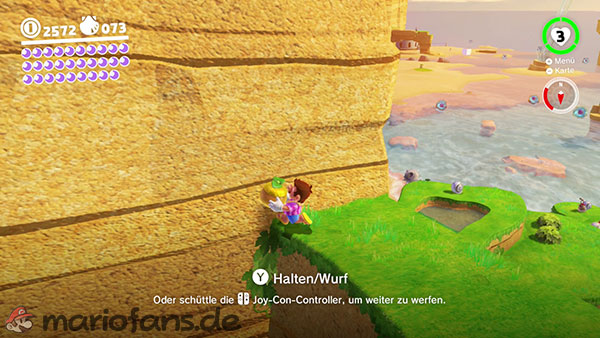
Go back to the far southeastern area where you found Power Moon 18.
Follow the path behind the gorge over the verdant rock steps.
Walk past the spot with the circling stone shell and follow the path to its end.
That’s where the second seed is located.
Pick it up and carry it back to the beach house. You cannot fast travel while carrying the seed.
Throw the seed into one of the empty buckets on the roof and wait until the plant produces the Power Moon.
Here too, you can accelerate the growth process with water from a jet moth.
25: Sea Gardening: Hot-Spring Seed
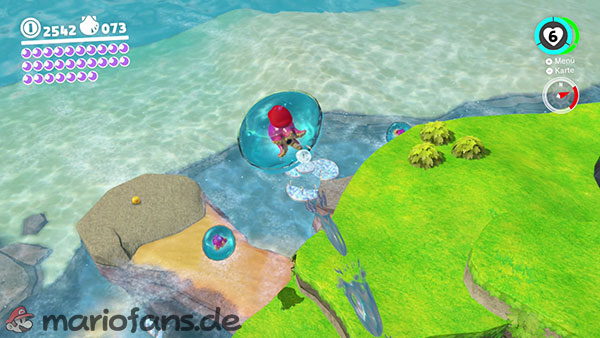
Trip to the Hot Spring Island.
On the northeastern side of the island, a small rocky outcrop juts out of the water. A Gushen and the third seed await there.
Pick up the seed and take it to the beach house.
Since the path is relatively long, you can throw the seed along the way and then pick it up again. Make sure it doesn’t fall into deep water.
Climb onto the roof of the beach house and plant the seed in a free bucket.
Wait until the golden fruit has fully grown, then touch it to collect the Power Moon.
26: Sea Gardening: Ocean Trench Seed
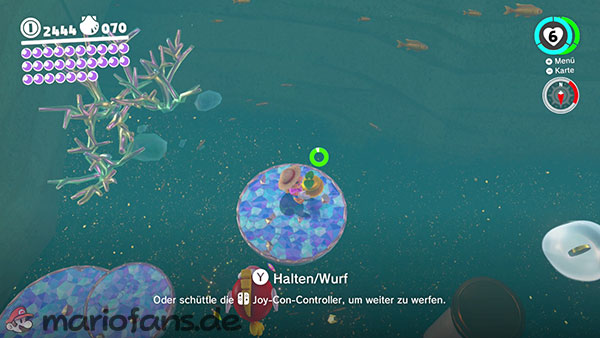
Go to the East Trench checkpoint and dive down to the Sphinx at the bottom of the trench.
The fourth and final seed lies directly next to the Sphynx on the seabed.
Pick it up and swim back to the surface. Mario moves much slower underwater with the seed. Therefore, use the air bubbles along the way to replenish your oxygen supply.
Then carry the seed to the beach house and climb onto the roof.
Throw it into the last free flowerpot and wait until the plant is fully grown.
Touch the golden fruit to obtain the Power Moon and complete the Beach Flora task.