

After completing the main story, you can activate the Moon Rock in the Ruins. This will cause five additional Power Moons to appear that could not be collected before.
06: Caught on a Big Horn
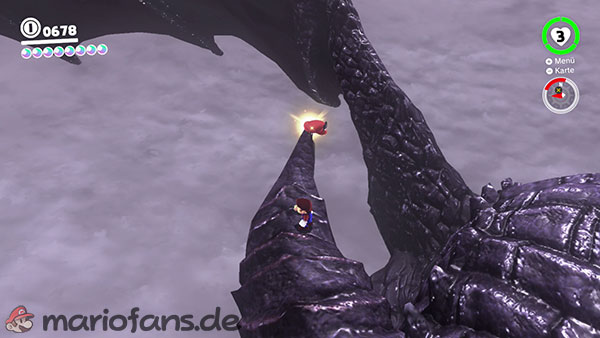
Return to the large battlefield where you fought Ruined Dragon. Use the power pole at the top of the large stone staircase to do so.
The defeated dragon is still lying on the ruined tower. Climb along its body to reach its head.
Check the two large horns. A sparkling spot appears at the tip of one horn.
Throw Cappy at the glowing tip of the horn and hold the throw button. Cappy will spin around it for several seconds.
The Power Moon then pops out of the tip of the horn.
07: Upon the Broken Arch
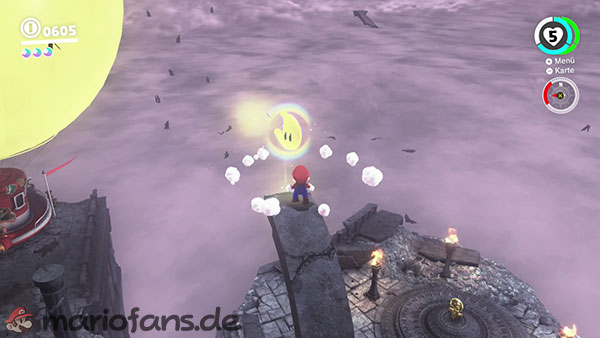
From the Odyssey, go to the large stone staircase leading to the spark pylon.
Several damaged pillars and the remains of a broken stone arch stand to the right of the stairs.
Use a backflip or wall jump to reach the lower pillar, then jump onto the higher part of the arch.
A spot in the stone sparkles at the top.
Ground pound the spot to reveal the hidden Power Moon.
08: Rolling Rock on the Battlefield
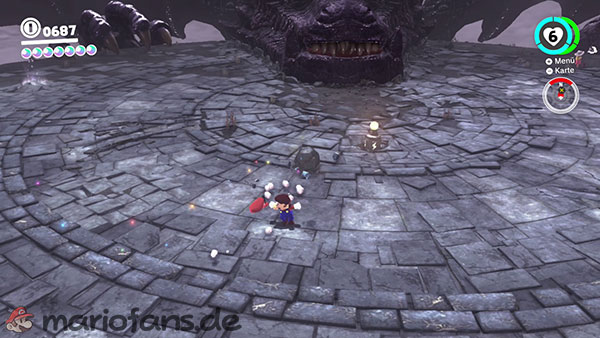
Return to the large battlefield beside the defeated Ruined Dragon.
Check the small grey stones on the arena floor. One of the rocks begins to sparkle after you kick it or hit it with Cappy.
Keep hitting the glowing rock. Kick it, throw it across the arena with Cappy, or knock it against a wall or a larger rock.
The rolling rock takes an unusually large number of hits. Keep attacking even if nothing appears to happen at first.
After about 50 hits, the rock breaks and releases the Power Moon.
09: Charging Through an Army
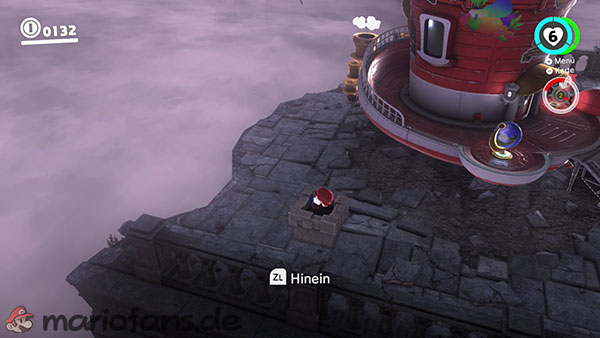
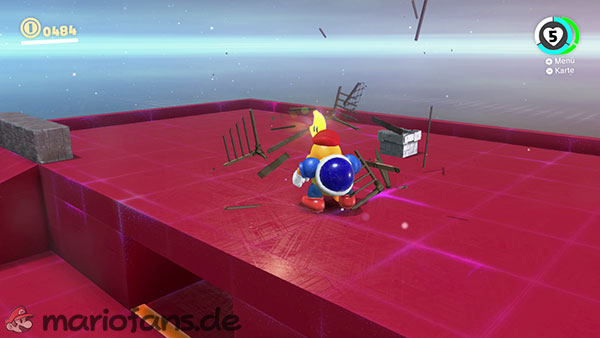
After activating the Moon Rock, a gray Moon Pipe appears beside the Odyssey.
Enter the pipe to reach a bonus area filled with Chinchos. Run down the ramp to the large lower floor and avoid the enemies.
A Chargin’ Chuck waits behind bars on the opposite side. Throw Cappy at the lever in front of the gate to release it.
Hit the Chargin’ Chuck once with Cappy to knock off its helmet. Throw Cappy again to capture it.
Hold the action button to charge up, then release it to smash through the Chinchos and stone blocks in your path.
Ramps on both sides of the former cage lead to the upper floor. Go up either ramp and face the cage containing the Power Moon.
Fully charge another tackle and ram the cage. The bars break, allowing you to collect the Power Moon.
Stay in the bonus area: Power Moon 10 is here too.
10: The Mummy Army’s Curse
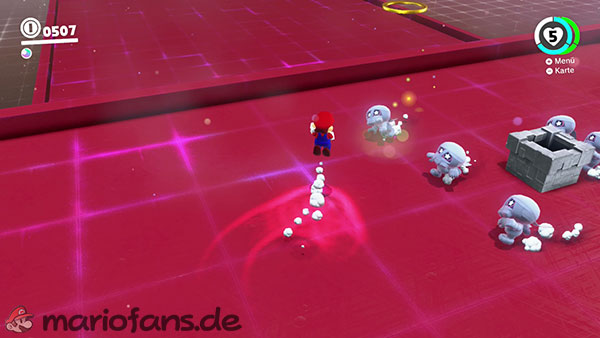
This Power Moon is in the same Chincho bonus area as the previous one.
Capture the Chargin’ Chuck again and destroy the stone blocks and yellow pillars on the lower floor. A fully charged tackle can knock down several obstacles and Chinchos at once.
Then return to the beginning of the bonus area. Exit the Chargin’ Chuck using ZL and climb the pole to the upper starting platform.
After a short time, an opponent appears among the ordinary Chinchos, one that sparkles conspicuously.
Jump on the glowing mummy or hit it with Cappy. A successful hit will destroy the enemy and the Power Moon will appear.
If the sparkling mummy doesn’t appear immediately, defeat a few more enemies and wait a short while on the starting platform. It will also return if you miss it on your first attempt.