

21: Love in the Forest Ruins
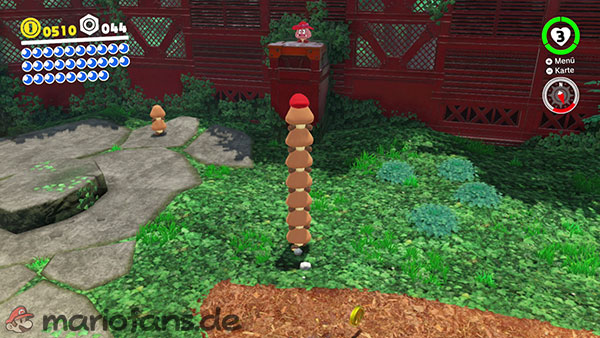
Travel to the charging station in the forest. Right next to the charging station you will find several Goombas as well as a female Goomba with a red hat on a raised platform.
Capture one Goomba and then jump on the other Goombas to create the tallest possible Goomba tower. Use the middle platform to reach the enemies higher up.
Once your tower is tall enough, take it to the platform of the female Goomba. As a reward for the successful romance, you will receive the Power Moon.
22: Inside a Rock in the Forest
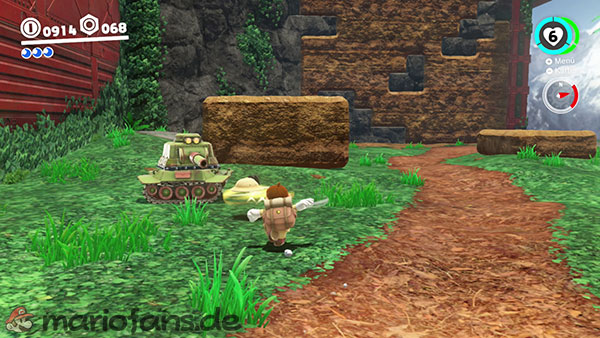
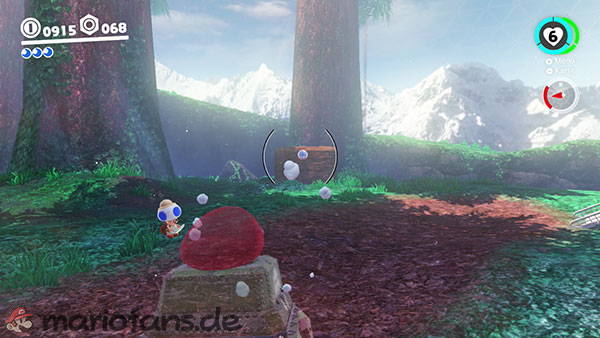
To unlock this moon, you must first complete the storyline in the Forest. Then travel to the charging station in the forest and capture one of the tank enemies there.
Drive the tank towards the Goomba area and drop down the cliffs into the lower forest section near the Odyssey. The tank will survive the fall without any problems.
Near the Odyssey, you’ll find a conspicuous cluster of brown boulders. Shoot the rocks with the tank until they are completely destroyed. The Power Moon will appear among the rubble.
23: Shopping in Steam Gardens

This Power Moon can be collected quickly – provided your wallet is well-filled.
Visit the Crazy Cap shop near the Odyssey and talk to the yellow-clad salesman. You can buy the Power Moon there for 100 gold coins.
The moon can be purchased on your very first visit to the Wooded Kingdom.
24: Nut Planted in the Tower
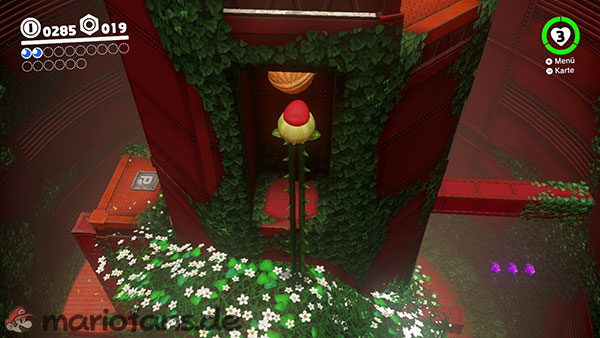
Enter the large tower on the path to the Sky Garden and follow the flower path upwards. Inside the tower, you must capture a gentian.
Look for a small opening on the side of the large round pillar in the middle. A large nut is hidden in this recess.
Stand with the mistletoe directly under the nut and fully extend its legs. As soon as the nut breaks, the Power Moon will appear.
25: Stretching Your Legs
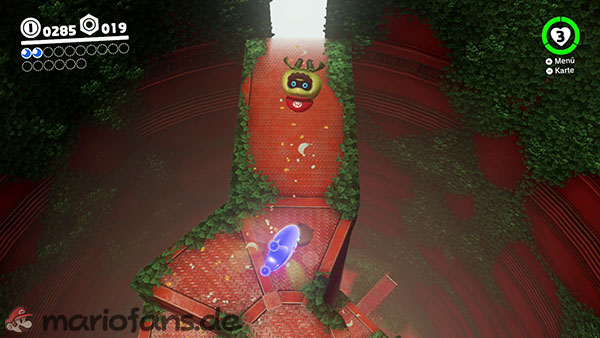
This moon is also located in the Sky Garden tower. Capture a gentian and work your way up to the top circular platform inside the tower.
In the center of the platform, you’ll see a circular shadow. Stand precisely on this spot and fully extend the legs of the bluewort.
If normal stretching isn’t enough, jump while fully stretched. This way you’ll touch the Power Moon floating high above you.
26: Spinning-Platforms Treasure

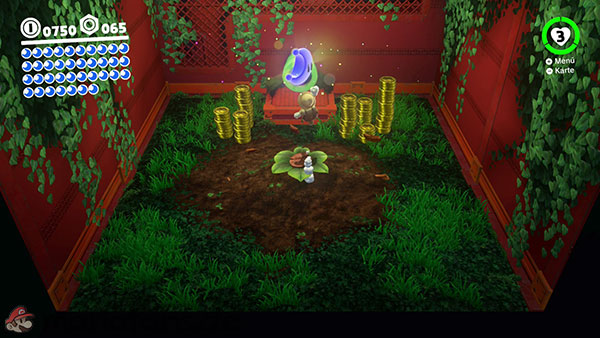
Travel to the checkpoint at the entrance to the Secret Flower Field. Do not jump down into the arena, but follow the edge of the area in an easterly direction.
Near the cliff you’ll find a yellow pole. Climb down it or drop down onto the metal platforms below.
Now carefully cross the large rotating turnstiles. Be careful not to jump off too early, and wait for the platforms to be in a favorable position if necessary.
At the end of the path, you’ll reach a green pipe. It leads you to a small treasure chamber where the Power Moon is already waiting for you.
27: Make the Secret Flower Field Bloom
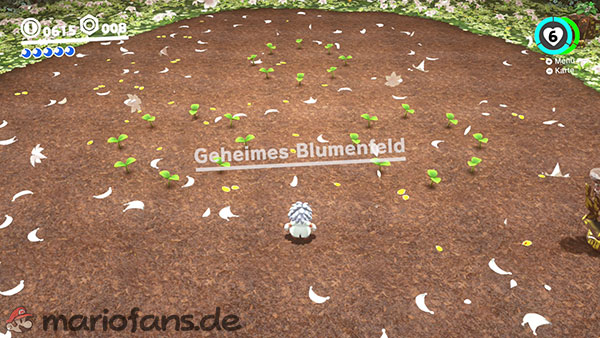
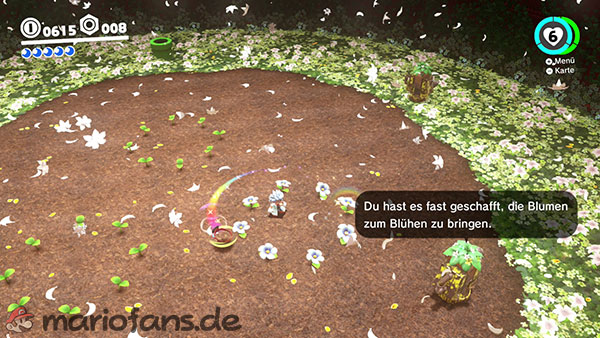
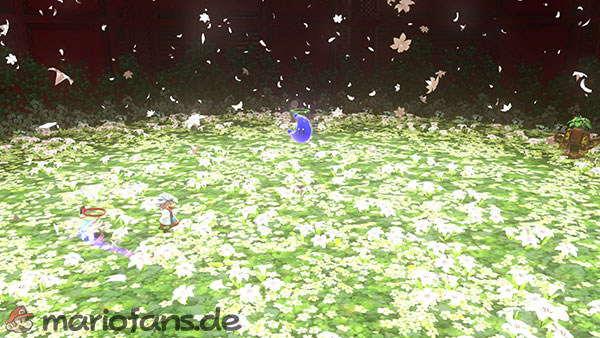
After defeating the boss, return to the Secret Flower Field. On the arena floor, you will see three circular groups of closed flowers.
Throw Cappy at the flowers to open them. The easiest way to do this is with a spin throw, as this allows you to open several flowers at once.
You must make all three groups of flowers bloom completely within a short time. If you are too slow, the first flowers will close again.
Once the entire flower field is in bloom at the same time, the Power Moon appears in the middle of the arena.
Moons 28 through 36 are located in a secret area of the level, which is not marked on the map and does not have its own map. You can find the Heart of the Forest by dropping into the abyss in the southern half of the Wooded Kingdom. A particularly easy access point is behind the Odyssey or next to the hint-giving parrot.
28: Rolling Rock in the Deep Woods
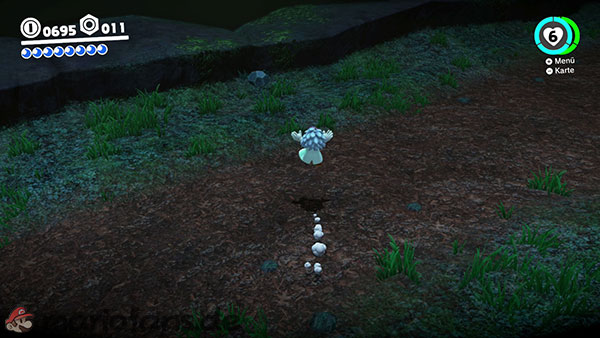
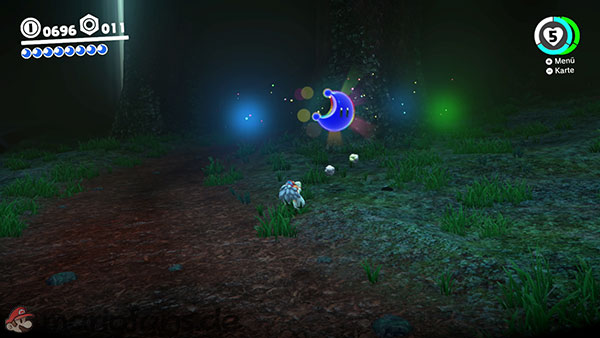
Search the low rocky ledge at the edge of the area in the heart of the forest. There you will find several small grey stones.
Throw Cappy at the stones or kick them. The correct rock will start to glow after being hit.
Now you must repeatedly kick, throw, or roll the stone against an obstacle. It can withstand an unusually high number of hits – so persevere. As soon as the rock breaks, the Power Moon will appear.
29: Glowing in the Deep Woods
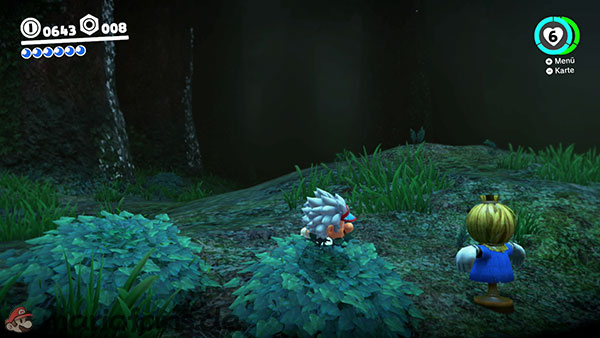
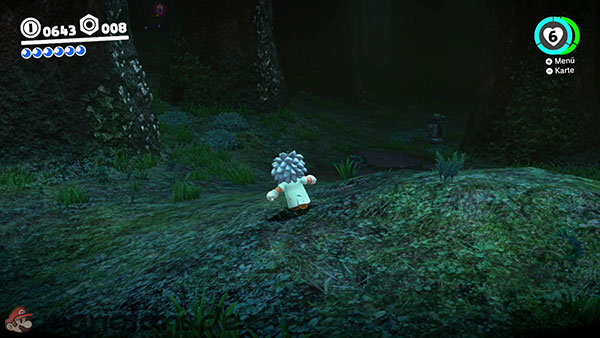
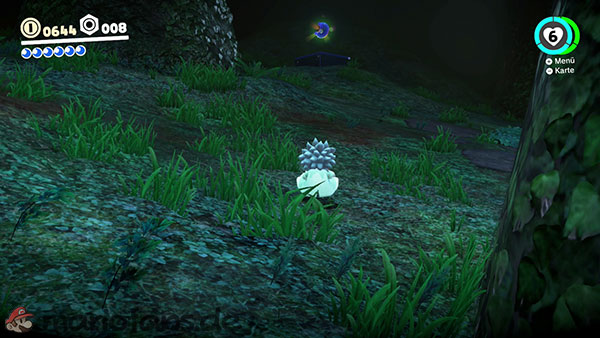
Near the pool of water stands a scarecrow. As soon as you throw Cappy at it, a Power Moon will briefly appear on a higher blue area.
It’s best to stand on the small hill behind the scarecrow before throwing the cap and activate it from as great a distance as possible.
Then run over the hill and past the grey marker on the ground. Keep left and continue uphill.
The time limit is very tight. Therefore, roll across the longer straight sections using ZL and Y, and only use jumps when absolutely necessary. If you reach the blue area in time, you can collect the Power Moon.
30: Past the Peculiar Pipes
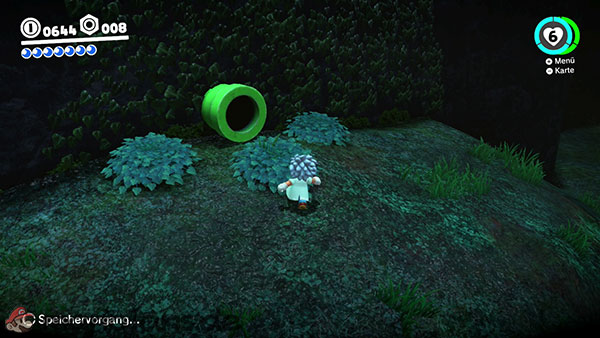
Stay in the heart of the forest, along the eastern cliff face. On a raised hill, you’ll find a green pipe that leads to a small pipe puzzle.
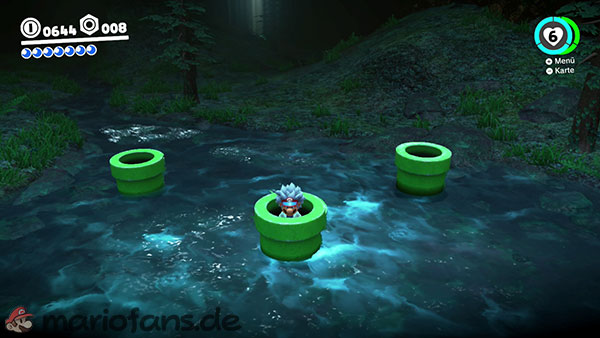
After entering, several pipes will appear. Only one of them will take you to the next stage of the puzzle. If you choose the wrong pipe, you will be returned to the beginning.
The correct combination isn’t the same for every game state. Therefore, after each successful move, remember which tube you used. After a mistake, you can choose the tubes you already know and then try the next option.
In total, you need to find three correct pipes. For the final selection, five pipes are available. If you pick the right one there as well, you’ll be taken back to the exit and the Power Moon will appear.
31: By the Babbling Brook in Deep Woods
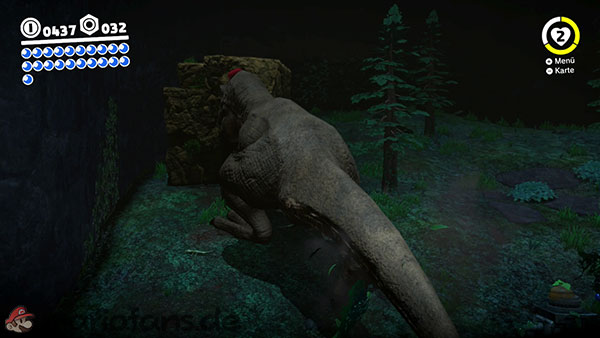
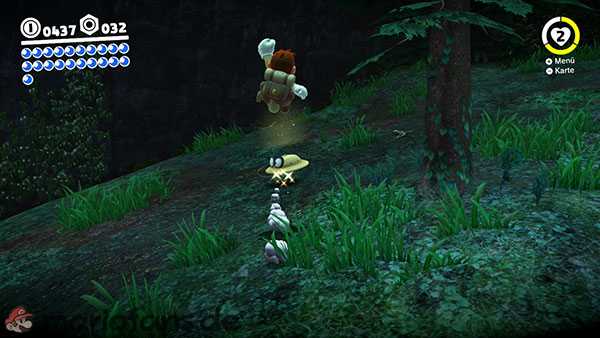
For this moon, you’ll need a T-Rex or a Toad. The easiest way is to run the T-Rex into a tree or a solid rock wall. After the collision, it will be briefly stunned and you can capture it.
Take the T-Rex to the source of the stream in the northwestern part of the forest. To the left of the stream’s source, you’ll find a large accumulation of brown, destructible rock.
Smash the rocks with the T-Rex. Alternatively, you can destroy the stones with the coin projectiles of a captured Toad.
A glowing spot in the ground is revealed beneath the stones. Perform a ground pound there to uncover the Power Moon.
32: The Hard Rock in Deep Woods
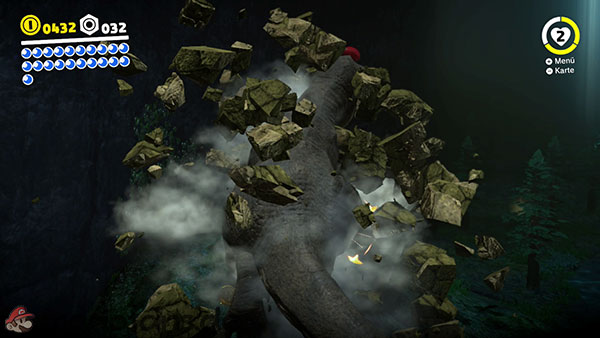
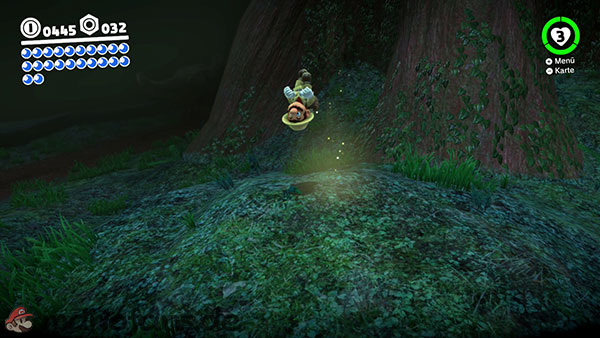
You’ll need a T-Rex or a Toad for this moon as well. Capture the T-Rex after it runs into a tree or wall during an attack.
Next, head to the southeastern edge of the heart of the forest. There, near the stream’s end or one of the large vines, look for another cluster of brown rocks.
Destroy the rock with the T-Rex or shoot it with the Coin Coffer’s coins. A glowing spot will reappear underneath.
You can pull the Power Moon out of the ground with a ground pound attack.
33: A Treasure Made from Coins
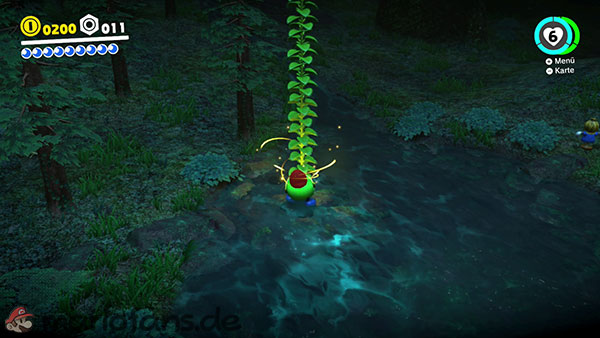
In the shallow water of the stream you will find a small plant shoot surrounded by several golden coins.
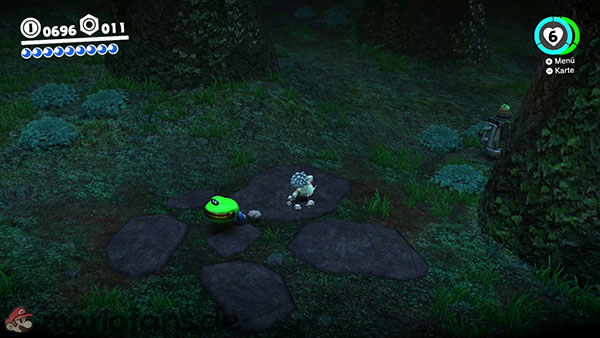
Next, look for a toadsuck. The small green creature is hiding on a hill between the stream and the pipe in the rock face. It’s almost invisible, but its outline begins to shimmer as you approach.
Capture the toad and return with it to the plant shoot. Shoot the plant with coins until it has fully grown.
This will require approximately 500 coins in total. The coins used will actually be deducted from your coin supply.
Once the plant is fully grown, its flower opens and releases the Power Moon.
34: Beneath the Roots of the Moving Tree
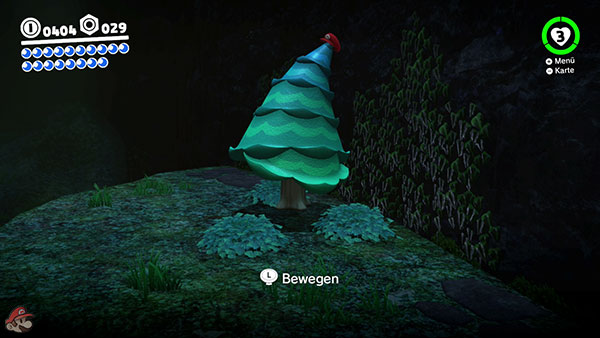
Stay close to the eastern rock face at the heart of the forest. There, some stepped ledges lead to a small fir tree.
Throw Cappy at the tree to capture it. Then you can move the tree a little to the side.
The ground begins to glow where its roots were previously located. Leave the tree and perform a ground pound on the glowing spot.
Then the Power Moon appears.
35: Deep Woods Treasure Trap
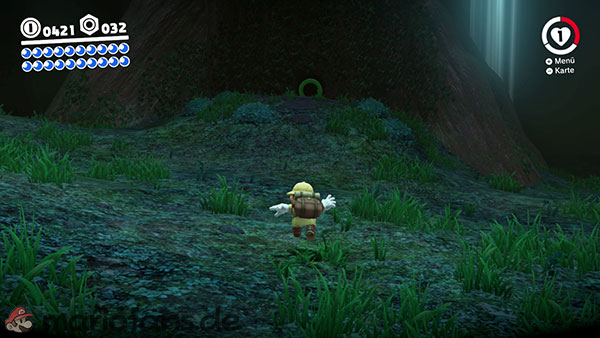
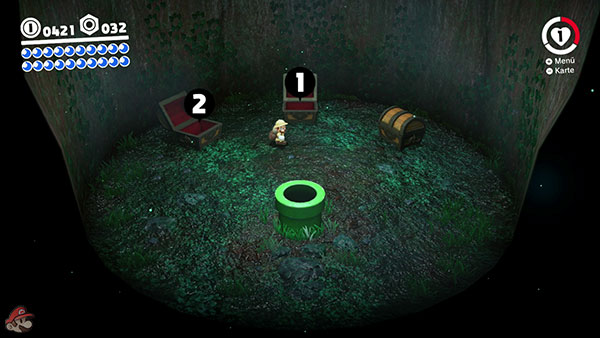
Search the southern part of the forest for a particularly large tree. There is a green tube on its trunk.
Enter the pipe to reach the inside of the tree. There you will find three treasure chests that you must open in the correct order.
The correct order is:
01: Road to Sky Garden
If you open the wrong chest, enemies will appear instead, and you’ll have to re-enter the chamber. If you open the chests in the correct order, the Power Moon is in the last one.
36: Exploring for Treasure
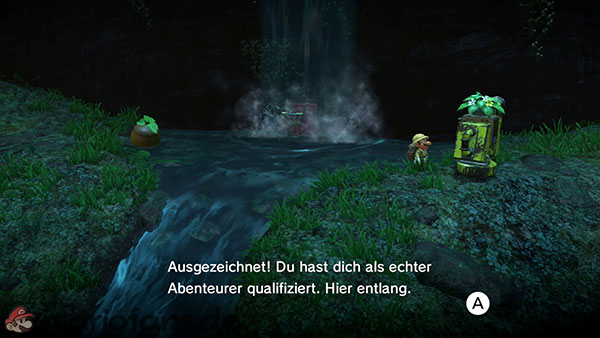
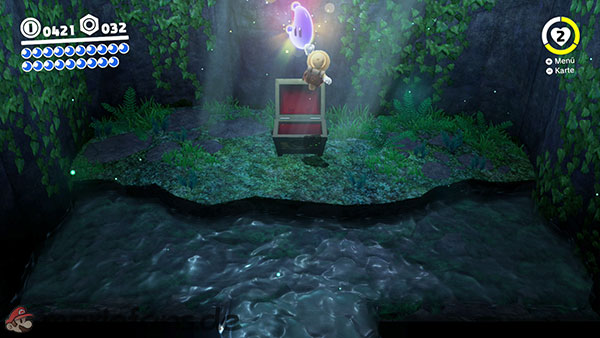
At the northern end of the heart of the forest, near the source of the stream, there is a locked door. A robot gardener waits in front of the door.
To be let in, you must wear the complete adventurer outfit. This includes both the adventurer hat and the appropriate clothing. You can buy both items in the purple section of the Crazy Cap shop.
Speak to the robot gardener while fully dressed. He will then open the door.
Inside you’ll find a treasure chest. Open it to obtain the Power Moon.
37: Wooded Kingdom Timer Challenge 1
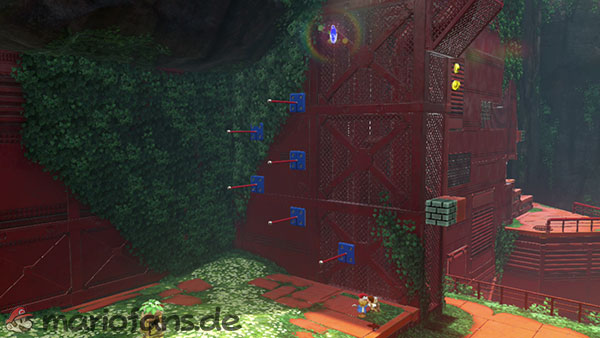
Journey to the Iron Road checkpoint – Halfway there. A scarecrow is located in the immediate vicinity of the flag.
Throw Cappy at the scarecrow. Several red swinging poles and the Power Moon will then appear above you for a short time.
Jump to the first bar and swing upwards from there. Keep the left stick pointed towards the next bar and jump off each time Mario swings far enough forward.
Since Cappy stays with the scarecrow during the tournament, you can’t use cap throws. If you reach the top pole in time, you can jump directly to the Power Moon.
38: Wooded Kingdom Timer Challenge 2
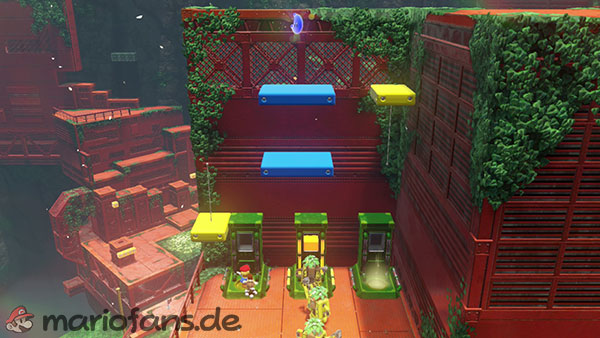
Travel to the charging station in the forest. Another scarecrow will be standing at the left-hand charging station after the story is completed.
Throw Cappy at it to make several colored platforms appear above the charging station.
Perform a backflip immediately to quickly reach the first raised platform. Then, without pausing, continue jumping upwards across the yellow and blue platforms.
For larger gaps, a long jump is helpful. Try to jump as straight as possible onto the middle of the next platform, as any correction costs valuable time.
The Power Moon awaits on the highest platform.
39: Flooding Pipeway
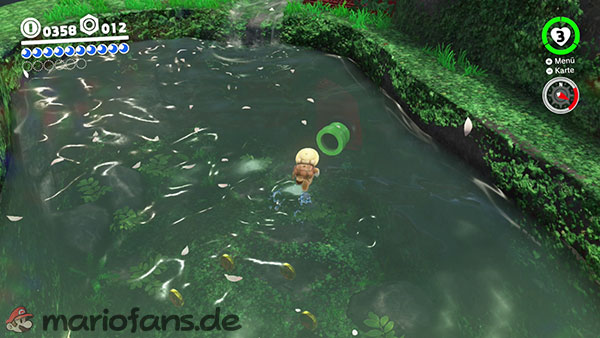

Go to the pond at the beginning of Iron Road. There is a green pipe in the water that you can only reach by diving.
The pipe leads you to a flooded bonus area. The water level there rises and falls at regular intervals.
Use the high water level to reach upper areas, and dive under obstacles when the water level is low. Pay particular attention to the fuzzys, which move along predetermined paths through the pipes.
Follow the tunnel to the end. There you will receive the Power Moon.
40: Flooding Pipeway Ceiling Secret

Re-enter the underwater tube from the solution to Power Moon 39.
Roughly in the middle of the bonus area, you’ll reach a section where the water rises and falls along a vertical wall. Look out for three golden coins floating beneath an inconspicuous opening in the ceiling.
Use the higher water level or a backflip or ground pound to get into the opening. Then jump upwards between the two walls.
Above the visible tunnel is a hidden niche. There you will find the secret Power Moon.