

00: Bowser’s Moon Wedding
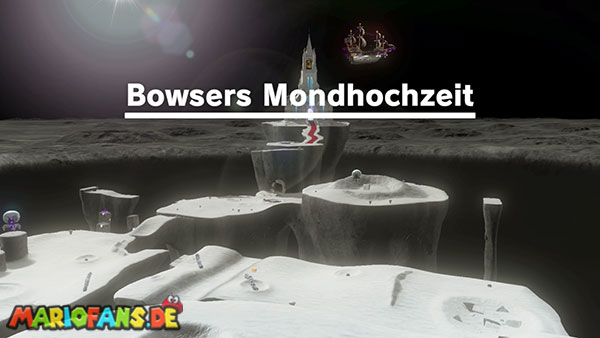
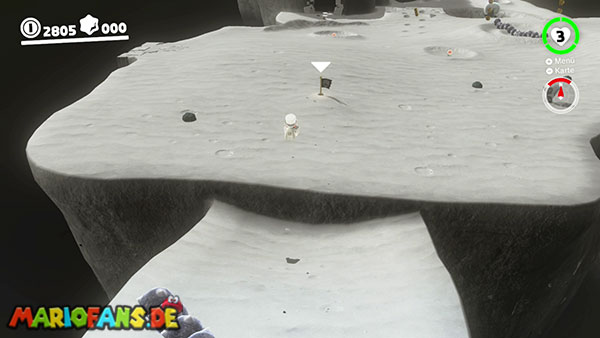

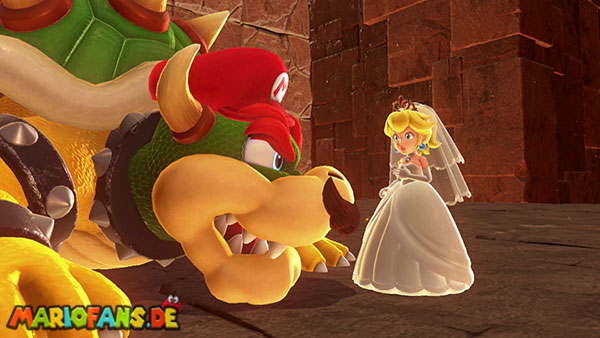
Upon arriving in the Moon Kingdom, Mario follows Bowser to the grand wedding cathedral. Due to the low gravity, you can jump significantly higher and farther here than in the other kingdoms.
From the Odyssey, head north. Cross the large craters and use the rocket flowers to reach particularly distant platforms.
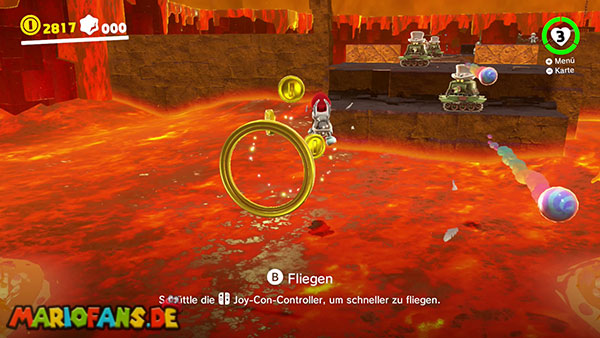
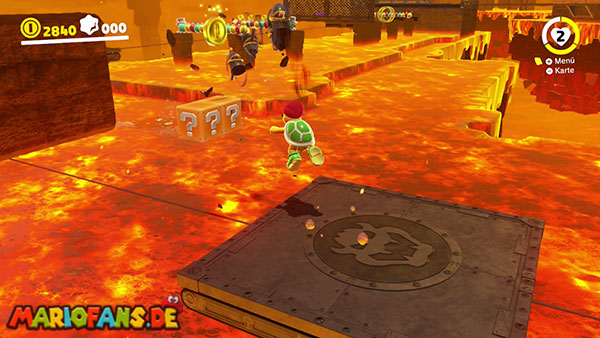
The Silent Wall checkpoint leads to the underground Moon Caverns. Normal gravity prevails there, and deadly lava awaits beneath the platforms.
First, capture a Para-Dry Bones and fly over the first lava pools. Then, you must destroy metal cages with a Sherm, clear blocks with a Hammer Bro, and grab onto the moving platforms as a Tropical Wiggler.
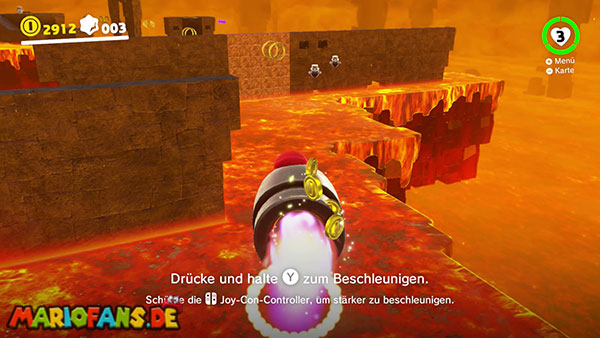
In the next section, large Bullet Bills fly through several stone walls. Capture them and follow the golden coin rings through the course.
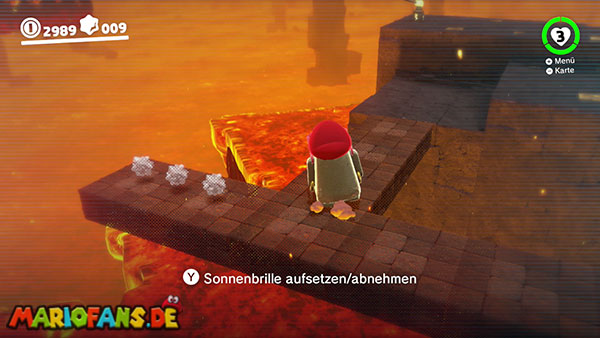
Then you use a Moe-Eye golith to make an invisible path visible.
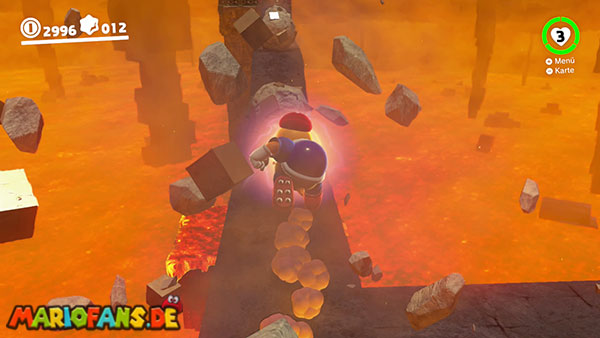
In the final section of the cave, you’ll capture a Chargin’ Chuck. Fully charge his charge attack and run through the boulders and rolling stones.
In the end, Madame Broode awaits for a final battle.
Boss: Madame Broode, Round 2
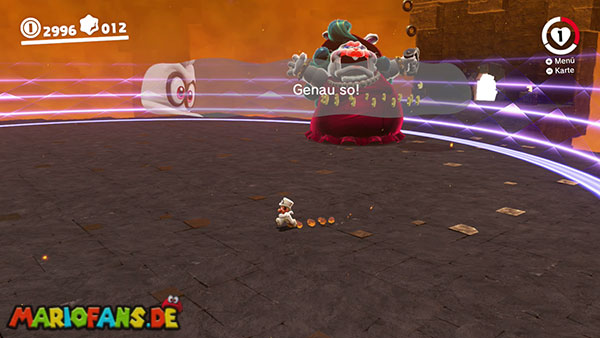
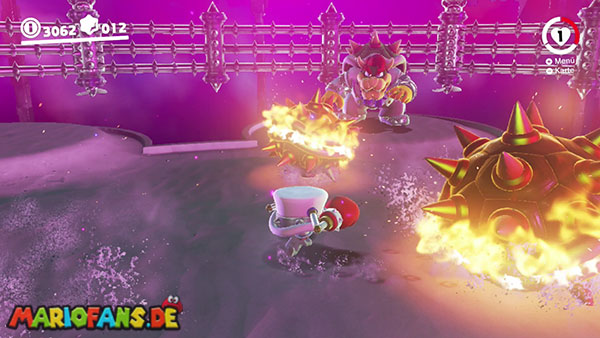
Madame Broode attacks again with her large chained dog. This time, however, the opponent is wearing several hats on top of each other.
Repeatedly throw Cappy at the chained dog until all the hats have disappeared.
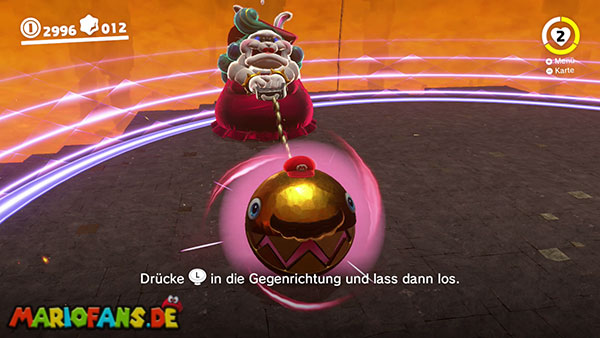
Then you can capture the Chain Chomp. Pull it as far away from Madame Broode as possible and release the left stick.
The chained dog is thrown directly at Madame Broode, hitting her in the head.
After each hit, the Chain Chomp jumps around the arena and Madame Broode slaps Mario with her hand. Keep moving and wait until the enemy has calmed down.
In each round, the chained dog wears more hats. Remove them again with Cappy and hurl the opponent at its owner.
Madame Broode is defeated after three hits. Then use the power pylon to return to the lunar surface.
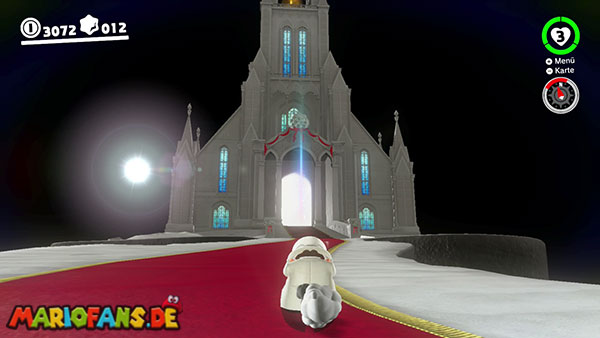
Follow the path to the wedding cathedral and open the large gate.
Boss: Bowser under the Cathedral
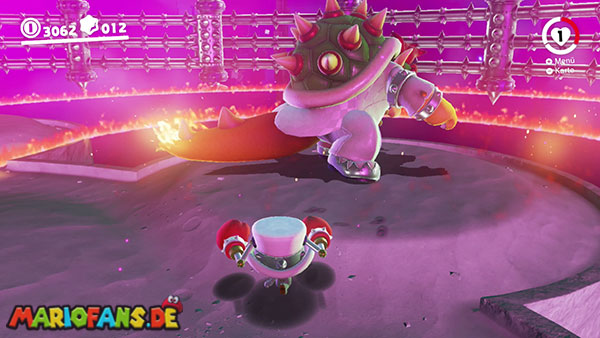
Bowser begins the fight by throwing his white wedding hat at Mario.
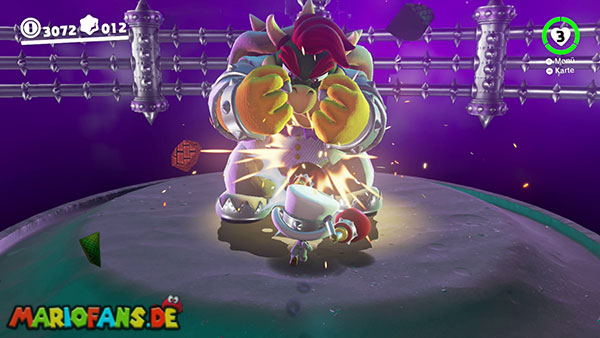
Hit the hat with Cappy until it falls to the ground. Run inside so Mario can put on Bowser’s hat and use his boxing gloves.
Bowser will now jump around the arena several times. Each landing creates a ring-shaped shockwave that you must jump over.
Bowser will then throw large rocks at you. Destroy them with the boxing gloves and approach him.
Hit Bowser several times in a row. As soon as he backs away slightly, he’ll unleash a tail swipe. Jump over his tail and continue your attack combo.
After the first hit, Bowser jumps to the center of the arena and breathes a wide stream of fire. Run to the side and jump over the fire.
In the second round, Bowser throws several fake hats into the arena. Destroy the fakes with Cappy and then hit the real hat.
In his next attack, Bowser will also hurl flaming orbs. These explode on impact and should be avoided if possible.
During close combat, Bowser now performs two consecutive tail swipes.
In the final round, even more fake hats appear, and all projectiles are surrounded by fire. During the final melee fight, you have to jump over a total of four tail swipes.
Bowser is defeated after the third hit.
The grand finale with Bowser
After the battle, the ground collapses beneath Mario, Peach, and Bowser. Follow the underground path until you reach the unconscious Bowser.
Throw Cappy at Bowser to capture him.
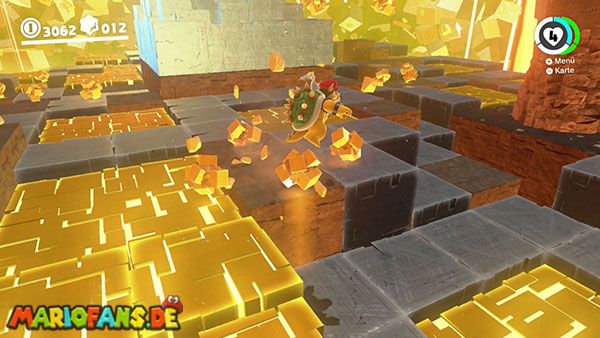
Pressing the action button makes Bowser strike with his claws. Shaking the controller makes him breathe fire.
Run through the first tunnel and destroy all the stone blocks. You’ll need to hit the large walls several times until they completely break.
Some areas of the ground begin to glow golden and then collapse. Therefore, keep moving constantly.
Blocks falling from the sky break into several pieces on impact. Destroy them with Bowser’s claws or dodge them.
In the next area stands a large pillar. Strike its base repeatedly until it falls over and forms a bridge across the chasm.
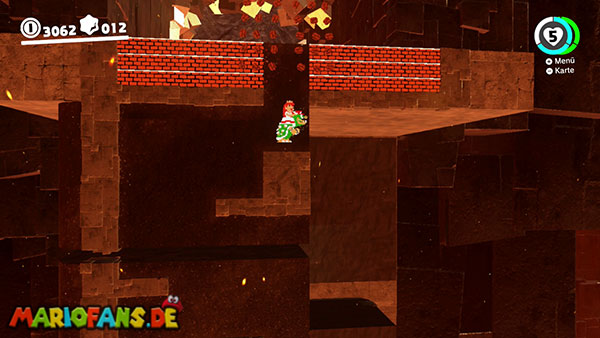
Then enter the green pipe. In the two-dimensional section, you must destroy giant blocks with Bowser and work your way to the top.
Back in the three-dimensional world, two more stone walls await. Hit them until they break.
After several hits, the last wall will begin to glow gold. Destroy it as well and enter the final area.
Here, four large pillars stand around a central cube. Destroy the lower supports of all the pillars, one after the other.
Watch out for falling debris and the ever-widening gaps in the ground.
Once all four pillars have fallen over, you attack the cube in the middle with Bowser’s claws.
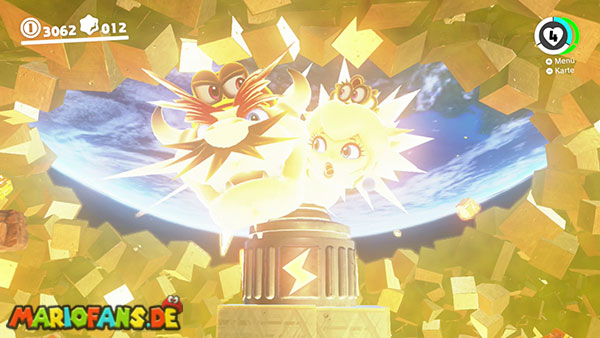
Beneath the shattered cube, a power pole is revealed. Capture it to escape the collapsing interior of the moon with Peach and Tiara.
After the credits, you reach the Mushroom Kingdom. At the same time, further quests and the Moon Rocks in the countries you have already visited are unlocked.
01: Shining Above the Moon
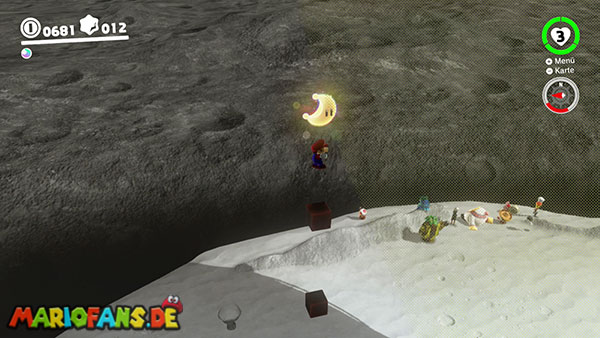
Right next to the Odyssey is a small crater. In its center, you can see a tiny, round shadow.
Stand directly on the shadow and jump upwards. This will cause an invisible coin block to appear.
Stand on the block and jump up again. There are a total of three invisible blocks stacked on top of each other.
On the third block, you can reach the Power Moon with another jump.
Alternatively, you can climb the high rock behind the Odyssey via its north side. The moon is already visible from the top.
Thanks to the low gravity, you can reach it from there with a long jump, cap throw, and dive.
02: Along the Cliff Face
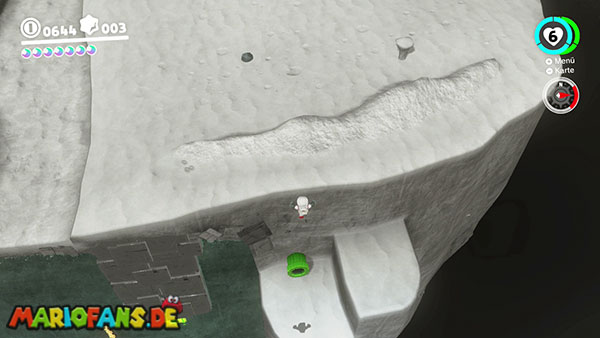
Go to the western or left side of the high rock behind the Odyssey.
Views over the outer edge. Below the main surface is a narrow ledge with a green tube.
Carefully drop onto the platform and enter the tube.
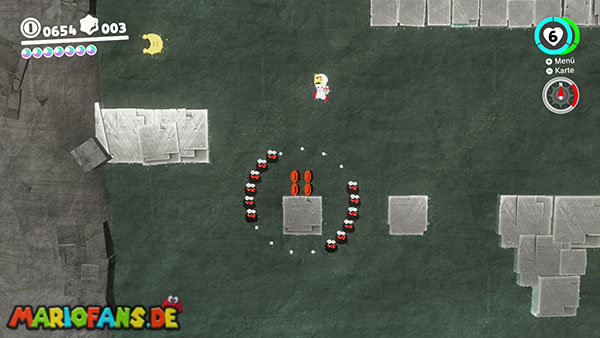
You enter a two-dimensional section on the steep wall.
The low gravity also plays a role here. Mario therefore jumps significantly higher and stays in the air longer.
Avoid the Fuzzies circling the small platforms. Wait until a sufficiently large gap opens up between the enemies.
Jump across the individual rocks to the end of the 2D area.
The Power Moon awaits there.
03: The Tip of a White Spire
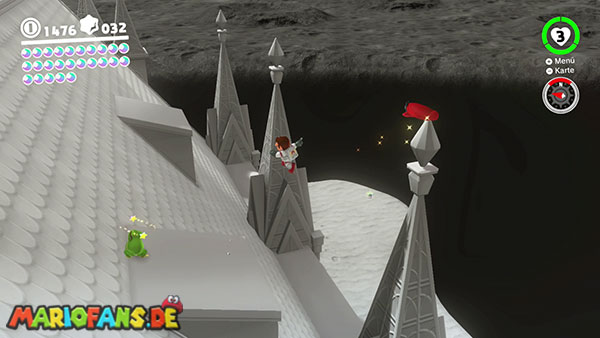
Go to the roof of the wedding cathedral.
The easiest way to reach it is with the frog sitting behind the cathedral. Capture it and jump up the outer wall.
Alternatively, you can use backflips, wall jumps, as well as cantilever and pike dives.
Several narrow white spires stand on the roof. One spire on the eastern side sparkles conspicuously.
Throw Cappy onto its tip and hold down the throw button.
Cappy spins around the ornament for several seconds. Then the Power Moon jumps out.
04: Rolling Rock on the Moon
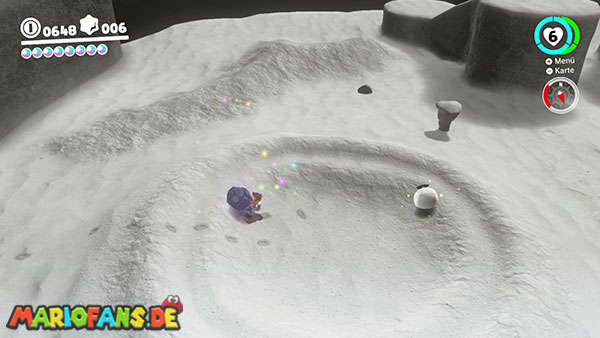
Go to the large double crater southeast of the Bell Plateau checkpoint.
In the middle of the crater lies a small grey rock.
Kick the rock or throw it through the crater with Cappy. The rolling rock can withstand an unusually high number of hits.
It’s faster if you pick up the rock and throw it against a larger stone or a solid wall.
Repeat the process until the rolling rock breaks.
Inside is the Power Moon.
05: Caught Hopping on the Moon!
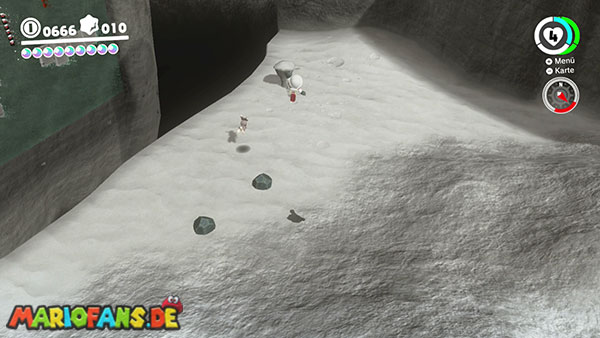
In the southeastern part of the lunar surface, a white rabbit runs around among several craters.
Due to the low gravity, the hare jumps particularly far and is difficult to catch.
Don’t just follow him. Observe his route and cut him off.
Throw Cappy at the rabbit as soon as it’s within range. One hit will stun it for a short moment.
Then touch the rabbit to release the Power Moon.
06: Cliffside Treasure Chest
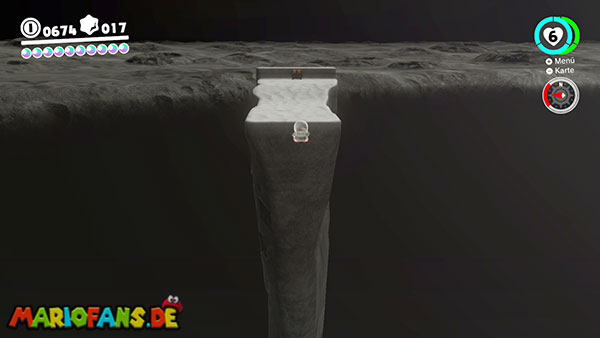
Travel to the Bell Plateau checkpoint.
To the west of the flag is a distant platform with a treasure chest. It is almost impossible to reach with a normal jump.
Activate one of the rocket flowers on the main platform and immediately run towards the cliff.
Perform a long jump just before reaching the edge.
Thanks to the speed boost and low gravity, Mario flies to the remote platform.
Open the treasure chest there with Cappy. Inside is the Power Moon.
Behind the chest is a narrow ledge with several purple coins.
07: Moon Kingdom Timer Challenge 1
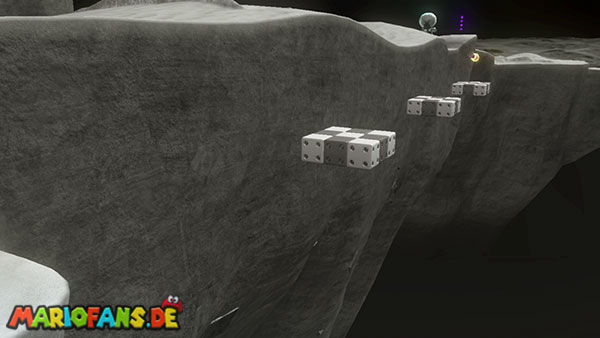
Go to the far northeastern part of the first lunar segment.
Below the main platform, a scarecrow stands on a narrow ledge.
Throw Cappy at the scarecrow. This will cause several small platforms to appear above the chasm.
Immediately perform a long jump to the first platform and continue jumping without a long pause.
Since Cappy stays on the scarecrow, you can’t use cap jumps or dives.
Use the low gravity and hold the left stick towards the next platform while jumping.
At the end of the temporary path floats the Power Moon.
08: Taking Notes: On the Moon’s Surface
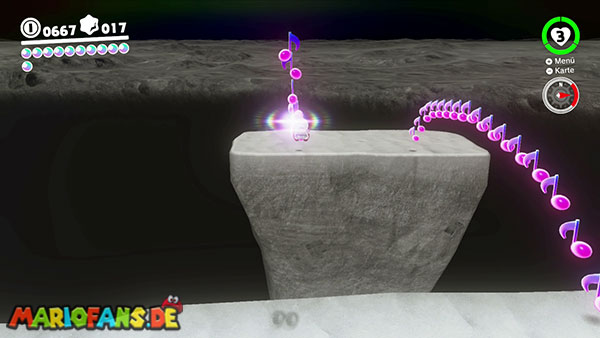
East of the Bell Plateau checkpoint, a colored treble clef is located on a raised platform.
Touch the symbol. Two long rows of musical notes will then appear.
Align Mario with the first row of notes before activating him.
Perform a long jump through the first row. Immediately after landing, turn around and jump back through the second row.
Due to the low gravity, you can collect almost all the scores with just two well-aligned jumps.
If you touch all the notes in time, the Power Moon will appear.
Power Moons 9 through 13 are located in the underground Moon Caves. This area does not have its own map.
09: Under the Bowser Statue
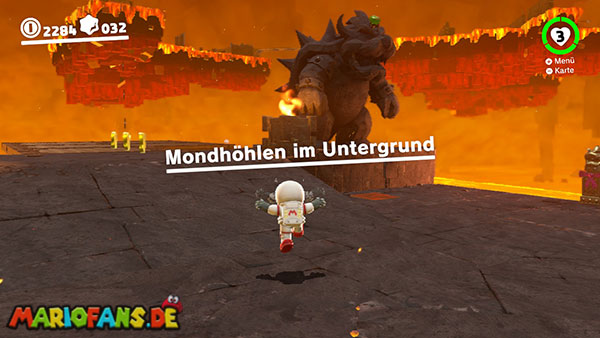
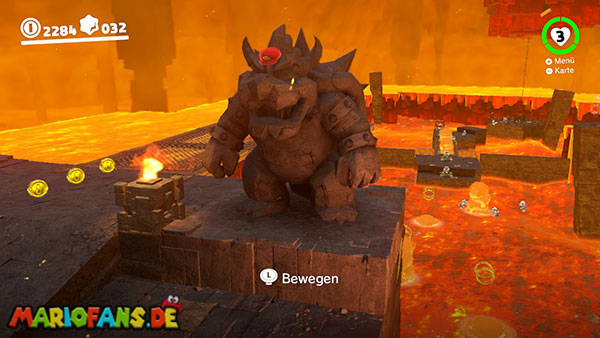
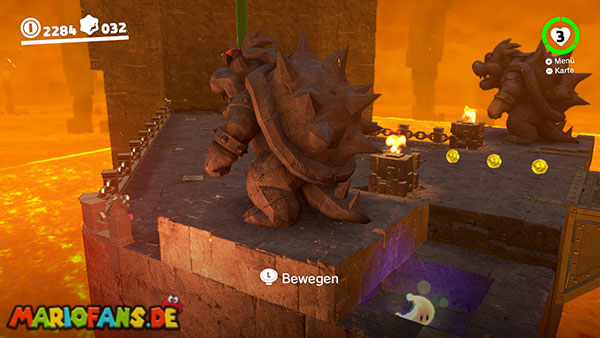
Enter the underground Moon Caves at the Silent Wall checkpoint.
After falling through the entrance, you land between several Bowser statues.
Examine the statue on the right. You’ll see the caper symbol on its head.
Jump onto the statue and throw Cappy on its head.
In the form of the Bowser statue, you can move slowly across the ground.
Move the statue forward a little. A small opening will be revealed beneath its original position.
Leave the statue and jump into the hole. The Power Moon is located there.
10: In a Hole in the Magma
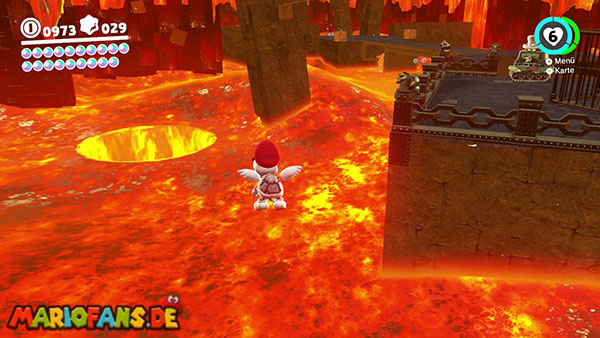
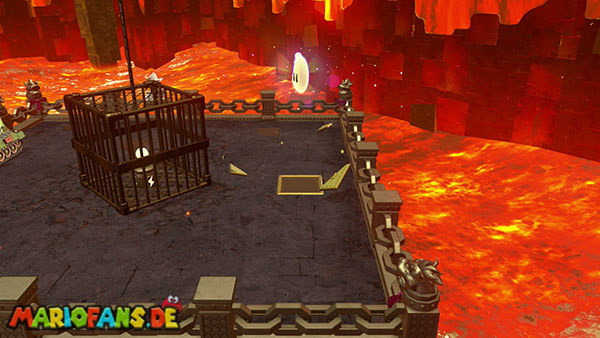
Work your way through the subterranean moon caves to the deepest area with the Para-Bone Dry.
Capture one of the flying enemies and cross the large lava pool.
At the other end stands a caged electricity pylon. To the right of the cage, you can see a round hole in the lava.
Fly descends into the opening as a para-bone dry.
At the bottom of the shaft is a golden key.
Touch it. This will cause the Power Moon to appear right next to the cage of the power pole.
Fly back up and collect the moon.
11: Around the Barrier Wall
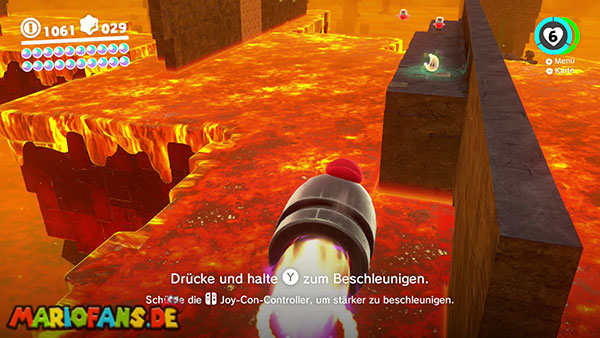
Follow the underground path to the area with the large Bullet Bills.
Capture the first Bullet Bill and fly through the golden coin rings.
Break through the brick blocks and pass the first long obstacle wall.
Turn left immediately behind the wall and fly towards its back.
There is a narrow rocky outcrop there with the Power Moon.
Exit Bullet Bill in time using ZL so that Mario lands safely on the platform.
12: On Top of the Cannon
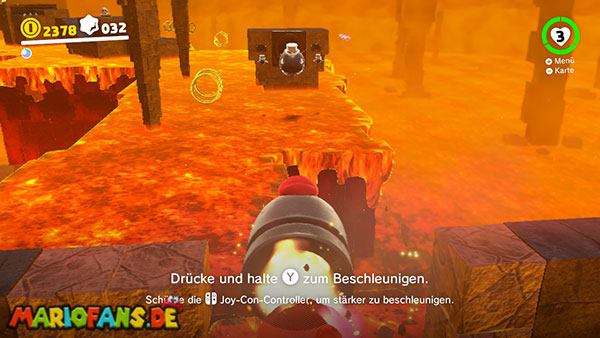
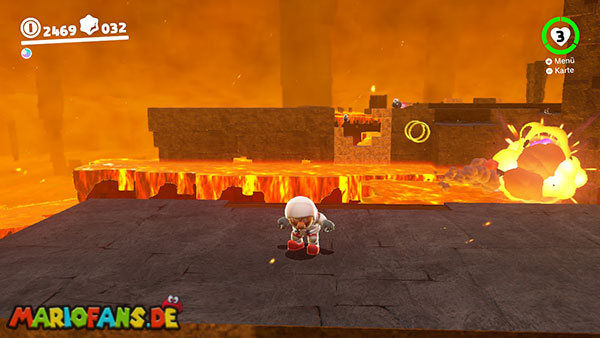
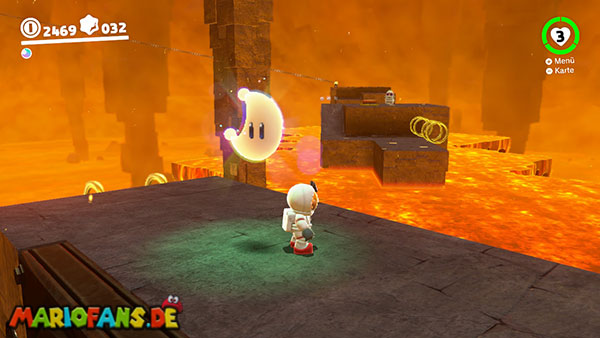
This Power Moon is also located in the area with the large Bullet Bills.
Capture a Bullet Bill and follow the normal path through the brick blocks and obstacle walls.
After the second wall, you’ll reach the next firing cannon.
Fly the Bullet Bill directly into the cannon. Make sure Mario lands on top of it after the explosion.
Stand in the middle of the cannon and perform a ground pound.
This reveals the hidden Power Moon.
13: Fly to the Treasure Chest and Back
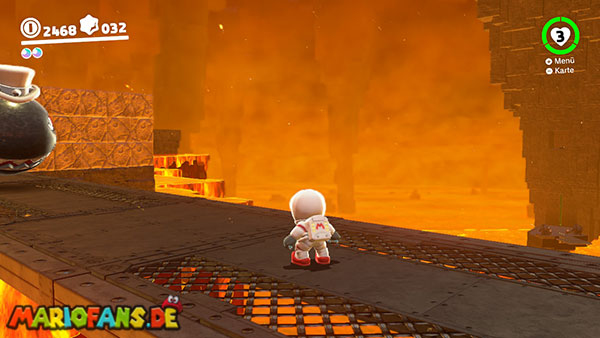
Return to the area with the Bullet Bills.
Views from one of the launch cannons towards the entrance of the underground moon caves.
High above the green entrance tunnel is a small rock niche. Inside is a treasure chest.
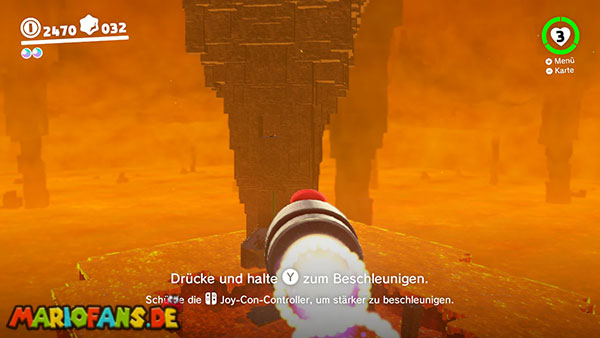
Capture a Bullet Bill and fly back towards the cave entrance.
Shake the controller or repeatedly press the action button to accelerate the Bullet Bill. Otherwise, its remaining flight time may not be sufficient.
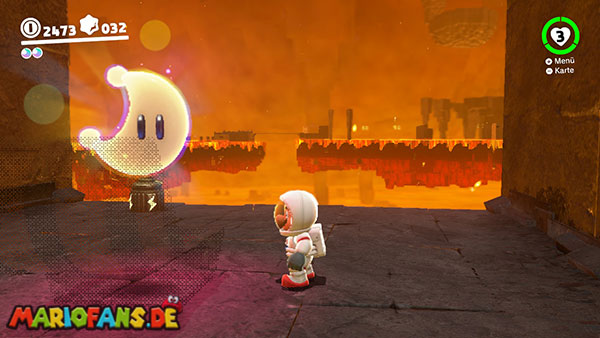
Drive directly into the niche and exit the capture using ZL.
Open the treasure chest with Cappy. Inside is the Power Moon.
A power line then takes you back to the normal path.
14: Up in the Rafters
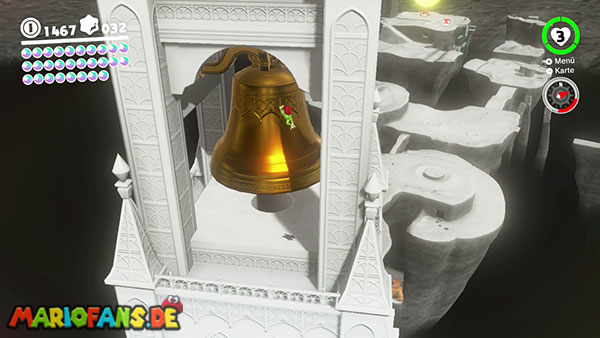
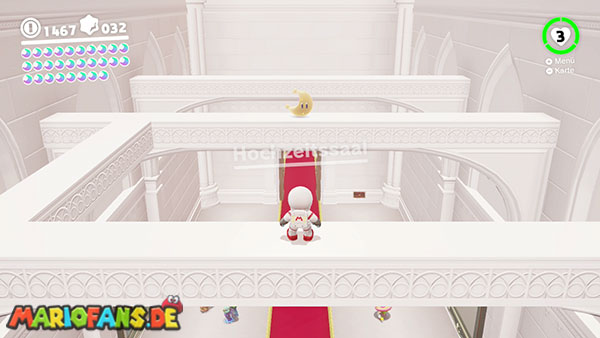
Go to the roof of the wedding cathedral. Behind the building sits a frog that will make it particularly easy to climb the high outer walls.
Work your way up to the large golden bell at the highest peak.
Directly below the bell is a round opening.
Let yourself fall down through the hole.
Mario lands on a narrow wooden beam below the ceiling of the wedding hall.
Carefully follow the beams to the Power Moon.
After that, you can let yourself fall onto the floor of the cathedral.
15: Sneaking Around in the Crater
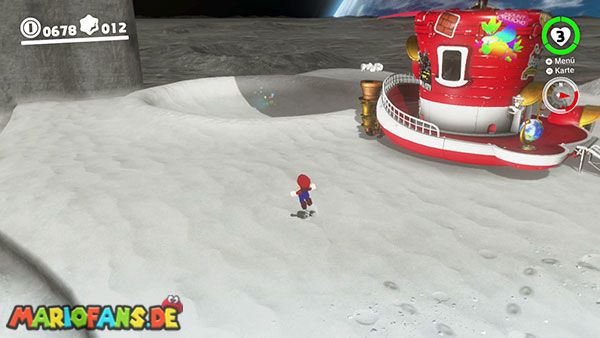
This Power Moon becomes available after defeating Bowser.
Go to the large crater near the Odyssey.
Beneath the surface, a luminous bump moves rapidly through the lunar dust.
Throw Cappy at the mound to temporarily stun it.
Immediately jump to the stationary spot and perform a ground pound.
If hit directly, the Power Moon jumps out of the crater.
16: Found on the Moon, Good Dog!
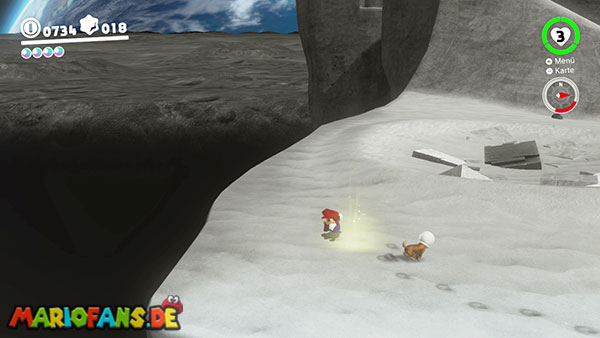
After defeating Bowser, a small dog wearing an astronaut helmet is waiting in front of the Crazy Cap store.
Approach him and play with him briefly until he follows Mario.
Lead the dog to the northeastern part of the area. There you will find several small craters and broken moon rocks.
The dog sniffs around in various places and may initially only dig up a few coins.
Follow him until he reaches a spot where he starts digging excitedly with his front paws.
Perform a ground pound on the marked spot.
This reveals the buried Power Moon.
17: Moon Shards on the Moon
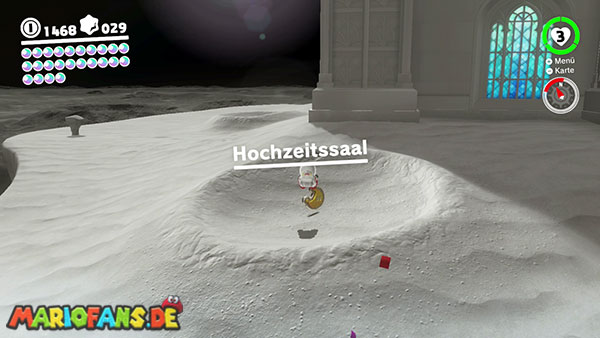
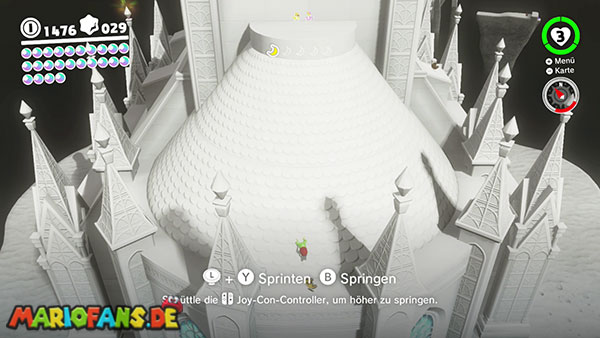
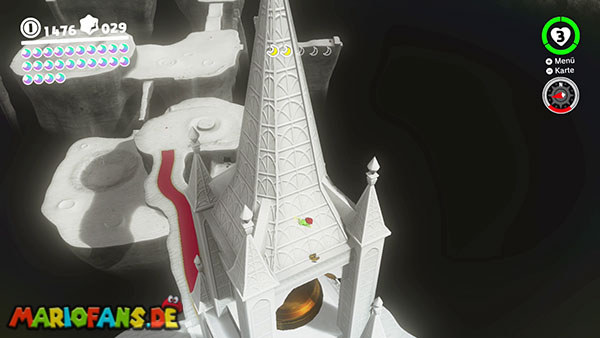
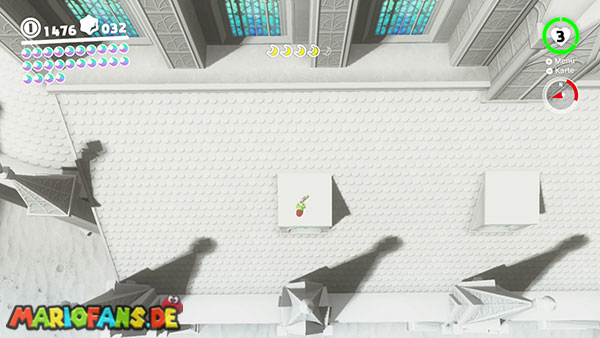
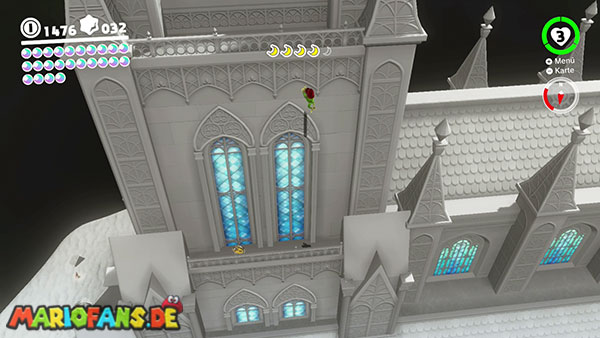
After defeating Bowser, five Moon Pieces are scattered around the Wedding Cathedral.
Capture the frog behind the building. With its high jumps, you can reach the roof and all the spires of the cathedral.
You can find the Moon Shards in the following locations:
- In a small crater near the checkpoint in front of the cathedral.
- On the left section of the roof next to the main entrance.
- In front of the large colorful window on the front of the cathedral.
- On the back of the building, or on a rear roof overhang.
- At the highest peak near the large golden bell.
Jump with the frog across the individual roof surfaces and collect all five fragments.
The Power Moon then assembles in front of the cathedral.
18: Moon Quiz: Amazing!
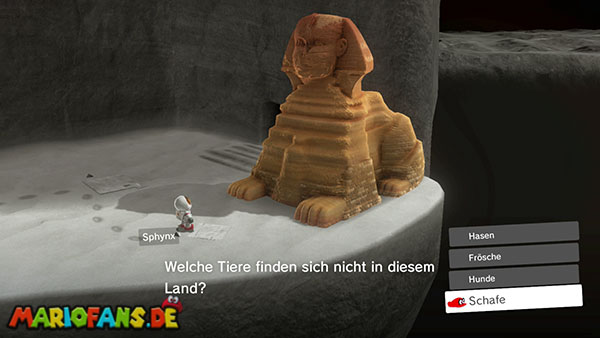
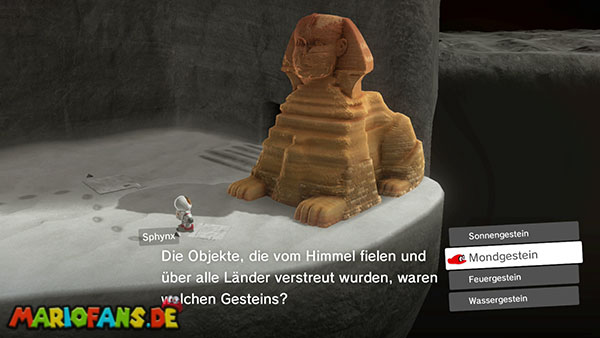
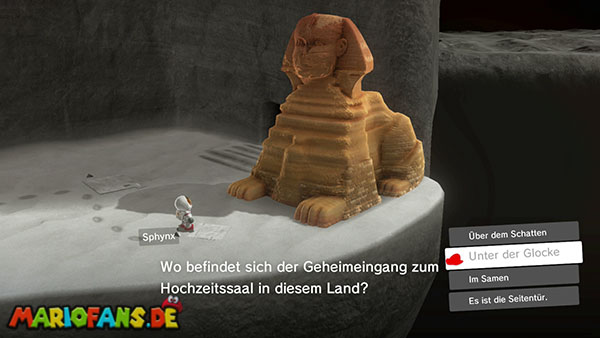
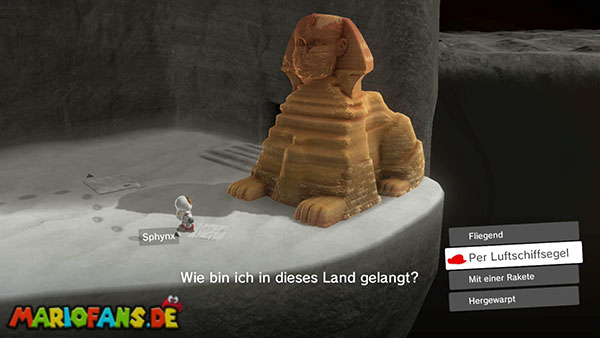
For this Power Moon, you must first find the hidden treasure of the Sphinx from Moon Number 24.
Then return to the Sphinx below the bridge near the Silent Wall and speak to it again.
She will ask you four more questions. The correct answers are:
- Sheep – these animals do not occur in the Moon Kingdom.
- Moon rock – that’s what the lunar cubes distributed across all countries were made of.
- Under the bell – there is the secret entrance to the wedding cathedral.
- By airship sail – that’s how the Sphinx reached the moon.
If you answer all four questions correctly, the Sphynx will present you with the Power Moon.
19: Thanks, Captain Toad!
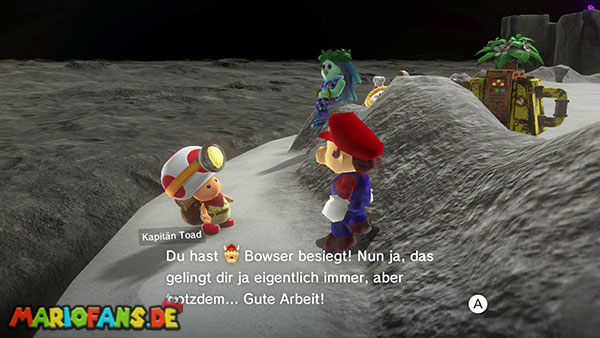
This Power Moon becomes available after defeating Bowser.
To the south, or rather behind the Odyssey, numerous inhabitants from the countries already visited are standing and gazing at the Earth together.
Walk past the group and look behind the small moon-shaped hill at the edge of the cliff.
Captain Toad is sitting there.
Talk to him and listen to his impressions of the moon.
Then he gives you the Power Moon.
20: Shopping in Honeylune Ridge
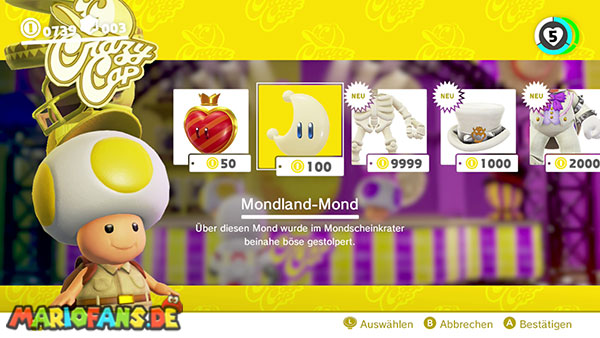
Visit the Crazy Cap store near the Odyssey and talk to the yellow salesman.
There you can buy the Power Moon for 100 gold coins.
21: Walking on the Moon!
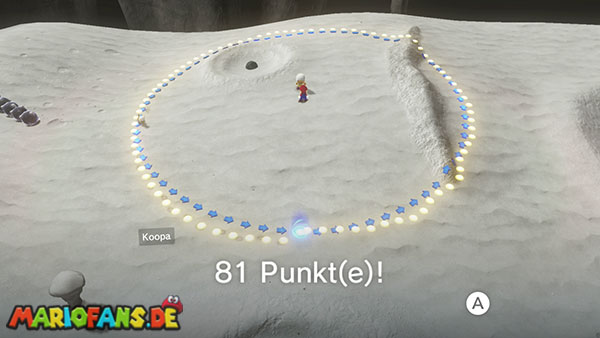
Near the Crazy Cap store, a Koopa wearing a space helmet is waiting.
Talk to him to participate in the Koopa Arrow Race.
He first shows you a large circle on the ground. After a few seconds, the line disappears, and you have to follow its path as precisely as possible.
Pay particular attention to the positions of the large crater and the striking moon rocks on the edge of the circle.
Walk slowly and steadily. Due to the unevenness of the moon’s surface, Mario can easily deviate from the intended line.
Avoid jumps and fast rolls. Small corrections with the left stick are much more precise.
If you reach at least 80 points, you will receive the Power Moon.
22: Moon Kingdom Regular Cup
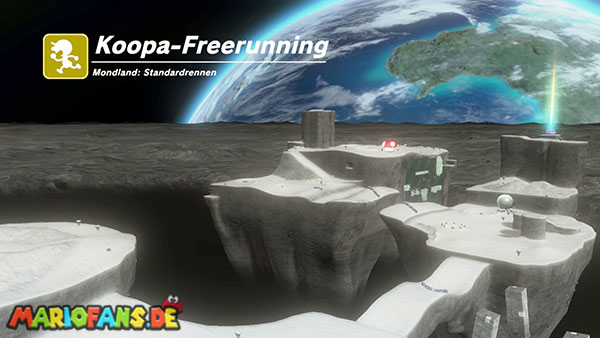
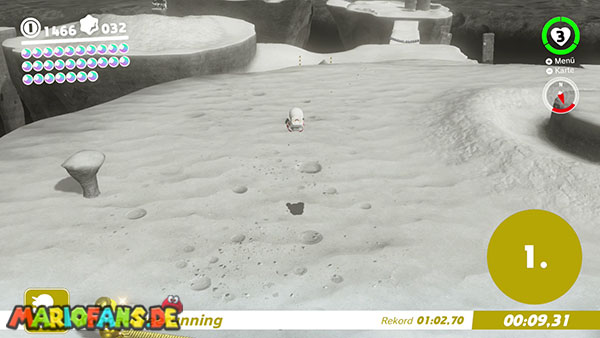
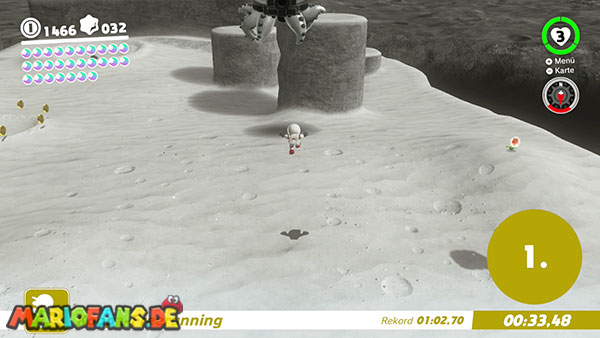
In front of the Wedding Cathedral, after defeating Bowser, a Koopa awaits, who is holding a freerunning race.
The destination is located on the high rock behind the Odyssey.
Immediately after starting, use rolls and long jumps. Due to the low gravity, you’ll cover particularly large distances with each jump.
Don’t follow every bend in the normal path. Jump over the edges of the craters and use the higher moon rocks as direct shortcuts.
At the red carpet, you can jump diagonally to the left onto the lower lunar surface, thereby cutting off part of the route.
Then run directly to the back of the Odyssey and climb the high rock via its northern flank.
You will reach the finish flag at the top by performing several quick long and triple jumps.
If you arrive before the other Koopas, you will receive the Power Moon.
23: Doctor in the House

Buy the following items of clothing at the Crazy Cap store:
- Forehead reflector for 100 gold coins
- Doctor’s outfit for 200 gold coins
Put on both parts of the doctor’s outfit and go to the wedding cathedral.
On the right side of the wedding hall stands an inhabitant of the Arctic who is not feeling particularly well.
Speak to him while fully dressed as a doctor.
The resident of Shiverian mistakes Mario for a real doctor and immediately feels better.
As a thank you, he presents you with the Power Moon.
24: Sphynx’s Hidden Vault
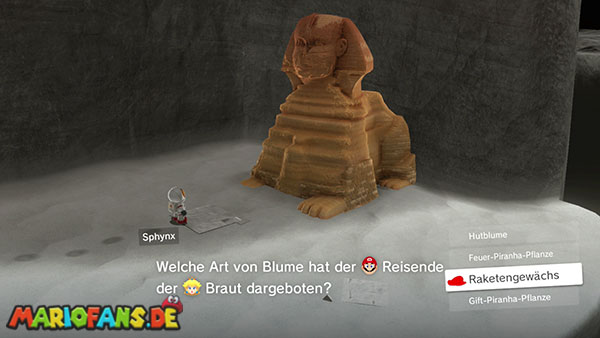
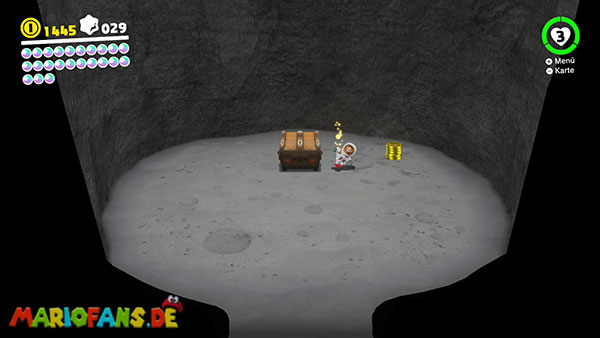
Travel to the Silent Wall checkpoint and walk around the large rock wall to the right.
The Sphinx sits below the bridge to the Wedding Cathedral.
After defeating Bowser, she will ask you a question about the flower the Traveler gave to his bride.
Choose the answer:
Rocket plant
After the correct answer, the Sphinx moves to the side and opens a secret passage.
Enter the treasury. There you will find numerous gold coins as well as several piles of coins.
Open the large treasure chest at the end of the room.
Inside is the Power Moon.
Then speak to the Sphynx again to begin the quiz for Moon number 18.
25: A Tourist in the Moon Kingdom!
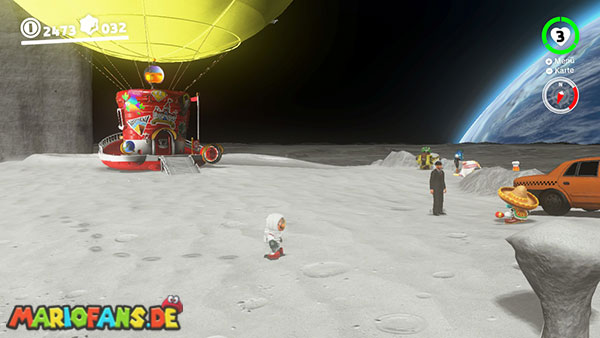

To obtain this Power Moon, you must follow the journey of the desert wanderer.
First, speak to him in Tostarena in Sand Kingdom. Afterwards, he will travel to City Land in his taxi.
Then visit him in Cascade Kingdom and afterwards in Luncheon Kingdom.
After you receive the Power Moon „A Tourist in Luncheon Kingdom!“ there, the tourist travels on to the moon.
Return to Moon Kingdom. The traveler and his taxi are behind the Odyssey, near the group of visitors.
Talk to him. As a memento of his trip, he gives you the Power Moon.
His journey then continues to the Mushroom Kingdom and finally back to the desert land.
26: Peach in the Moon Kingdom
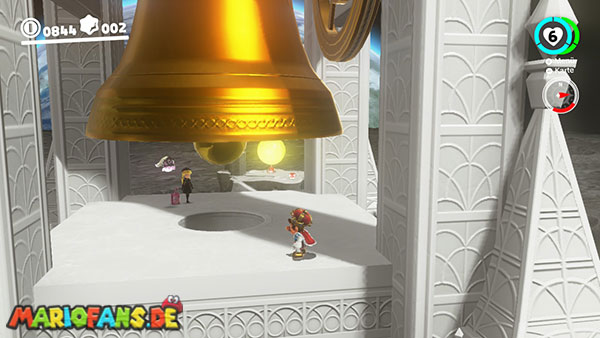
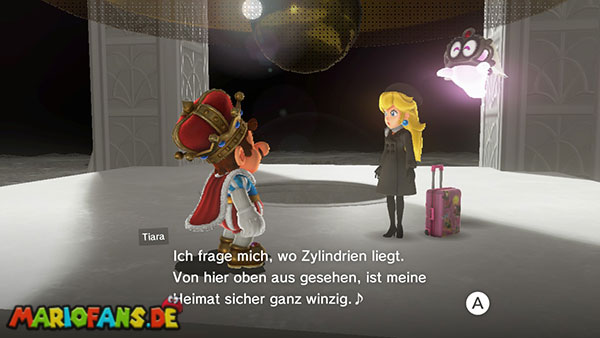
Princess Peach appears in the Moon Kingdom after you have visited her in the other 13 countries.
Go to the wedding cathedral and capture the frog behind the building.
Jump with him onto the roof and work your way up to the large golden bell.
Peach and Tiara are standing on the highest platform right next to the bell.
Talk to Peach and listen to her final impressions of the trip.
Then she gives you the Power Moon.
27: Found with Moon Kingdom Art
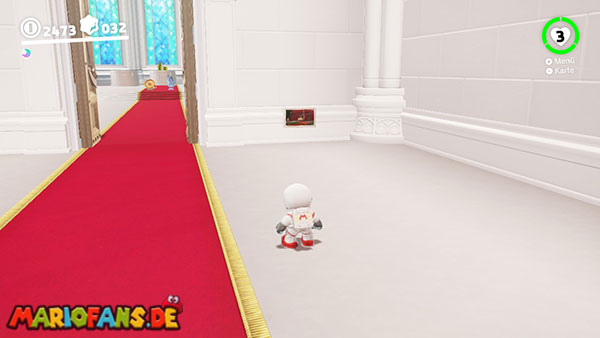
Enter the Wedding Cathedral.
In the anteroom, the Moon Kingdom’s symbolic art is located on the right-hand wall next to the entrance to the large wedding hall.
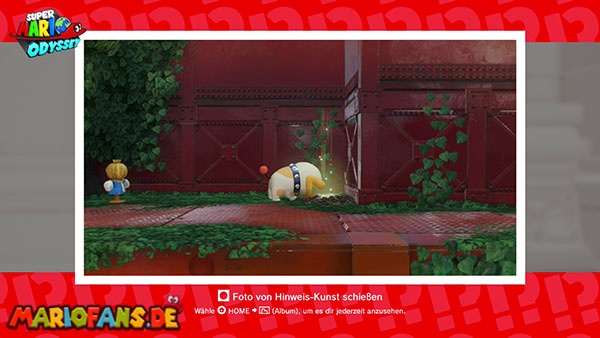
The picture shows Poochy in a corner next to a scarecrow in the forest.
Travel to the Iron Road checkpoint – access.
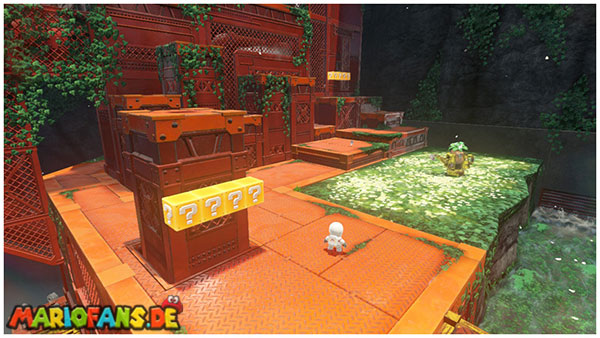
Go up the stairs and walk past the red metal structures on the left.
The scarecrow from the informational image stands in the narrow area next to the industrial plant.
Carefully compare the walls and the position of the scarecrow with the drawing.
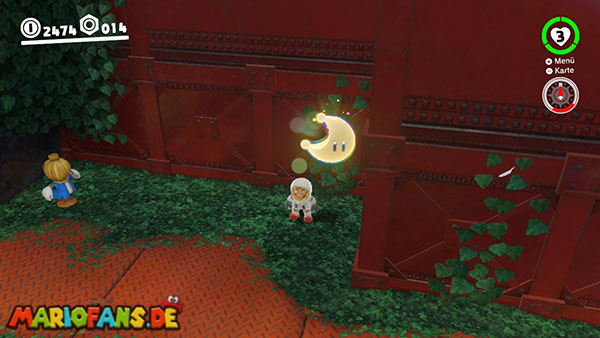
Stand in the marked corner right next to the scarecrow and perform a ground pound.
The Power Moon from Moon Kingdom appears in the correct location.