

After completing the main story, you can activate the Moon Rock. This will unlock new missions and allow you to collect more Power Moons.
70: Mighty Leap from the Palm Tree!
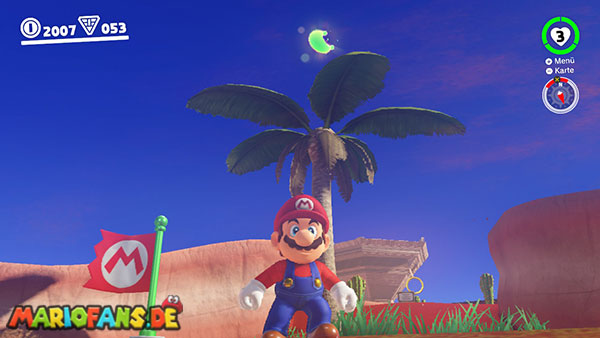

Travel to the checkpoint “ Desert Oasis „. A Power Moon is floating on the palm tree next to the flag.
71: On the North Pillar
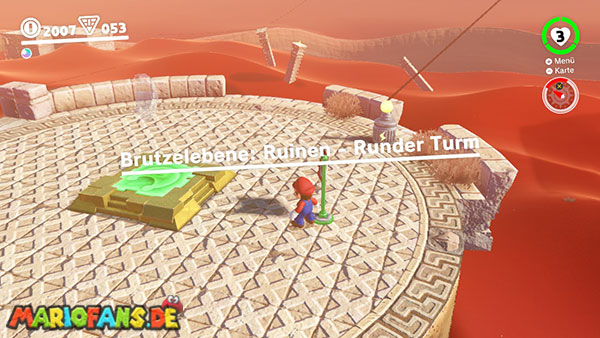
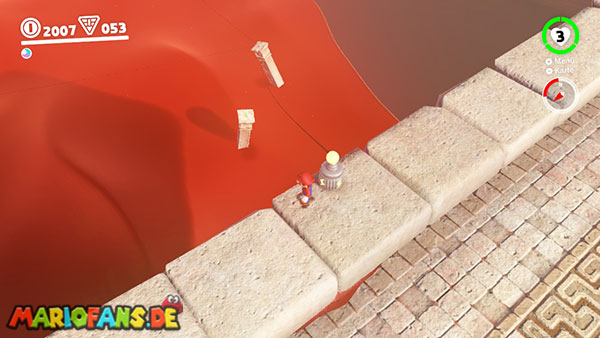
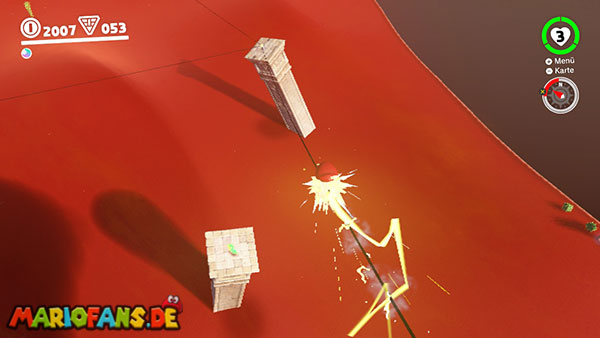
Travel to the checkpoint “ Tostarena Ruins Round Tower „. Capture the power line to reach the pyramid. From there, head to the next power line, which leads down into the valley. The Power Moon is floating on a pillar. Press ZL to jump off.
72: Into the Flowing Sands
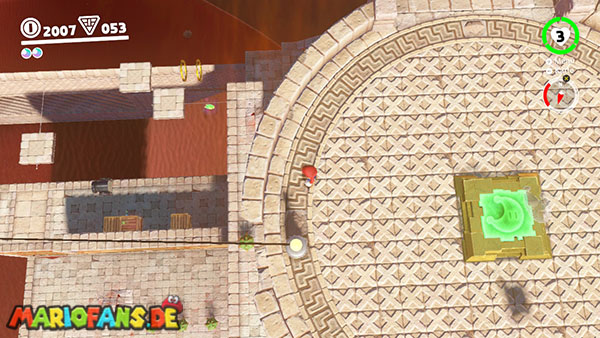
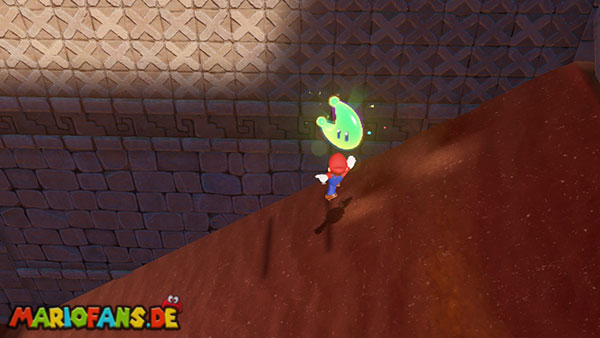
Travel to the checkpoint “ Tostarena Ruins Round Tower „. From the tower, jump to the back left. You’ll see a Power Moon in the quicksand.
73: In the Skies Above the Canyon
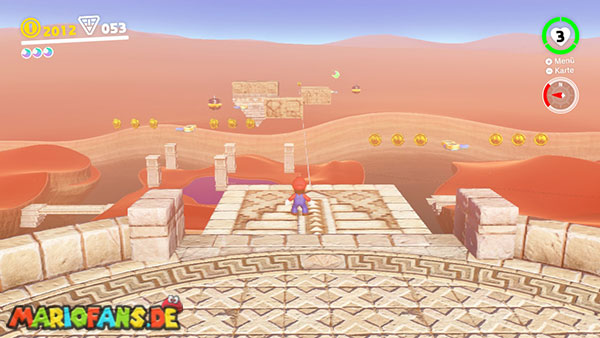
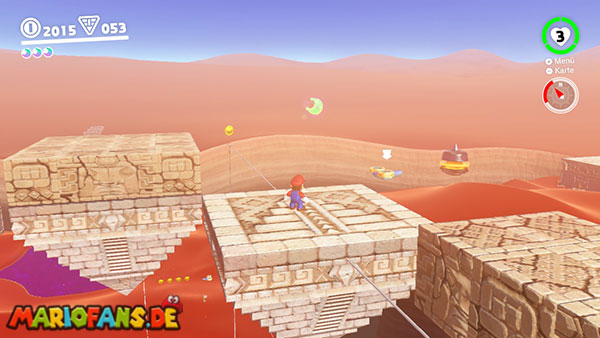
Travel to the checkpoint “ Tostarena Ruins Round Tower „. Stand on the platform, which will then begin to float. About halfway along, a Power Moon will be floating in the back right corner, which you can reach with a jump.
74: Island in the Poison Swamp
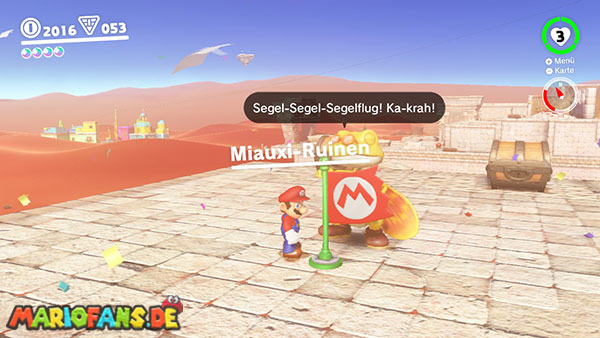
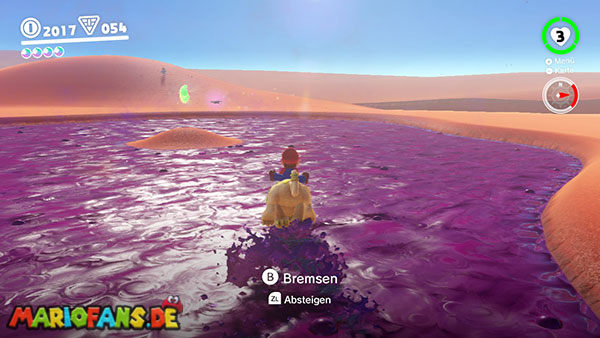
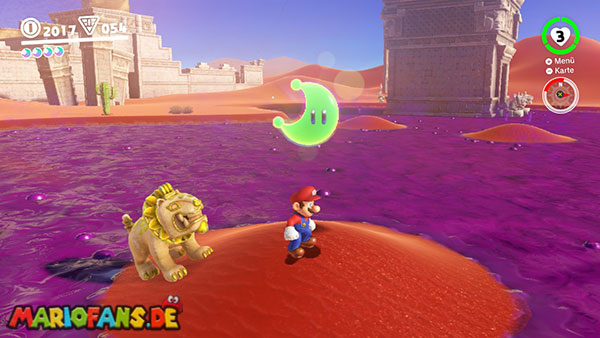
Travel to the “ Jaxi Ruins “ checkpoint. Jump on Jaxi and retrieve the green Power Moon from the swamp.
75: An Invisible Gleam
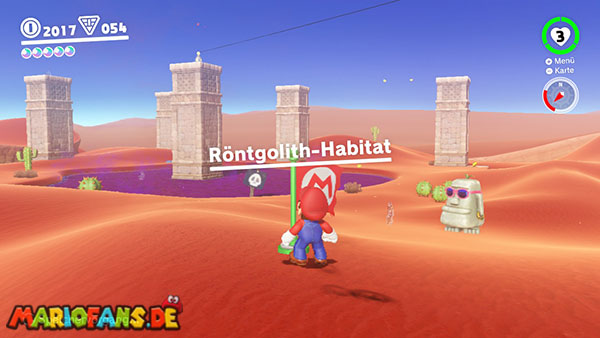
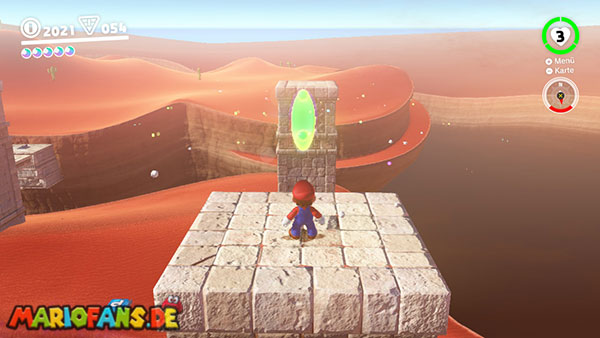
Travel to the “ Moe-Eye Habitat “ checkpoint. Head to the back right, where a platform will take you up to the top of the pillar. Cross the invisible bridge to the second pillar and perform a ground pound in the middle. The Power Moon will then appear.
76: On the Eastern Pillar
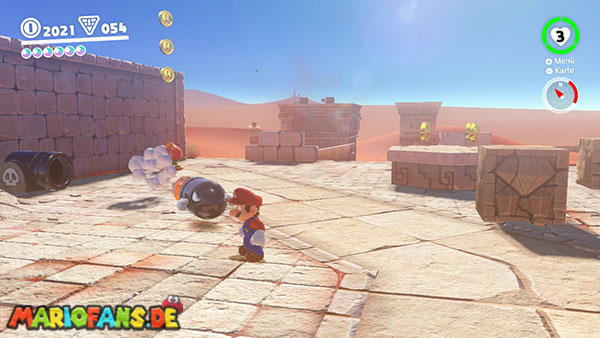
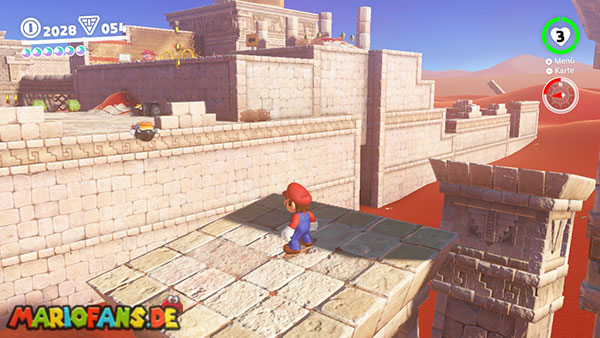
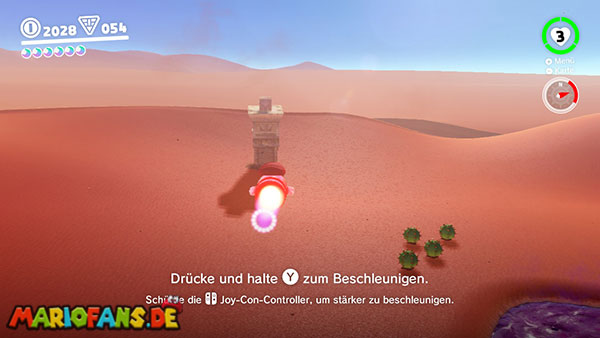
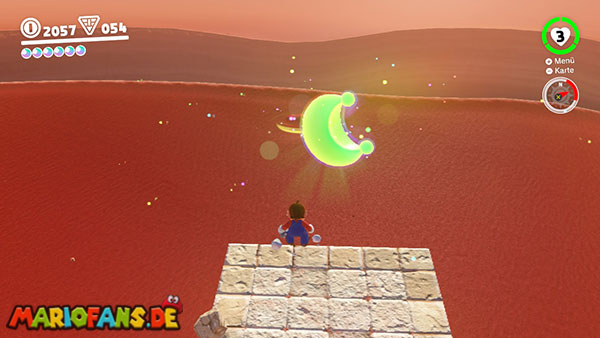
Travel to the checkpoint “ Bursting Plains: Ruins – Sand Pillars „. Jump down and capture a Bullet Bill. Fly to the Power Moon on the stone pillar. Leave the Bullet Bill and wait for another one to fly by. Then jump onto the second stone pillar and capture that Bullet Bill as well. Fly towards the edge of the desert, shaking the controllers to fly faster. On one of the pillars, you’ll see a glowing stone block. Inside this block is the Power Moon.
77: Caught Hopping in the Desert!
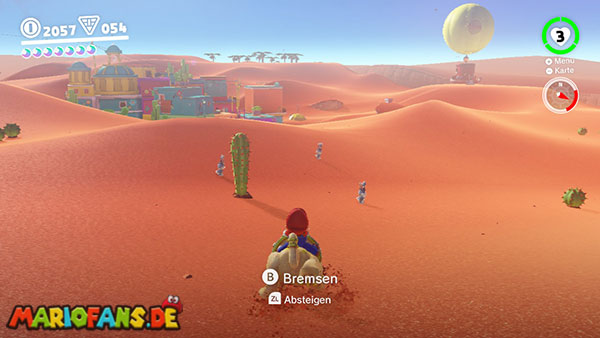
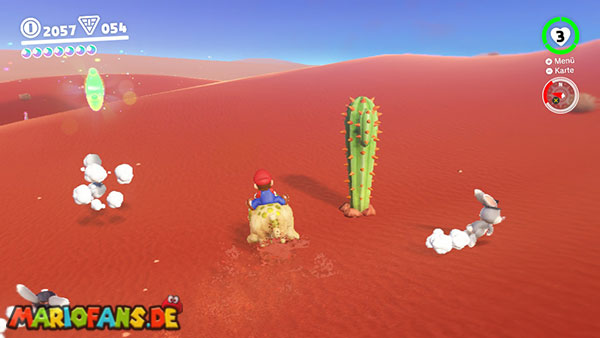
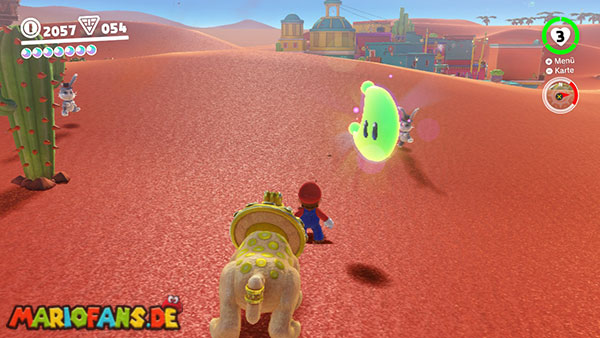
Travel to the checkpoint “ Southwest Drift Island „. From there, jump down to the rabbits in the sand. There’s a Jaxi nearby. Jump on it and then chase all the rabbits to get the Power Moon.
78: Poster Cleanup
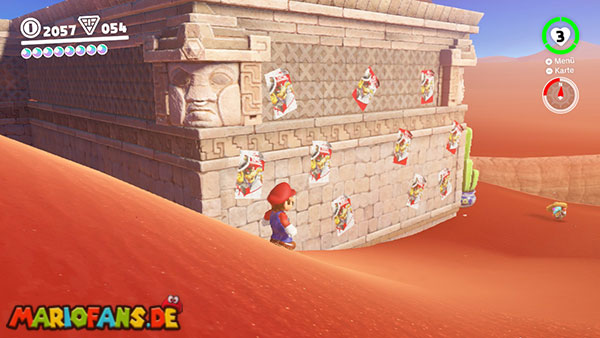
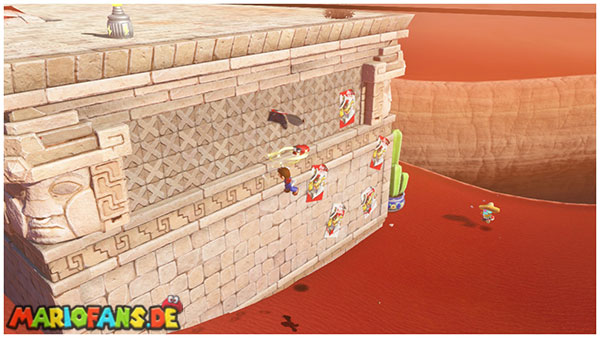
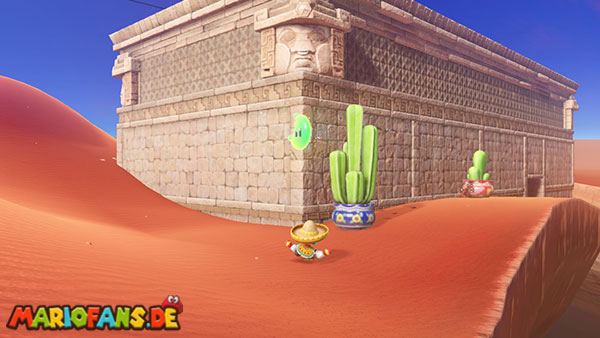
Travel to the checkpoint “ Sizzling Plains: Northwest Wings „. On the back side, you’ll find lots of Bowser posters. Throw Cappy at all of them to remove them. The reward is the Power Moon.
79: Taking Notes: Running Down
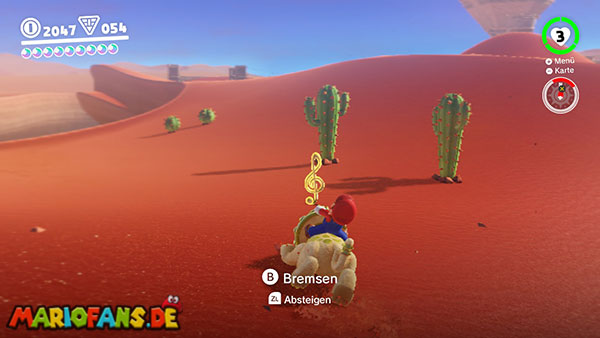
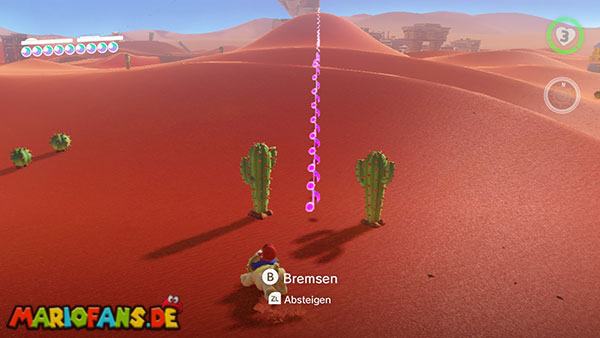
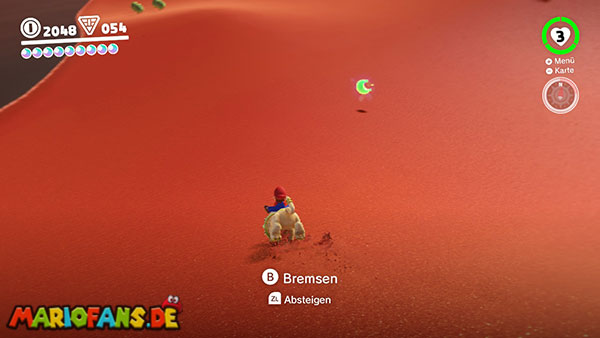
Travel to the “ Southwestern Drift Island “ checkpoint. Get the Jaxi and look for the X nearby on the map. There you’ll see a colorful treble clef. Collect all the notes to make the Power Moon appear.
80: Taking Notes: In the Wall Painting
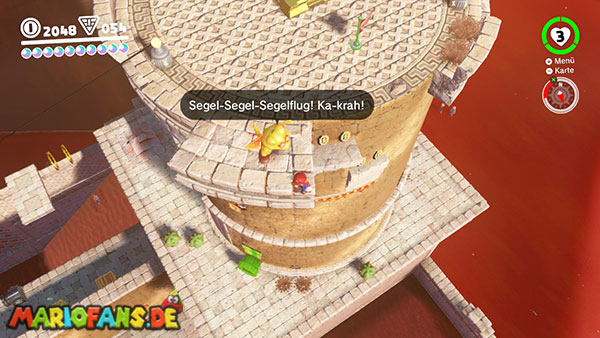
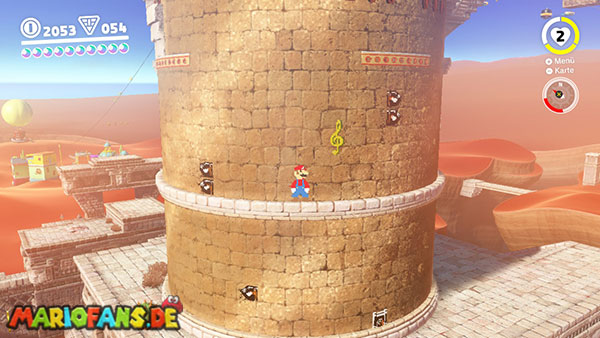
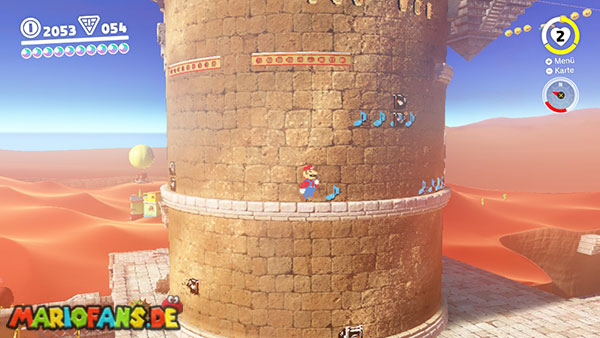
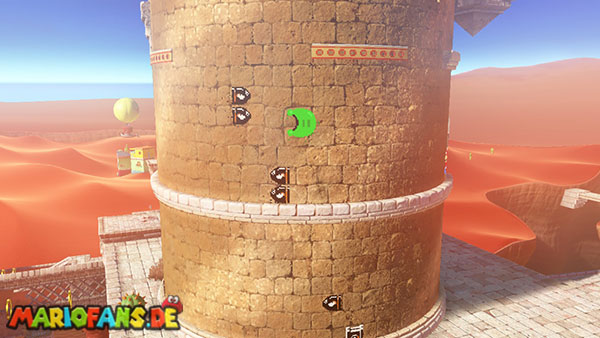
Travel to the checkpoint “ Tostarena Ruins Round Tower „. Jump from the Round Tower and go through the pipe into the mural on the Round Tower. You’ll find a treble clef and need to collect all the colored notes for the Power Moon.
81: Love at the Edge of the Desert
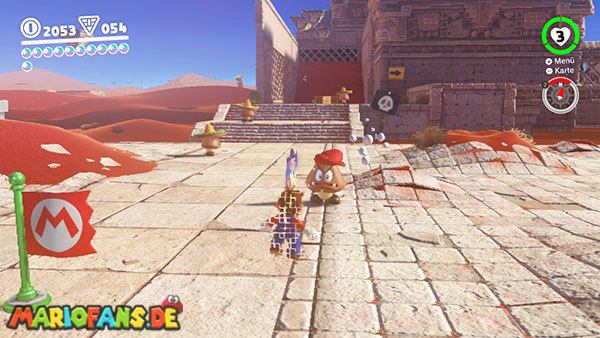
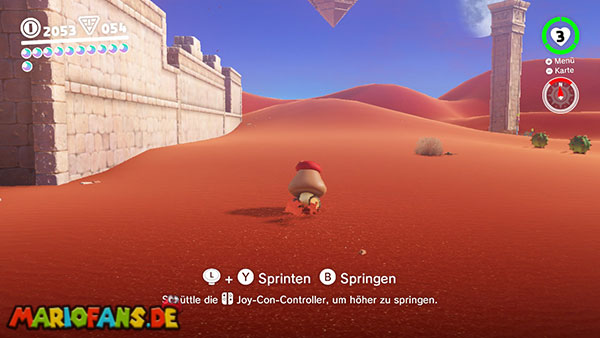
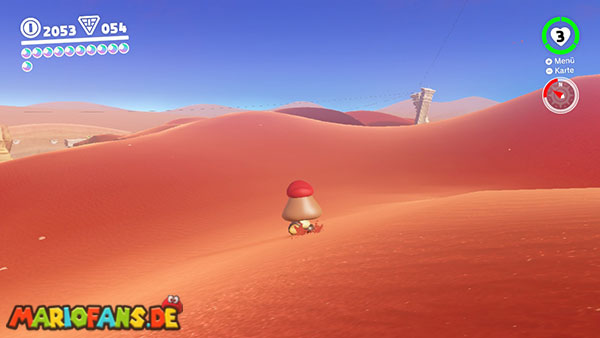
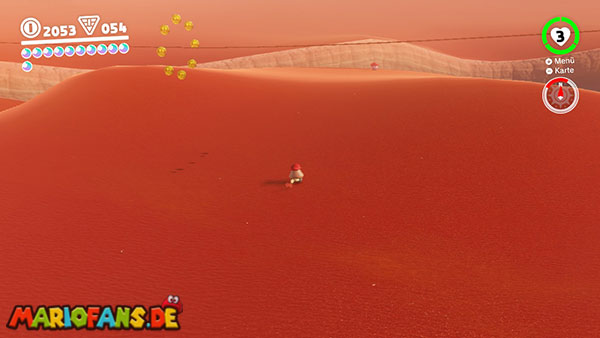
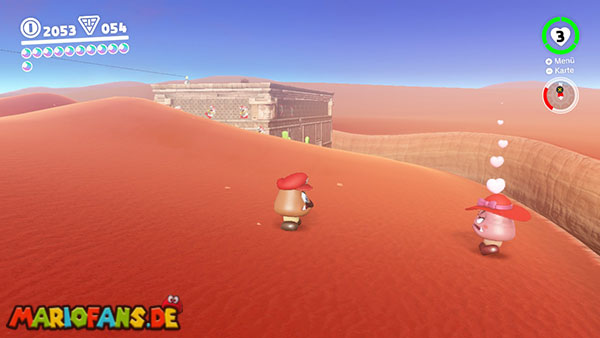
Travel to the checkpoint “ Sizzling Plains: Ruins – Entrance „. Northeast of the northwestern slopes, a lone Goomba awaits at the edge of the map. Capture a Goomba at the entrance to the ruins and run east past the ruins to your destination.
82: More Walking in the Desert!
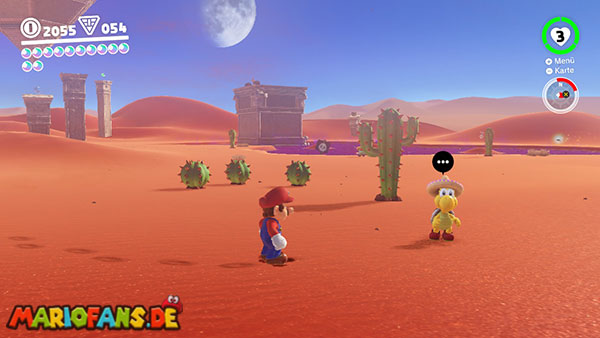
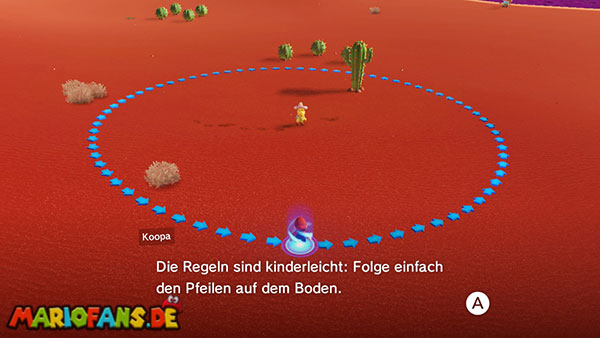
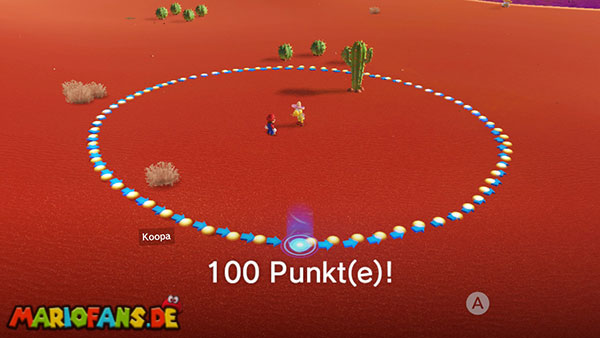
Travel to the “ Tostarena Town“ checkpoint. Get a Jaxi and head northeast to a Koopa. Challenge him and try to perfectly complete the circle. After a few tries, you should score over 90 points. Use the cactus and bushes as landmarks and control Mario using only the camera angle, i.e., with the right stick.
83: Sand Kingdom Master Cup
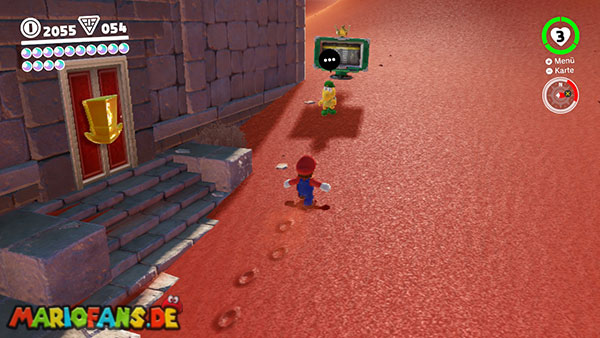
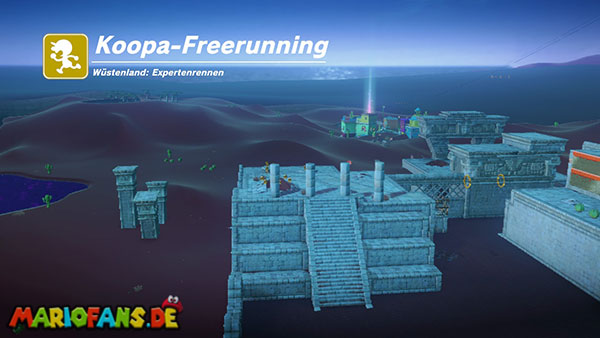
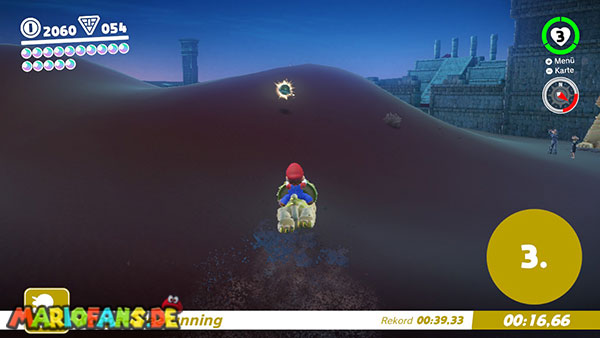
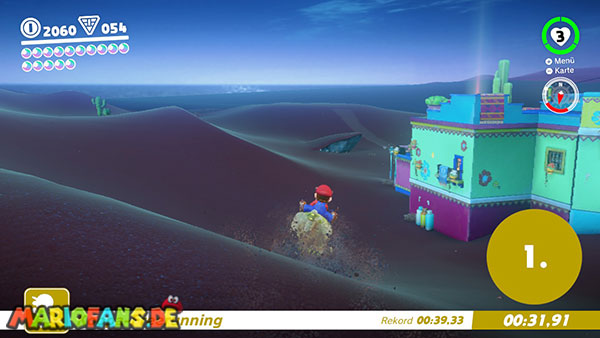
Travel to the “ Boiling Plains – Northwestern Ranges“ checkpoint. Talk to the Koopa there and win the race. Quickly jump to the Jaxi and ride off. The golden Koopa will stay hot on your heels, but won’t be able to keep up if you run smoothly between the Boiling Plains and Jaxi ruins towards the finish line.
84: Where the Transparent Platforms End
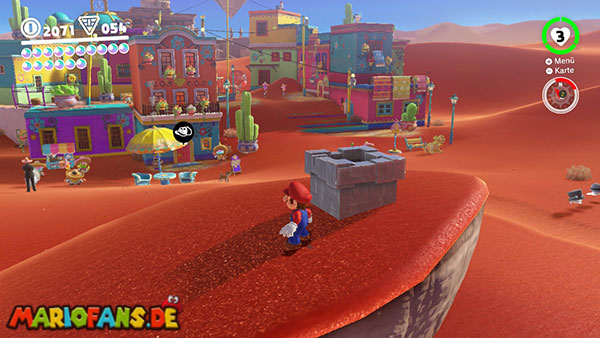
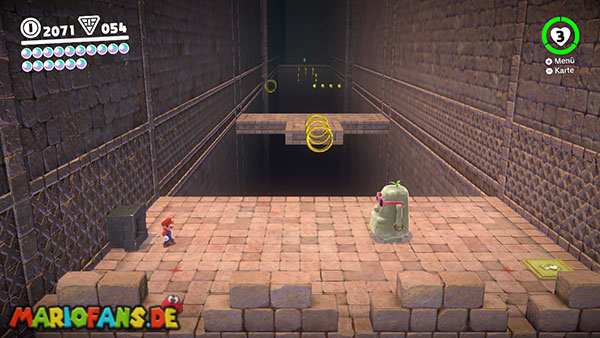
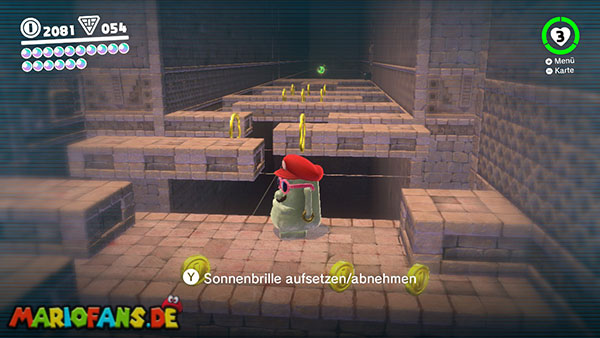
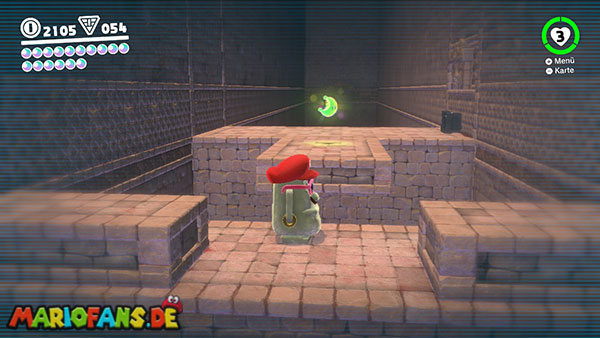
Travel to the checkpoint “ Tostarena Town“. There’s a chimney to the south of the flag. Grab a Moe-Eye and master the maze.
85: Jump Onto the Transparent Lift
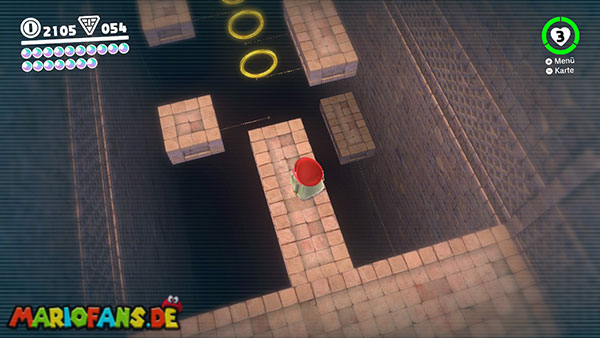
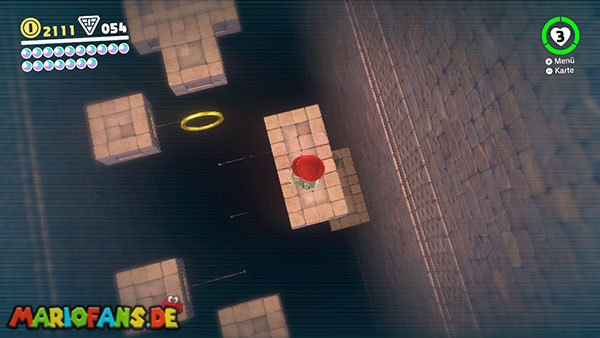
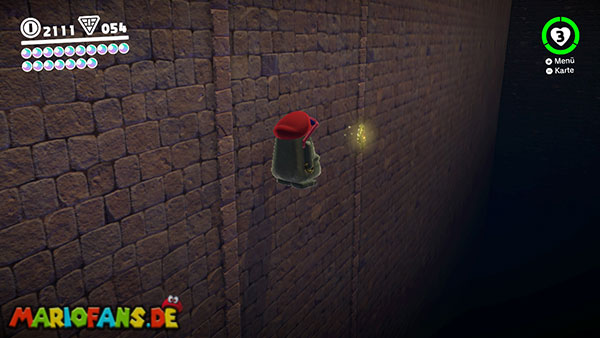
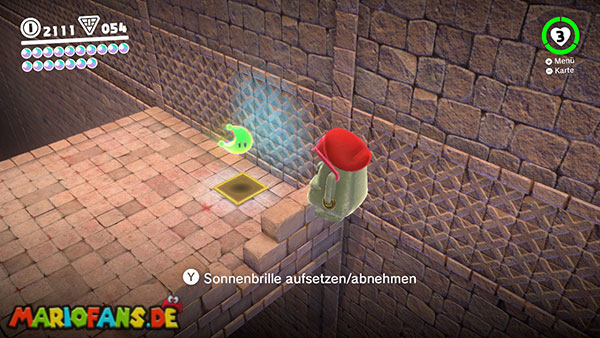
Travel to the “ Tostarena Town“ checkpoint. There’s a chimney south of the flag. Grab a Moe-Eye. Right at the start of the section, after you’ve climbed onto the first invisible platforms, you can see a hidden platform in the lower right. Drop down onto it and ride it first through the key below the starting area, then back up to collect the Power Moon that now appears.
86: Colossal Ruins: Dash! Jump!
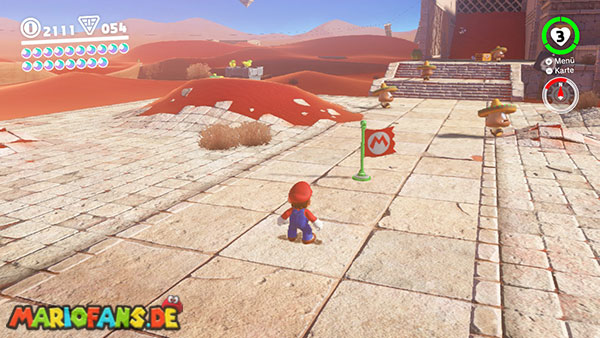
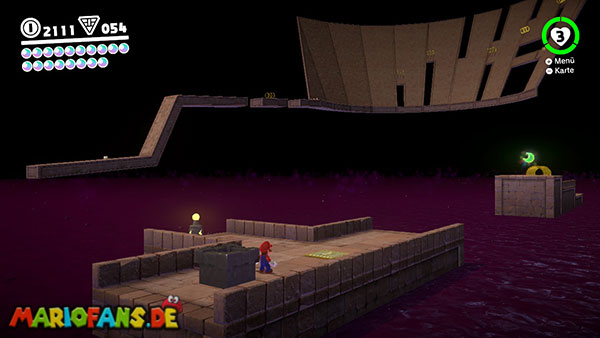
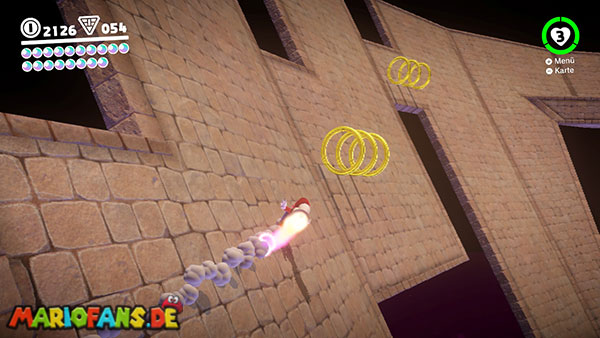
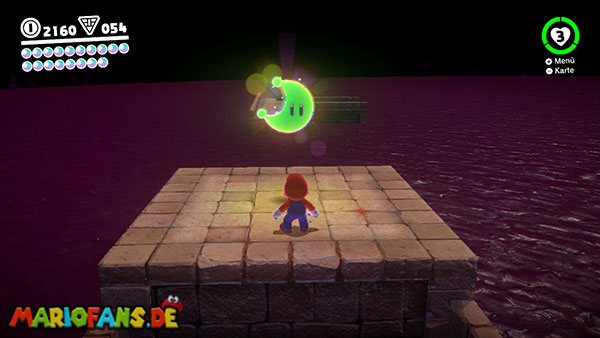
Travel to the checkpoint “ Sizzling Plains: Ruins – Entrance „. There’s a chimney there as well. As soon as you reach the racetrack via the power line, it will start to collapse. Get the Turbo Flower and complete the course without going off the track. It’s best to look at the layout beforehand from a safe distance and memorize it somewhat, as your perspective is very limited once you’re on the track. Make it all the way to the top of the sloping track and then jump back down, and you’ve done it.
87: Sinking Colossal Ruins: Hurry!
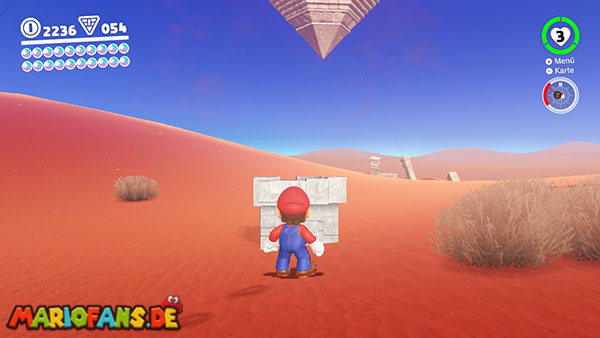
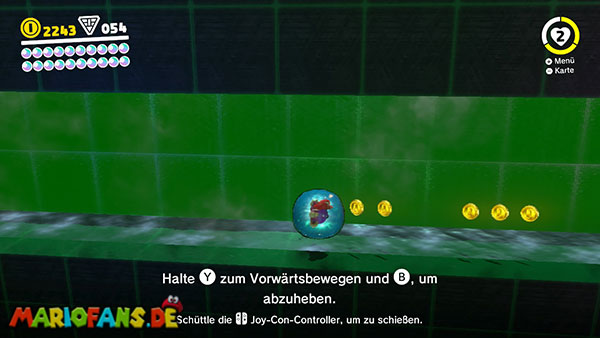
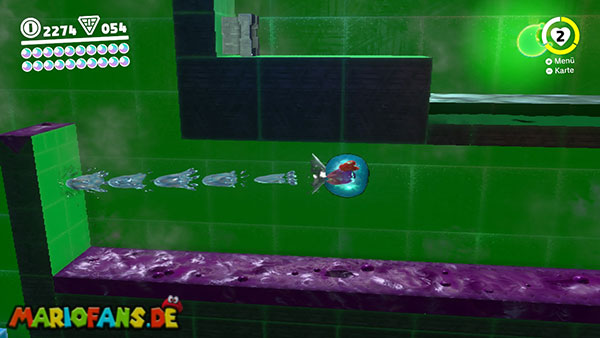
Travel to the checkpoint “ Sizzling Plains: Ruins – Entrance „. There’s another chimney there. As soon as you reach the racetrack via the power line, it will begin to collapse. Once you’ve entered the underground course, you can just barely see from your starting point that a golden key is waiting to be collected on the lower right side of the track. Of course, that’s easier said than done, as you have very little room to maneuver and must immediately sprint steeply upwards after collecting the key to complete the course. But: If you manage to grab the key and finish the course, you can secure a second Power Moon.
88: Through the Freezing Waterway
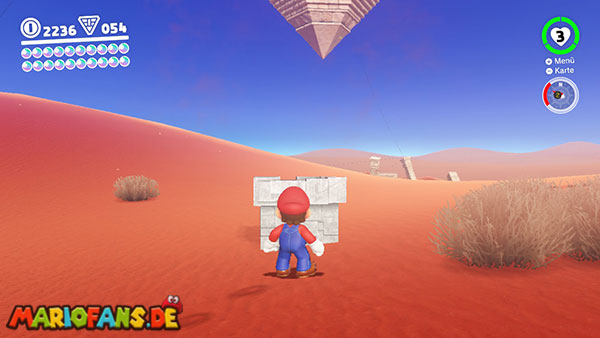
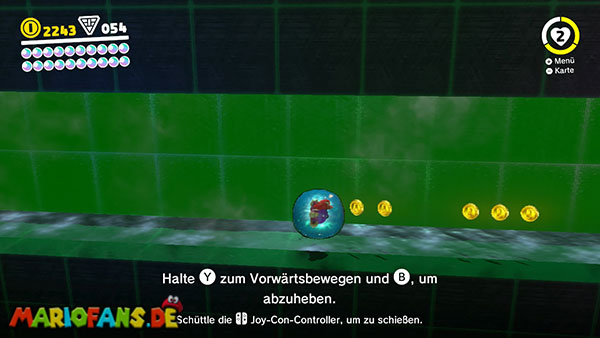
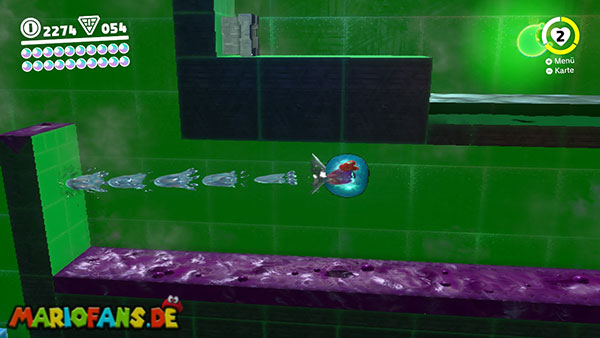
Travel to the “ Jaxi Ruins “ checkpoint. There’s a chimney nearby. Check your map to see where the X is. Fly in the secret area as a Gushen to the far end, where you’ll find a Power Moon.
89: Freezing Waterway: Hidden Room
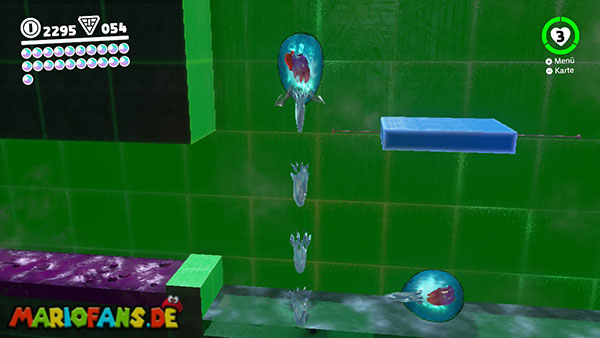
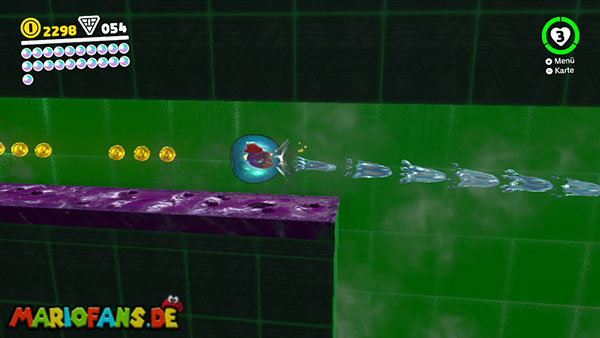
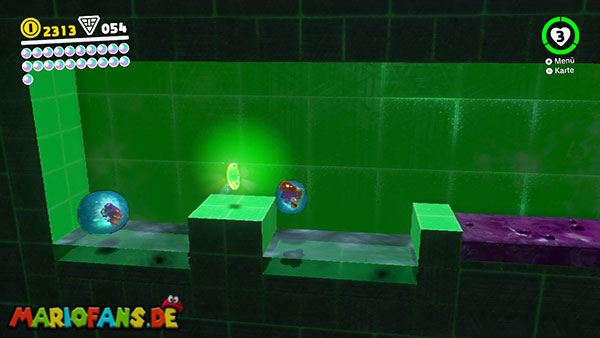
Travel to the “ Jaxi Ruins “ checkpoint. There’s a chimney nearby. Check your map to see where the X is. Fly in the secret section as a Gushen until you reach the tall „room“ where you’ll find the first blue moving platform. Use this to access the passage in the upper left. Fly efficiently to conserve water so you can reach the moon on the far left.