

01: Atop the Highest Tower
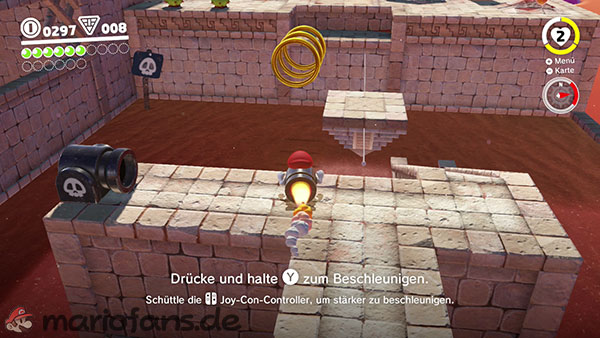
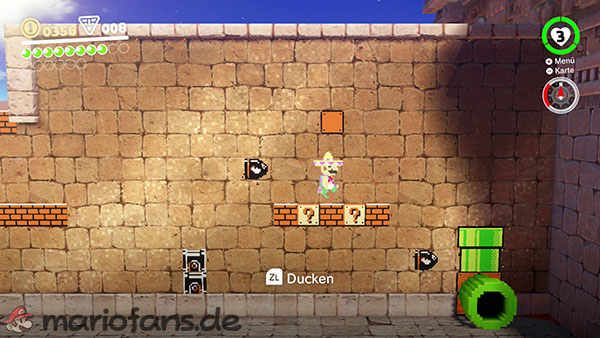
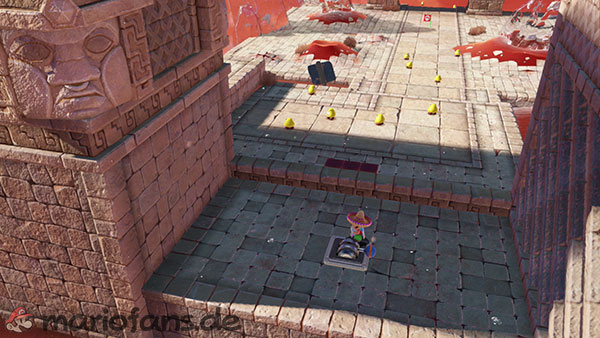
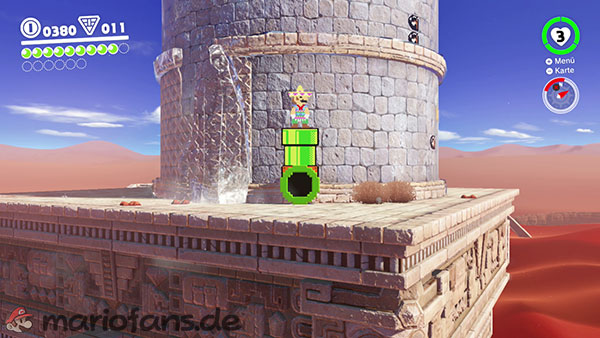
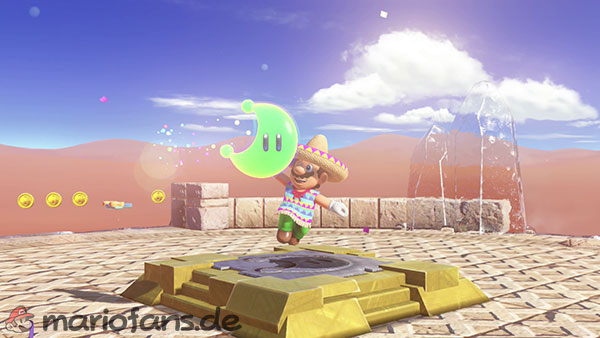
Play through the story and always follow the path. At the top of the round tower you will find the first Power Moon.
02: Moon Shards in the Sand
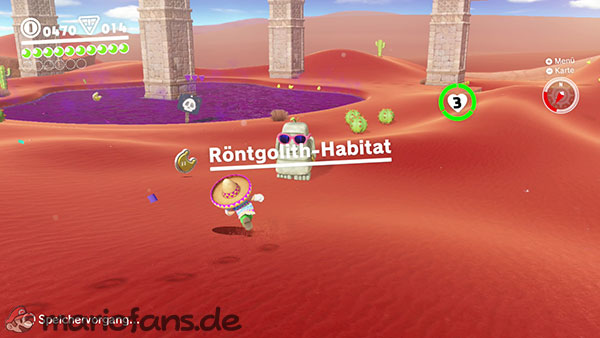
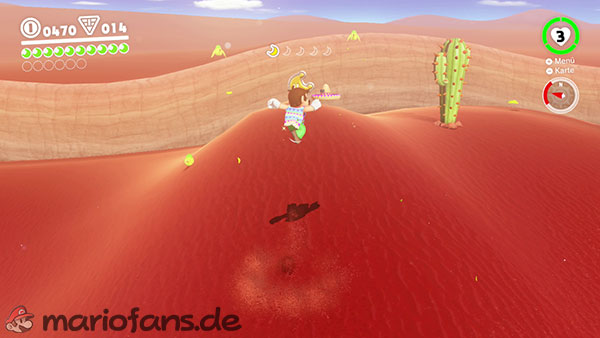
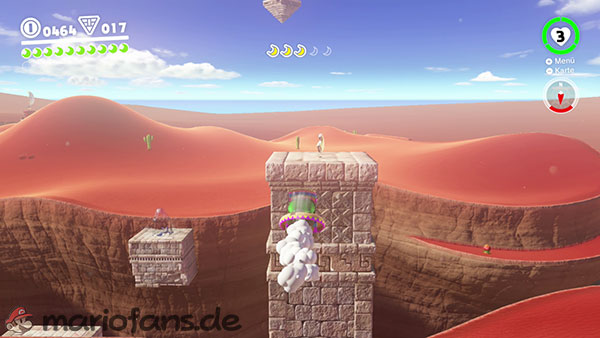
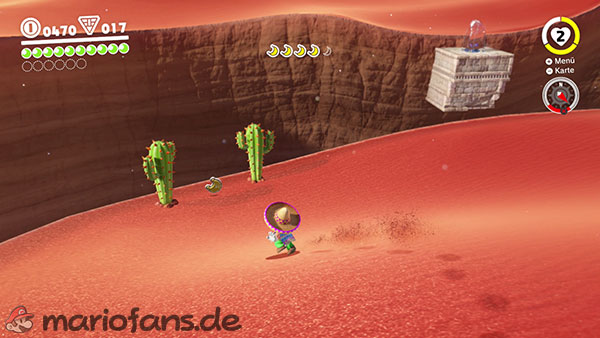
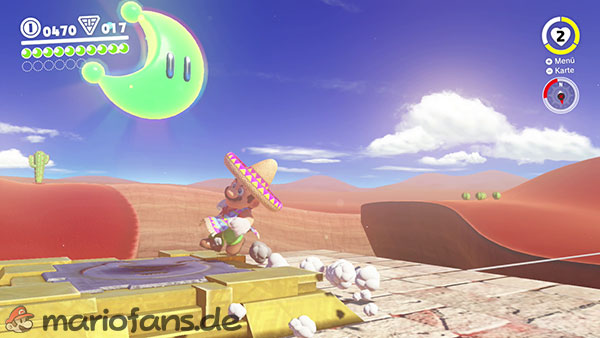
From the tower, you can reach the Moe-Eye habitat in the west of the desert. Find the five Moon Shards.
- Hovering above the poison lake
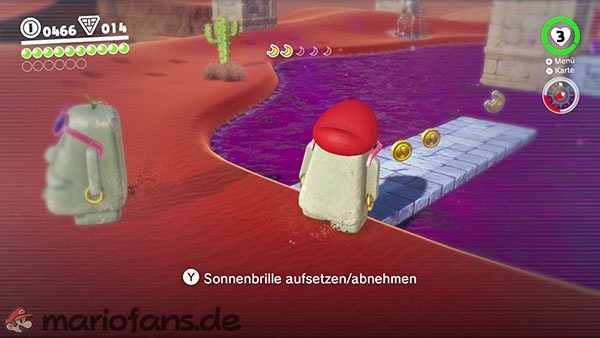
- Capture a Moe-Eye and use its sunglasses to reveal the invisible path.
- You can make the path visible on a column using a Moe-Eye.
03: Showdown on the Inverted Pyramid
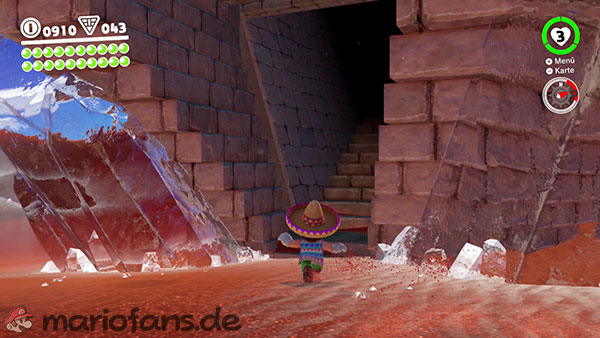
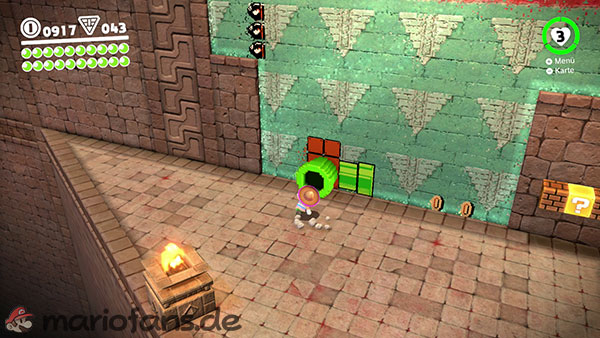
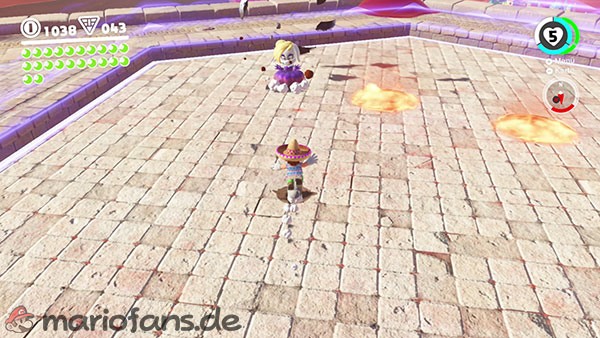
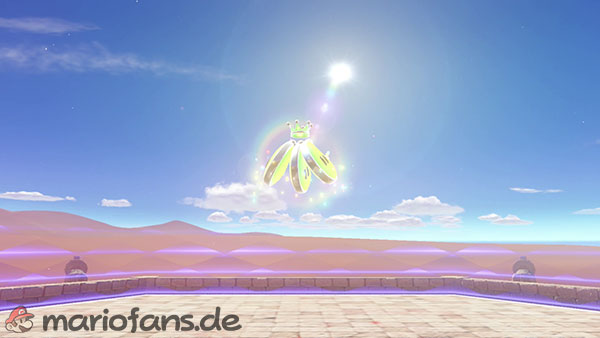
Broodal awaits you on the roof of the upside-down pyramid. Defeat her by knocking her bombs back at her with Cappy.
04: The Hole in the Desert
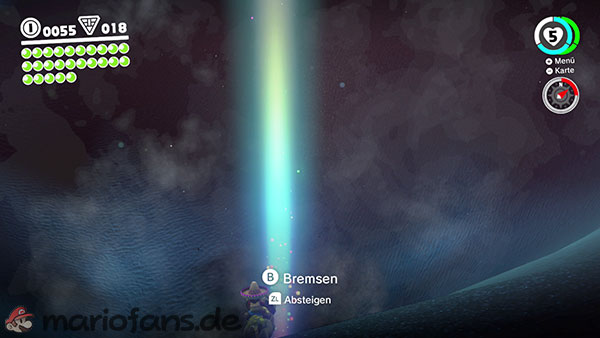
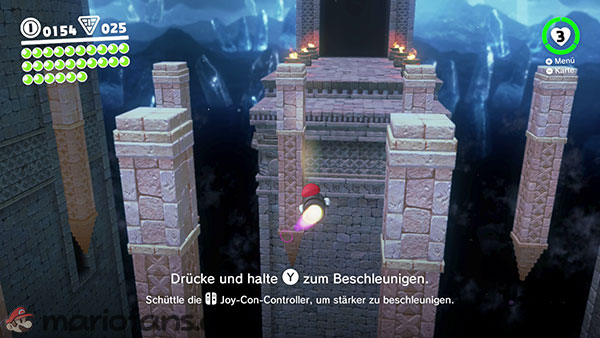

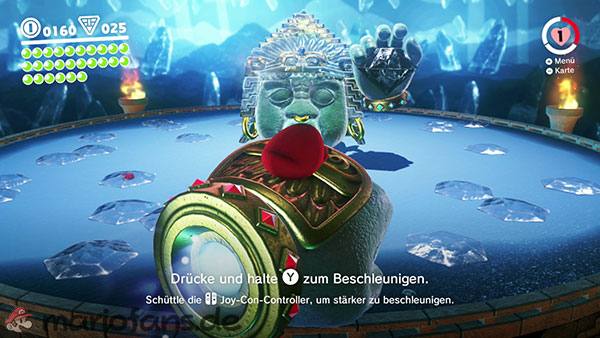

Go to the floating pyramid and cross the area through the hole (you’ll also find Power Moons 47 and 48 here ). At the end, Knucklotec awaits a battle. The trick is to take control of his hands with Cappy. This only works when they’re stunned. So lure them over an ice floe: as soon as they zip down and break the ice, they’ll be paralyzed for a brief moment. Fly the captured fist towards his face and dodge the obstacles. If you hit his face three times this way, the Power Moons are yours. At the end, you can explore the entire desert and discover even more Power Moons.
05: Overlooking the Desert Town
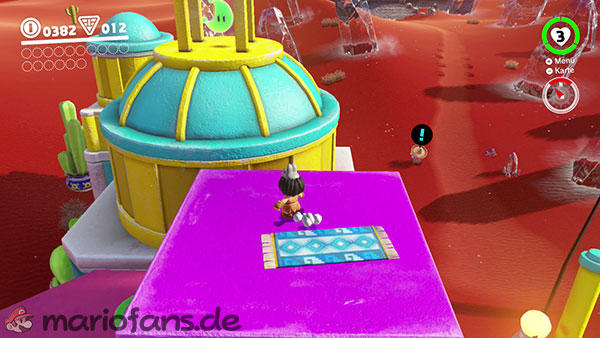

You can find it in the northwest of the village, near the starting point on the round roof.
06: Alcove in the Ruins
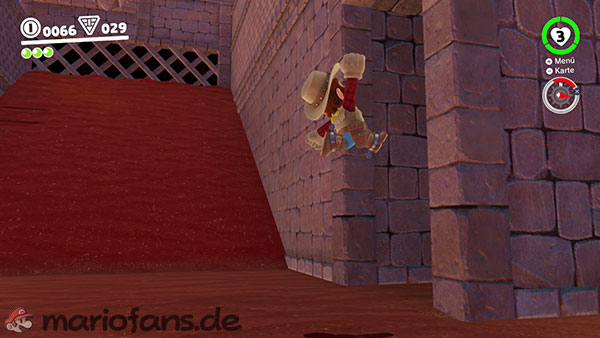
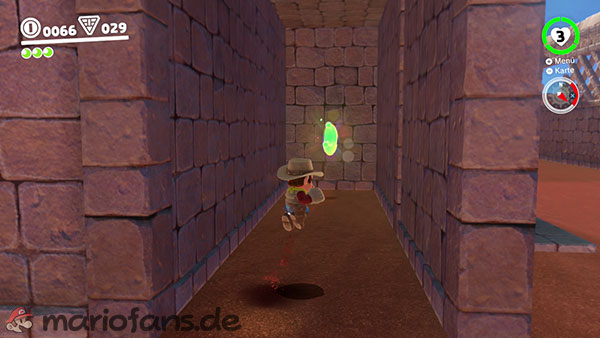
Go to the fortress in the center of the map. You’ll come to a small 2D section. Directly below it is a lot of quicksand. Drop down. In the southern section, you’ll find a niche with the moon.
07: On the Leaning Pillar
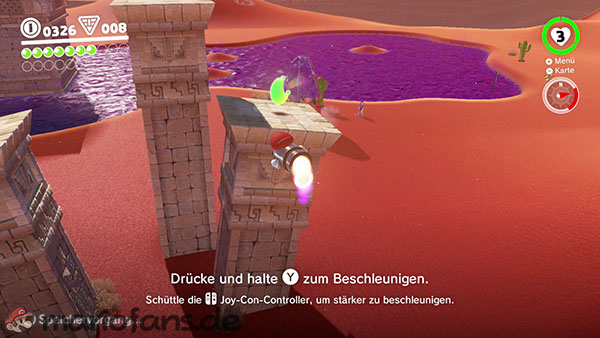
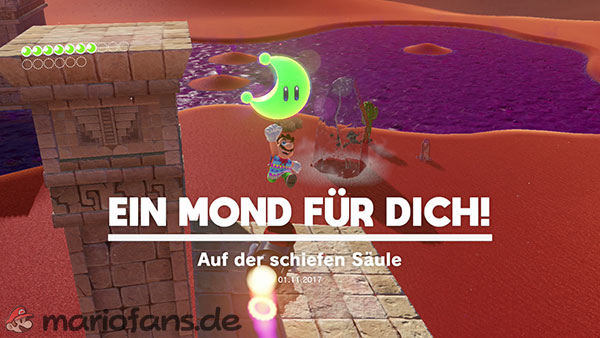
Use the checkpoint „Tostarena Ruins Sand Pillar „. Capture a Bullet Bill and fly to the moon, landing on one of the pillars.
08: Hidden Room in the Flowing Sands
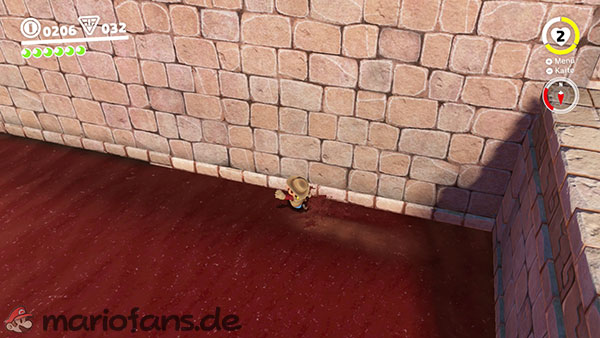
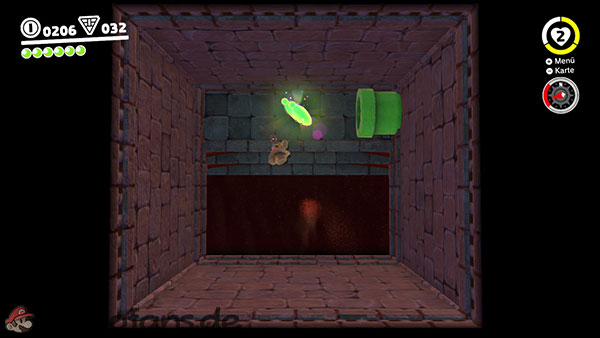
Use the checkpoint: Tostarena Ruins Sand Pillar. A small niche can be seen on the wall of a quicksand field. Sink into the quicksand until you can enter this niche to find a hidden room containing the Power Moon.
09: Secret of the Mural
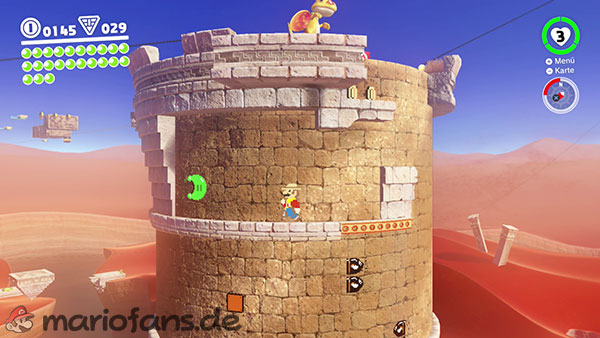
This Power Moon is located in the 8-bit section of the large, round tower. Right at the end, just before you reach the top, a path leads further to the left, where the moon is.
10: Secret of the Inverted Mural
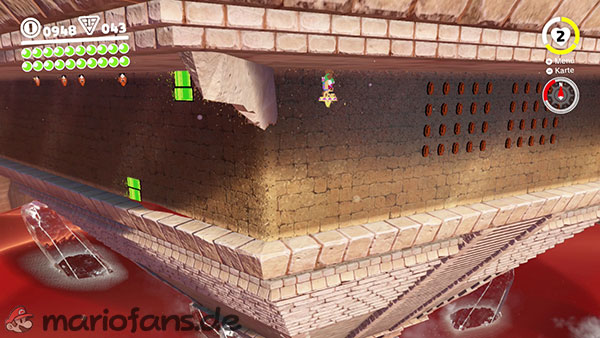
Same location as Moon 9. Don’t go into the pipe exit too quickly. Go right through a wall niche where the Power Moon is located.
11: On Top of the Stone Archway
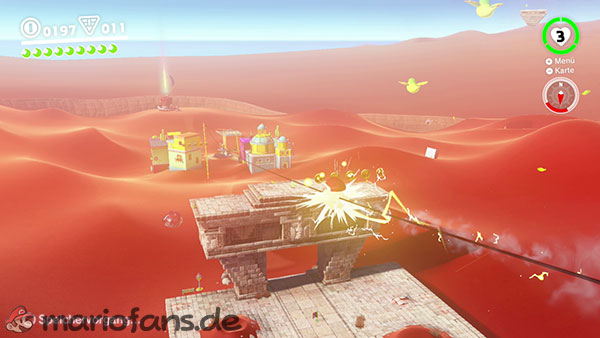
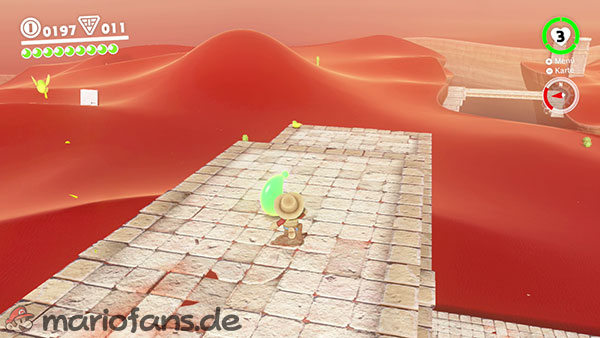
This Power Moon is located atop the stone arch at the entrance to the ruins. After the 8-bit section, capture a Bullet Bill and use it to fly over the ruins to the Power Moon.
Alternatively: Once all the power lines in the village have been de-iced, you can glide along them. About halfway between the fortress ruins and the village, jump off the cable early (ZL button) to collect the moon.
12: From a Crate in the Ruins
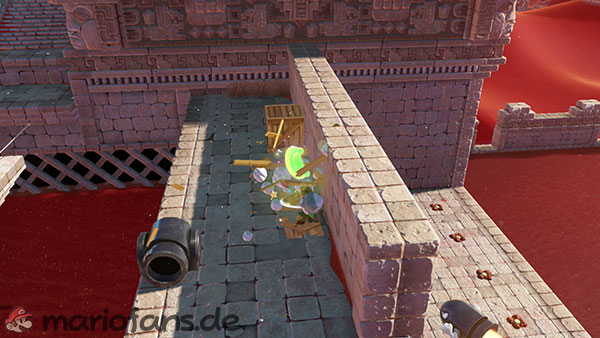
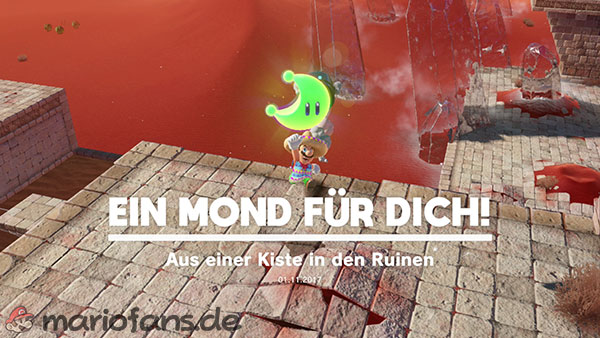
Above the first 8-bit section in the ruins, there’s a Bullet Bill cannon and a crate. Destroy the crate to reveal the Power Moon, then capture a Bullet Bill to fly to the Power Moon.
13: On the Lone Pillar
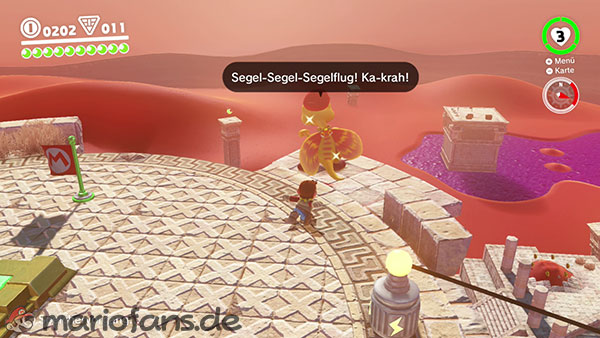
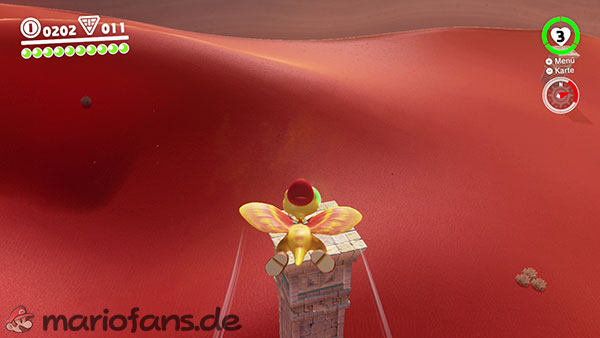
After the boss fight against Knucklotec, you’ll find a Glydon on the round tower. Fly with it to a pillar east of your location and collect the Power Moon.
14: On the Statue’s Tail
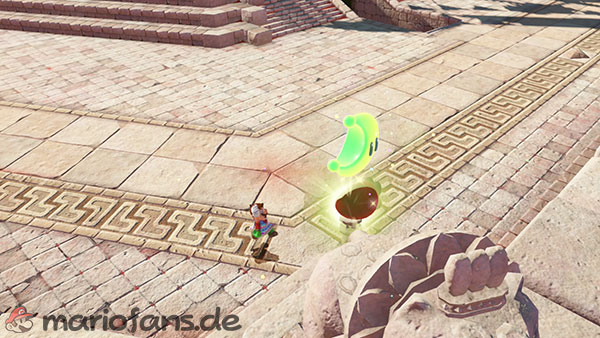
On the upside-down pyramid, there’s a statue to the west whose tail sparkles. Throw Cappy at it and let him spin around a bit (hold down the Y button) until the moon appears.
15: Hang Your Hat on the Fountain
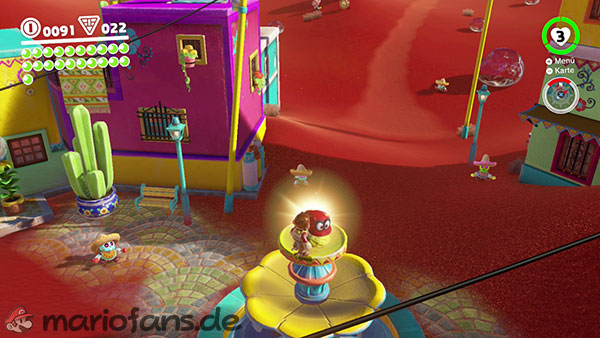
Throw Cappy onto the top of the well in the middle of the settlement on the Tostarena and let him circle there for a while until the moon appears.
16: Where the Birds Gather
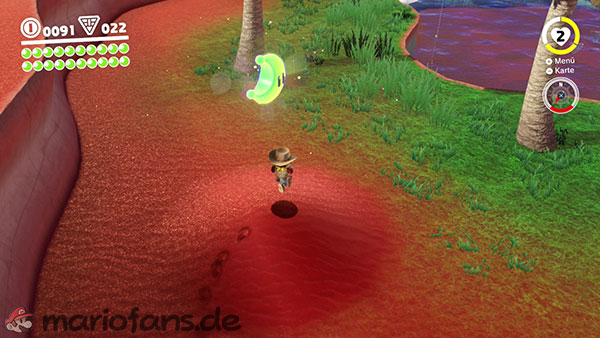
Near the oasis in the southeast, there’s a small, sparkling hill. Use the ground pound attack to make the moon appear.
17: Top of a Dune
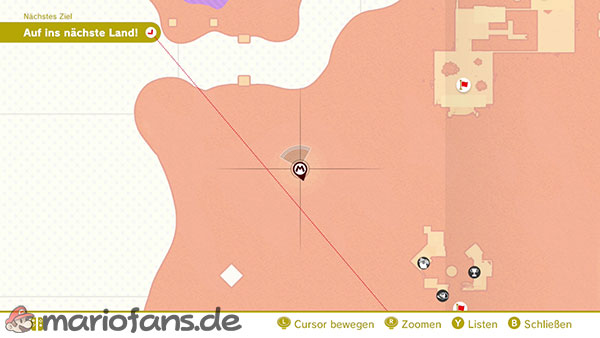

West of the settlement, on the highest dune, there’s a glowing spot in the sand. Use the vibration to search for the moon. Where the controller vibrates most strongly, you can find it with a ground pound.
18: Lost in the Luggage
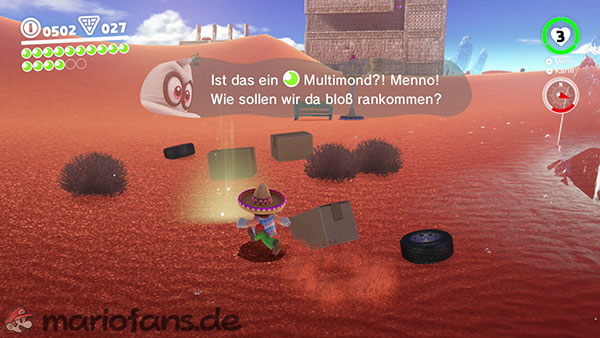
Near the upside-down pyramid, there’s an area with some crates and tires and a glowing spot in the ground. Another moon with a ground pound attack can be found here.
19: Bullet Bill Breakthrough
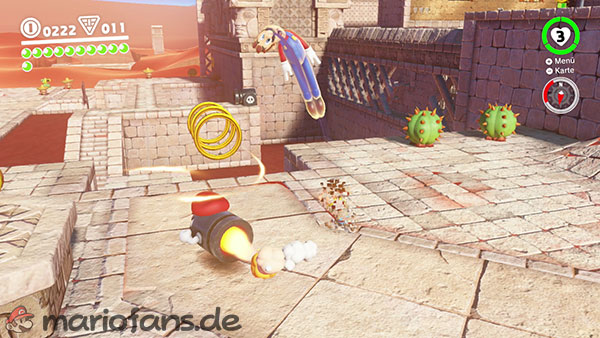
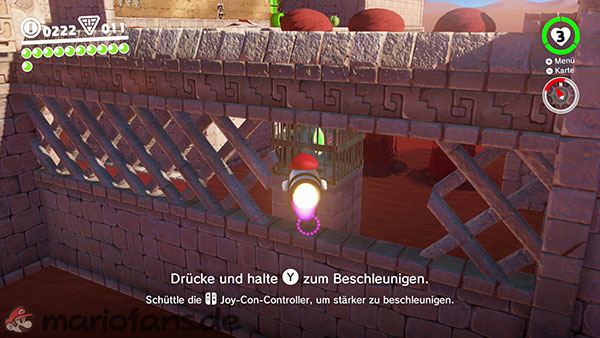
Relatively near the beginning of the ruins, you’ll find a metal cage containing a Power Moon. You can destroy the cage with a captured Bullet Bill.
20: Inside a Block Is a Hard Place
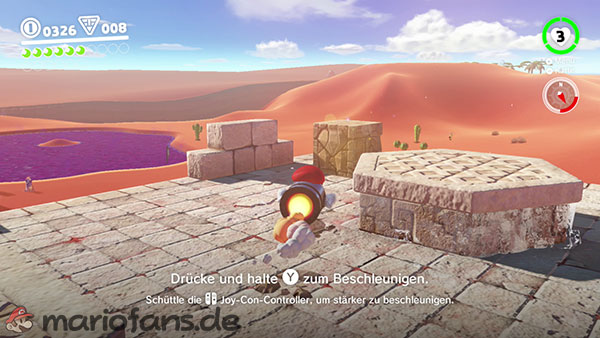

Near the checkpoint Tostarena Ruins Sand Pillar is located on the lower level, where there is also a Hat Trampoline, a glowing block containing the Power Moon that can be destroyed with a captured Bullet Bill.