

41: Moon Shards Under Siege
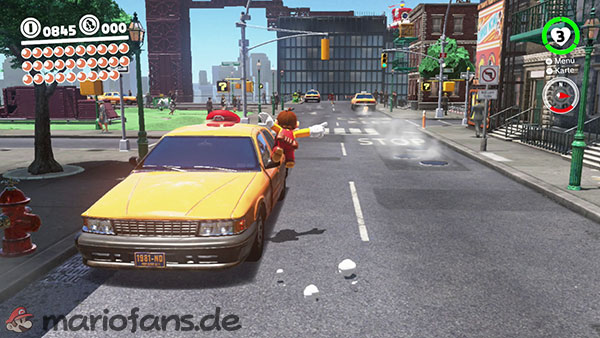
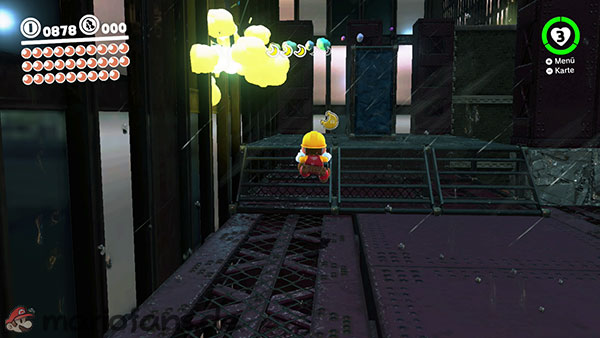
Travel to the Main Entrance fast travel point and follow the main road north for a short distance. A taxi with a cap symbol on its roof is parked on the right-hand side of the road.
Throw Cappy at the taxi and try to drive off. The vehicle will automatically take you to a rainy bonus area where several Sherms are waiting for you.
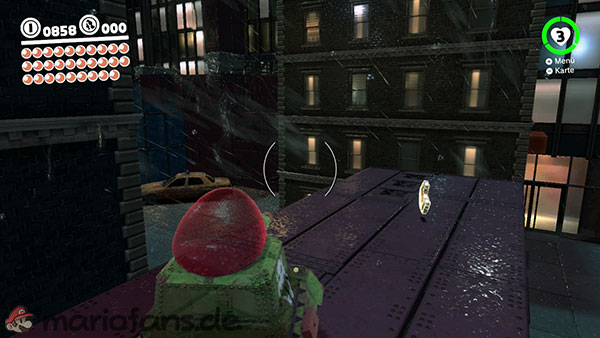
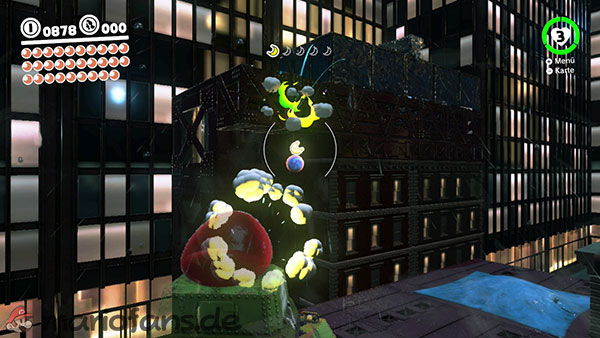
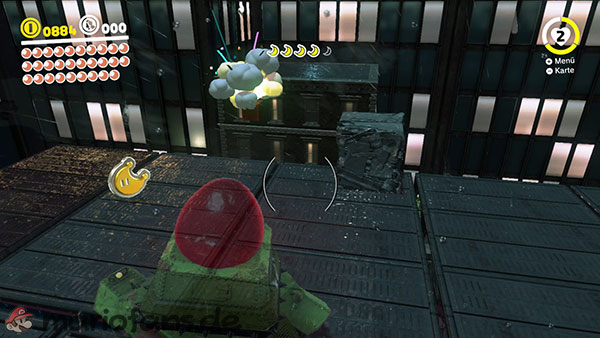
Capture one of the tanks and collect a total of five Moon Pieces. To do this, destroy the enemy Sherms as well as any metal blocks and taxis that stand in your way.
One moon fragment floats freely in the air and must be hit with a projectile. Another is located in a taxi in the rear right area. The remaining fragments are scattered across the various ramps and platforms.
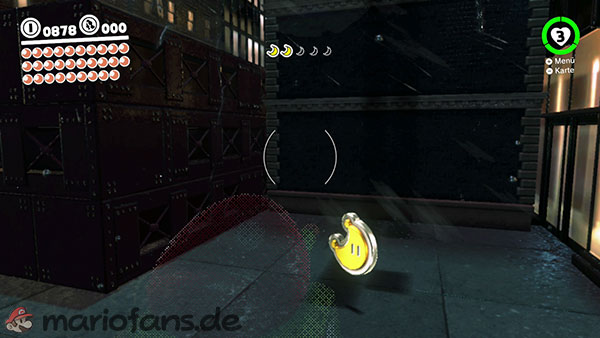
Once you have found all five Moon Shards, the Power Moon will assemble near the exit taxi.
42: Sharpshooting Under Siege
This Power Moon is located in the same bonus area as the previous moon.
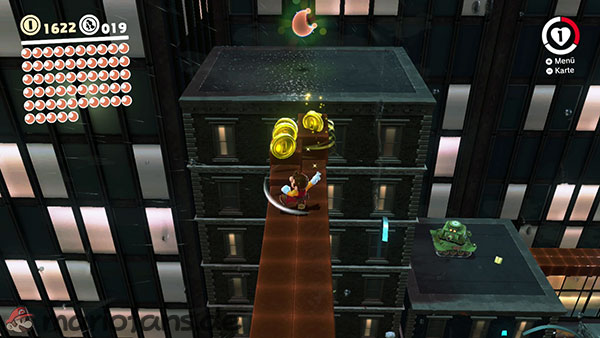
Capture another Sherm and make your way to the highest platform in the area. Turn around there and look back towards the starting point.
On a distant house wall or on a tall metal support, you’ll see several destructible metal blocks. Shoot the blocks with the tank until the hidden Power Moon appears.
There’s an invisible path between your platform and the moon. Shoot the Sherm into the gap to reveal the invisible blocks.
Then leave the tank and cross the bridge that has formed to reach the Power Moon.
43: Inside the Rotating Maze
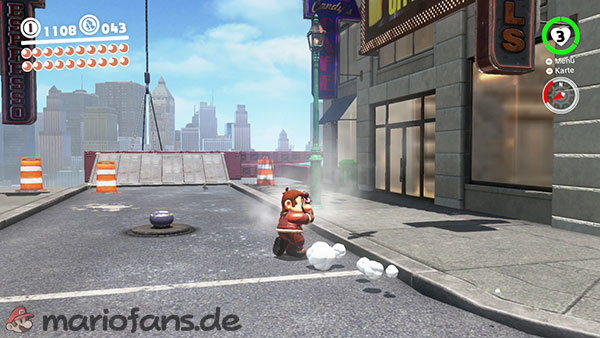
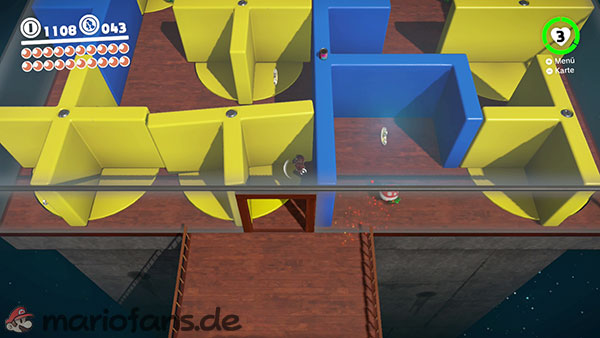
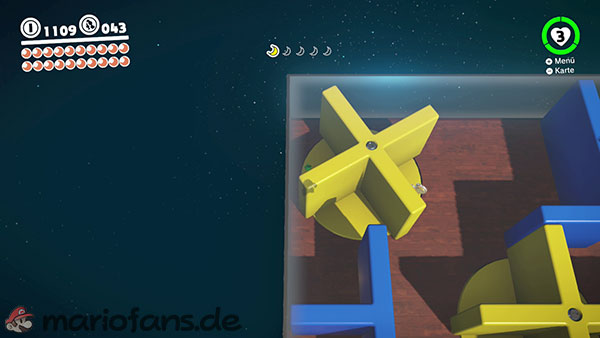
West of the Crazy Cap store, there is a small manhole cover in the middle of the street.
Capture the lid and move it to the side. Then jump through the revealed opening into the underground bonus area.
In front of you is a large labyrinth made of glass and yellow walls. Throw Cappy at the yellow surfaces to make the individual sections of the labyrinth rotate.
Collect a total of five Moon Shards within the structure. You don’t need to be right next to a wall to rotate it. Often you can throw Cappy onto the yellow surface from the opposite side.
Make sure to search not only the lower passages but also the elevated areas.
Once you have found all five fragments, the Power Moon will assemble itself in front of the labyrinth.
44: Outside the Rotating Maze
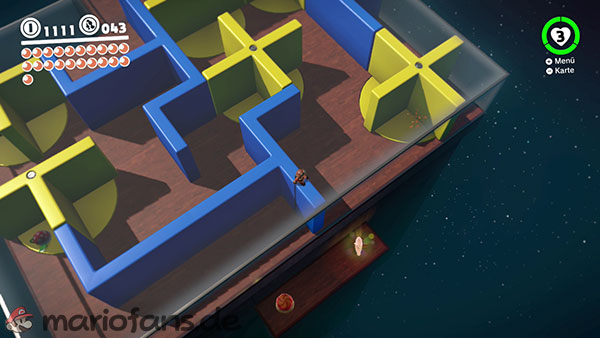
This Power Moon is located in the same bonus area as Moon number 43.
Do not enter the labyrinth yet. Instead, stand in front of the glass structure and perform a backflip to get onto the roof.
Walk across the glass to the opposite, or northern, back side of the labyrinth.
Carefully peer over the edge. Beneath the glass structure is a hidden platform with the Power Moon.
Drop down onto the platform. You can then use a jump flower to get back to the roof of the labyrinth.
45: Hanging from a High-Rise
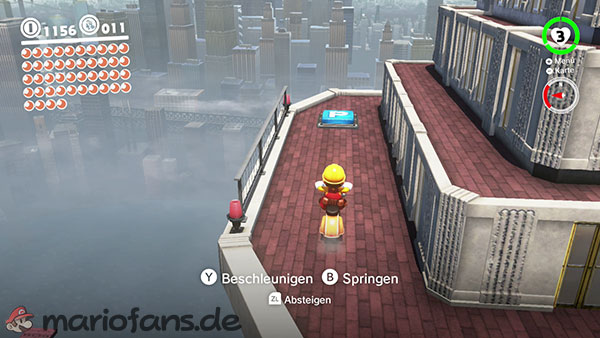
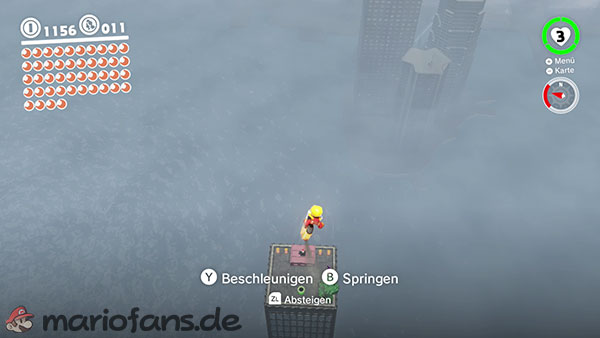
Enter the building north of the outdoor cafe checkpoint, where the large crowd is located.
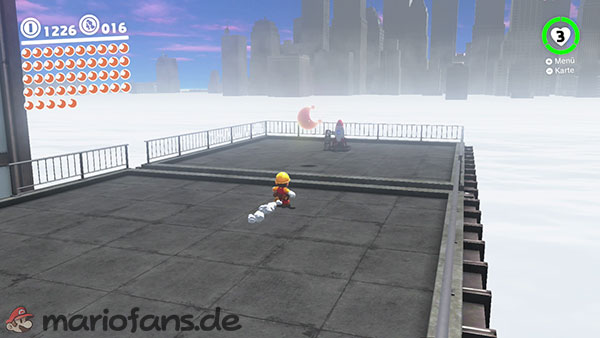
Make your way to the other end of the room and enter the green pipe there. It will lead you to a secluded rooftop with a small rocket.
Capture the rocket to reach a bonus area high above New Donk City.
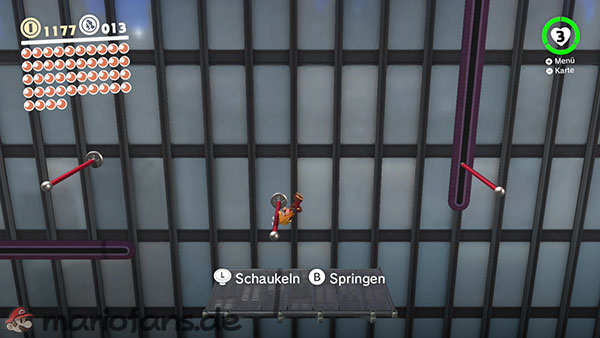
Jump to the first red bar and swing from there. Keep the left stick pointing towards the next bar and jump whenever Mario reaches the highest point of his swing.
Some poles move up and down or sideways. At difficult transitions, wait until the next pole has reached a favorable position.
Follow the normal course to the end. The Power Moon awaits there.
46: Vaulting up a High-Rise
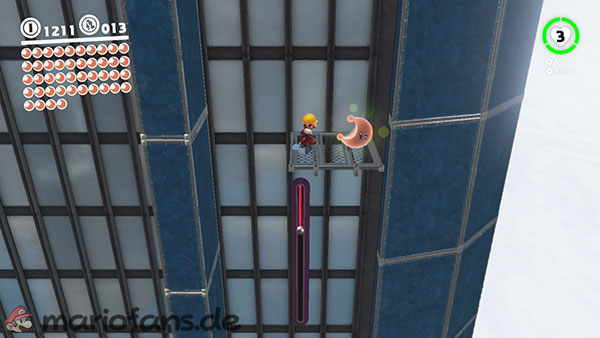
This Power Moon is located in the same bonus area as the previous moon.
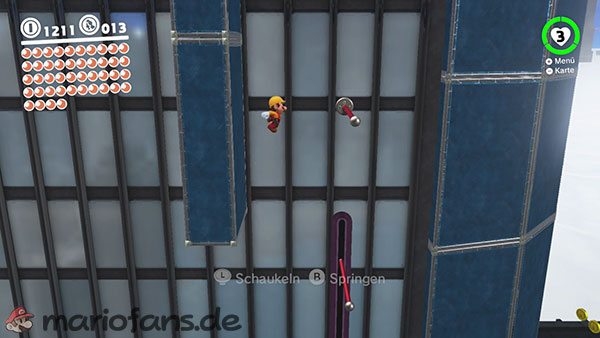
Follow the obstacle course until you reach approximately the halfway point. In this section, a red pole moves vertically up and down a wall.
Let Mario hang from this pole and ride it to the highest point. Don’t continue jumping in the normal way.
Instead, turn towards the wall and perform a wall jump. This will allow you to reach a higher bar that is initially easy to miss.
Swing upwards over more bars and combine the jumps again with wall jumps on the facade.
You will find the Power Moon on the highest hidden platform.
47: Bullet Billding
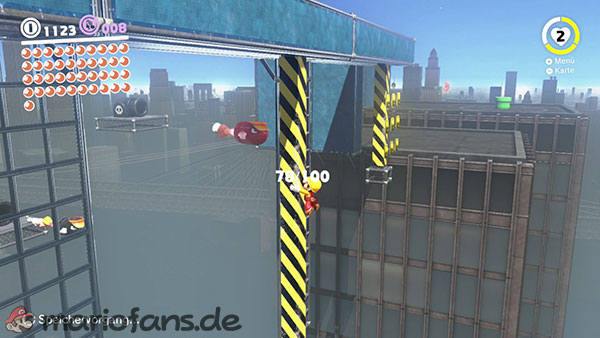
From the main street, head into the eastern side street. There you’ll find an open door that leads to another bonus area.
In front of you are several narrow steel beams and movable metal structures. At the same time, you are being shot at by numerous bullet guns.
First, run across the yellow steel beams and use the vertical structures to get upwards. Don’t stay in one place longer than necessary, as the Bullet Bills are constantly aiming at Mario.
You can destroy the projectiles with Cappy or dodge them at the last moment. When facing the moving pillars, you should stand on the side facing away from the gun.
Work your way across all platforms to the end of the course. There you will receive the Power Moon.
48: One Man’s Trash…
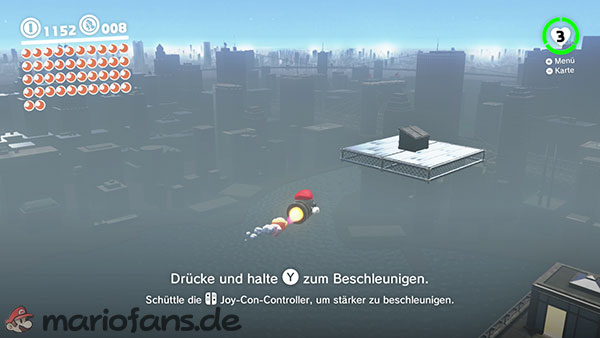
This Power Moon is located in the same bonus area as the previous moon.
Climb over the first steel beams to the platform with the first Bullet Bill cannon. Launch a Bullet Bill at Mario and throw Cappy at it to capture it.
Then turn around and fly back towards the entrance.
Slightly off the main track, a single platform with a garbage container is floating. Steer the Bullet Bill directly into the container.
The collision destroys the trash can and reveals the Power Moon.
49: Motor Scooter: Escape!
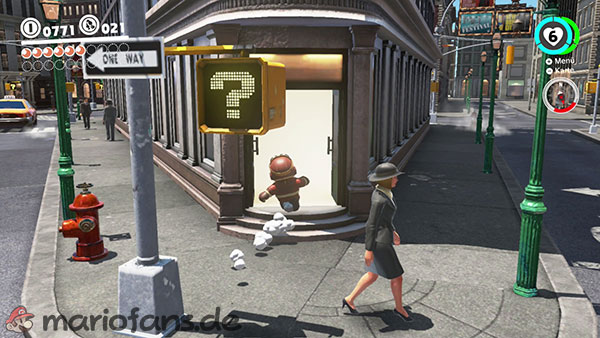
Southwest of the town hall stands a large triangular building. The entrance to the bonus area is located at the northern tip of the building.
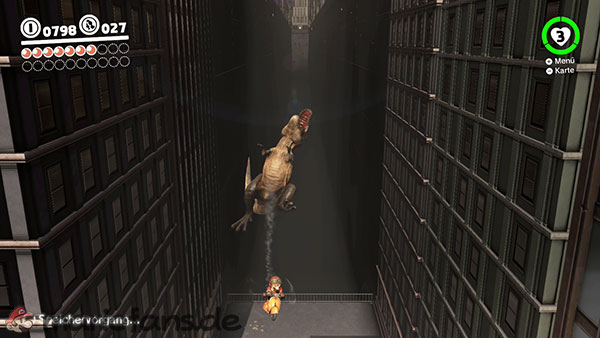
Inside, a single scooter awaits. As soon as you hop on, a T-Rex bursts through the wall and gives chase.
Hold down the acceleration button and drive towards the camera. The yellow marked areas on the ground show you which side to avoid obstacles on or jump over ramps on.
Dodge falling debris and T-Rex attacks with short steering movements. Sudden changes of direction cost speed and easily lead to collisions.
Once you reach the end of the chase, the Power Moon awaits you there.
50: Big Jump: Escape!
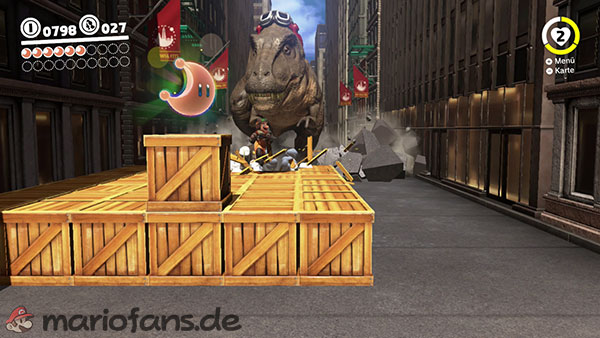
This power moon is located during the same scooter escape as moon number 49.
About halfway through the chase, you’ll reach an area with several large wooden crates. Stay on the left side of the track there.
First, drive onto the lower row of crates and then jump onto the higher crate with the scooter.
The Power Moon hovers directly above the wooden crates and can be collected by jumping.
Make sure to land safely back on the road afterwards, as the chase continues after collecting the moon.
51: Secret Path to New Donk City!
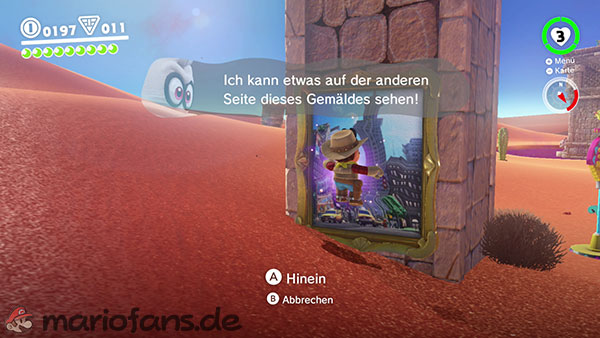
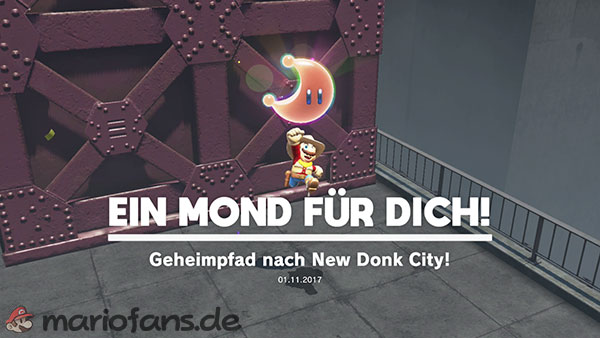
This Power Moon cannot be reached from the normal city area. You need a painting in the desert region.
Travel to the Jaxi Ruins – Round Tower checkpoint and capture the Jaxi waiting there.
Glide or fly to the tall, solitary stone pillar in the northeastern part of the desert. The painting you need is located on the side of the pillar.
Jump in and you will be transported to the checkpoint On a Lonely Rooftop in Metro Kingdom.
The Power Moon awaits on the remote rooftop. The roof cannot otherwise be reached by normal means.
These moons can be found after completing the main story.
52: A Tourist in the Metro Kingdom!
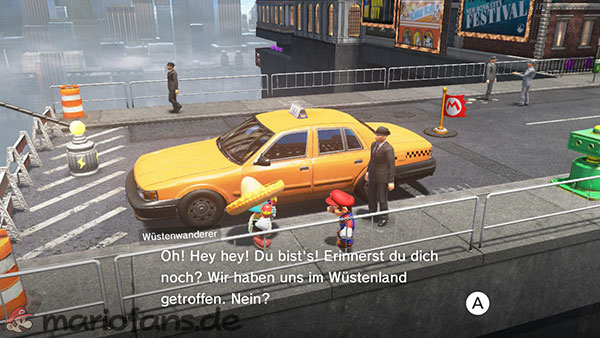
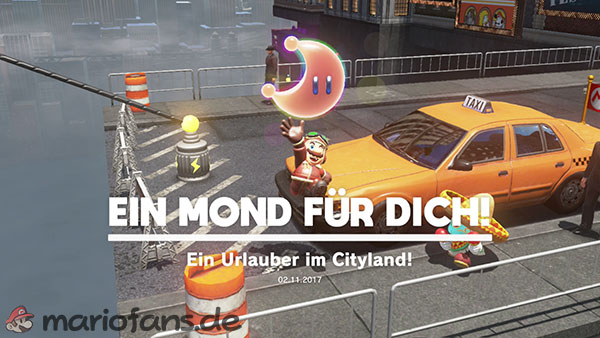
After defeating Bowser, a Tostarenan from the desert kingdom begins a journey through the various kingdoms.
First, visit Tostarena in the desert region and speak to the traveler next to his taxi. He will tell you that he plans to visit New Donk City next.
Then return to Metro Kingdom. The Tostarenan and the taxi are located near the city entrance, just beyond the first power line from the Odyssey.
Speak to the tourist again. As a memento of his visit, he will give you the Power Moon.
Later he travels to other countries:
Cascade Land
– Luncheon Kingdom
– Moon Kingdom
– Mushroom Kingdom
– Sand Kingdom
53: Found with Metro Kingdom Art
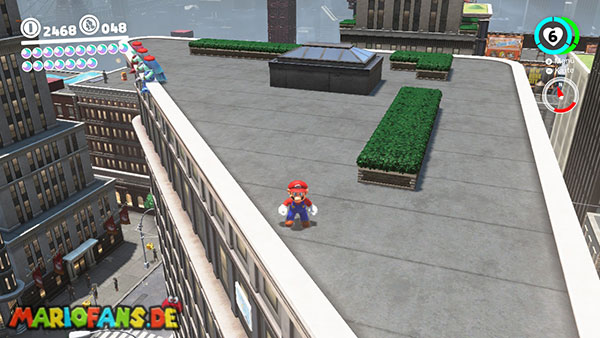
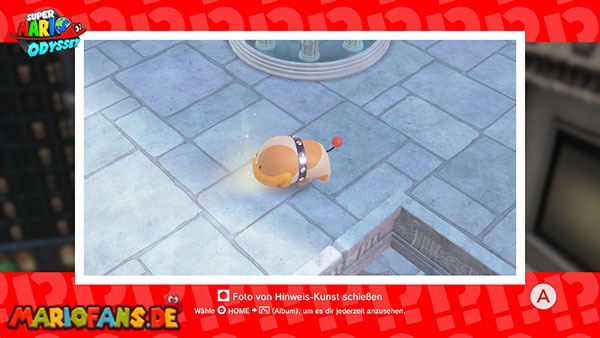
The Metro Kingdom art is located on the north side of the triangular building where you found the trumpeter for Pauline’s band.
Go onto the roof and carefully lower yourself onto the slightly lower ledge on the side of the house. You will find the clue picture there.
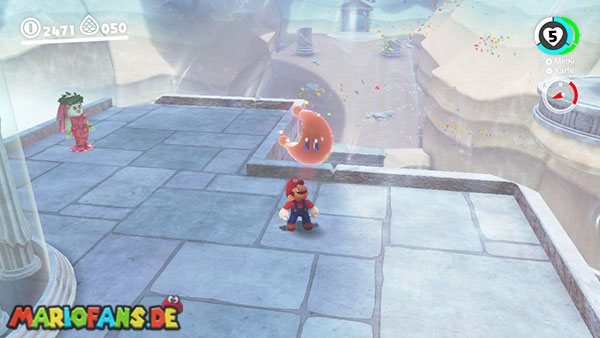
The image shows a specific area in Lake Kingdom. Travel to Lake Lamode and go to the third level of the water plaza.
Find the platform next to the vertical water column and orient yourself using the columns and floor slabs that can be seen in the picture.
Perform a ground pound attack at the marked spot to pull the Power Moon out of the ground.
54: Bird Traveling in the City
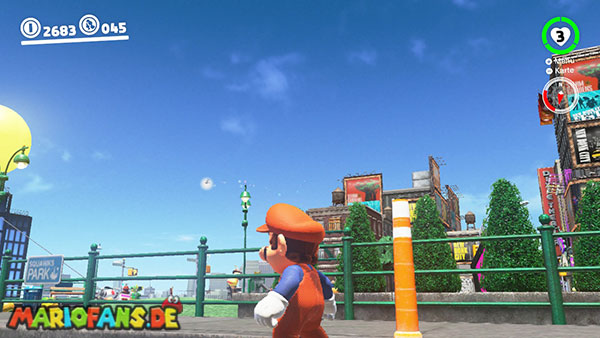
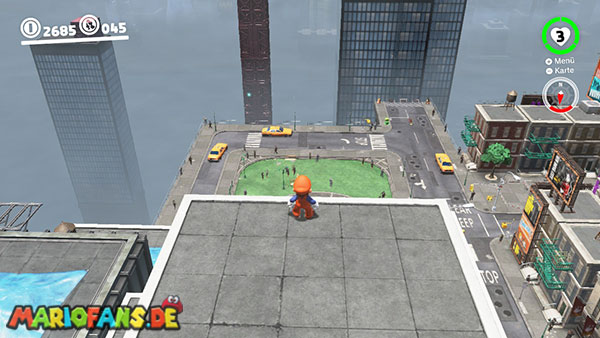
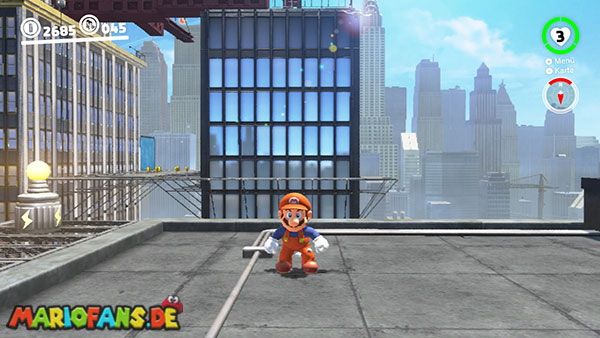
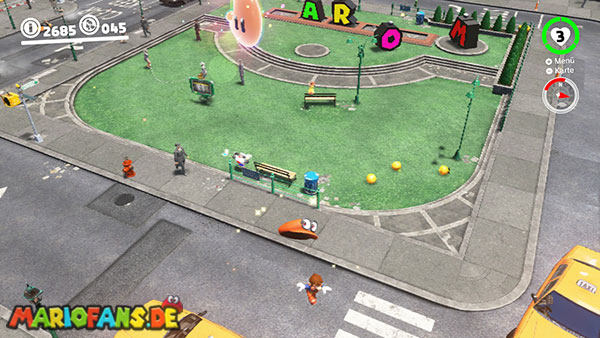
A glowing bird flies through the eastern area of New Donk City after the main story is completed.
Its flight path takes it over the main road and the park near the main entrance. Because the bird flies quite high, it’s difficult to reach it from the ground.
A particularly good spot for intercepting the bird is the parked taxi south of the park. Stand on the vehicle and watch the bird’s shadow on the ground.
As soon as he approaches, you jump up on the bouncy taxi and throw Cappy at him.
If the bird is hit, it drops the Power Moon.
55: Mario Signs His Name
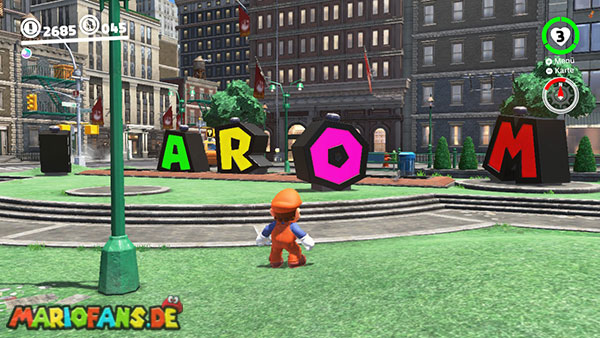
In the park southeast of the city, five large letters stand after the conclusion of the main story.
Capture the individual letters with Cappy and move them to the grey markers at the edge of the park.
You must arrange the letters in the correct order:
M – A – R – I – O
The orientation of a letter doesn’t matter. The only important thing is that all five letters are in the correct position.
Once the name Mario is fully formed, the Power Moon appears.
56: Surprise Clown!
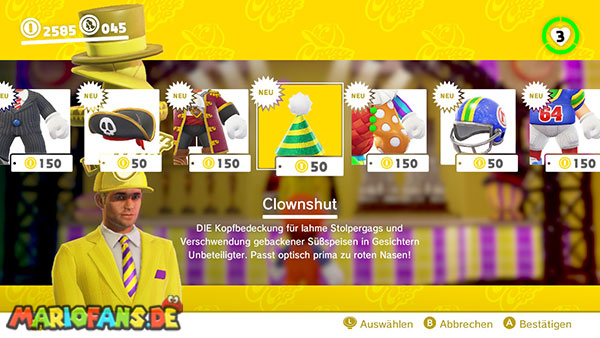
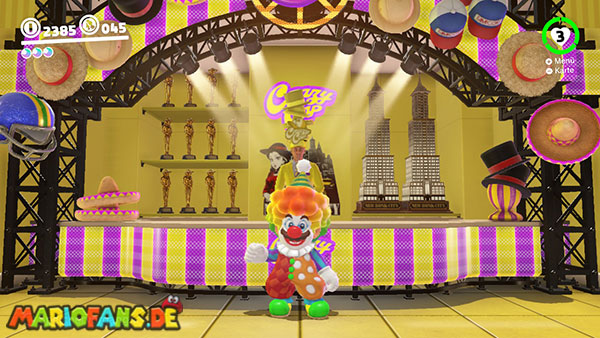
Visit the yellow section of the Crazy Cap store and buy the clown hat for 50 gold coins and the clown outfit for 150 gold coins.
Put on both items of clothing.
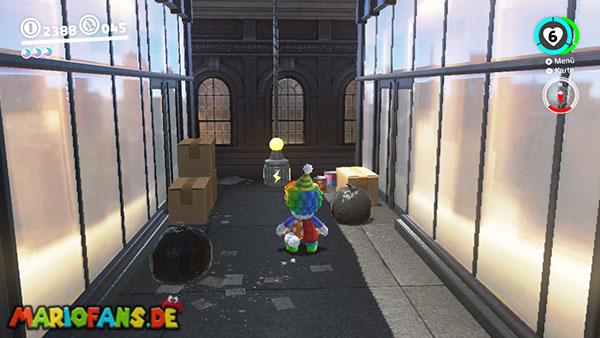
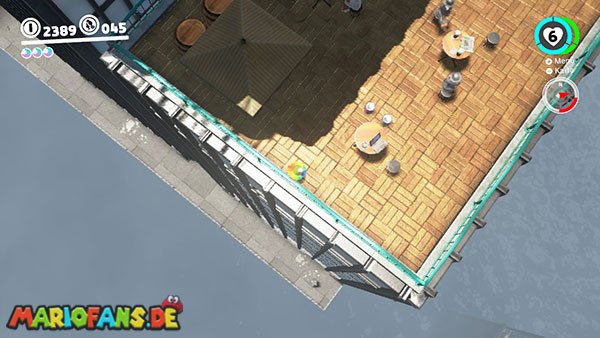
Next, head to the northwesternmost corner of the accessible city area. You can reach this spot via the side street to the left or west of the town hall.
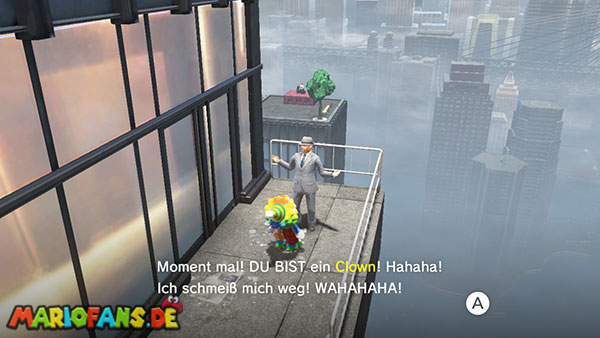
There, a New Donker is waiting who desperately wants to see a real clown.
Speak to him while fully dressed in his clown costume. As thanks for the successful surprise, he will present you with the Power Moon.
57: A Request from the Mayor



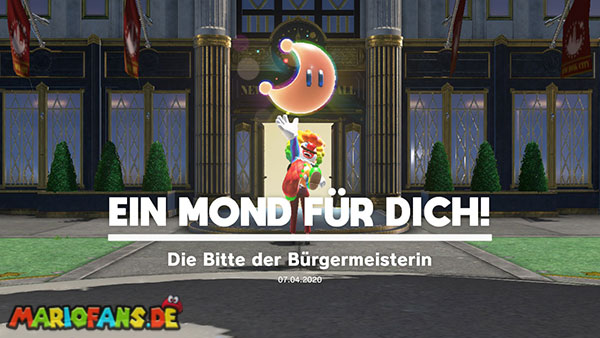
After completing the main story, speak to Pauline in front of the town hall. She will ask you several randomly selected questions about herself.
Answer four questions correctly in a row. Then Pauline will tell you that it’s her birthday and she would be happy to receive a present.
Here you will find the correct answers:
- How am I doing in the role of mayor? Fantastic!
- Which animal have I had bad experiences with? Gorillas!
- Which country would I like to travel to right now? Cloud Kingdom.
- What is my hobby? Walking.
- What is my most valuable possession? A hat.
- What do I do on my days off? Practice singing!
- What kind of music do I like best? Jazz music.
- What do I like best? Cake.
- What do I not like so much? Repairing things.
- What am I having for dinner today? Grilled mushrooms.
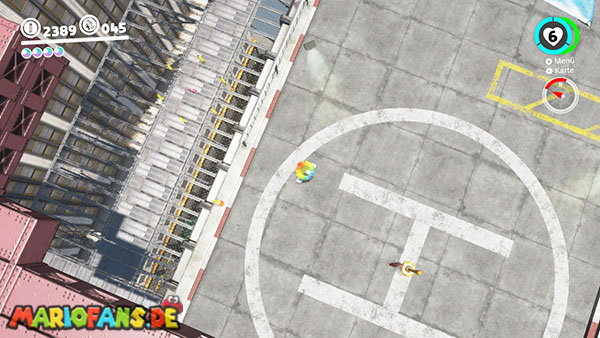
Then travel to the Heliport checkpoint. Look over the western edge of the platform and drop down onto the steel beam below.
There lies a pink handbag surrounded by several coins.
Take the bag and bring it to Pauline. She’s delighted with the birthday present and gives you the Power Moon.
58: Jammin‘ in the Metro Kingdom
In the southern part of the park, near the main entrance, there is a Toad wearing headphones.
Talk to him. He wants to hear music that fits the theme „a small engine revs up“.
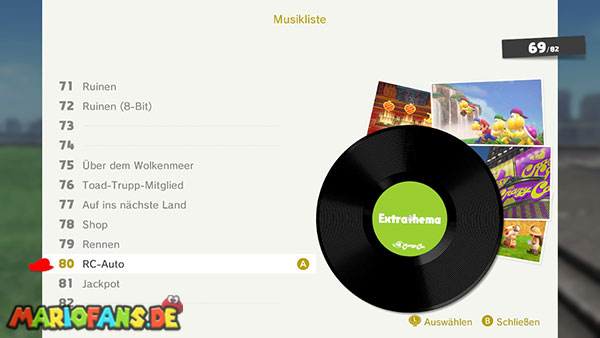
Open the music list and play the song:
80: Motor Scooter Daredevil!
If the music track is not yet available, you must first complete the RC car tasks of Power Moons 31 and 32.
Once Toad hears the correct song, he will give you the Power Moon.
59: Sphynx in the City
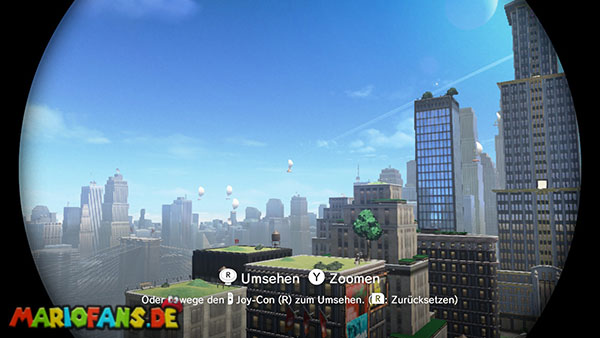
Near the Odyssey, or rather the main entrance, there is a large pair of binoculars.
Capture the binoculars and scan the sky above New Donk City.
A sphinx, suspended from a large balloon, hovers among the flying taxis and other vehicles.
Zoom in completely on the Sphynx and keep it in view for a brief moment.
Then the Power Moon falls from the sky and lands near you.
60: Free Parking: Leap of Faith
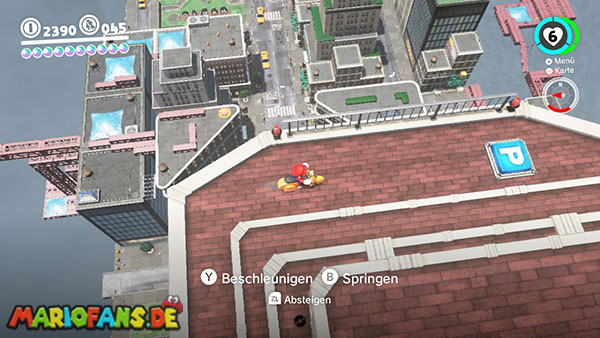
Go to the roof of the town hall and get on the scooter there.
Drive over the blue P switch to reveal the narrow racetrack around the town hall. Follow the path clockwise and build up as much speed as possible.
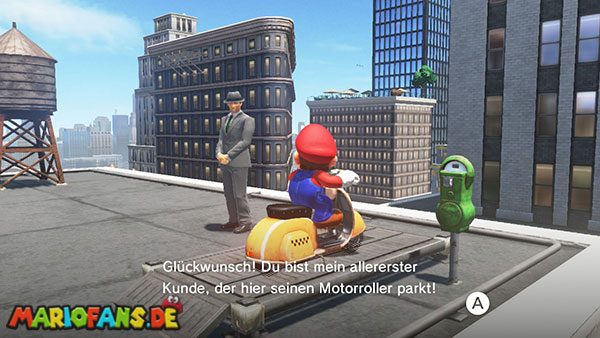
As soon as you look south again, leave the path by going over the edge. Aim for the roof north of the park near the main entrance. You’ll recognize the building by its two large ventilation systems and water tower.
If you drive fast enough, you’ll land directly on the correct roof. Otherwise, you can drop onto the slightly lower neighboring roof.
Park the scooter in the designated parking area next to the New Donker. You will receive the Power Moon for doing so.
61: Metro Kingdom Regular Cup
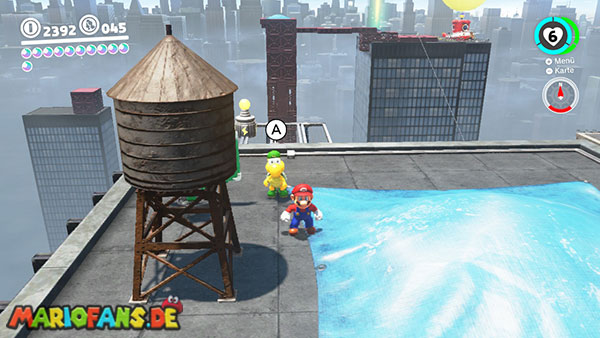
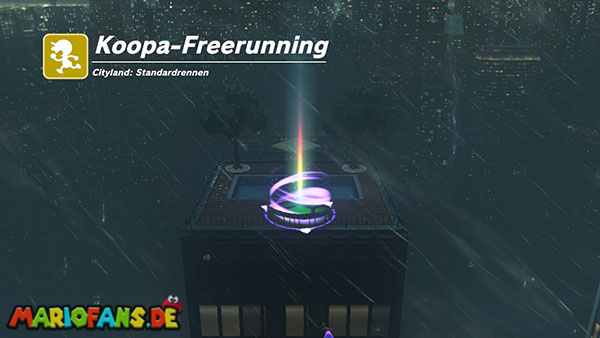
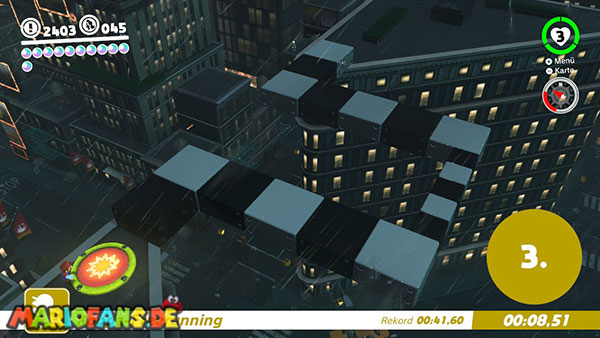
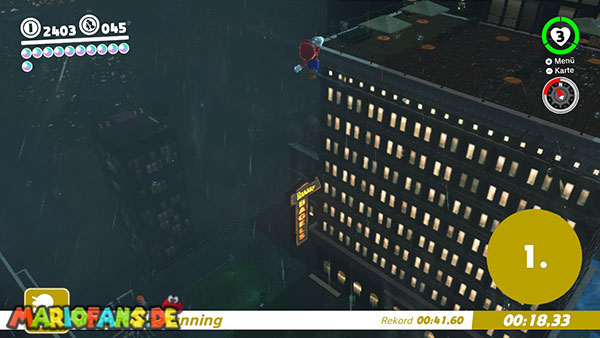
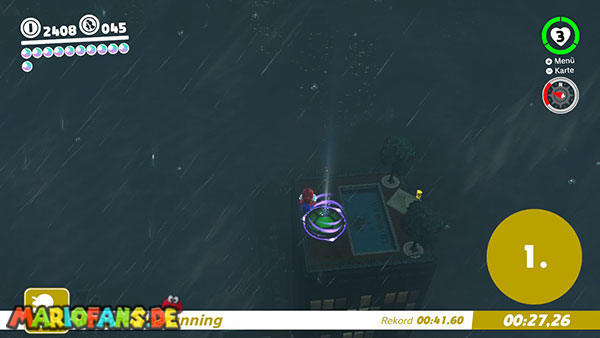
The Koopa for the standard race is waiting on a rooftop east or northeast of the park near the main entrance.
Talk to him and take part in the race. The finish line is on the roof with the swimming pool in the western part of the city.
Immediately after starting, perform a ground pound attack on the red P-switch. Then cross the path that appears using long jumps, cap jumps, and dives.
On the next building, use the elastic pole to launch yourself towards the western roof gardens. Supplement your flight with a dive if needed.
Then work your way upwards over the protruding gourmets on the house wall.
If you reach the roof with the swimming pool before the other Koopas, you will receive the Power Moon.
62: Hat-and-Seek: In the City
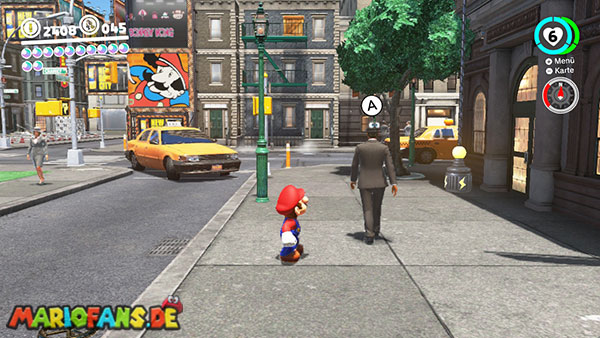
A resident of the Cap Kingdom tells you that one of his friends is hiding in New Donk City.
The Bonneter you’re looking for is on the head of a New Donker. You can recognize it by the small eyes on the back of its hat.
The man mainly walks back and forth on the eastern footpath between the park near the main entrance and the heliport.
Walk down the eastern main street and check the hats of the passing New Donkers.
Once you’ve found the hat with the eyes, speak to the man. The man who discovered the hat will give you the Power Moon.
63: Powering Up the Power Plant
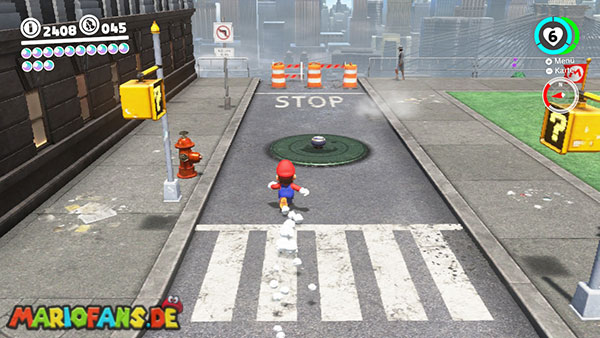
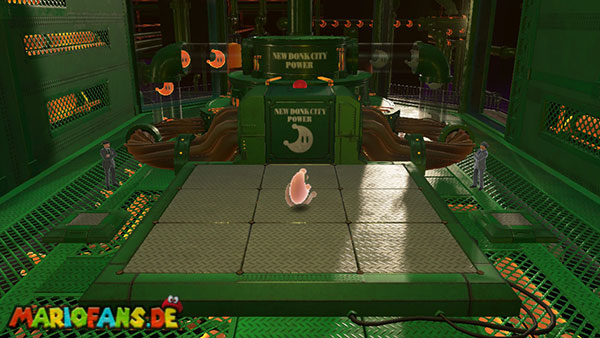
Open the large manhole cover south of the Outdoor Cafe checkpoint again and head to the underground power station.
In the last room, there is now a large green distribution block. Capture the block and move it across the floor by tipping it over.
Your goal is to insert the plug of the block precisely into the free opening of the generator.
Keep the camera as still as possible during the puzzle and tilt the block in this order:
- downward
- to the left
- up
- To the right
- To the right
- up
- to the left
- up
If the distribution block is correctly installed, the power plant will be fully repaired and the power moon will appear.
64: Up on the Big Screen
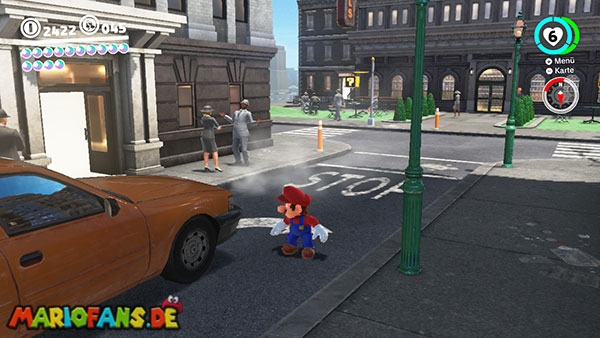
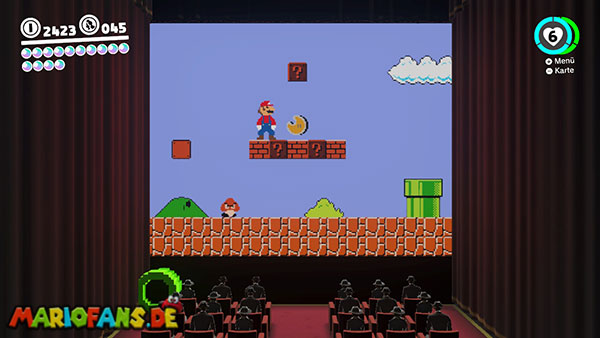
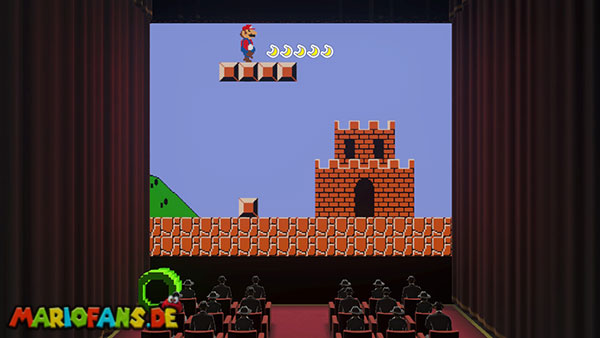
On the east side of the building, south of the outdoor cafe checkpoint, there is a small cinema.
Enter the cinema and jump through the green pipe into the big screen. There you’ll find a two-dimensional recreation of the first level from Super Mario Bros.
There are a total of five Moon Shards scattered throughout the level. Search both the normal paths and the question mark blocks, upper platforms, and pipes.
Some fragments are located above the familiar brick and question mark blocks. Others lie behind or between the classic pipes.
Once you have collected all five Moon Shards, the Power Moon will assemble itself in the cinema.
65: Down Inside the Big Screen

This power moon is located in the same two-dimensional cinema level as the previous moon.
Follow the level until you reach the fourth green pipe. Jump onto the pipe and push the left stick down.
This leads Mario to a hidden underground room.
Besides numerous coins, you will also find the Power Moon there.
Leave the secret area through the second tube and continue along the normal path through the cinema level.
66: Peach in the Metro Kingdom
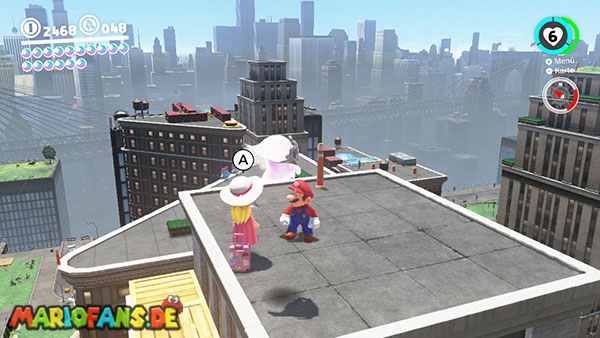
This Power Moon is available after you visit the Mushroom Kingdom and speak to Toad in front of Peach Castle.
Princess Peach and Tiara are standing on the highest roof of the cinema/jackpot building west of the city. The building is located south of the outdoor cafe checkpoint.
Use the elastomeric piles and the surrounding roofs to reach the building. Then work your way up to the top roof surface.
Speak to Peach there. After a brief conversation about her journey, she will give you the last regular Power Moon in Metro Kingdom.