

01: Frog-Jumping Above the Fog
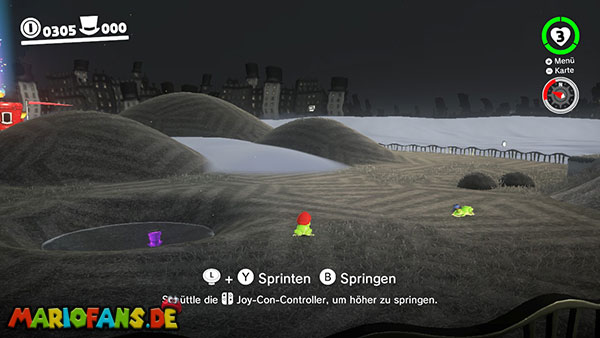
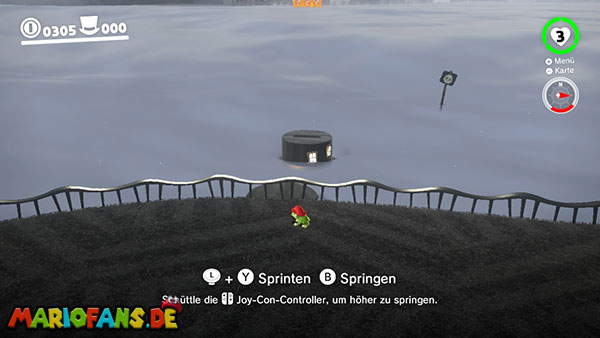

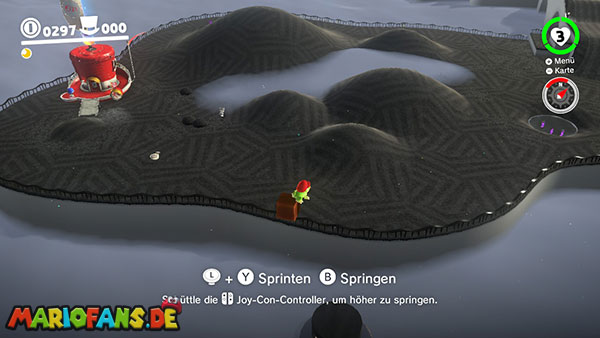
This Power Moon is hidden near the starting area. Mario must capture a frog and use it to jump over the sea of fog to the south. The moon is high in the air.
02: Frog-Jumping from the Top Deck
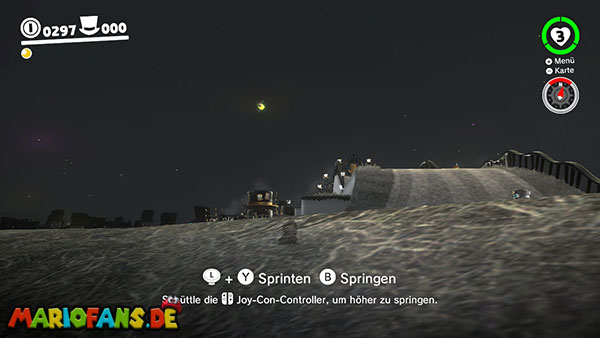

To obtain this moon, Mario must also capture a frog and then use it to cross the Glasses Bridge into the main area. There, he’ll find a two-story hat house; the moon is located high above it.
03: Cap Kingdom Timer Challenge 1
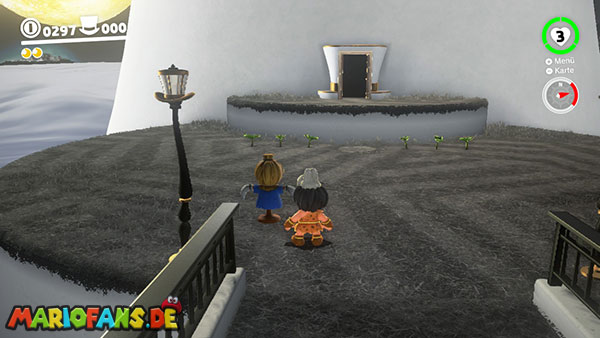
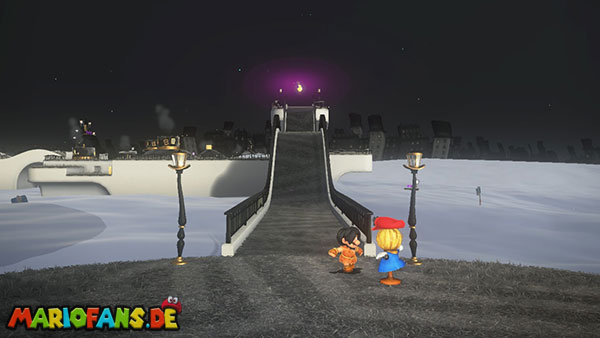
In front of the Top-Hat Tower, Mario finds a scarecrow. Throw Cappy at the scarecrow to reveal a temporary bridge and a Power Moon at the far end. Cross the bridge and collect the moon before the timer runs out.
04: Good Evening, Captain Toad!
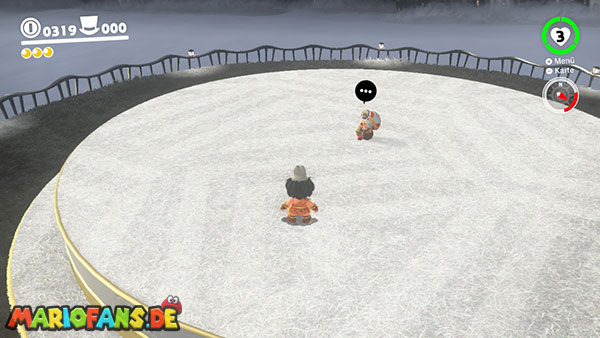
Mario meets Captain Toad at the top of the Top-Hat Tower. If he talks to him, he receives the Power Moon.
05: Shopping in Bonneton
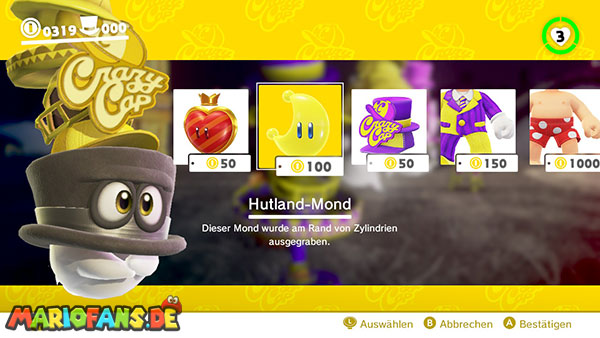
To get this Power Moon, Mario needs to buy a Power Moon from the Crazy Cap shop. It costs 100 coins.
06: Skimming the Poison Tide
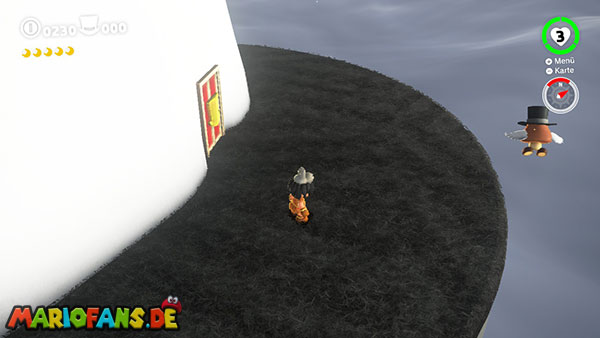
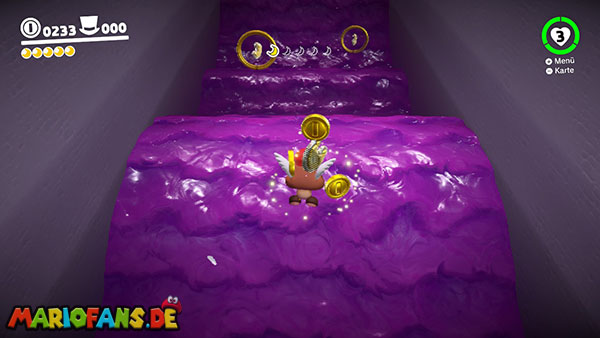
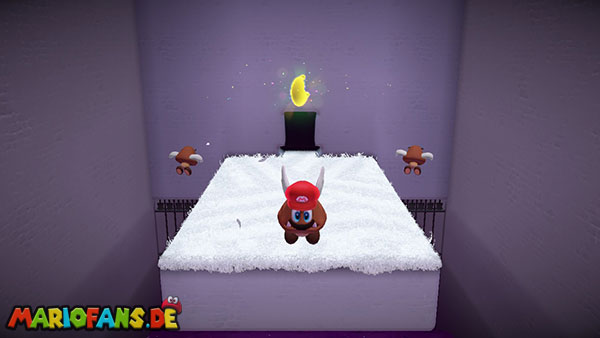
Jump down the back of the Top-Hat Tower to find a door. In this area, you need to collect 5 Moon Shards.
07: Slipping Through the Poison Tide
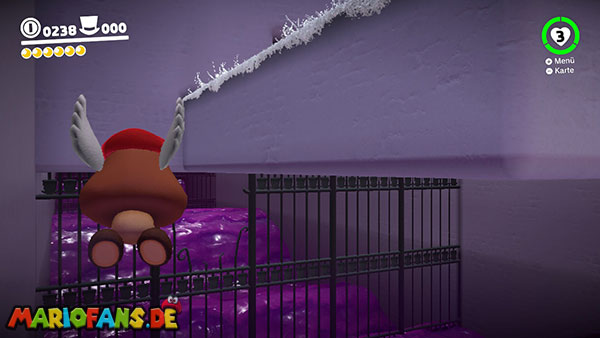
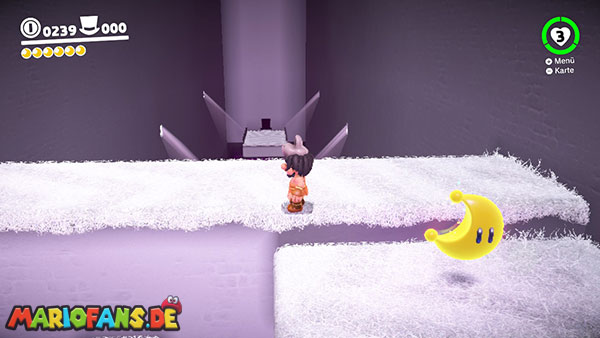
Mario finds this moon in the same location as Moon 6. This time, he must capture a Paragoomba to fly under the platform with the exit. On the other side are more platforms that Mario can use to reach the Power Moon.
08: Push-Block Peril
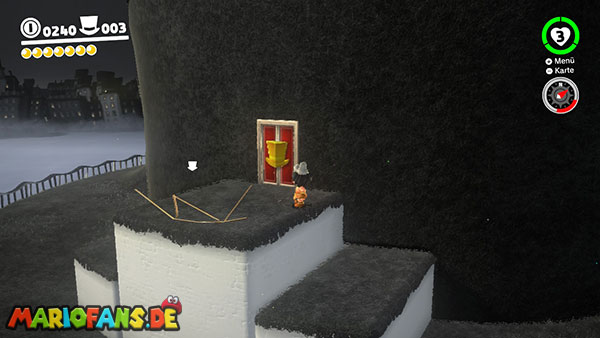
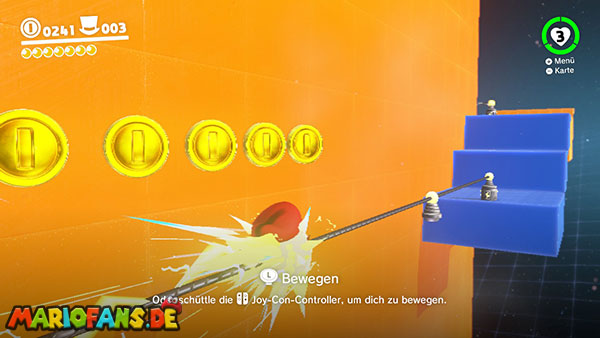
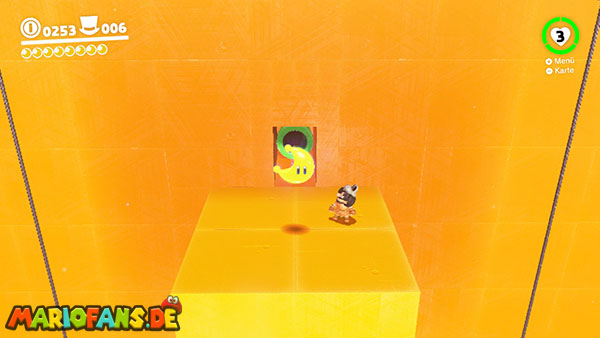
On the Top-Hat Tower, there is another hat door that Mario must enter. There, he must overcome the obstacle course made of moving blocks.
09: Hidden Among the Push-Blocks
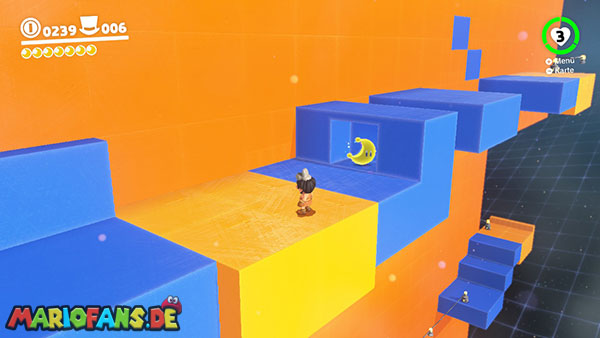
Mario must also go to Moon 08 to get this moon. The Power Moon is located in one of the L-shaped blocks.
10: Searching the Frog Pond
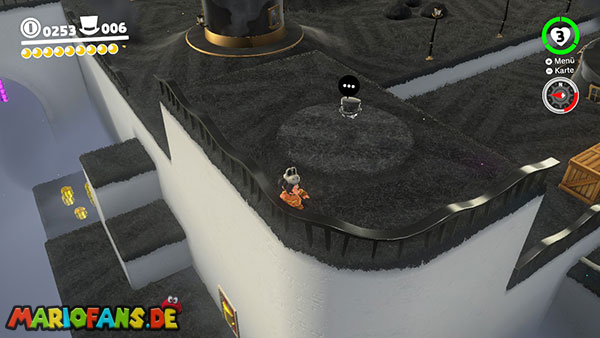
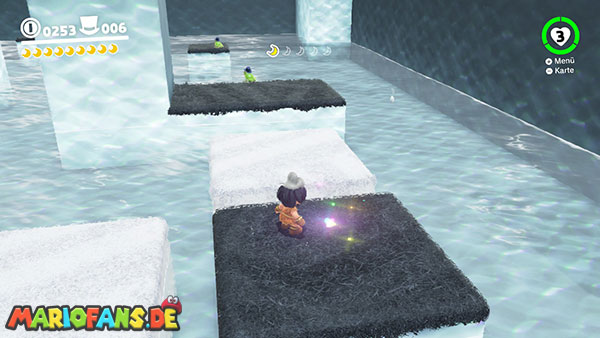
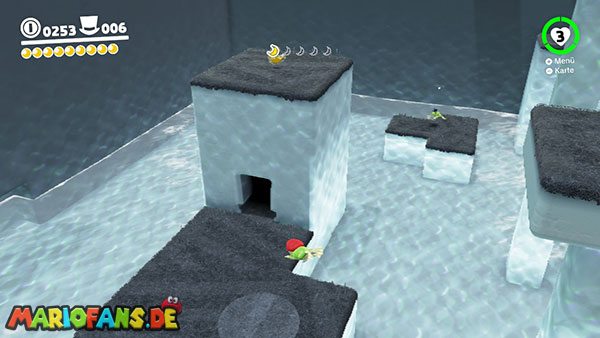
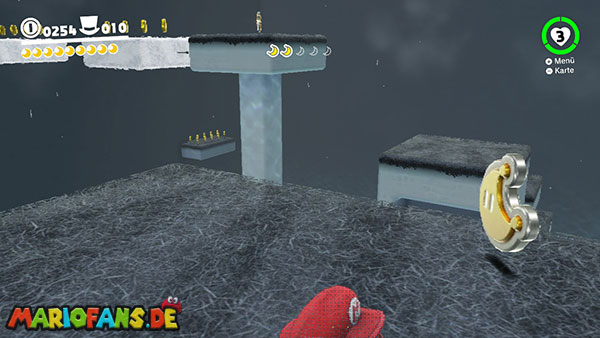
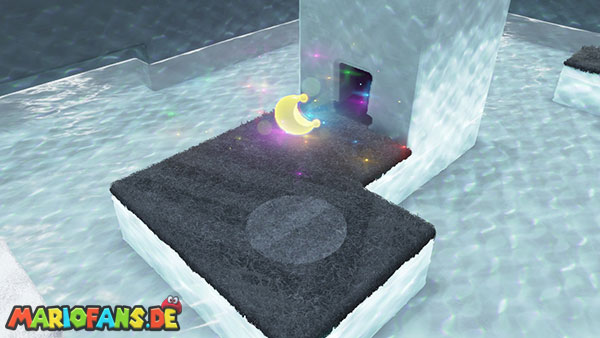
North of the main square, right by the Sea of Fog, is the Hat Door, which leads Mario to an area with a lake and many frogs. To collect the five Moon Shards, Mario must capture a frog.
11: Secrets of the Frog Pond
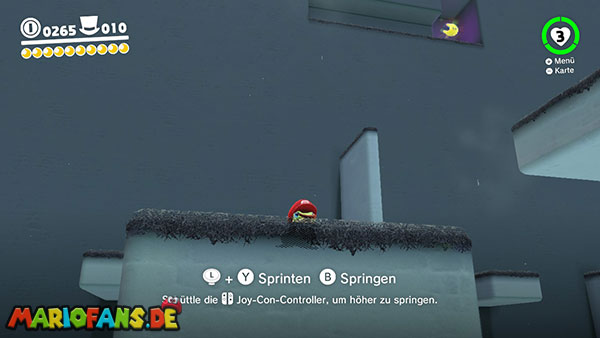
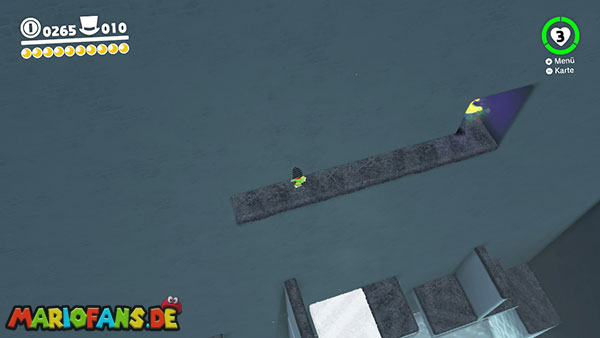
To get this moon, Mario has to go back to Moon 10. He also has to capture another frog and jump with it into a recess in one of the four side walls. It’s located relatively near the end of the obstacle course.
12: The Forgotten Treasure
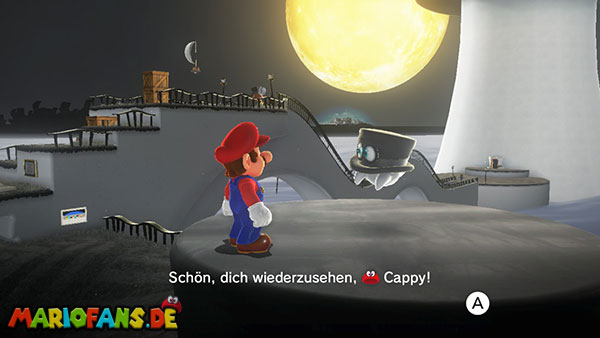
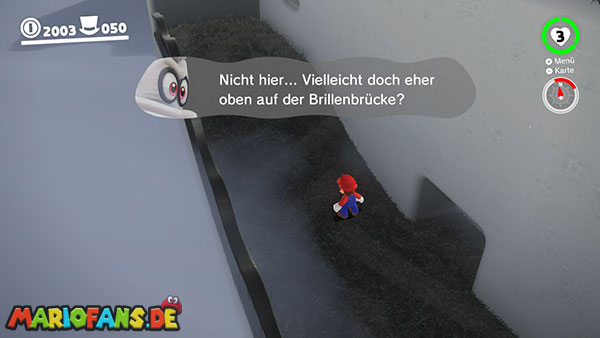
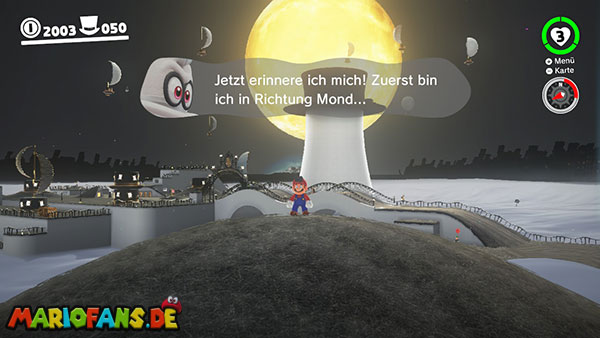
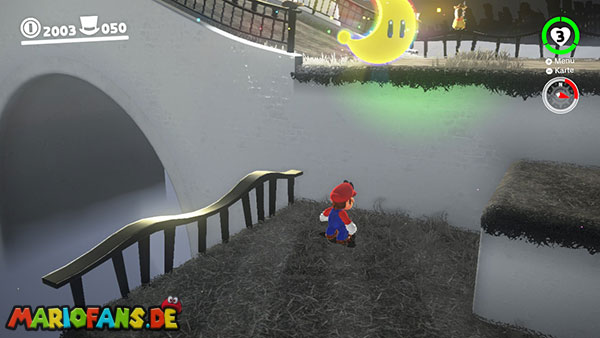
*Available only after completing the main story*
Mario must speak to a Bonneter on an airship on a hill near the Crazy Cap shop. The Bonneter tells Mario about a forgotten treasure, and Cappy then guides Mario roughly to the moon. Afterward, Mario must perform a ground pound.
13: Taxi Flying Through Bonneton
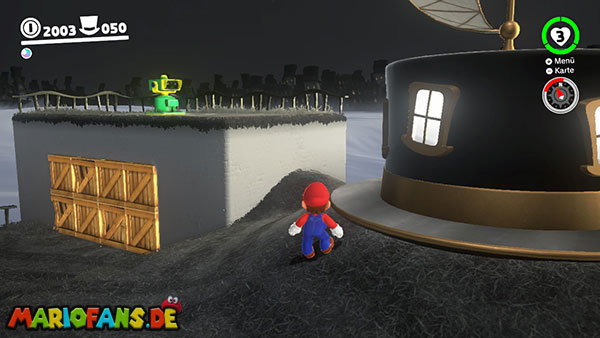
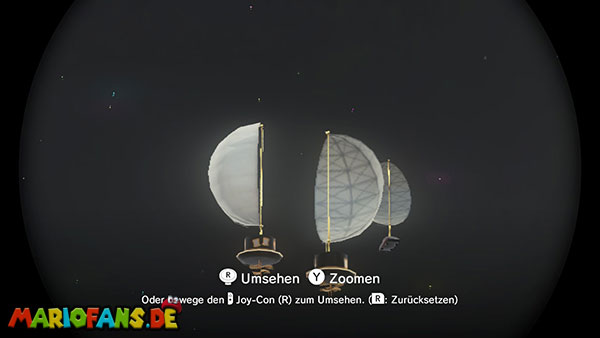
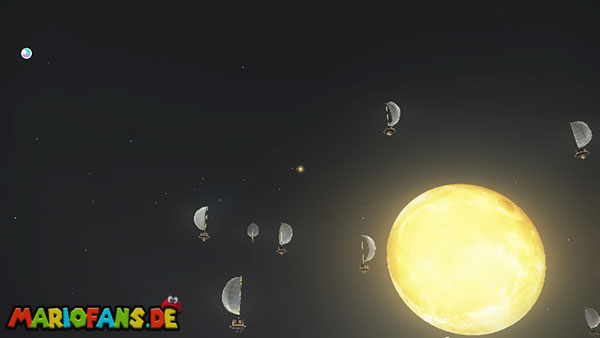
*Available only after completing the main story*
In the main area, in one corner, is a telescope. Mario must capture it and use it to search the sky for a flying taxi. When he zooms in on the taxi, the Power Moon appears.
14: Bonneter Blockade
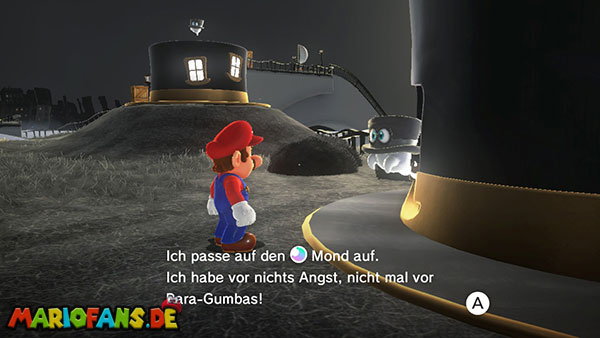
*Available only after completing the main story*
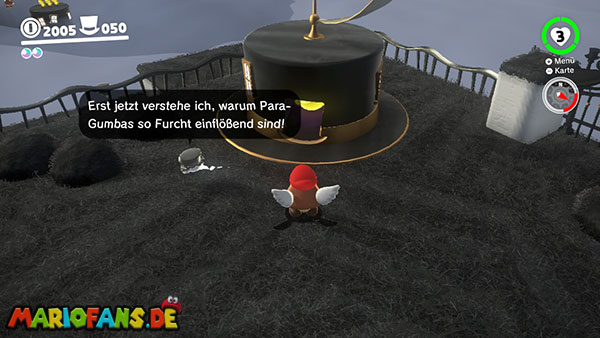
Mario also finds this Power Moon in the main area. It’s located in an airship guarded by a Bonneter who claims he isn’t afraid of Paragoombas. Mario must capture a Paragoomba and fly it to the Bonneter, who then becomes frightened and clears the way to the moon.
15: Cap Kingdom Regular Cup
*Available only after completing the main story*
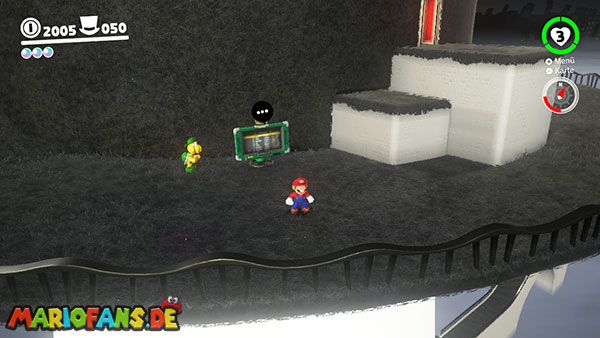
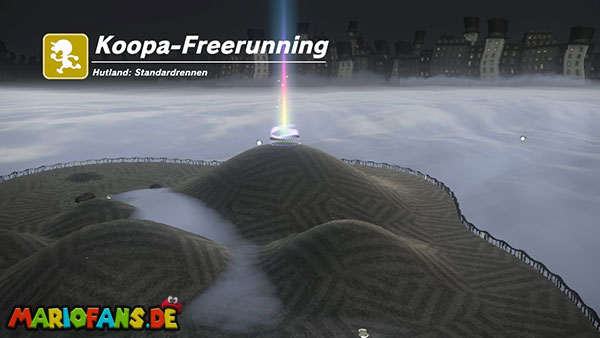
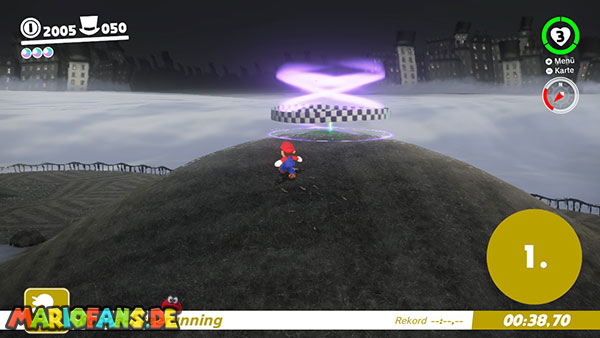
Near the top of the Top-Hat Tower, Mario encounters a Koopa who organizes the races. Mario must now participate in and win a race; the finish line is located near the Odyssey.
16: Peach in the Cap Kingdom
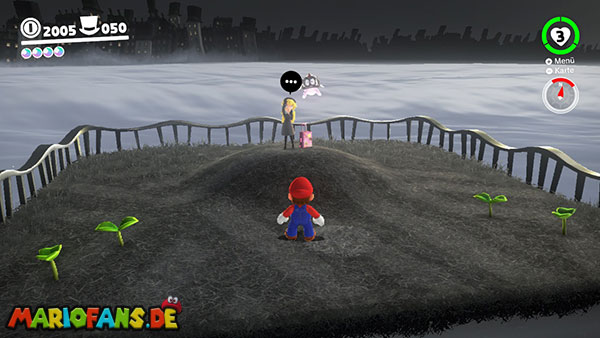
*Available only after completing the main story*
To do this, Mario must speak to Peach, who is standing on the way to the Top-Hat Tower, after the Crazy Cap shop.
17: Found with Cap Kingdom Art
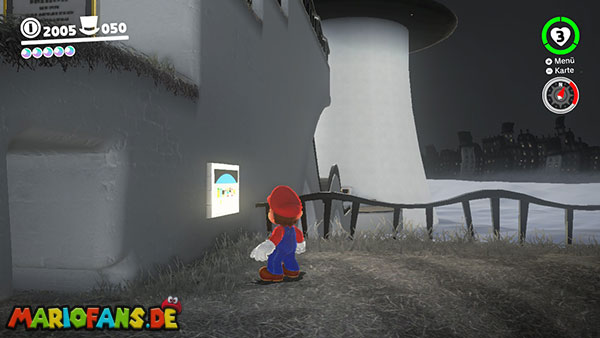
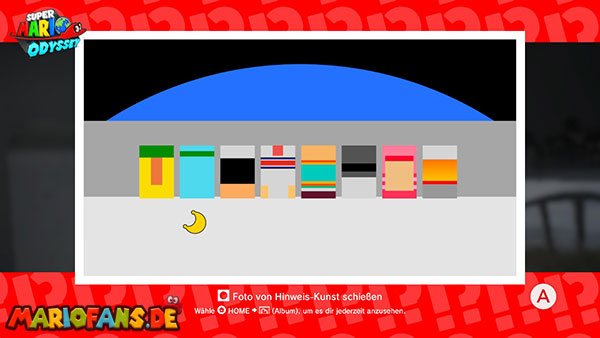
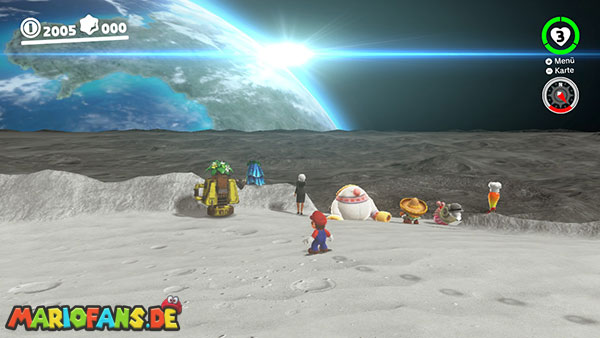
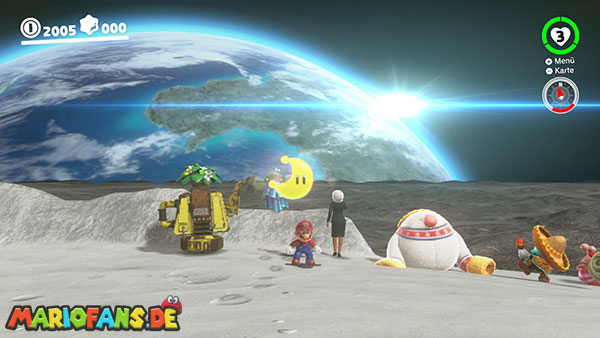
*Available only after completing the main story*
The artwork for this Power Moon is located on a wall near the Crazy Cap shop, towards the Top-Hat Tower. The moon itself is in Moon Kingdom. There, Mario must go to the starting area where the creatures from the different kingdoms are sitting, and perform a ground pound attack approximately behind the second one from the left (the Lochlady).