

After completing the main story, you can activate the Moon Rock in the Lost Kingdom. This will reveal ten additional Power Moons that could not be collected before.
26: The Shining Fruit
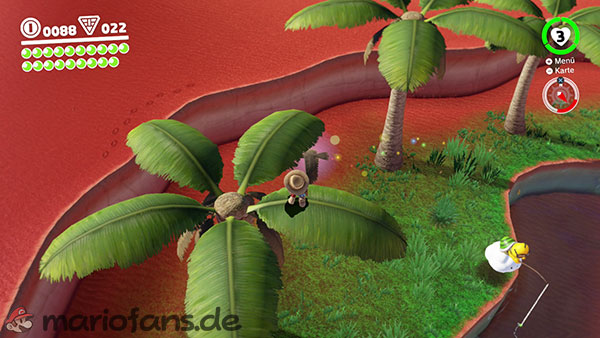
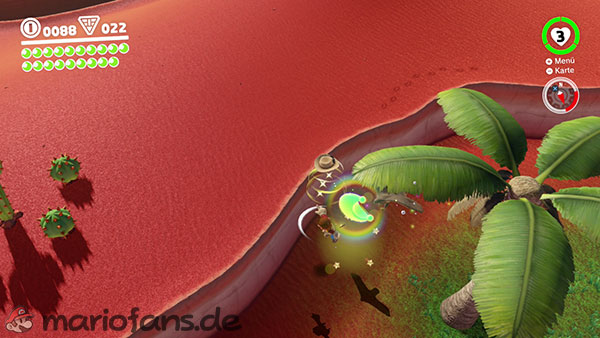
Travel to the Odyssey and follow the path along the eastern edge of the island in a northerly direction. Shortly after Toad and Uncle amiibo, a palm tree with red leaves will grow.
The Power Moon shines between the branches like a particularly precious fruit.
Climb up the trunk and make your way to the treetop. With a handstand jump, you can reach the Power Moon among the leaves.
27: Jump Down to the Top of a Tree
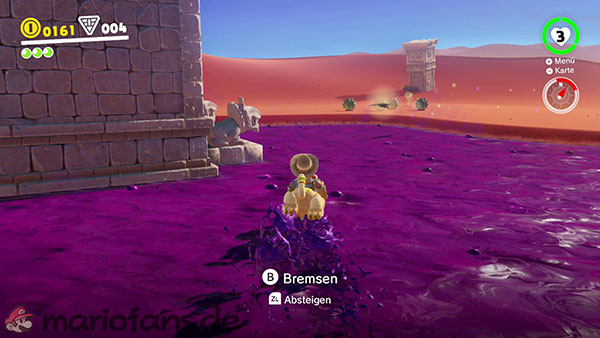
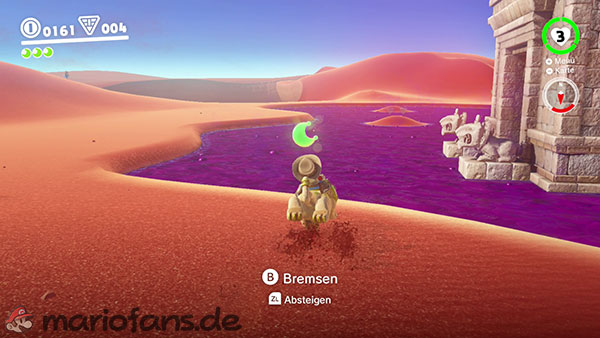
Travel to the Swamp Hills checkpoint and go to the western edge of the platform.
Carefully peer over the cliff. Below the swampy hill stands a tall tree trunk, upon whose crown rests the Power Moon.
Jump off the cliff edge and steer Mario towards the treetop as he falls. Don’t miss the narrow landing area, as the poison sea is directly below.
Alternatively, you can capture Glydon on the Rocky Mountain Summit and glide safely to the tree from there.
28: Line It Up, Blow It Up
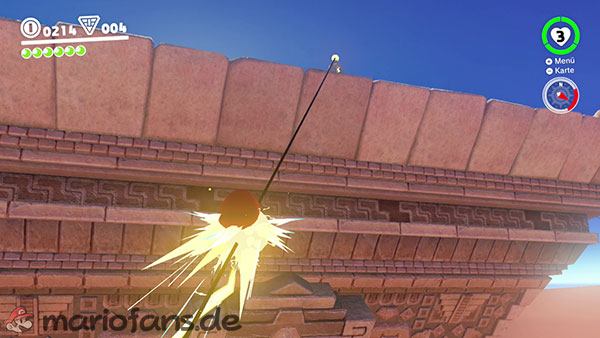
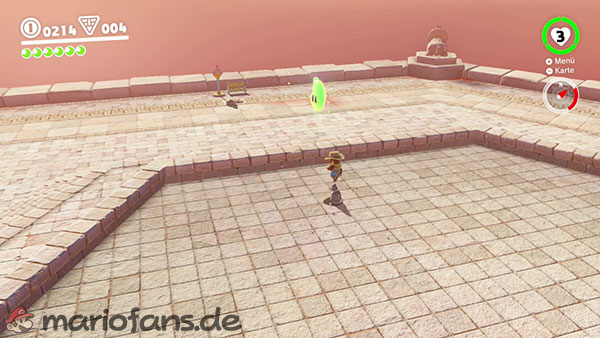
Journey to the swamp hill. At the southeast corner of the platform, behind the reversible stone staircase, two stone blocks stand stacked on top of each other. The upper block sparkles conspicuously.
Perform a ground pound attack on the stone stairs until both blocks are clearly visible from the south side.
Next, cross the propeller platforms and head to a trapeetle. Throw Cappy at the enemy so he holds onto it and points it at Mario.
Stand on the lower platform and form as straight a line as possible with the trapeze and the two stone blocks.
As soon as the enemy flies towards you, dodge to the side. The Trapeetle races across the chasm and destroys the blocks. The Power Moon is located in the upper stone.
29: Taking Notes: Stretch and Shrink

Capture a Tropical Wiggler at the swamp hill and use it to cross the two large propeller platforms.
A colored treble clef is floating to the west of the rear propeller column. Extend the Tropical Wiggler and touch the symbol.
Then, several rows of musical notes appear above the poison sea. Their curved arrangement is precisely tailored to the abilities of the Tropical Wiggler.
First, extend your body along the outer row of notes. Then shorten it again and change direction to collect the remaining notes.
Work quickly and try to touch as many notes as possible with a single stretching motion. If you collect them all in time, the Power Moon will appear on the platform between the two propeller columns.
30: Lost Kingdom Master Cup

Speak to the Koopa near the Odyssey again. After winning the standard race and activating the Moon Rock, you can participate in the expert race.
The destination is once again at the summit near Rocky Mountain Summit. This time, the golden Koopa uses several shortcuts.
Roll directly towards the red palm tree on the left after the start. Jump onto the tree and use a cannonball dive and a dive to reach the platform with the cage. From there, you can reach the cliff edge by the swamp hill.
Later, several stone blocks near the Trapeetles will block the normal path. Don’t wait for the enemies to destroy them. Instead, jump over the cliff edge to the right and throw Cappy around the blockage.
Then perform a diving headfirst dive towards Cappy and land on the path behind the rocks. This shortcut will save you crucial seconds.
Finally, use quick wall jumps to reach the summit. If you arrive at the top before the golden Koopa, you’ll receive the Power Moon.
31: Lost Kingdom Timer Challenge
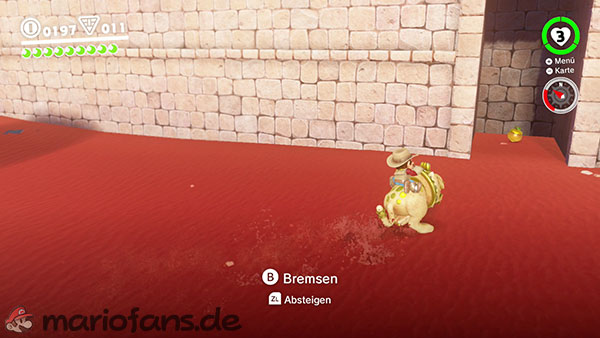
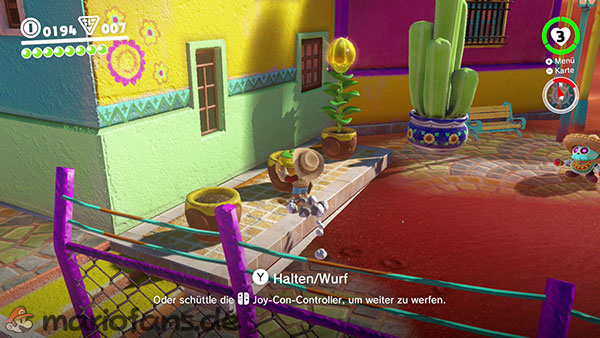
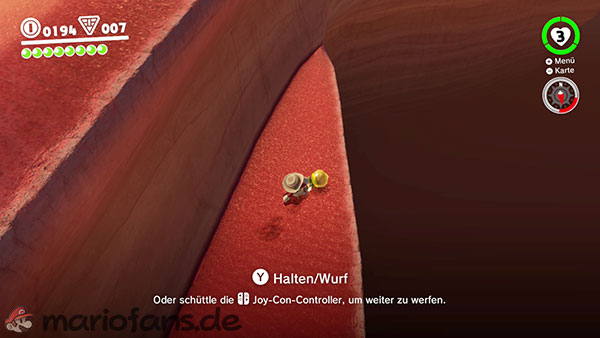
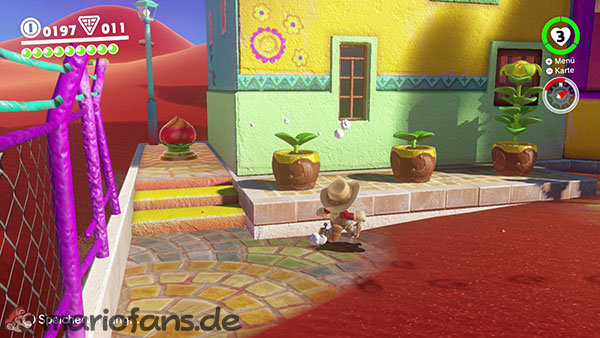
On the southeastern side of the mountain, near the triangular arrangement of plants, stands a scarecrow. You can reach it particularly easily by dropping down from the rocky heights to the lower plain.
Throw Cappy at the scarecrow. Several narrow blocks will then appear, leading towards the Odyssey. You only have about ten seconds.
Immediately run across the platforms that appear and at the end perform a long jump towards the lower island.
You don’t have to jump over the leaves of all the palm trees. Drop down to solid ground and run directly to the tree above which the Power Moon is hovering.
Quickly climb the tree trunk and collect the moon before the time limit expires.
32: Stretch and Traverse the Jungle

Near the Odyssey, a grey lunar tube will appear after activating the lunar cube. Enter it to reach a new bonus area above the Poison Sea.
Capture a Tropical Wiggler there and stretch across the small platforms. Poison fountains and high walls of poison will block your way.
Press the blue P-switches with the head or another body part of the Tropical Wiggler. This will make the poison jets disappear for a short time.
Immediately stretch across the now clear platforms before the poison rises again. Make sure that both your head and the back of your body are on a safe surface when you stretch out.
Later on, brick walls block the way. Destroy the bricks with the head of the Tropical Wiggler while simultaneously avoiding the other Wigglers.
Follow the obstacle course to the last platform. The Power Moon awaits you there.
33: Aglow in the Jungle
This Power Moon is located in the same bonus area as the previous moon.
Follow the path until you reach a fire piranha plant surrounded by numerous brick blocks. There are two unlit torches to the left and right of the platform.
First, destroy the brick blocks on both sides of the Piranha Plant. This will create clear flight paths to the torches.
Then stand between the plant and one of the two torches. Wait until it shoots a fireball at you, and dodge at the last moment.
The fireball now hits the torch and ignites it. Repeat the process on the other side.
Once both torches are lit, the Power Moon appears in front of the platform.
34: Chasing Klepto
Travel to the Rocky Mountain Summit and go to the Crazy Cap shop. Drop down onto the ledge below the palm tree on the cliff.
There’s another grey moon tube there. Enter it and Klepto will grab Cappy again.
Follow the bird through the bonus area. Since Cappy is missing, you must first cross the lava using the movable and foldable platforms.
Perform ground pound attacks on the purple platforms to raise their opposite sides. Then use them as bridges and make your way to Klepto’s next landing spot.
At the end, Klepto lands on a platform with a ground pound symbol. Perform a ground pound attack on the adjacent platform. This will cause Klepto’s platform to shoot upwards, launching the bird into the air.
You get Cappy back. Then throw him at the blue lever switch to open the gate in front of the Power Moon.
35: Extremely Hot Bath
This Power Moon is located in the same bonus area as the previous moon. You must first retrieve Cappy from Klepto.
Then capture one of the lava bubbles and swim through the lava towards the large, solitary blue pillar at the edge of the area.
Completely circle the pillar. On its back side, the Power Moon hovers slightly above the lava.
Use the lava bubble to get a short run-up and jump upwards out of the hot liquid. While jumping, you can collect the last Power Moon of the Lost Kingdom.