

27: Seaside Kingdom Timer Challenge 1
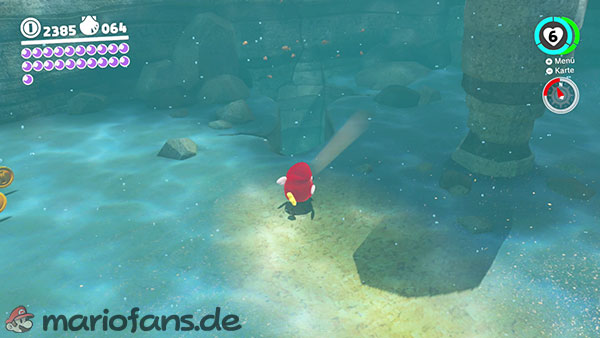
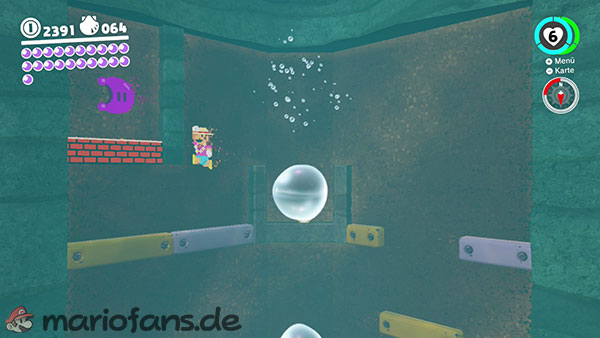
Go to the sea southwest of the Hot Spring Island. On the seabed, there is a narrow crevice through which you can reach a red stomp switch and a green 8-bit tube.
Perform a ground pound attack on the switch. This will cause several platforms to appear briefly on the wall in the two-dimensional area.
Jump immediately into the green pipe and run to the right. Cross the newly appeared platforms before they disappear again.
Don’t stand still longer than necessary and perform the jumps as early as possible. If you reach the end of the 2D area in time, you can collect the Power Moon.
28: Seaside Kingdom Timer Challenge 2
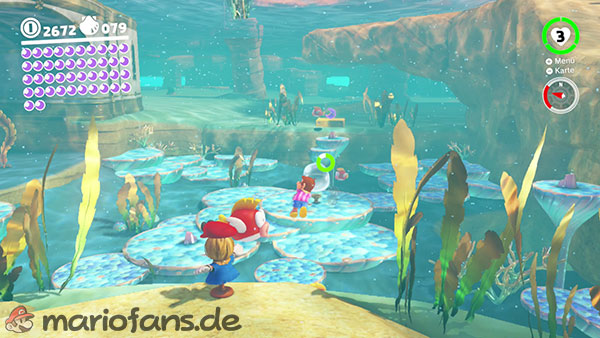
Dive to the seabed in the area north of the Glass Palace. There, next to a locked gate, stands a scarecrow.
Throw Cappy at the scarecrow. The gate opens and the Power Moon appears a good distance in front of you.
Swim straight towards the moon immediately. The time limit is very tight, which is why normal swimming strokes are often not enough.
Press ZL and Y repeatedly to perform fast dives or swimming strokes.
Avoid unnecessary changes of direction and align Mario precisely with the Power Moon before throwing the cap.
29: Found on the Beach! Good Dog!
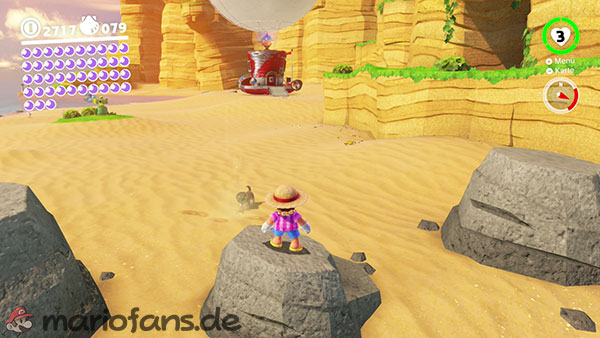
Near the Odyssey, a small dog wearing a hat is running across the beach.
Approach the dog and play with him briefly. He will then follow Mario and begin sniffing at various spots in the sand.
Perform a ground pound on each of the spots he marks. Initially, the dog may only find a few coins.
Then guide him westward to the narrow inlet between the Odyssey and the beach house.
Near the grey rocks, the dog stops again and begins to dig. Perform a ground pound attack there to uncover the buried Power Moon.
30: Moon Shards in the Sea
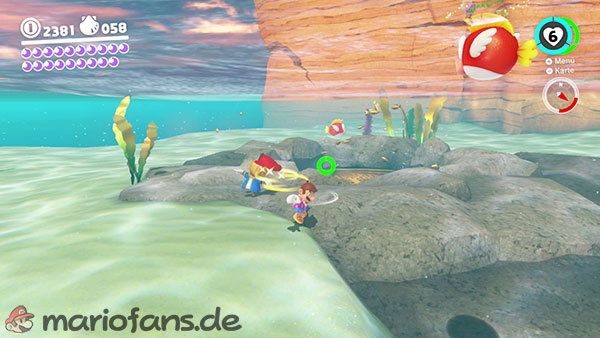
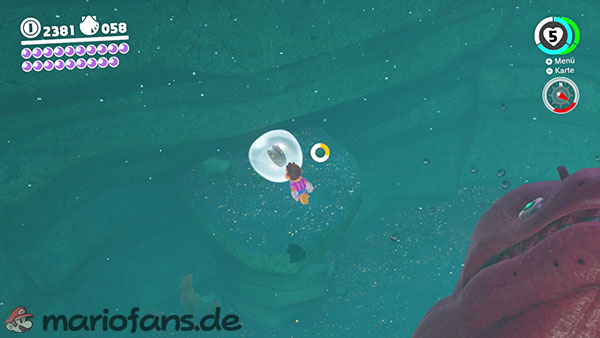
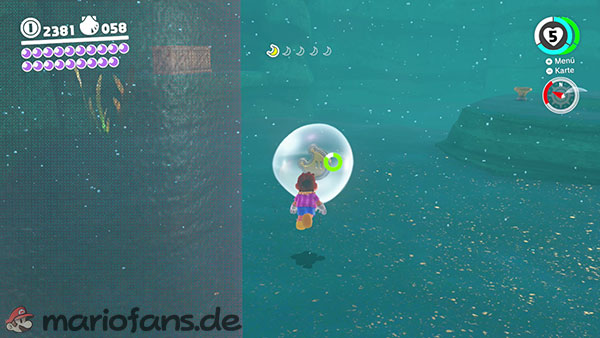
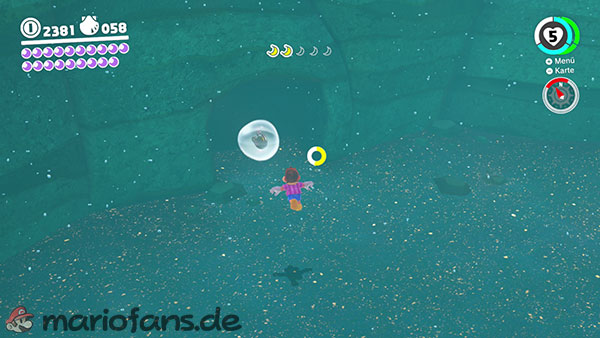
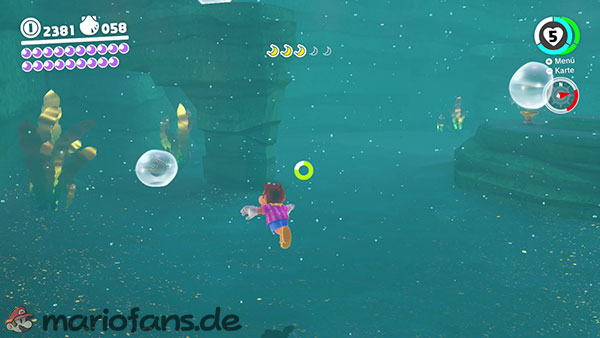
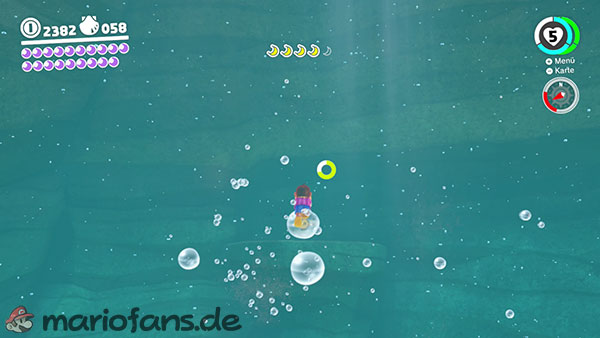
Travel to Rolling Canyon and dive into the water northeast of the checkpoint.
On the seabed, you’ll find a scarecrow next to a large grate. Throw Cappy at it to open the entrance to a deep underwater cave.
You need to collect a total of five Moon Shards in the cave:
- A piece of the moon lies on a raised platform near the entrance.
- Another one is located at the very bottom of the seabed.
- The third piece of the moon lies behind one of the large stone pillars.
- One fragment is hidden in a side niche.
- The last piece of the moon floats on another elevated platform.
Watch out for the large eels that regularly dart out of the bottom. Observe their shadows and only continue swimming after they have attacked.
The Moon Shards are contained in air bubbles and replenish your oxygen supply. Two additional air dispensers are available on the ground.
Once you have collected all five fragments, the Power Moon will assemble itself on the middle platform.
31: Taking Notes: Ocean Surface Dash
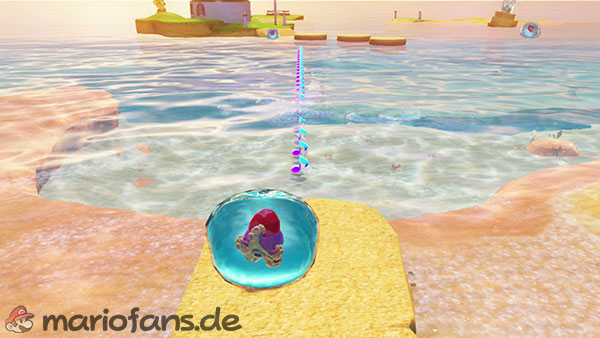
North of the Beach House checkpoint, there is a colored treble clef and a rocket flower on a small sand ramp.
Position Mario so that the rocket flower, the treble clef, and the open sea are in a straight line in front of you.
Throw Cappy at the rocket flower and then immediately run through the treble clef.
The musical notes appear in a long, straight line above the water’s surface. The speed boost allows Mario to walk on water.
Steer as little as possible and follow the line of notes straight ahead. If you collect all the notes in time, the Power Moon will appear.
32: Love by the Seaside
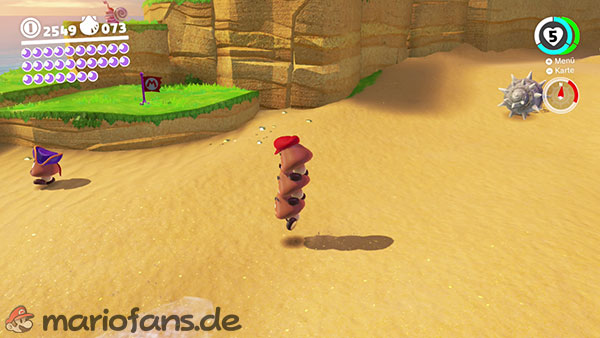
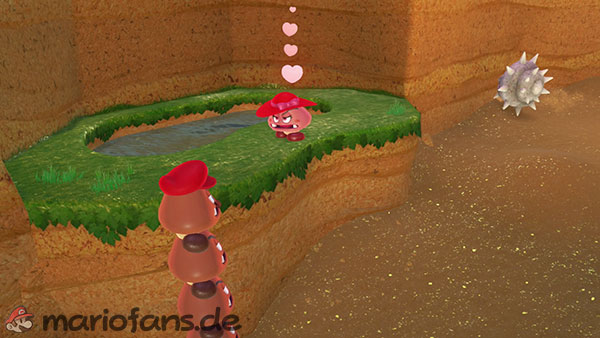
Travel to the Rolling Canyon checkpoint and capture one of the nearby Goombas.
Then jump on the remaining Goombas to form a tower of approximately five opponents.
Take the Goomba Tower into the canyon. Dodge the rolling spiny clams and use the side alcoves for cover.
About halfway along the route, a female Goomba wearing a red hat stands on a raised ledge on the left side.
Approach her with the fully equipped Goomba Tower. As a reward for a successful romance, you will receive the Power Moon.
33: Lighthouse Leaper
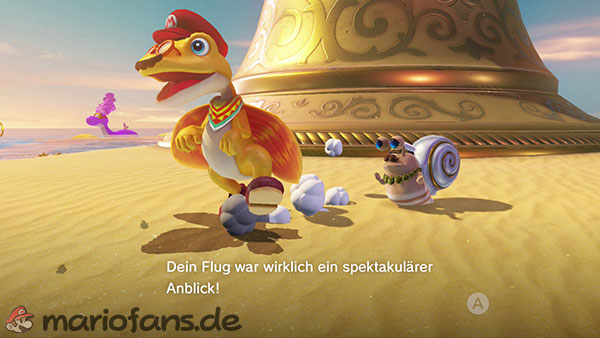
Travel to the top of the lighthouse and capture the Glydon there.
Stand at the eastern edge of the platform and look towards the Glass Palace.
In front of the palace, a Bubblainian awaits a daring flyer on the beach.
Jump from the lighthouse and glide directly towards it. Try to lose as little altitude as possible and land right in front of the inhabitant.
He is impressed by your long gliding flight and presents you with the Power Moon.
34: Good Job, Captain Toad!
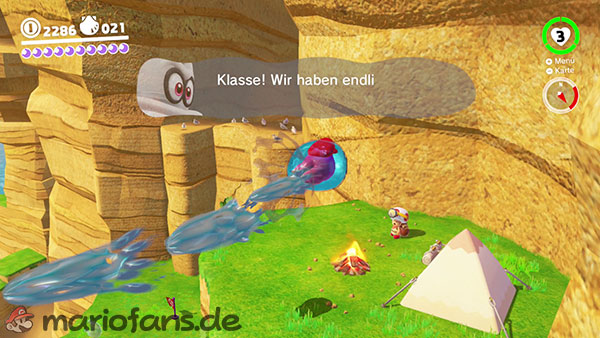
Captain Toad is waiting on a high platform at the end of the Rolling Canyon. You can’t reach the ledge with Mario alone.
Capture a Gushen on the Hot Spring Island and fly towards the canyon.
Use the small pools of water along the way to replenish the Gushen’s water supply.
Fly through the canyon and climb onto the higher platform just before the last seal.
Captain Toad is waiting there. Leave the Gushen and talk to him to obtain the Power Moon.
35: Ocean Quiz: Good!
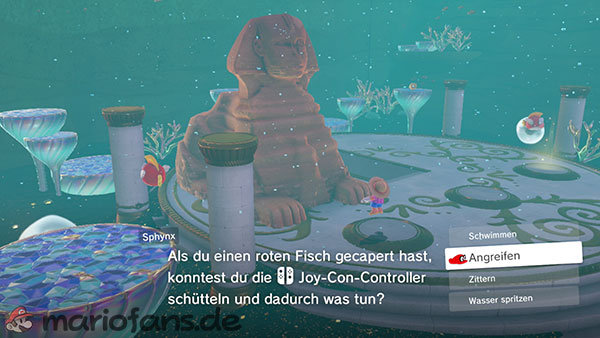
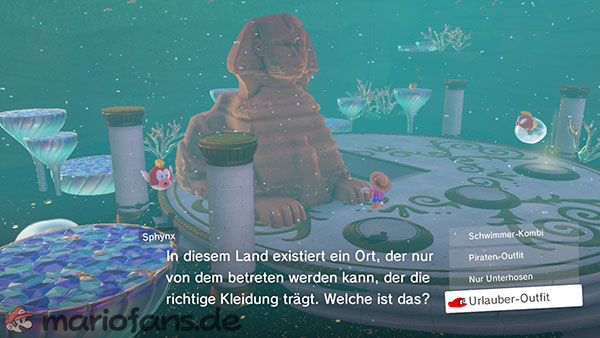
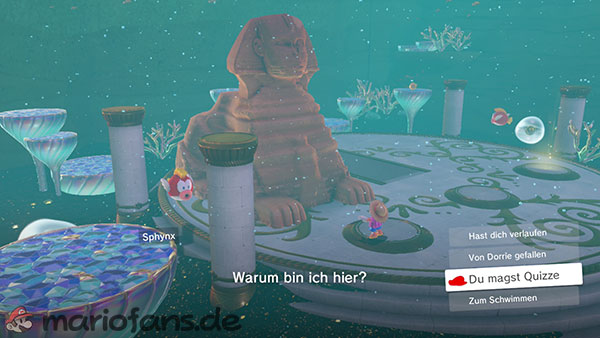
Travel to the East Sea Trench checkpoint and dive down to the large Sphinx at the bottom of the trench.
After you have answered her first question and opened the underwater safe, you can speak to her again.
Answer all questions correctly. The required answers are:
- Bubble beach
- Four
- Attack
- Holiday outfit
- You like quizzes
If you answer all the questions correctly, the Sphynx will present you with the Power Moon.
36: Shopping in Bubblaine
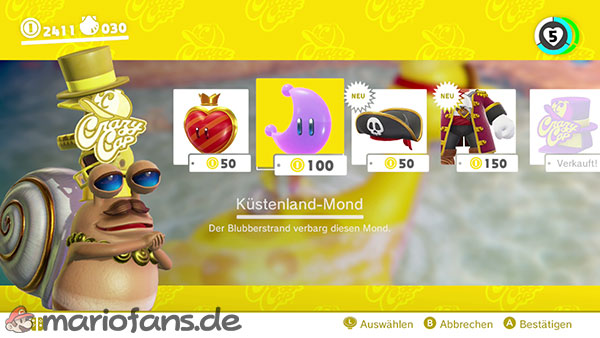
Look for the yellow Dorrie who has the yellow Crazy Cap shop on her back.
Speak to the seller and buy the Power Moon for 100 gold coins.
37: Beach Volleyball: Champ
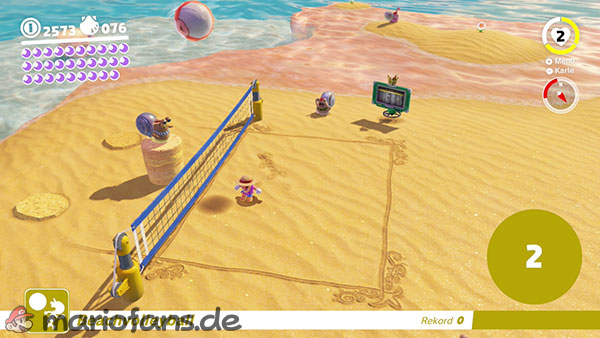
After defeating Mollusque-Lanceur, you can play beach volleyball on the beach southwest of the beach house.
Enter the playing field and speak to the referee to start the mini-game.
Your task is to return the ball 15 times in a row.
Watch the shadow of the ball on the ground. Run to the landing spot early and throw Cappy at the ball.
You don’t need to be directly under the ball. Cappy has a greater reach and is therefore usually more reliable than a normal jump.
After your 15th successful return match, you will receive the Power Moon.
38: Beach Volleyball: Hero of the Beach!
Play beach volleyball again. For the second Power Moon, you have to return the ball a total of 100 times in a row.
After the first few rallies, the game gets faster and faster. Try to stay as close to the middle of the court as possible and watch the ball’s shadow.
I almost exclusively use Cappy. Only throw it when the ball has dropped a bit and the marked landing point is within range.
If the ball lands further away, you can make Cappy hover briefly in the air by holding down the throw button.
Stay calm and avoid sudden movements. The Power Moon will appear after the 100th successful return match.
39: Looking Back in the Dark Waterway
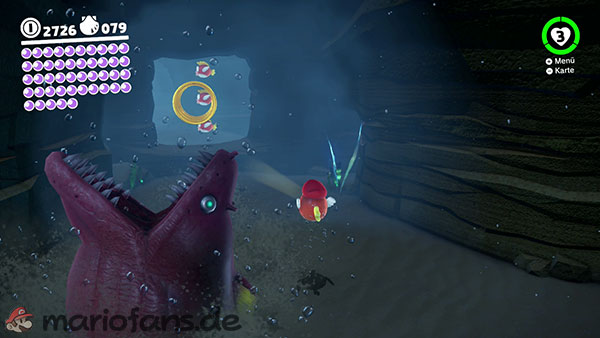
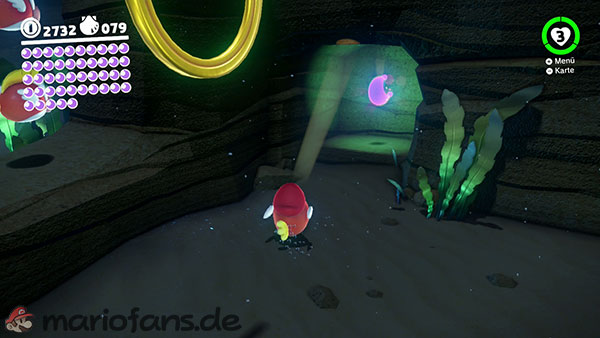
Re-enter the underwater tunnel leading to the lighthouse. The entrance is located in the deep pool north of the lighthouse.
Capture a Cheep Cheep and swim through the first coin rings.
Once you reach the area with the three Cheep-Cheeps floating side by side, turn around and look back towards the entrance.
There is a small dark niche on the left or upper side of the tunnel wall.
Swim in to collect the hidden Power Moon.
40: The Sphynx’s Underwater Vault
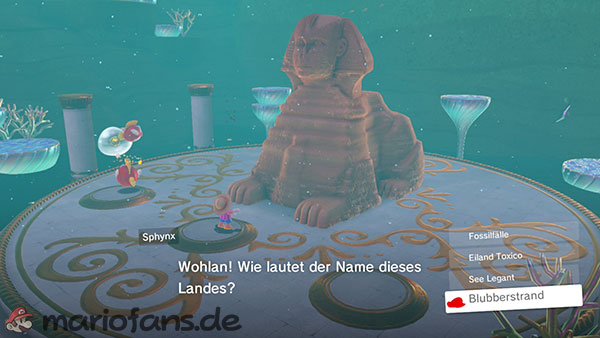
Dive down to the Sphinx in the area southwest of the Sea Trench East checkpoint.
Speak to her as Mario. If you are currently controlling a Cheep Cheep, you must exit it first.
The Sphinx asks you the name of the country. Choose the answer:
Bubble beach
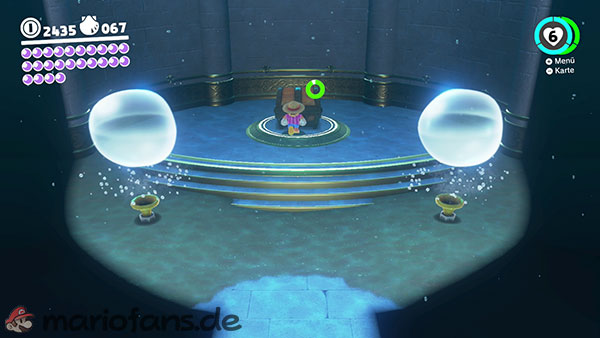
After the correct answer, the Sphinx moves to the side, opening the entrance to a flooded treasure chamber.
Swim down the stairs and open the treasure chest. Inside is the Power Moon.
41: A Rumble on the Seaside Floor
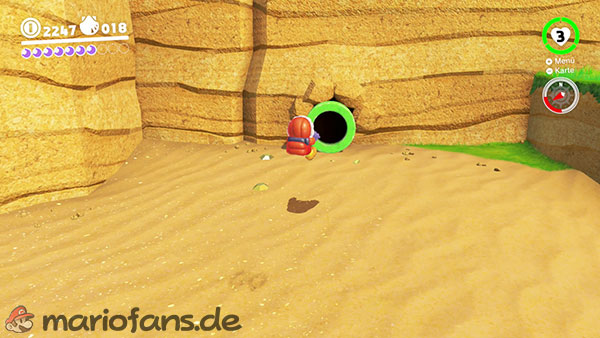
Immediately west of, or behind, the Odyssey, there is a green tube in the rock face.
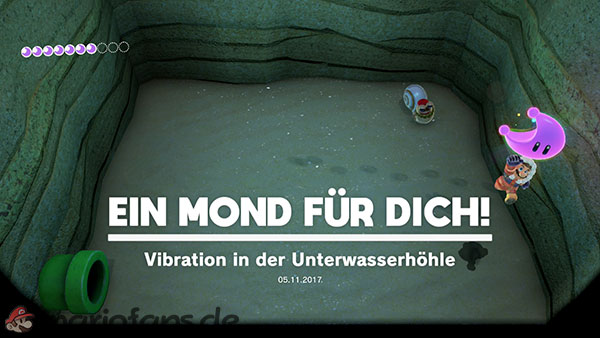
Enter the tube to reach a small, enclosed underwater room.
The Power Moon is buried beneath the sandy soil. Walk slowly across the room and listen for the vibration of your controller.
The closer you get to the right spot, the stronger the vibration becomes.
Once you find the point with the strongest feedback, you perform a ground pound.
At the right spot, the Power Moon jumps out of the ground.
42: A Relaxing Dance
Visit the purple Crazy Cap shop on purple Dorrie.
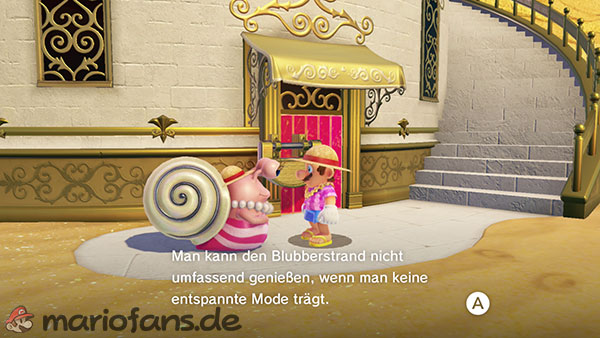
Buy the holiday hat and the matching holiday outfit. Alternatively, you can also wear the complete sun clothing.
Put on both pieces of a matching outfit and head to the beach house.
A resident of the Seaside Kingdom stands before the locked door. If you are dressed appropriately, he will let you in.
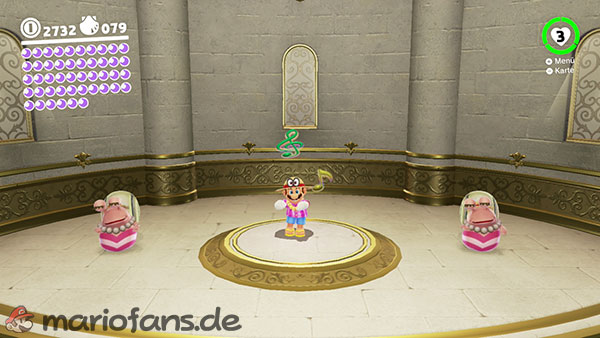
Enter the large round room and stand next to the two dancers on the stage.
Mario automatically performs a short dance. Afterwards, you receive the Power Moon.
43: Wading in the Cloud Sea
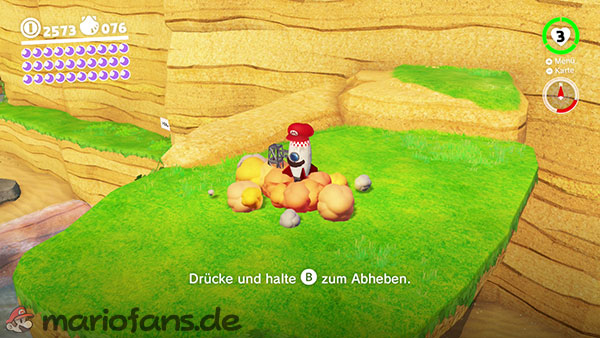
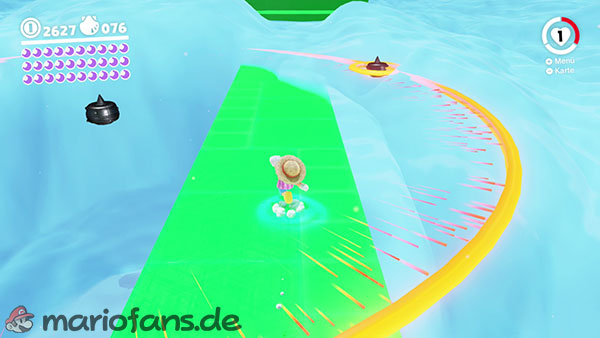
Next to the beach house is a large parasol. Use it as a trampoline to reach the higher rocky platform.
Alternatively, you can fly directly up there in a Gushen.
A small rocket awaits on the platform. Capture it to reach a secret area above a dense sea of clouds.
The walkable paths are barely visible under the clouds. Repeatedly throw Cappy in front of Mario to reveal the ground and the edges of the platforms.
Avoid the ring emitters. After their attack, the circular energy waves remain just above the ground and must be jumped over.
Work your way slowly from platform to platform. The Power Moon awaits at the end of the normal path.
44: Sunken Treasure in the Cloud Sea
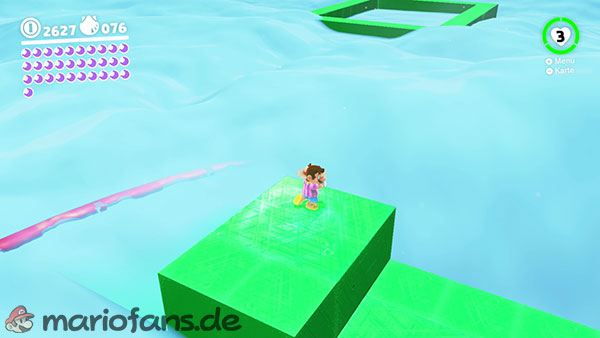
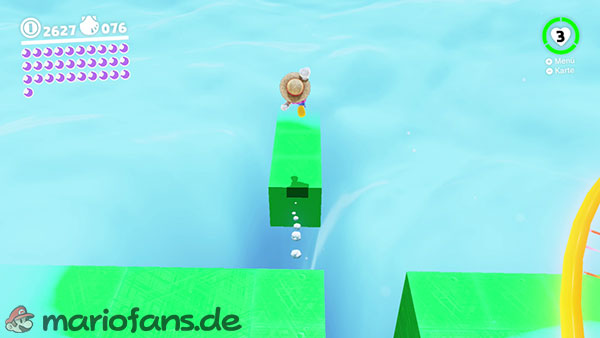
This powerful moon is located in the same cloud area as moon number 43.
Follow the normal path until you see a narrow fork on the left side under the clouds.
Throw Cappy at the sea of clouds several times to reveal the hidden path.
Carefully cross the narrow path. At the end, you will reach a square green platform completely surrounded by clouds.
In the middle is a treasure chest. Open it with Cappy to obtain the Power Moon.
Then return to the main route and complete the bonus area.
45: Fly Through the Narrow Valley
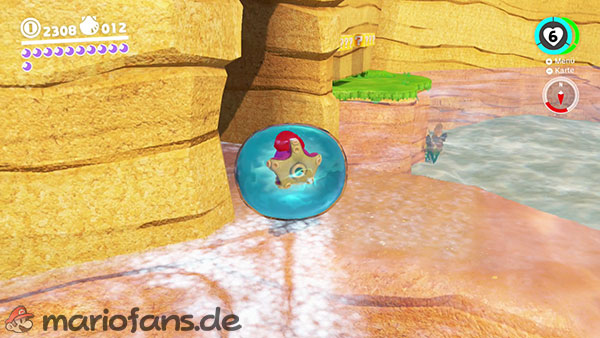
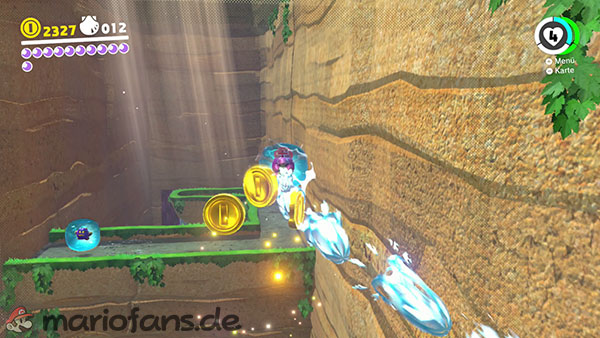
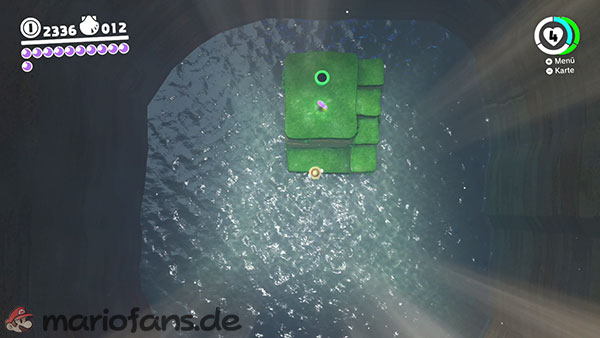
Go to the southwestern part of the coastal area, to the right of the beach volleyball court.
Capture a Gushen and fly into the small opening in the rock face. Inside is a red door with a Cappy symbol.
In the bonus area, you have to fly several Gushens through a narrow valley.
Use the water recoil sparingly and land regularly in the small pools of water to replenish your supply.
Beware of poisonous surfaces and bottomless pits. Always fully align the Gushen with the nearest safe platform before accelerating.
In the last section, you have to let yourself be carried far upwards and then fall into the lower opening.
You can collect the Power Moon there.
46: Treasure Chest in the Narrow Valley
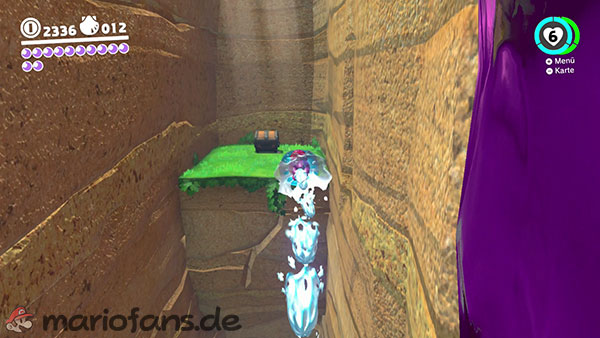
This Power Moon is located in the same Gushen course as Moon number 45.
Work your way to the last section where the normal path leads down to the first Power Moon.
Don’t fall yet. Fully refill the water supply of the last Gushen and instead fly on to the opposite platform.
The distance is significant. First, ascend as high as possible and only use the horizontal water jet after you have gained sufficient height.
There is a treasure chest on the remote platform.
Leave the Gushen and open the chest with Cappy. Inside is the second Power Moon of the bonus area.
47: Hurry and Stretch
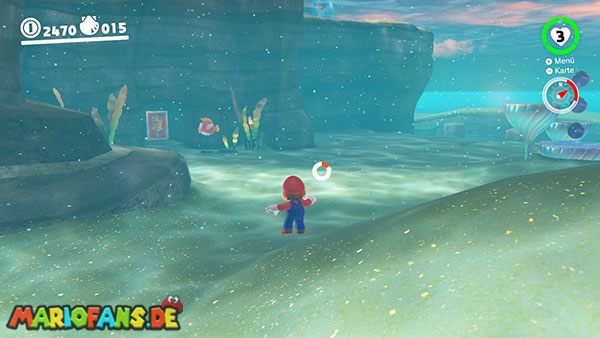
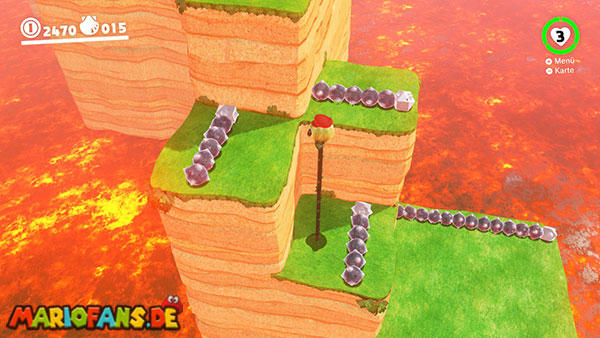
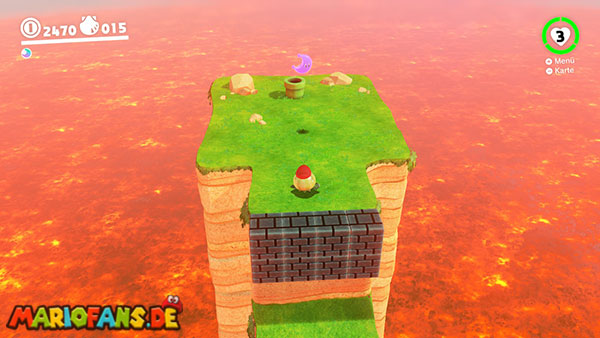
Dive to the seabed in the northeastern part of the coastal area near the Hot Spring Island.
In a side rock niche there is a red door that leads you to a bonus area with mistletoe.
Capture the first moss and work your way up the raised platforms. Once you reach a certain point, the lava will slowly begin to rise.
Extend the legs of the blueberry to reach higher levels. Then shorten them again so you can quickly move to the next safe spot.
Avoid the rolling spiny shells. However, don’t wait too long on narrow paths, as the rising lava is instantly fatal, even in assist mode.
You’ll find more scum roots in the upper part of the course. Switch opponents if necessary to progress with full health.
If you reach the top in time, the Power Moon awaits you there.
48: Stretch on the Side Path
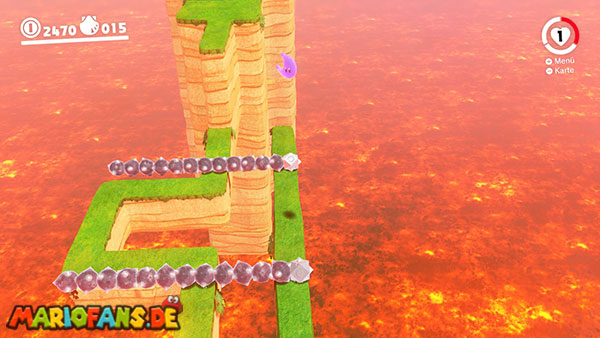
This Power Moon is located in the same bonus area as the previous moon.
Work your way up about three-quarters of the way. You will reach an area with two narrow paths and several rolling spiny clams.
The normal route continues to the summit on the left side.
Instead, take the mistletoe and the narrow side path to the right.
Move to the end of the path and fully extend your legs. The hidden Power Moon hovers high above the platform.
Collect it and immediately cut back the moss again. Then return to the main route before the rising lava reaches the side path.
These moons can be found after completing the main story.
49: Secret Path to Bubblaine!
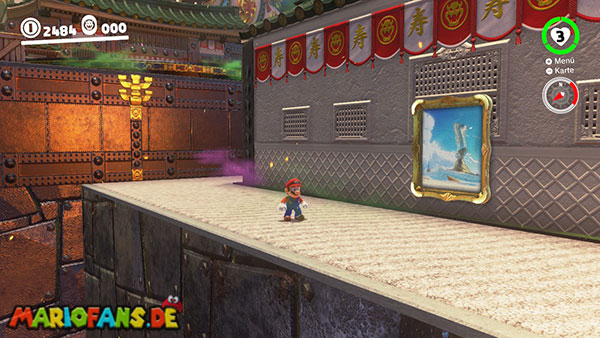
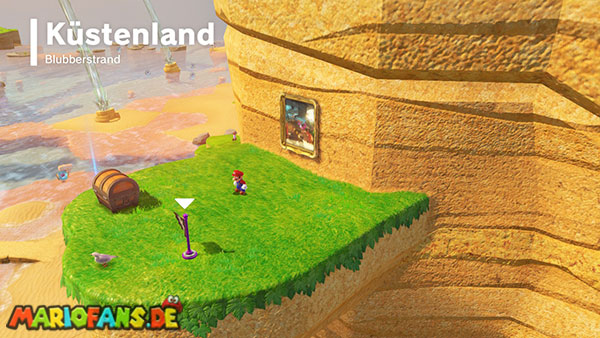
This Power Moon is located on a remote jump platform in the Coastal Kingdom. It cannot be reached from the main area.
Which painting leads to the Seaside Kingdom depends on whether you visited the Snow Kingdom or the Seaside Kingdom first after Metro Kingdom.
Did you visit the Arctic first?
After completing the main story, travel to the checkpoint Main Courtyard – Entrance to Bowser’s Kingdom.
Walk behind the western, or left-hand, building. The painting of the Seaside Kingdom is located on its rear side.
Did you visit the Seaside Kingdom first?
Journey to the Mushroom Kingdom. The required painting is located behind the Odyssey, nestled among several trees.
Jump into the corresponding painting. You will be transported to the Cliff Jumping checkpoint in the Coastal Kingdom.
Open the treasure chest there to obtain the Power Moon.
50: Found with Seaside Kingdom Art
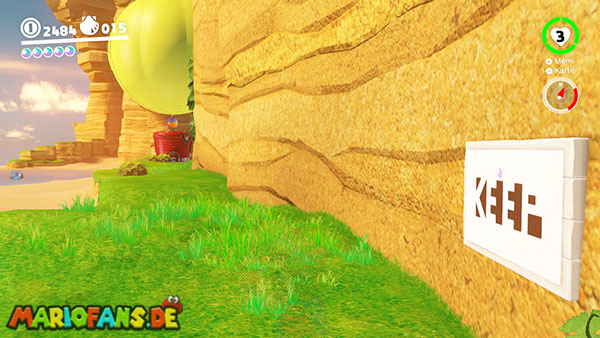
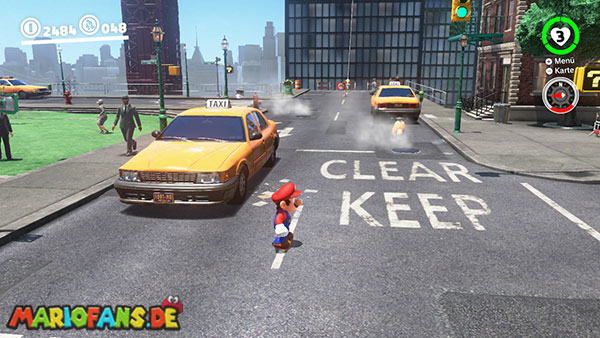
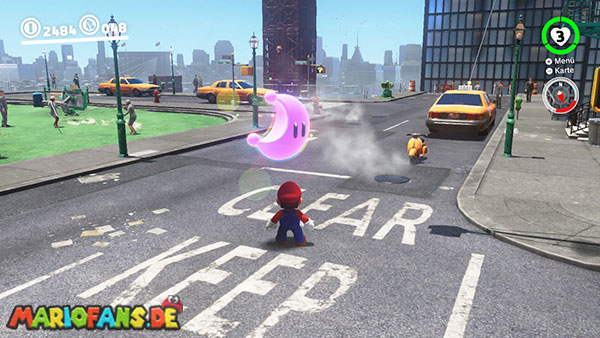
The Coastal Art is located on a raised rocky platform east of the Odyssey.
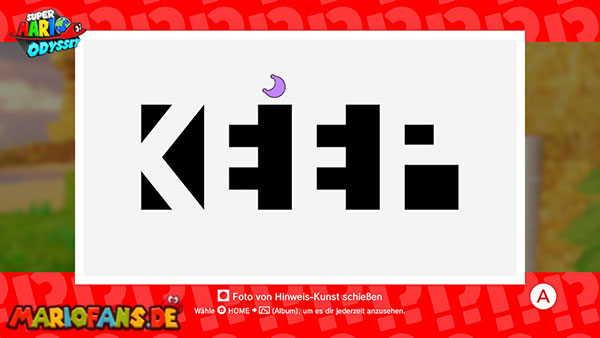
Climb over the grey rocks and examine the clue image. It shows the word KEEP with a power moon above the first letter E.
Travel to Metro Kingdom to the Main Entrance Fast Travel Point.
The words KEEP CLEAR are painted on the street in large white letters.
Stand on the first E of the word KEEP and perform a stomping attack.
Then the Power Moon appears from the Seaside Kingdom.
51: Seaside Kingdom Regular Cup
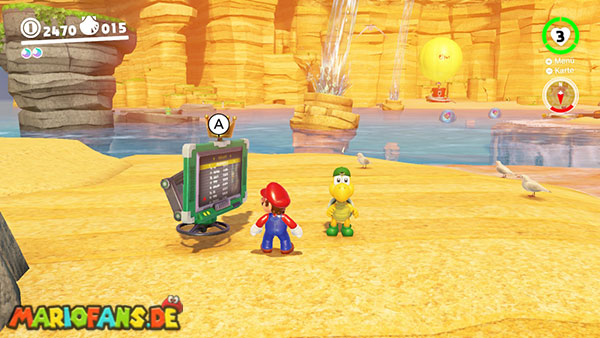
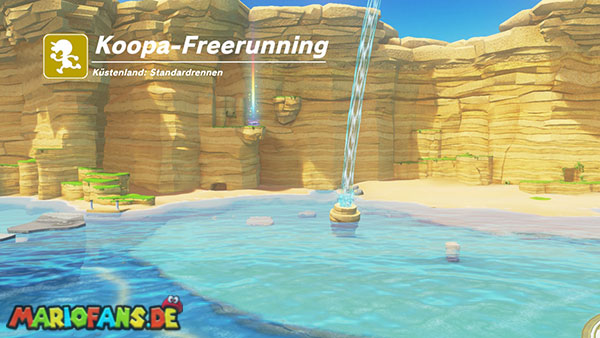
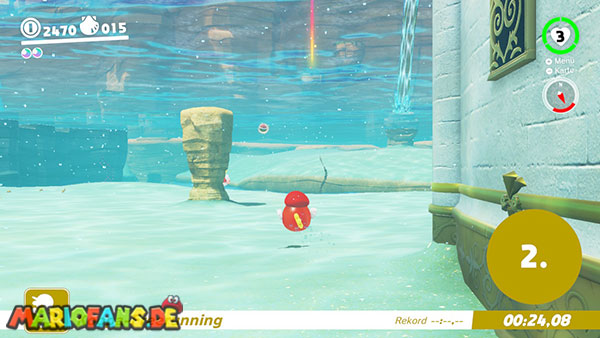
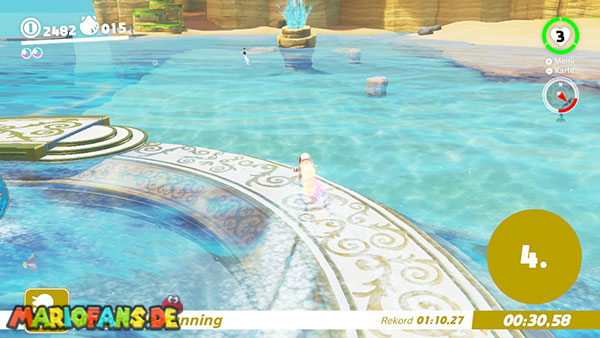
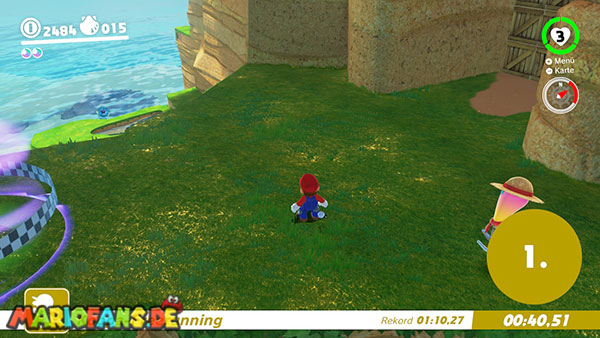
After completing the main story, a Koopa awaits you on the island above the eastern sea trench. You can identify the island by the trophy symbol on the map.
Talk to the Koopa to start the standard race. The finish line is located above the Rolling Canyon.
Jump into the water immediately after the start and swim to the surface.
Keep to the left and collect a rocket flower on the beach. Use the speed boost to run across the water’s surface.
Then capture a Gushen and fly towards the Rolling Canyon.
Don’t fly through the entire normal canyon path. Instead, fly to the grassy rock ledges to the left of the entrance.
Work your way up over the ledges, replenishing your water supply in a small basin if necessary.
Then climb over the entrance of the gorge to the finish flag.
If you reach the goal before the other Koopas, you will receive the Power Moon.
52: Peach in the Seaside Kingdom
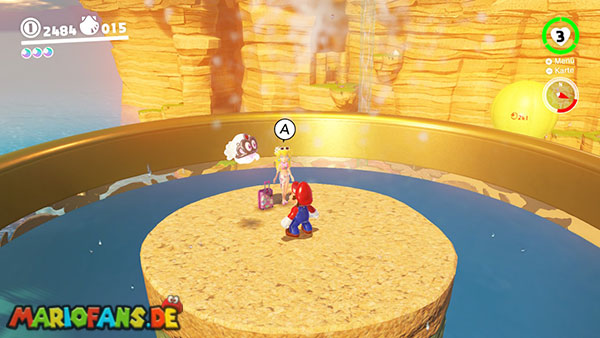
This Power Moon is available after you defeat Bowser, visit the Mushroom Kingdom, and speak to Toad in front of Peach Castle.
Princess Peach and Tiara stand at the top of the Glass Palace.
Go to one of the four unlocked precious water geysers and jump into the water fountain.
The geyser carries Mario to the top of the palace.
Speak to Peach there. After a brief conversation about her journey, she will give you the Power Moon.