

After completing the main story, you can activate the Moon Rock in the Coastal Kingdom. This will reveal 19 additional Power Moons that could not be collected before.
53: Above the Parasol: Catch!
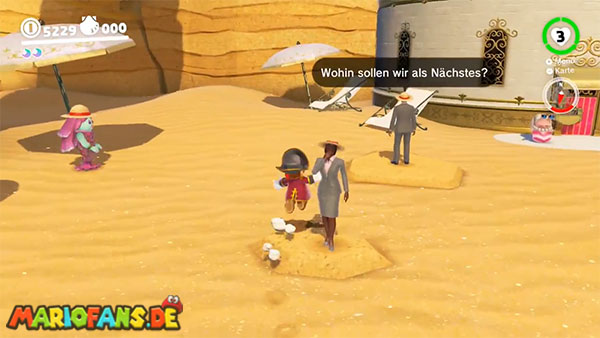

Travel to the Beach House checkpoint. There is a large parasol right next to the cliff face.
The power moon hovers high above the screen.
Jump onto the center of the parasol and press the jump button again upon impact. The parasol will launch Mario high into the air.
Steer directly to the Power Moon during the jump.
Alternatively, you can capture a Gushen and let its water jet propel you to the moon.
54: What Shines Inside the Glass
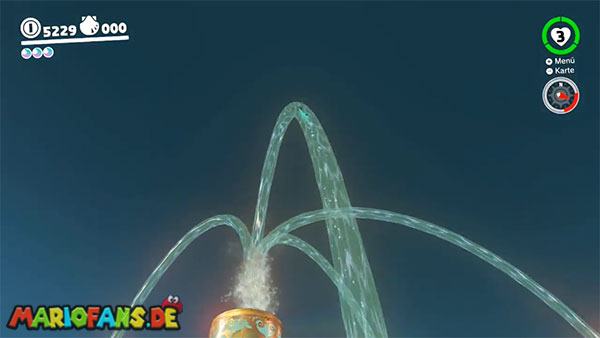
Head to one of the four precious water geysers surrounding the Glass Palace.
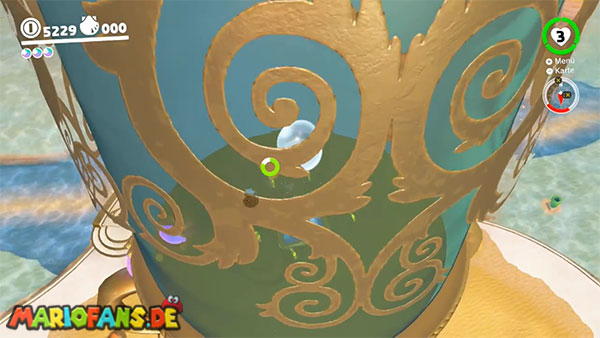
Jump into the water fountain and let it carry you to the top of the palace. There you will find the large glass pool filled with water.
Jump in and dive down to the deepest point of the pool. Mario sinks faster with ZL.
The Power Moon is clearly visible on the floor inside the glass palace.
55: A Fine Detail on the Glass
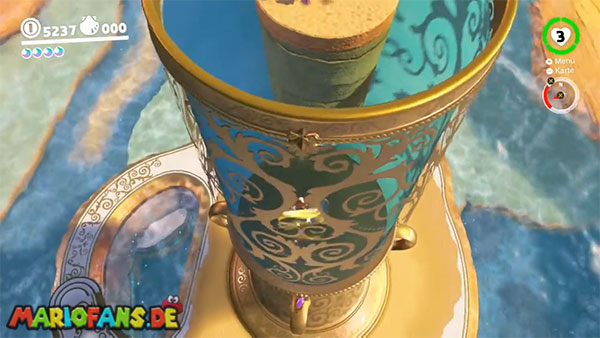
This Power Moon is also located at the Glass Palace.
Use one of the four precious water geysers to reach the top of the palace.
Go to the eastern edge of the upper platform and carefully look down. On the outside of the glass, you will see several curved decorations or handles.
The Power Moon floats on one of these glass ornaments.
Let yourself fall from the edge and control Mario during the fall towards the moon. Afterwards, you will either land on one of the decorations or in the water below the palace.
Alternatively, you can fly up the outside of the glass palace using a Gushen.
56: Underwater Highway West: Explore!
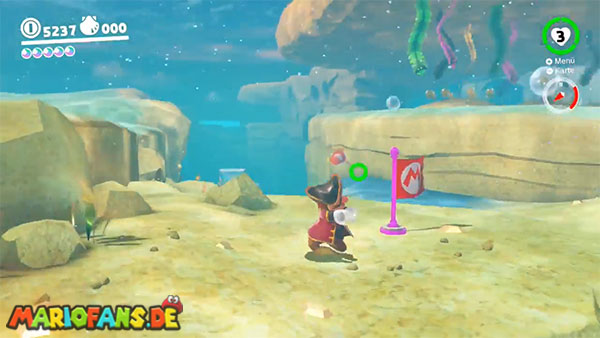
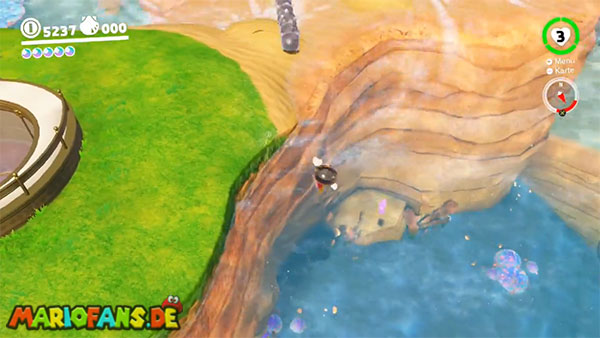
Travel to the Lighthouse checkpoint and jump into the water on the northern side.
Dive towards the entrance to the dark underwater tunnel through which you originally reached the lighthouse.
Near the entrance, several stone shells roll across the seabed.
Keep to the right of the nearest shell. There is a small rocky outcrop slightly below the normal path.
The Power Moon hovers on this ledge.
Capture a Cheep Cheep if needed, so you can more easily dodge rolling enemies.
57: Underwater Highway East: Explore!
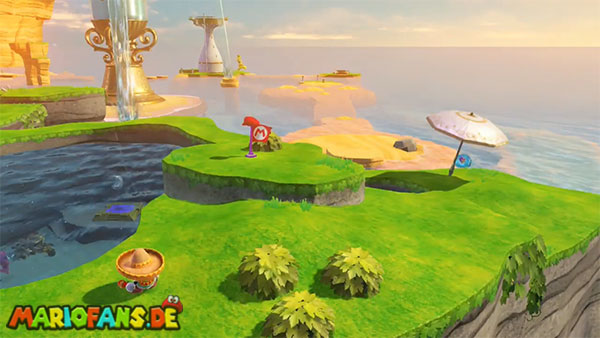
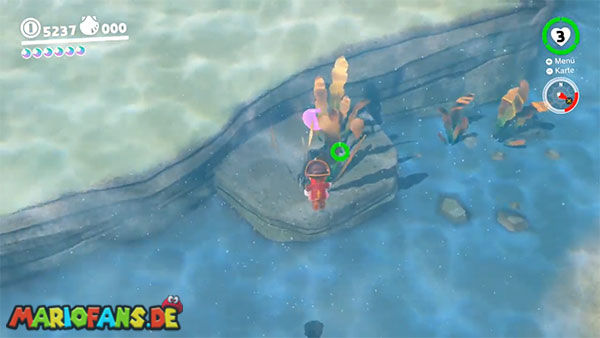
Travel to the Hot Spring Island and jump into the water on its eastern side.
Capture a Cheep Cheep and dive to the seabed.
Slightly east of the island is a small rocky promontory where several tufts of seagrass grow.
The Power Moon is hidden among the plants and can easily be missed depending on the camera angle.
Swim through the seaweed to collect it.
58: Rapid Ascent on Hot Spring Island
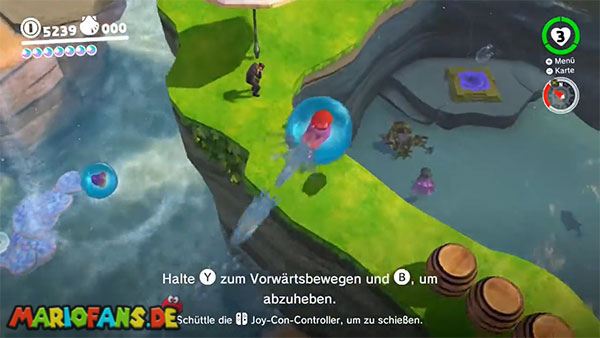
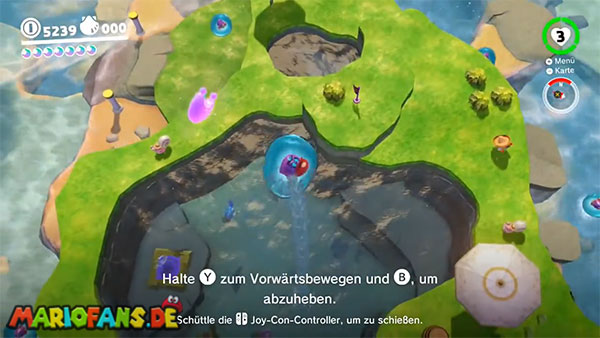
Travel to the Hot Spring Island and capture a Gushen.
Land in the large pool of water at the top of the island to fully replenish your water supply.
The Power Moon hovers high above the basin.
Hold down the jump button and rise straight up with the vertical water jet. Shaking the controller gives you an extra boost.
Should the Gushen narrowly miss the moon, exit it at the highest point using ZL and jump into the Power Moon as Mario.
59: A Light Next to the Lighthouse
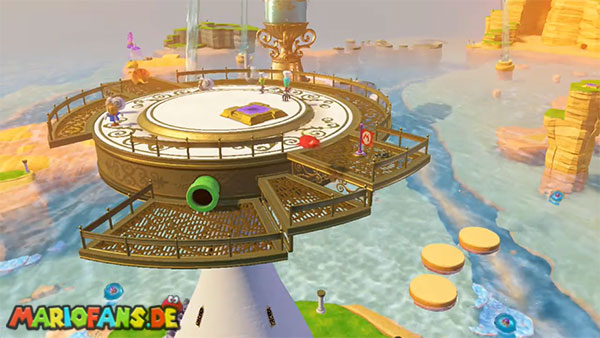
Journey to the top of the lighthouse.
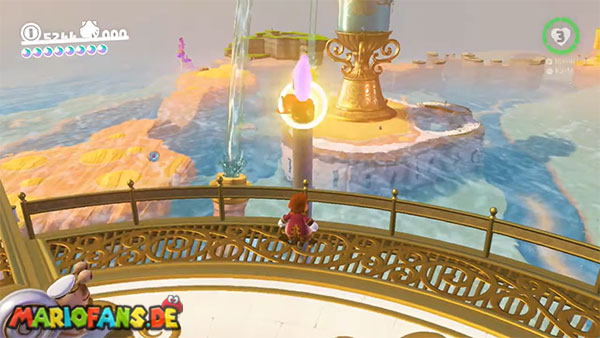
On the eastern side of the platform stands the long pole that Mario usually climbs over to reach the top level.
The tip of the pole glows conspicuously after the lunar cube is activated.
Throw Cappy at the glowing spot and hold down the throw button. Cappy will spin around the pole for several seconds.
Then the power moon leaps out from the top.
60: The Tall Rock Shelf in the Deep Ocean
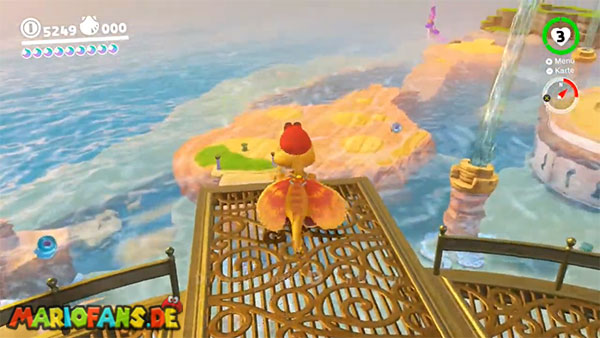
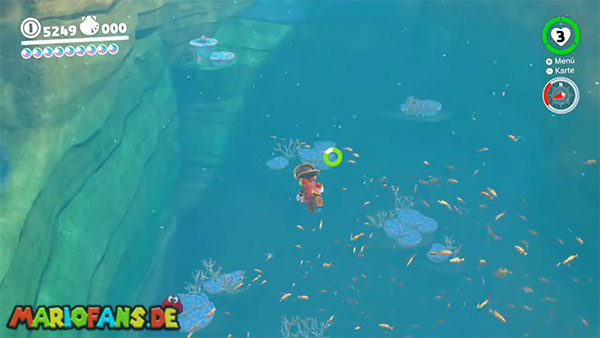
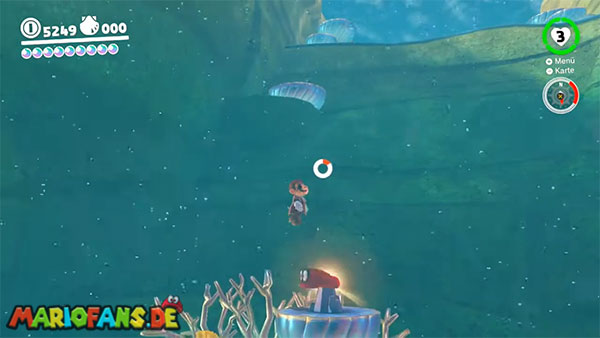
Travel to the East Trench checkpoint and dive down to the Sphinx.
Capture a Cheep Cheep and examine the eastern or right-hand rock face of the trench.
There you’ll see a tall shelf of blue coral and rocky ledges. Swim to the highest level.
At the top, a small, luminous stone protrudes from the ground.
Leave the Cheep Cheep and throw Cappy at the glowing rock. Hold the throw button until the Power Moon appears.
61: At the Base of the Lighthouse
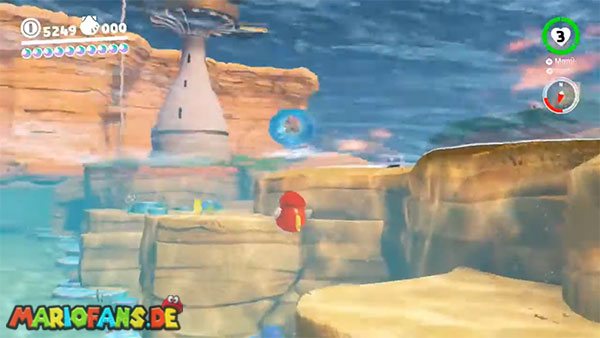
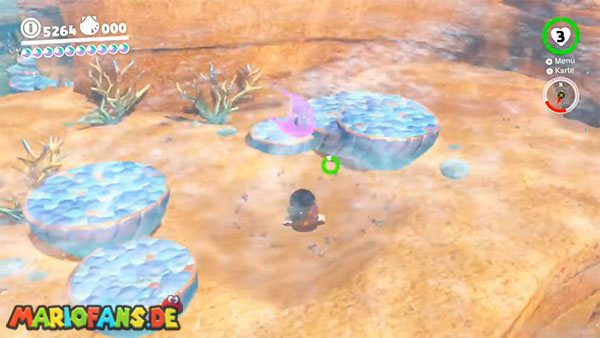
Travel to the lighthouse and jump into the water on the northern side.
Dive down to the seabed directly in front of the rock on which the lighthouse stands.
Between two striking blue coral formations, a spot sparkles in the sand.
Leave any Cheep Cheep you may have captured and perform a ground pound on the glowing spot.
Then the Power Moon emerges from the seabed.
62: Bird Traveling Over the Ocean
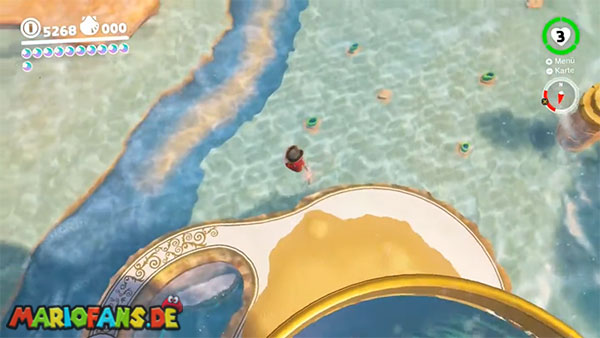
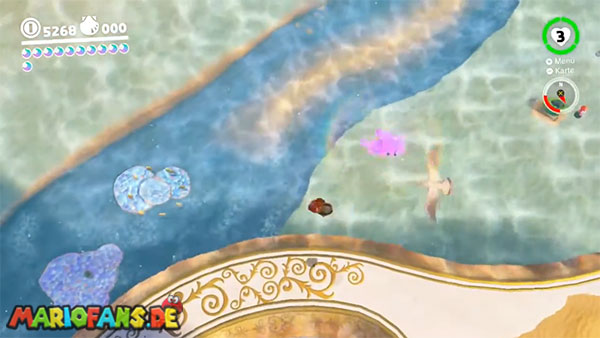
A luminous bird flies along a long, consistent route across the entire Seaside Kingdom.
The easiest way to catch it is with a Gushen.
Capture one of the Gushens near the Glass Palace or Hot Spring Island and observe the bird’s shadow on the water’s surface.
As soon as he approaches, you rise to his flight altitude with the vertical jet of water and fly directly into him.
Alternatively, you can capture Glydon on top of the lighthouse and intercept the bird from the air.
When touched, it drops the Power Moon.
63: Caught Hopping at Glass Palace!
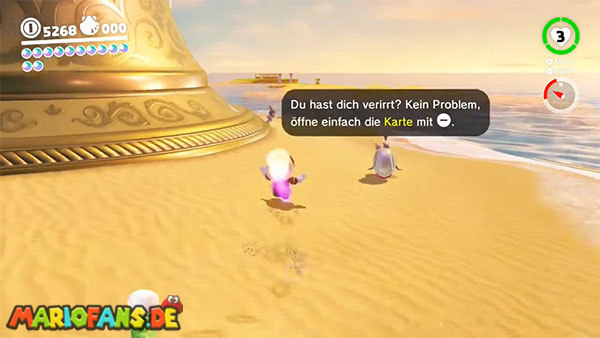
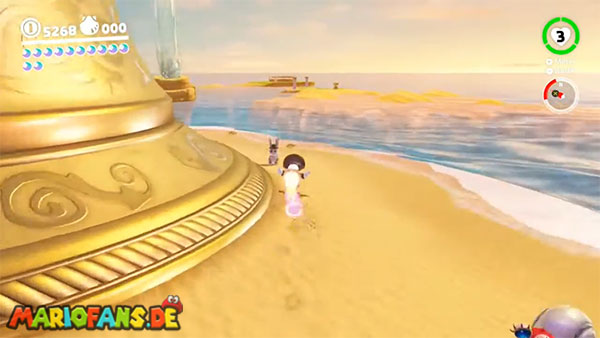
Travel to the Glass Palace checkpoint.
A white rabbit runs around the circular base surrounding the palace.
Don’t try to simply follow him in the same direction. Instead, turn around and cut him off.
Throw Cappy at the rabbit as soon as it approaches. The hit will stun it for a short moment.
Then run into the rabbit so that it releases the Power Moon.
64: Seaside Kingdom Timer Challenge 3
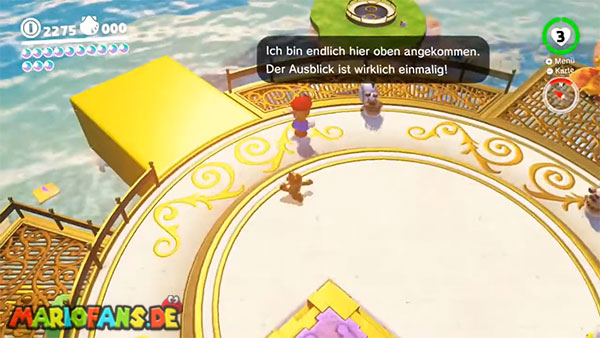
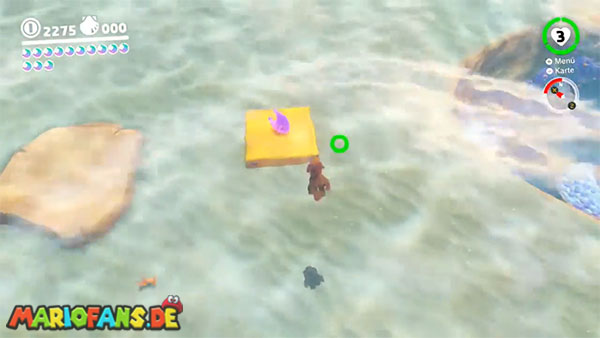
Travel to the top of the lighthouse. A scarecrow will be standing there after the Moon Rock is activated.
Throw Cappy at her. A Power Moon will then appear on a small platform in the water far below the lighthouse.
Immediately run to the yellow area at the edge of the lighthouse and perform a long jump towards the moon.
Keep the left stick forward throughout the entire fall. Just before reaching the surface, you will automatically dive towards the platform.
Since Cappy stays on the scarecrow, you can’t use cap jumps or dives.
If you reach the platform before time runs out, you can collect the Power Moon.
65: Taking Notes: Ocean-Bottom Maze
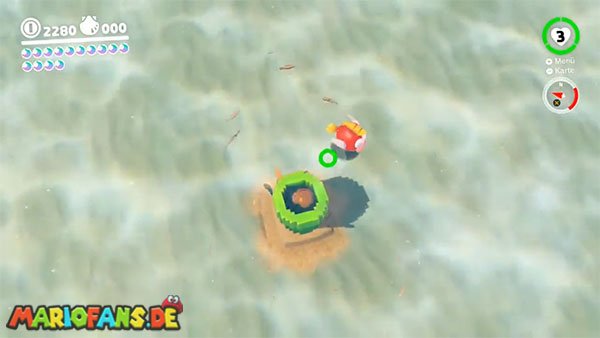
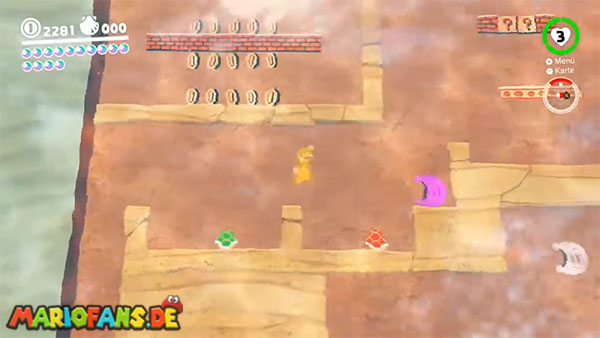
Dive west of the Glass Palace to the four green tubes of the seabed labyrinth.
Enter the northeastern or upper right-hand tube.
In the two-dimensional area, you’ll find a colored treble clef. Touch it to make several musical notes appear in the labyrinth.
Jump on the red Koopa and kick its shell towards the bottom row of musical notes. The shell will collect the notes automatically.
Meanwhile, you run and jump across the upper platforms to collect the remaining notes.
If you collect all the notes in time, the Power Moon will appear at the end of the labyrinth.
66: Taking Notes in the Sea
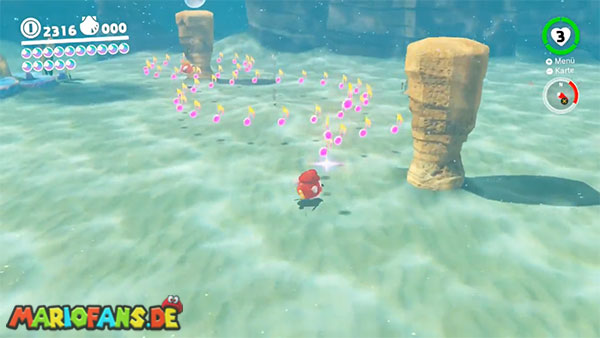
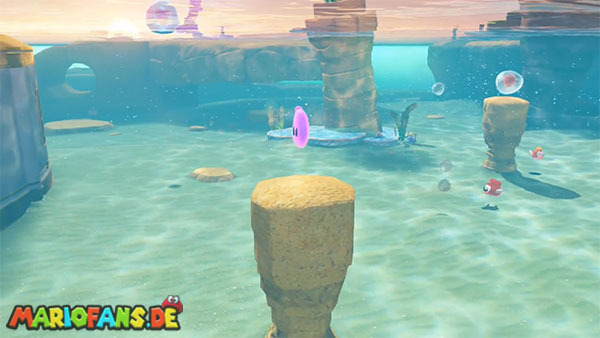
Travel to the Glass Palace checkpoint and dive into the water on the eastern side of the palace.
A colored treble clef floats on a tall underwater column.
Be sure to capture a Cheep Cheep before touching the key. It’s difficult to meet the time limit with Mario alone.
After activation, three large rings of musical notes appear in the water one after the other.
Swim with the Cheep Cheep through the center of each ring, following their arrangement without unnecessary changes of direction.
If you collect all three musical note circles in time, the Power Moon will appear.
67: Seaside Kingdom Master Cup
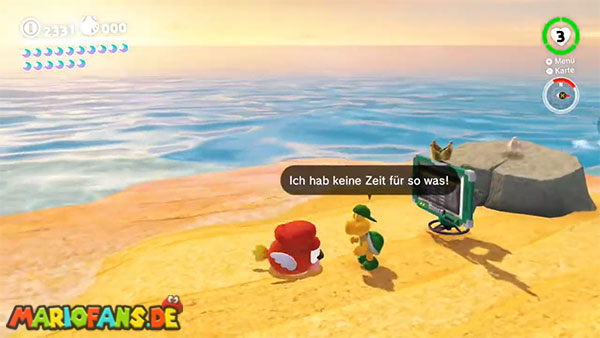
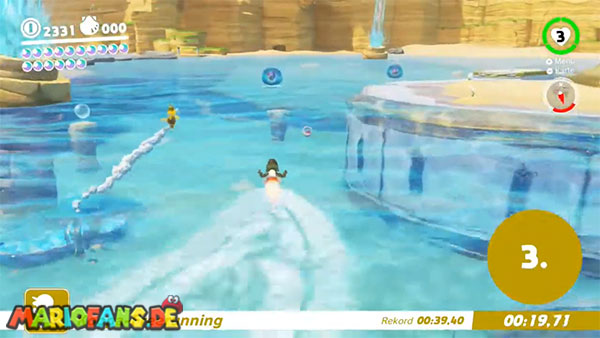
Return to the Koopa on the island above the eastern sea trench. After winning the standard race and activating the Moon Rock, you can compete against the experts.
The destination is once again located above the Rolling Canyon.
Swim to the surface immediately after the start and, if necessary, capture a Cheep Cheep to get out of the deep trench faster.
Then head south and collect a rocket flower on the beach. Use your speed boost to run across the water’s surface to the Rolling Rock Canyon.
At the entrance to the gorge, several forks are stuck in the rock face. Throw Cappy onto a fork, pull Mario back, and let him launch himself upwards.
Use the additional forks to quickly climb the rock face. This will allow you to skip the entire normal route through the gorge.
If you touch the finish flag in front of the golden Koopa, you will receive the Power Moon.
68: Aim! Poke!
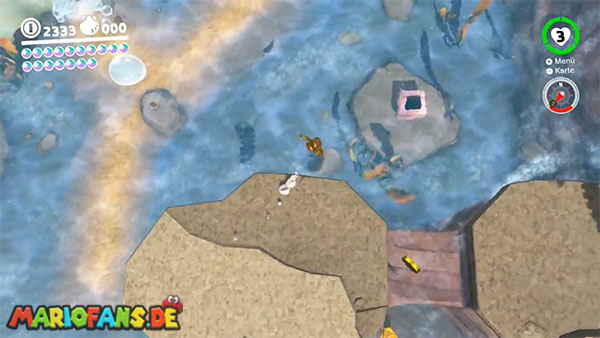
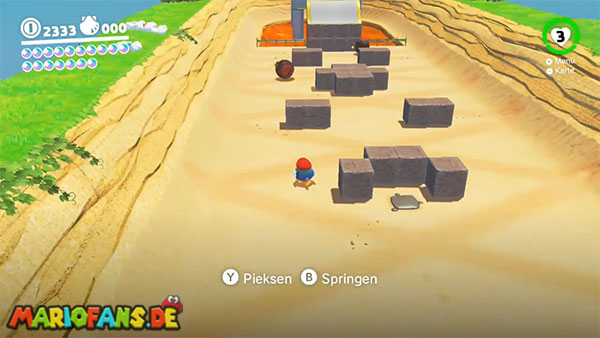
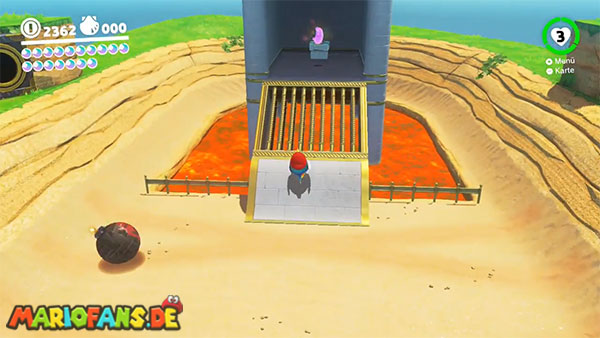
Go to the small rocky islands north of the Rolling Canyon. There is a grey moon tube on the seabed.
Enter the tube and capture the woodpecker enemy in the bonus area.
Explosive balls are constantly rolling through the area. You can use the woodpecker’s long beak to hit the balls and change their trajectory.
Work your way up to the gate behind which the Power Moon is imprisoned.
First, you must hurl an explosive ball at the stone blocks below the ramp. This will reveal the lower part of the ramp.
Then wait for another ball and hit it onto the ramp with your beak.
The ball rolls upwards and destroys the stone blocks or bars in front of the Power Moon.
Once the access is open, you can collect the moon.
69: Poke! Roll!
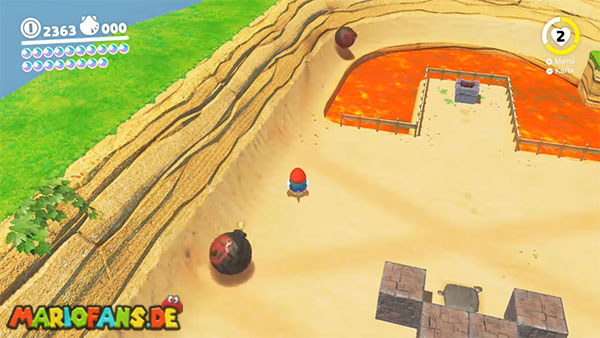
This Power Moon is located in the same bonus area as Moon number 68.
Return to the area near the entrance tunnel. Behind the curved rock face, you’ll see a single stone blocking a small passage.
Capture the woodpecker and wait until an explosive ball passes by.
Strike the ball with your beak so that it rolls along the semicircular outer wall.
If the angle is chosen correctly, the ball follows the curve and hits the individual stone block behind the grid.
The block is destroyed and the Power Moon is revealed.
70: The Spinning Maze: Search!
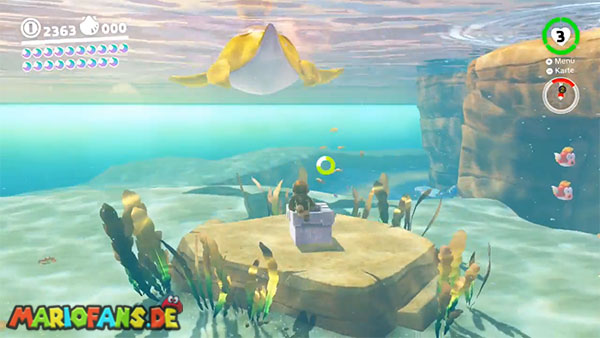
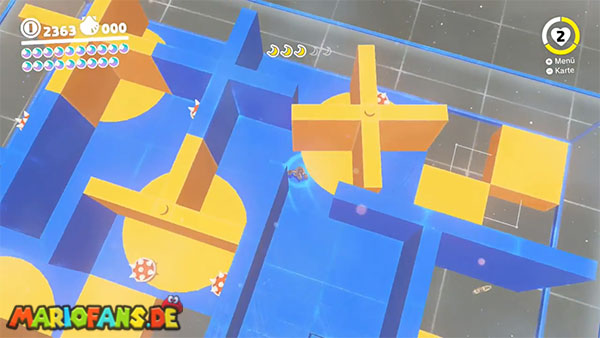
Travel to the lighthouse and let yourself fall onto the lower rock ledges on one side.
There you will find a grey moon tube that will take you into a rotating labyrinth.
In the bonus area, you need to collect a total of five Moon Shards.
Throw Cappy at the yellow surfaces of the structure. This will cause the blue and yellow walls to rotate and open new passages.
Proceed systematically and rotate each wall through all possible positions. The five Moon Shards are located in different compartments as well as on the upper surfaces of the labyrinth.
Dodge the Spikes or eliminate them with Cappy before you turn a wall.
Pay particular attention to the back corners. Some doorways only open when the adjacent wall is at exactly the right angle.
Once you have found all five Moon Shards, the Power Moon will assemble itself at the entrance to the labyrinth.
71: The Spinning Maze: Open!
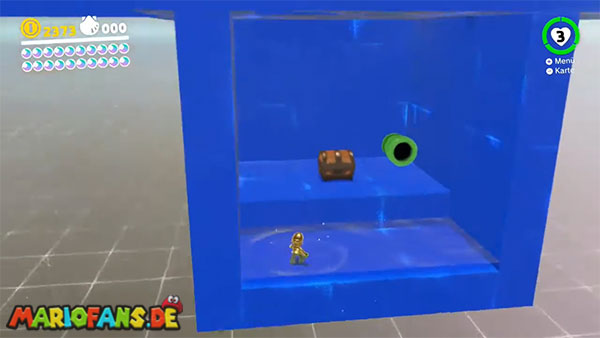
This power moon is located in the same rotating labyrinth as moon number 70.
Work your way to the rear right section of the structure. There, two yellow platforms or walls rotate around each other.
Repeatedly throw Cappy onto the yellow surface until the missing corner of the floor is positioned over an opening in the ground.
Let yourself fall down through the hole you just created.
Below the visible labyrinth is a hidden room containing a treasure chest.
Open the chest with Cappy to obtain the last Power Moon of the Coastal Kingdom.