

27: A Strong Simmer
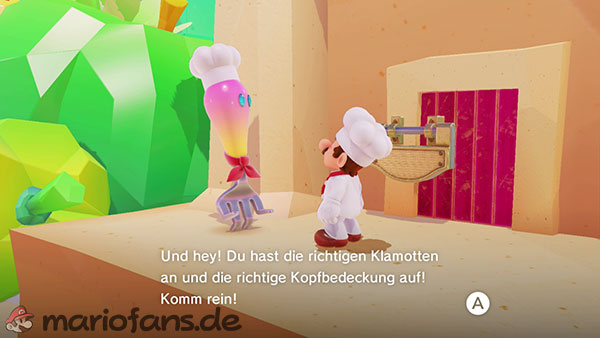
In the purple section of the Crazy Cap shop, buy the chef’s hat and matching chef’s outfit. You’ll need a total of 15 purple coins for both items.
Put on the full chef’s outfit and talk to the foodie to the left of the Crazy Cap shop. He will then open the locked door to the secret cooking area.
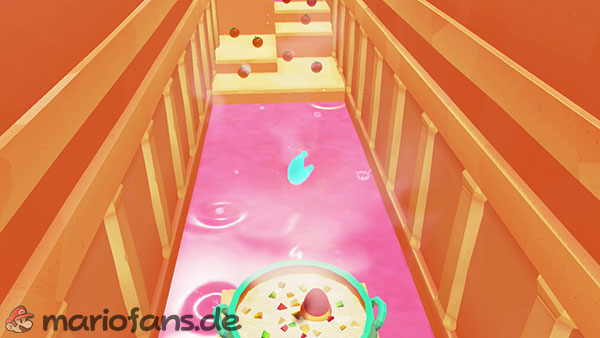
Capture a lava blob inside and jump directly into the first small cooking pot.
The lava bubble brings the stew to a boil and the power moon appears.
28: An Extreme Simmer

This power moon is located in the same cooking area as moon number 27.
Capture another lava blob. This time, don’t jump into the first cooking pot, but follow the path to the other end of the room.
Large tomatoes lie between the individual lava pools. Jump on the fruit as a lava bubble to make them burst and form small puddles of magma for a short time.
Use the puddles as intermediate stops. You mustn’t land on normal ground with the lava bubble, otherwise you’ll lose the transformation.
At the end of the course is a second cooking pot. Jump in to get the Power Moon.
29: Alcove Behind the Pillars of Magma
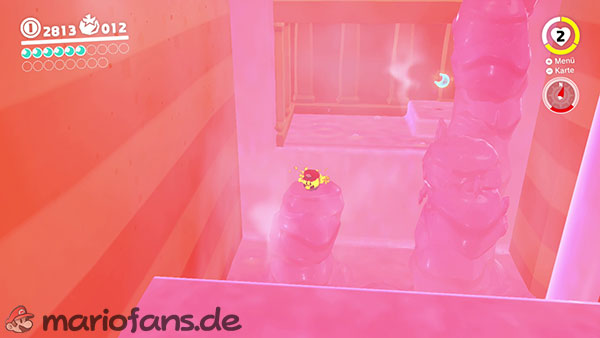
Enter the volcanic cave again in the western part of Luncheon Kingdom.
Capture a lava bubble and swim up the long magma slope. At the top, drop into the area with the rising and falling magma columns.
Immediately after landing, turn the camera around. There’s a hidden alcove in the rock face you just jumped down from.
Use the magma columns to jump up to the opening.
The Power Moon lies inside the niche.
30: Treasure Beneath the Cheese Rocks
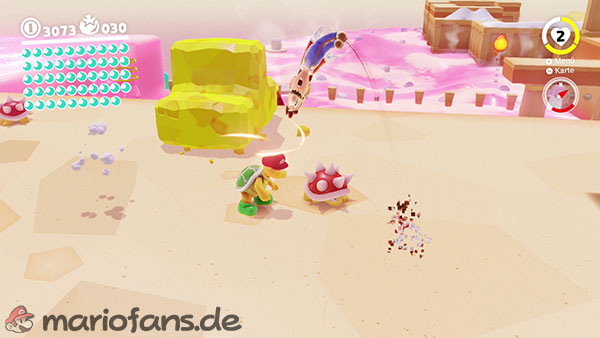
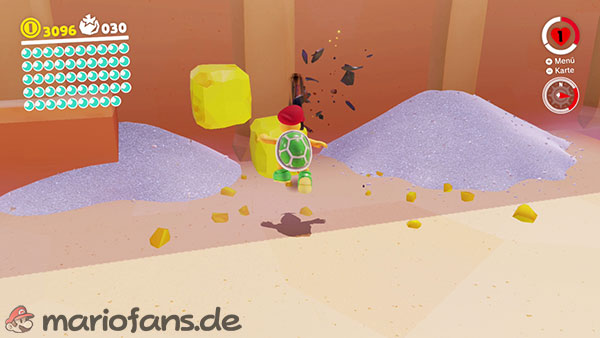
Travel to the checkpoint Path to Meat Plateau and capture a pan-brother.
First, destroy the cheese rocks on the western stairs, then guide the pan brother back to the feasting place over the blue-green rocks.
From there, you must transport him further to the Odyssey. Use the rooftops and lower rock ledges to overcome the differences in elevation.
East of the Odyssey, there is another cluster of cheese-shaped rocks on the rock face.
Destroy the yellow blocks with the thrown pans. A glowing spot in the ground will appear underneath.
Leave the Pan Brother and perform a ground pound attack there to reveal the Power Moon.
31: Light the Two Flames
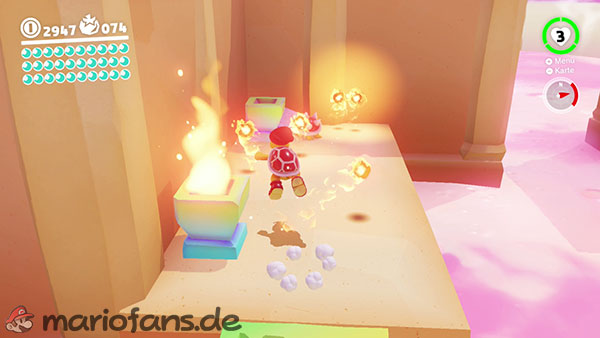
Near the Odyssey, two unlit lanterns stand on small platforms.
Travel to the Fast Travel Point Path to Meat Plateau and capture a Fire Brother there.
Bring the enemy back to the Odyssey using the same route as on Moon 30. Avoid firing unnecessarily at enemies or obstacles, so you don’t lose control.
Shoot a fireball at each of the two unlit lanterns.
Once both flames are lit, the Power Moon appears.
32: Light the Far-Off Lanterns
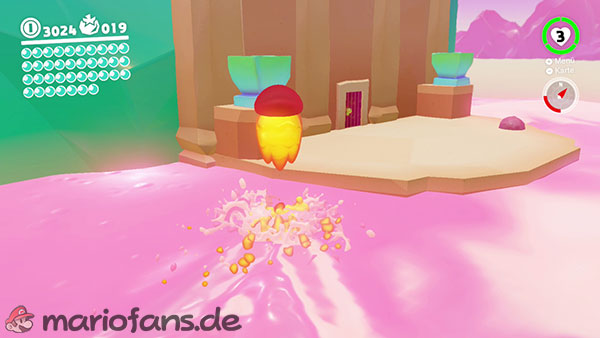
Travel to the checkpoint Ascent to the Summit – Start. There are two unlit lanterns right next to the exit of the volcano cave.
A fire piranha plant grows nearby.
Position yourself between the plant and a lantern so that its fireball flies directly towards the flame.
Wait until the Piranha Plant shoots at Mario, then jump to the side at the last moment. The fireball will hit the lantern and light it.
Repeat the process on the opposite side.
Once both lanterns are lit, the Power Moon appears.
33: Bon Appétit, Captain Toad!
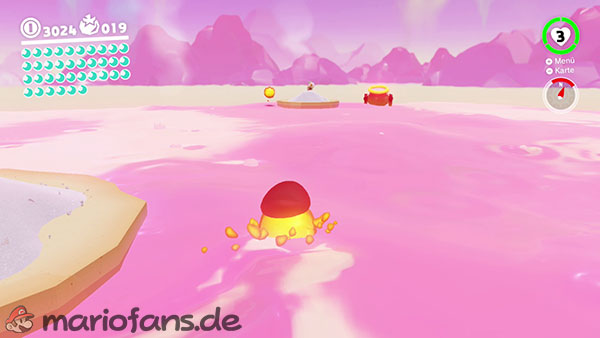
Travel to the checkpoint. Ascend to the summit – Start and follow the path uphill for a short distance.
Work your way past the Fire Piranha Plant and the Rolling Vegetables until you can capture a Lava Bubble.
Jump with him from the mountain down into the great sea of lava.
Swim north to the very edge of Luncheon Kingdom. There you will find a small, secluded island.
Captain Toad is waiting on the island.
Leave the Lava Bubble and talk to it to obtain the Power Moon.
34: The Treasure Chest in the Veggies
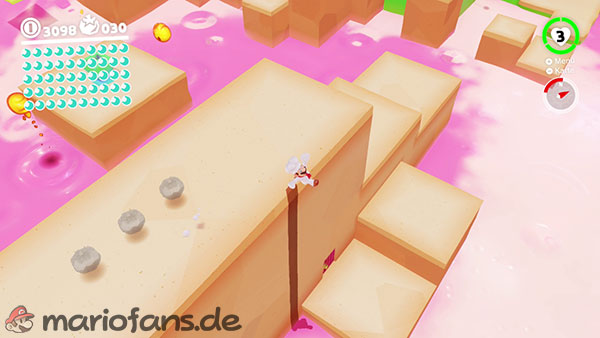
Travel to the Fast Travel Point Path to Meat Plateau.
Jump onto the sloping rock face to the right of the flag and work your way up to the upper level.
Walk along the high rocky ledge in an easterly direction. Then carefully look over the edge.
Below the platform is a red door that is barely visible from the normal route.
Lower yourself to the entrance and enter the small room.
Inside is a treasure chest. Open it with Cappy to obtain the Power Moon.
35: Caught Hopping at the Volcano!
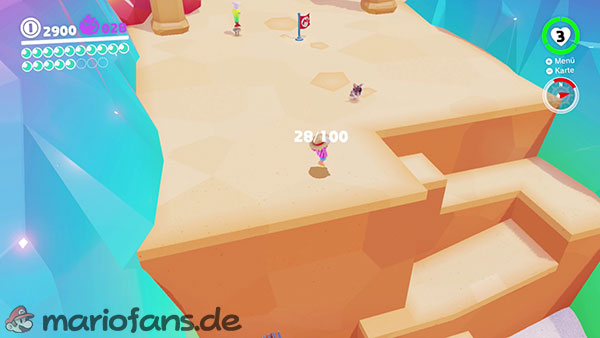
This Power Moon appears after defeating Chief Rooster.
Travel to the Peronza Plaza checkpoint and turn south.
A white rabbit now roams the former battleground of Spewart.
Try to cut off the rabbit’s path instead of just chasing after it. The circular arena is well suited for approaching it from the opposite direction.
Throw Cappy at the rabbit as soon as you’re close enough. The hit will briefly stun it.
Then touch the rabbit to release the Power Moon.
36: Taking Notes: Big Pot Swim
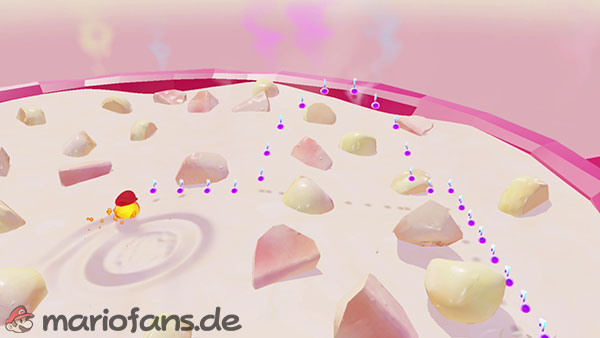
Travel to the checkpoint , ascend to the summit – peak and capture a lava blob.
Use the cannon to launch yourself into the large cooking pot where you fought Cookatiel.
First, clear some of the larger ingredients out of the way by swimming against them. This will give you more freedom of movement while hunting for the notes.
Next, touch the colored treble clef in the middle of the pot.
Three groups of musical notes appear one after the other. Swim through all the rows of notes as a lava bubble.
Shaking the controller makes you move faster. Be careful not to get stuck on the large ingredients, though.
If you collect all the notes in time, the Power Moon will appear.
37: Magma Swamp: Floating and Sinking
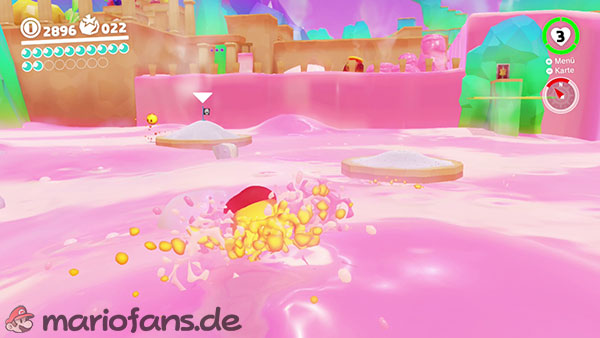
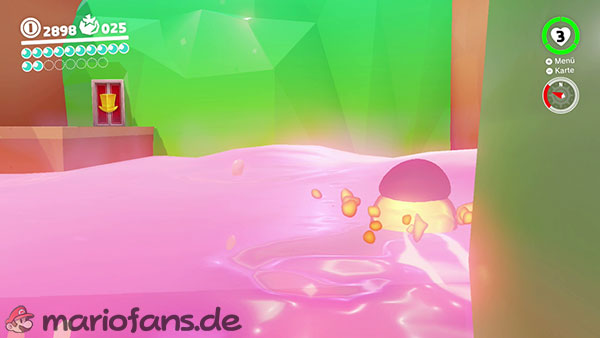
Travel to the Peronza Plaza checkpoint and walk south across the metal footbridge.
Look over the edge on the right. There is a red door below the platform.
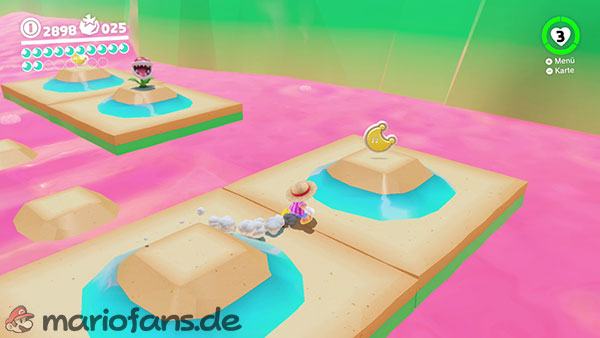
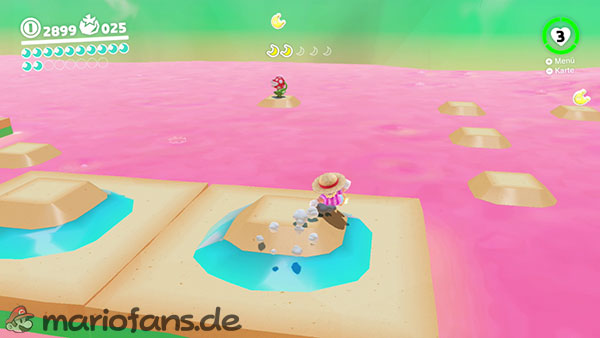
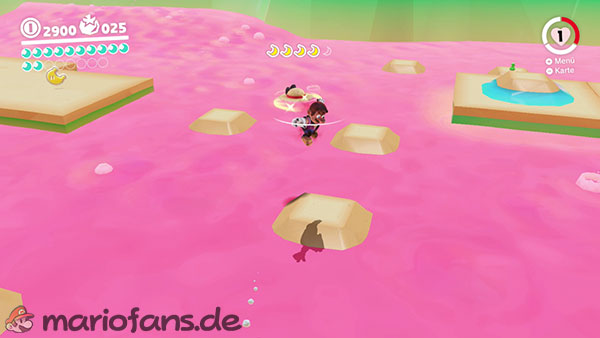
In the bonus area, you must collect a total of five Moon Shards above a large magma swamp.
The individual platforms rise and fall regularly into the lava. However, the small area in the middle of each platform always remains visible and can be used as a safe spot.
Dodge the fire piranha plants or hurl their fireballs back with Cappy.
The Moon Shards are located on the various platform groups and in the outer areas of the room.
Once you have collected all five fragments, the Power Moon will assemble itself at the entrance.
38: Corner of the Magma Swamp
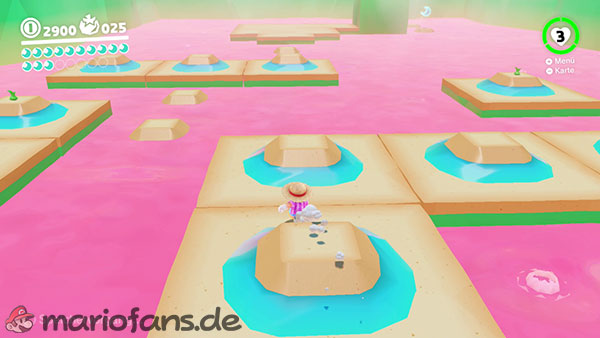
This power moon is located in the same magma swamp as moon number 37.
Turn the camera around immediately after entering the bonus area.
Behind the entrance are three small platforms that regularly sink into the lava.
Jump onto the middle safe areas and cross the platforms.
The Power Moon is floating behind the pillar, or rather in the corner of the room.
Then return to the main route and collect the five Moon Shards for moon number 37.
39: Magma Narrow Path
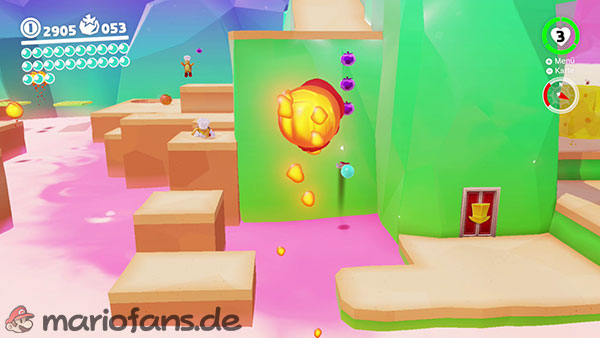
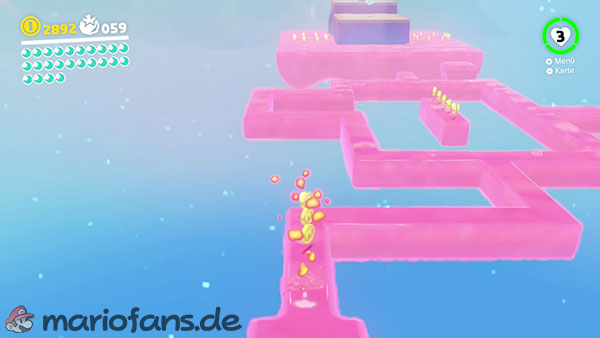
Travel to the Fast Travel Point Path to Meat Plateau and look for the red door near the tall blue-green rock.
In the bonus area, you capture a Lava Bubble.
Ahead of you lie several very narrow magma paths. The pink lava is safe, but the solid ground next to it cannot be entered with the lava blob.
Swim slowly across the narrow stretches and align yourself precisely with the next lava pool before each jump.
Some paths are moving or interrupted by fixed obstacles. Only jump when you can see a safe landing spot.
The Power Moon awaits at the end of the normal course.
40: Crossing to the Magma
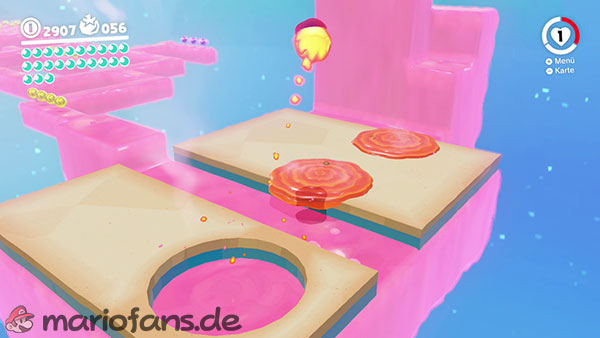
This Power Moon is located in the same bonus area as the previous moon.
Follow the narrow magma path until you reach two large tomatoes on a raised platform.
Jump on the tomatoes with the Lava Bubble. They will burst and temporarily form small puddles of magma.
To the right of the tomatoes rises a steep hill of lava.
Jump over the newly formed puddles and work your way to the top of the hill.
The Power Moon hovers high above the magma. Jump out of the lava at the right moment to collect it.
41: Fork Flickin‘ to the Summit
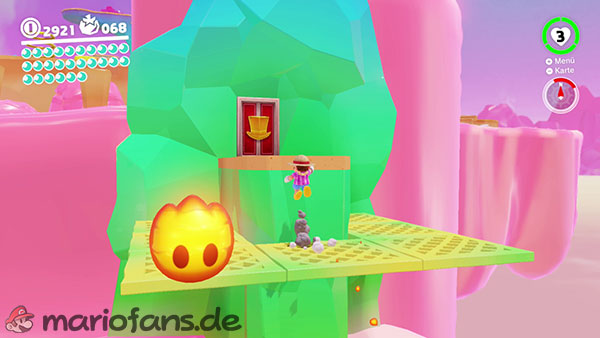
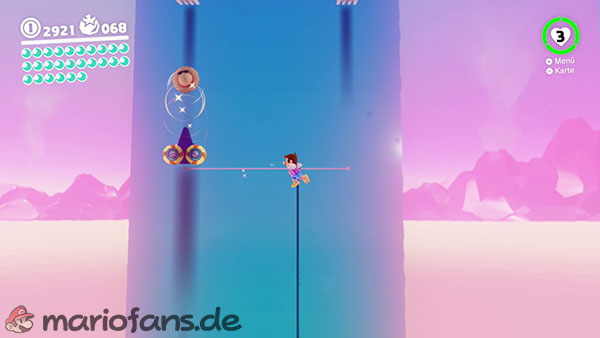
Go to the small island northeast of the Salt Pile Island checkpoint and enter the red door.
In the bonus area, you have to capture several gourmets that are stuck in the rock walls like forks.
Pull Mario away from the wall with the left stick and then release. The glutton will hurl him in the opposite direction.
Work your way upwards from one fork to the next. Before each jump, aim the camera at your next target.
In the middle area, a device with a Cappy symbol moves back and forth. Throw Cappy at it at the right moment to reach the next fork.
Follow the normal path to the summit. The Power Moon awaits you there.
42: Fork Flickin‘ Detour
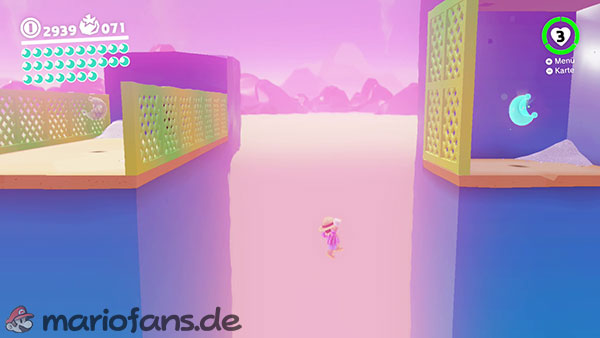
This Power Moon is located in the same forked course as Moon number 41.
Work your way almost to the end of the area. Just below the normal power moon, you’ll reach two forks on a high wall.
Capture the right fork and turn the camera to the right. There you will see a secluded rock platform.
Pull Mario to the left with the left stick and release. This will launch you to the right onto the hidden platform.
Capture the nearest fork there and use it to get to the upper level.
The hidden Power Moon lies on the ledge.
43: Excavate ’n‘ Search the Cheese Rocks
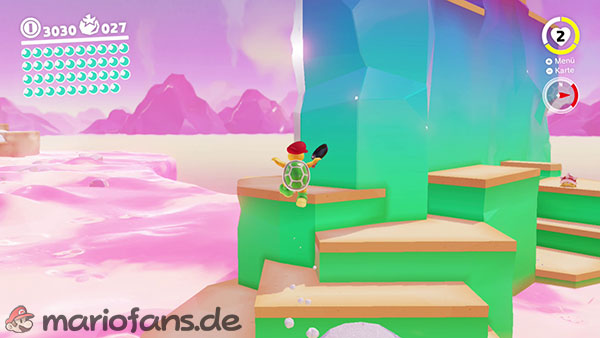
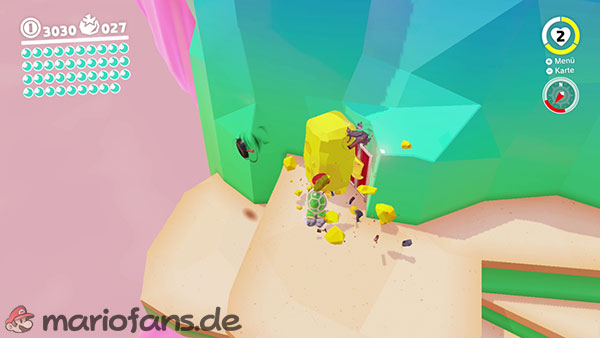
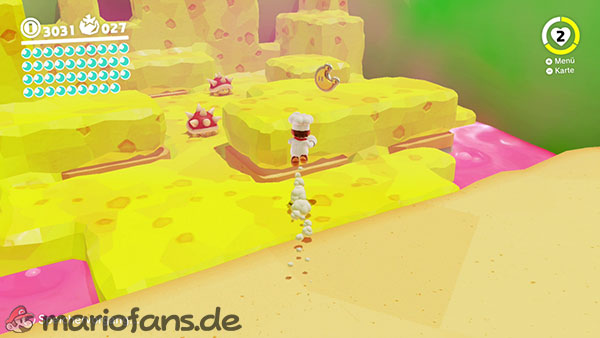
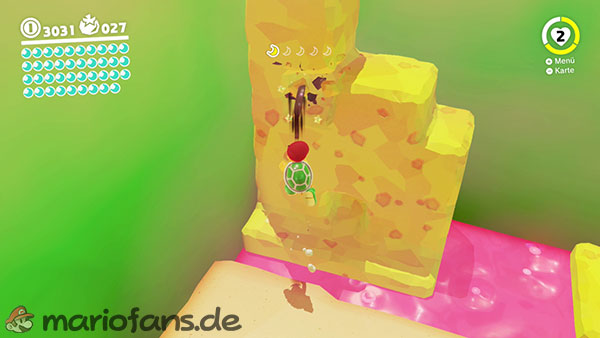
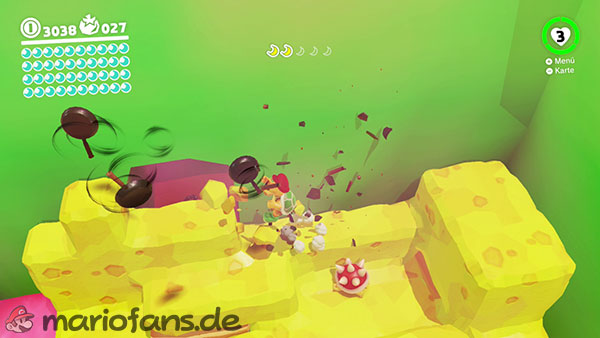
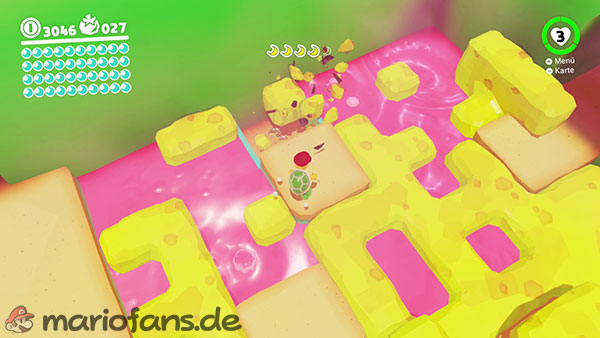
Travel to the checkpoint Path to Meat Plateau and capture a pan-brother.
Go around the large blue-green rock on the right. There, a block of cheese blocks the way to a red door.
Destroy the cheese rock with the thrown pans and enter the bonus area.
Inside, you’ll find another pan-brother. Your task is to find a total of five Moon Shards among the cheese rocks:
- A piece of the moon is located behind the yellow wall in the northern part of the room.
- Another one is located to the right of the wall that was destroyed first.
- The third piece of moon floats on a tall block of cheese near the center.
- One fragment is located on the lower level to the left of the central area.
- The last piece of the moon lies behind the cheese rocks in the southern part of the room.
Only destroy as many blocks as necessary, as you can still use some of the cheese rocks as stairs.
Once you have collected all five Moon Shards, the Power Moon will assemble itself on the middle platform.
44: Climb the Cheese Rocks
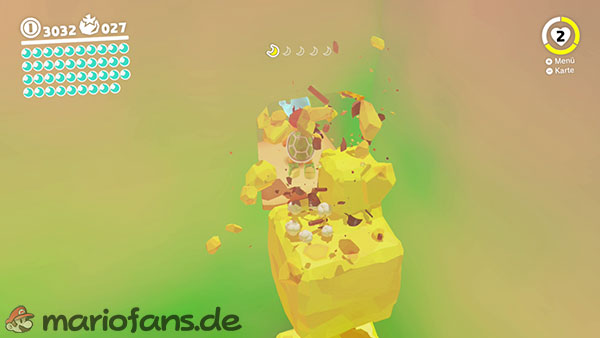
This Power Moon is located in the same Cheese Rock bonus room as Moon number 43.
Look in the upper right corner of the room. There, high above the floor, is a hidden niche containing a Power Moon.
Do not completely destroy the cheese rocks below the niche.
Instead, edit the blocks so that several steps of different heights remain.
Leave the pan brother and jump upwards over the remaining cheese rocks.
From the highest level, you can reach the alcove with a normal jump or a backflip.
45: Spinning Athletics End Goal
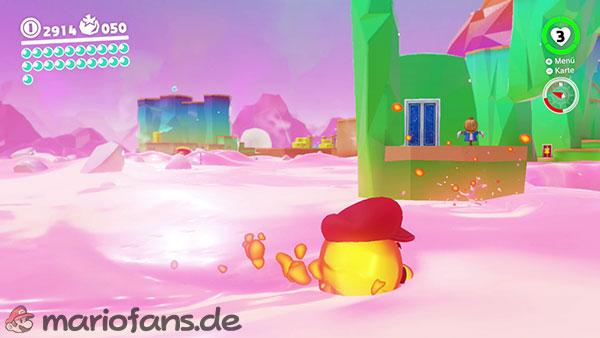
Go to the small island northwest of the Remote Island in the lava.
There’s a scarecrow standing in front of a locked door. Throw Cappy at the scarecrow to open the door.
Cappy stays behind throughout the entire bonus area.
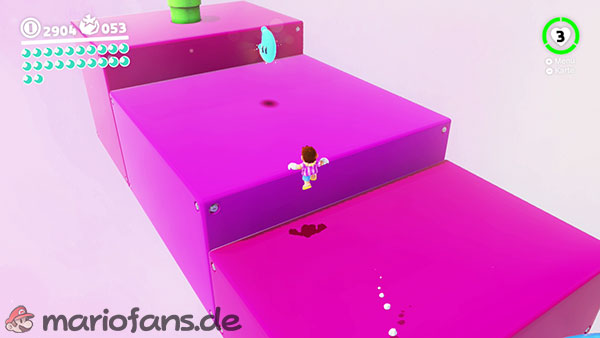
In front of you is a long course made up of regularly rotating blocks and platforms.
Wait until a wide surface is facing upwards, then jump to the next platform.
You can also perform long jumps and dives without a cap. However, only use these movements on sufficiently wide surfaces.
In the final section, several narrow platforms rotate at different speeds.
Cross them carefully and reach the end of the course. The Power Moon is there.
46: Taking Notes: Spinning Athletics
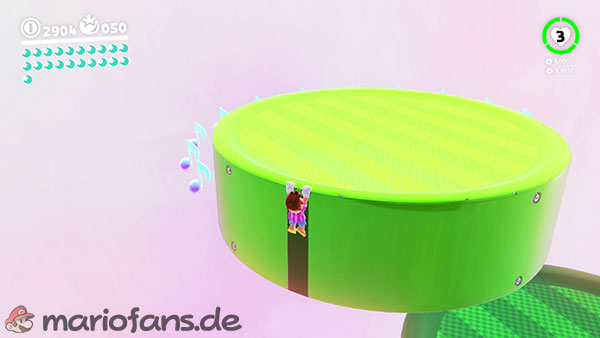
This Power Moon is located in the same dizzying course as Moon number 45.
Already in the first part of the bonus area you will find a colored treble clef on a light green, rotating platform.
Touch the key. Several musical notes will then appear around the rotating blocks.
Stay as close to the center of the platform as possible and adjust your movements to its rotation.
Some of the notes can be collected by simply walking. For the higher notes, you have to jump at the right moment.
Be aware that the platform continues to rotate during the jump, which will shift your landing spot.
If you collect all the notes in time, the Power Moon will appear.
These moons can be found after completing the main story.
47: Secret Path to Mount Volbono!
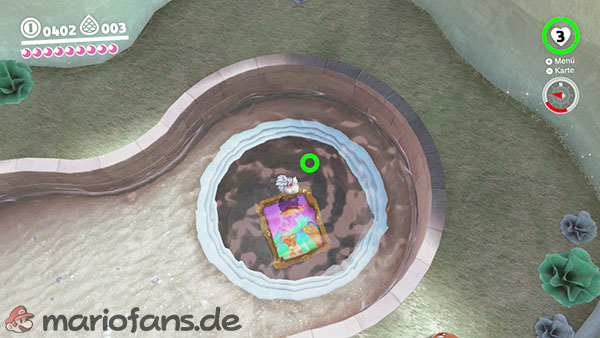
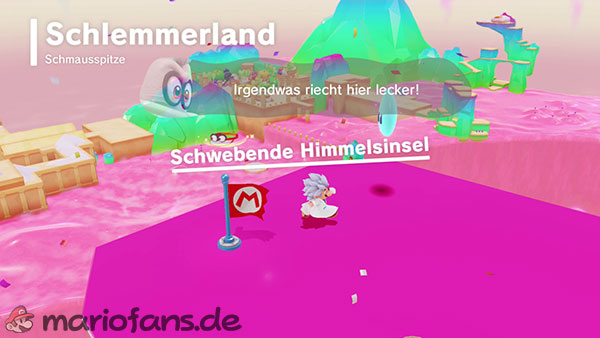
This Power Moon is located on a floating island that you cannot reach from the normal Foodie Land.
Which painting leads to the Feast Peak depends on whether you visited the Wooded Kingdom or the Sea Land first after visiting the Sand Kingdom.
Did you visit the forest area first?
Travel to Lake Kingdom and fast travel to the Courtyard. Jump into the small pool of water next to Lakitu. The painting is at the bottom.
Did you visit Lake Kingdom first?
Travel in the Wooded Kingdom to the checkpoint Observation Deck and capture the Glydon.
Glide to the metal platform on the high wall above the charging station. The painting is located there.
Jump in and you will be taken to the floating island above Luncheon Kingdom.
Activate the checkpoint and collect the Power Moon.
48: A Tourist in the Luncheon Kingdom!
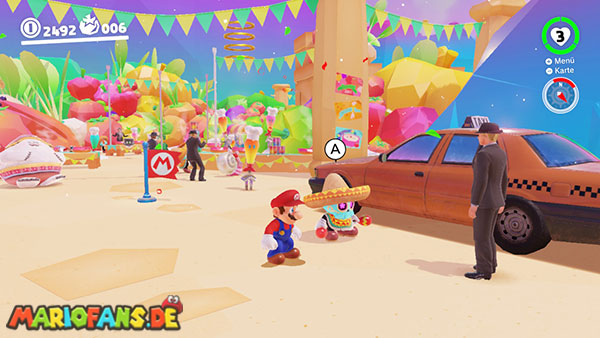
To obtain this Power Moon, you must follow the journey of the desert wanderer.
First, speak to the traveler next to his taxi in Tostarena in the desert region.
Then you must visit him one after the other in Metro Kingdom and Cascade Kingdom.
After receiving the Power Moon „A Tourist in Cascade Kingdom!“, the wanderer travels on to Luncheon Kingdom.
Return to the Mount Volbono. The taxi is waiting at the entrance to the Peronza Plaza.
Speak to the tourist again. As a memento of his visit, he will give you the Power Moon.
After that, he continues his journey to the Moon Kingdom, the Mushroom Kingdom, and finally back to the Desert Kingdom.
49: Found with Luncheon Kingdom Art
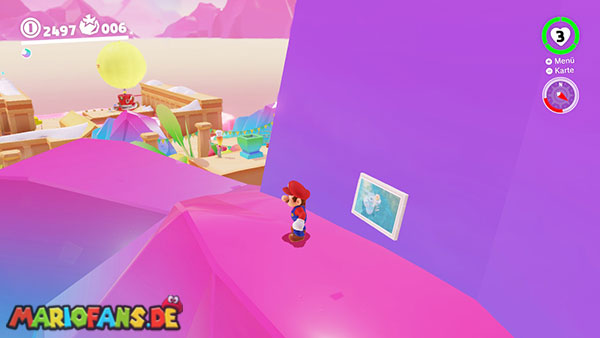
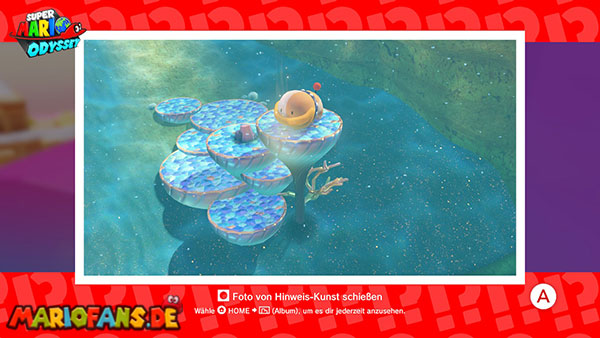
Travel to the Fast Travel Point Path to Meat Plateau.
Destroy the cheese rocks on the western side with a pan-wielding brother, then climb up the blue-green rock steps.
Follow the ridge northwards. On the wall you will find the gourmet art trail.
The image shows a small underwater formation in the Seaside Kingdom.
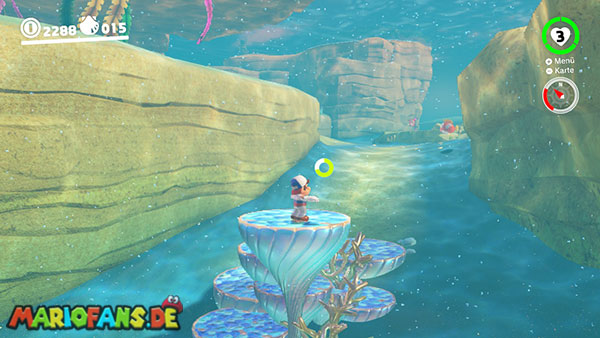
Travel to the Sea Trench – West checkpoint and swim underwater in an easterly direction.
Just before the deep ocean trench, a series of small coral and rock formations stand on the seabed.
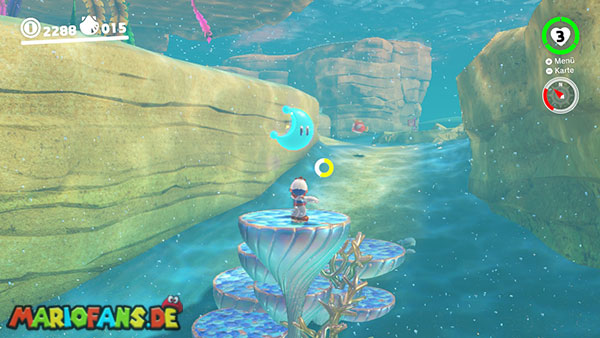
Perform a ground pound attack while in the highest formation. Alternatively, you can use the spin attack of a Cheep Cheep.
Then the Power Moon appears.
50: The Rooftop Lantern
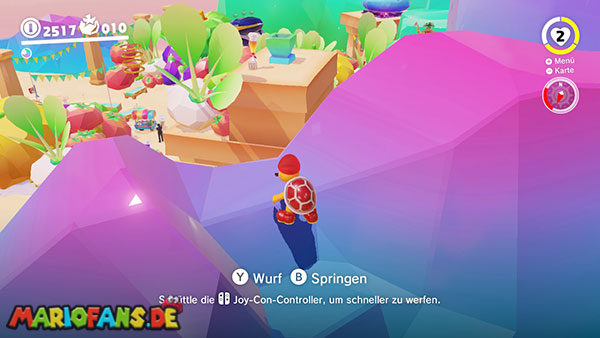
Travel to the Fast Travel Point Path to Meat Plateau.
First, capture a pan-brother and destroy the cheese rocks on the western stairs. This will create a walkable path back to the Gourmet Settlement.
Capture then the Fire Brother north of the Cheese Rocks.
Lead him back to the gourmet spot via the exposed staircase and the blue-green rocks.
Drop down onto the roof of the lower building. Then jump onto the slightly taller neighboring building.
There is an unlit lantern on the roof.
Shoot a fireball at the lantern to light it. The Power Moon will then appear.
51: Jammin‘ in the Luncheon Kingdom
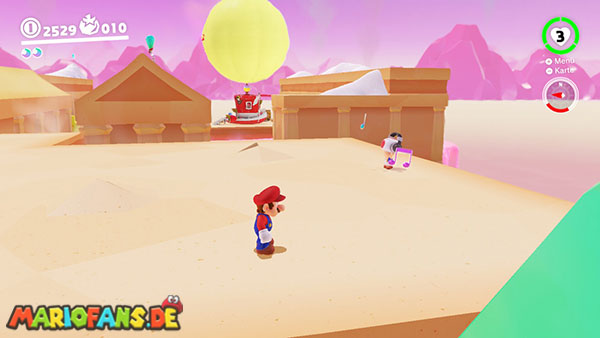
Go to the former battlefield of Spewart, south of the Peronza Plaza.
On the left side of the arena, after completing the main story, there is a Toad wearing headphones.
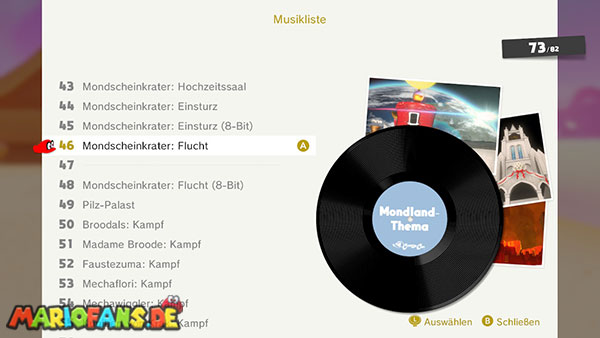
Talk to him. He wants to hear a piece of music that fits the theme „Help, I’m a monster!“
For example, choose the song:
Honeylune Ridge: Escape
Several other dramatic pieces, including the dinosaur music from the Fossil Falls, are also accepted.
As soon as Toad hears the right music, he will give you the Power Moon.
52: Mechanic: Repairs Complete!

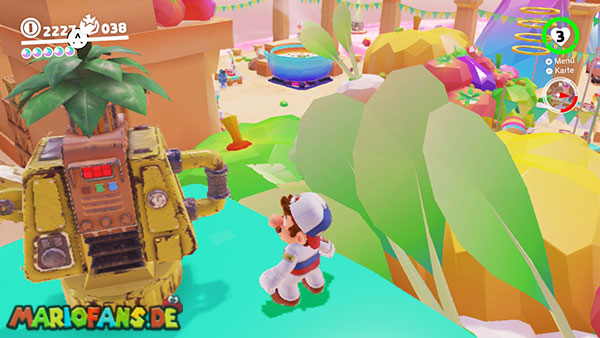
Visit the yellow section of the Crazy Cap store.
Buy the mechanic’s cap for 50 gold coins and the mechanic’s outfit for 150 gold coins.
Put on both items of clothing.
Then go behind the buildings in the northwestern part of the Peronza Plaza.
A green, staircase-like rock structure leads upwards. At the top stands a rusty robotic gardener.
Speak to him while wearing your full mechanic’s outfit.
The robot mistakes Mario for the required mechanic and hands him the Power Moon.
53: Diving from the Big Pot!
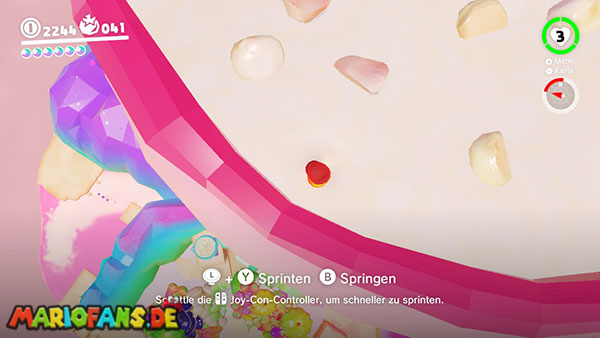

Travel to the checkpoint , ascend to the summit – peak and capture a lava blob.
Use the cannon to launch yourself into the large cooking pot on the volcano.
Swim in the pot to the south side and look down at the Peronza Plaza.
On one of the rooftops you can see a small, light blue cooking pot.
Aim the lava blub precisely at the small pot and take as much of a run-up as possible in the large cooking pot.
Press the action button or shake the controller while jumping to perform an extra-long jump.
If you land directly in the small cooking pot, the Power Moon will appear.
If you miss the target, you must return to the large pot via the cannon.
54: Hat-and-Seek: Among the Food
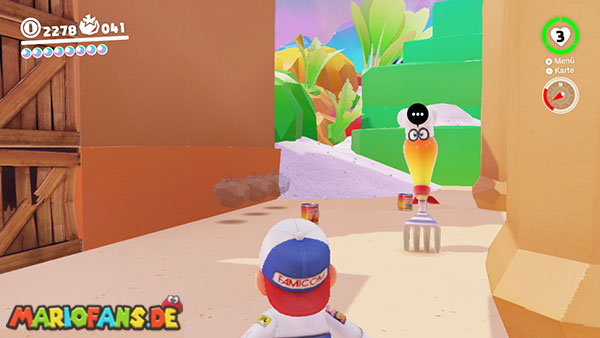
Several residents are gathered behind the two Crazy Cap shops in the Peronza Plaza.
One of the gourmets is carrying an inhabitant of the Cap Kingdom on his head.
You can recognize the hat you’re looking for by the distinctive eyes on its back.
Go through the narrow alley behind the shops and examine the headwear of the gourmets.
Speak to the resident whose chef’s hat has eyes.
The discovered Bonneter leaves its hiding place and hands you the Power Moon.
55: Luncheon Kingdom: Regular Cup
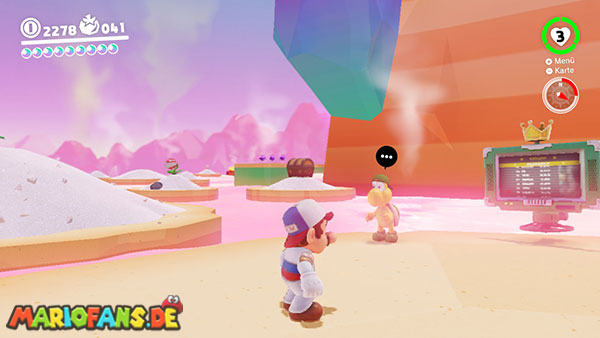
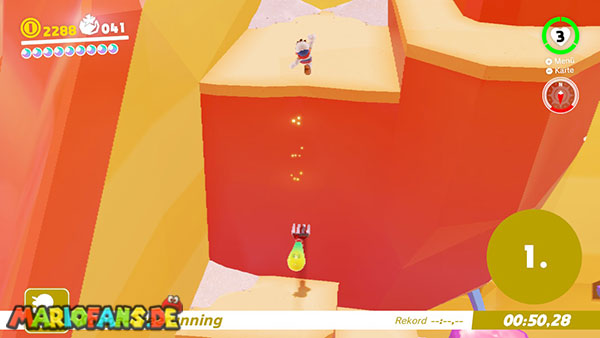
The Koopa for the standard race is waiting at the exit of the volcano cave near the checkpoint Ascend to the Summit – Start.
The destination is located further up the path to the volcano’s summit.
Immediately after the start, jump to the right over the lava. Use a long jump, cap throw, and dive to reach the platform near the fire Piranha Plant.
From there, jump onto solid ground. This will allow you to bypass the slow rotating platforms used by the other Koopas.
Then follow the normal ascent and use rolls and long jumps on the straight sections.
Shortly before reaching your destination, you’ll find several gourmet spots in the rock faces.
Capture the appropriate fork, pull Mario back and release to be launched directly to the finish line.
If you reach the goal before the other Koopas, you will receive the Power Moon.
56: Peach in the Luncheon Kingdom
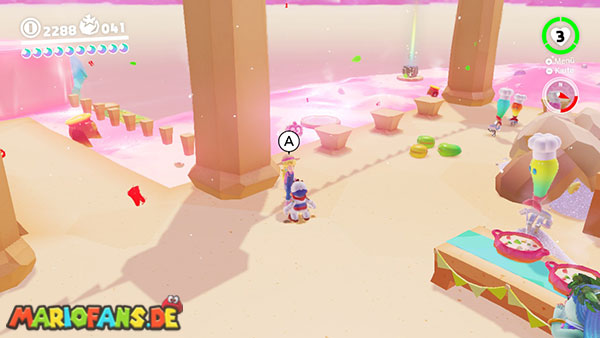
This Power Moon is available after you defeat Bowser, visit the Mushroom Kingdom, and speak to Toad in front of Peach Castle.
Trip to the Peronza Plaza.
Princess Peach and Tiara are standing in the eastern part of the square near the large cooking pot and the Crazy Cap shops.
Talk to Peach and listen to her impressions of Luncheon Kingdom.
Then she gives you the Power Moon.