

01: Infiltrate Bowser’s Castle!
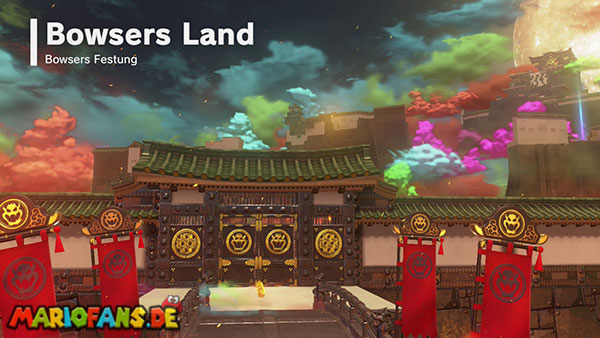
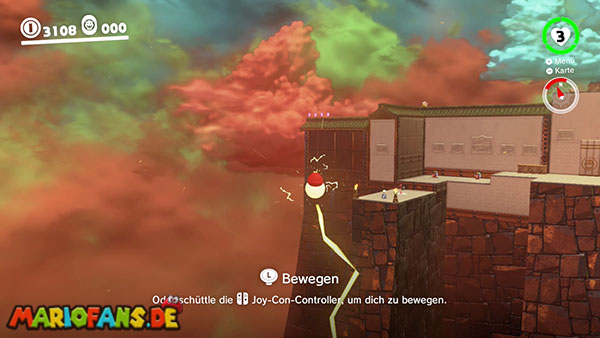
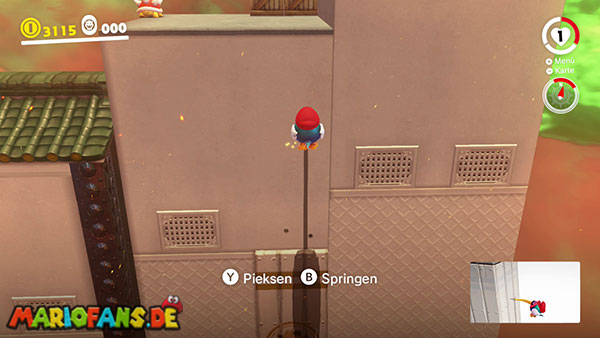
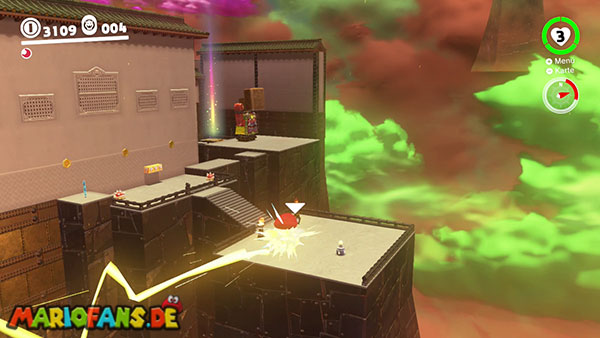
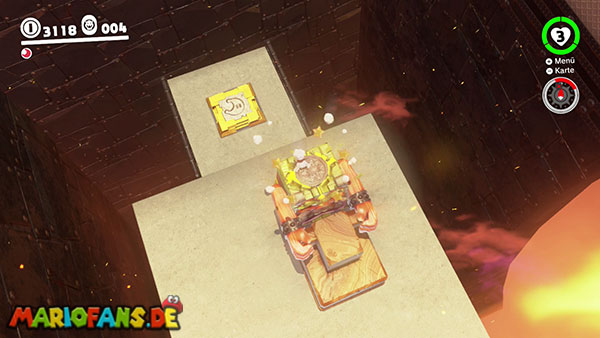
Follow the Odyssey through the first areas of Bowser’s Kingdom. Capture a Pokio along the way and use its long beak to grab onto the white walls.
If the beak is stuck in a wall, pull the left stick in the desired direction and then release it. This will launch the bird over walls, gaps, and moving platforms.
At the checkpoint Outer Courtyard – Rear, a stairwell blocks the way further.
Stand in front of your opponent and wait until he slams his large stair block into the ground. Dodge to the side at the last moment.
As long as the stairs are on the ground, you can walk up the steps onto the opponent’s head.
Perform a ground pound attack on the glowing switch. The Stairway Monster will be defeated and the Power Moon will appear.
02: Smart Bombing
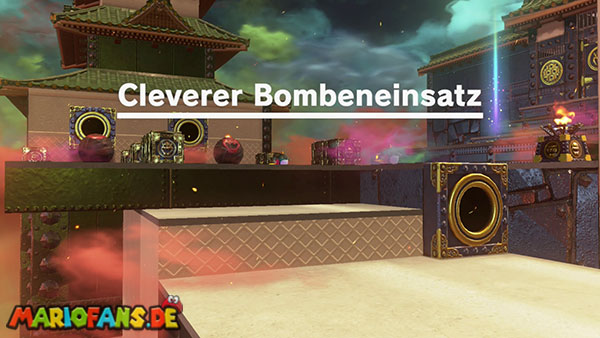
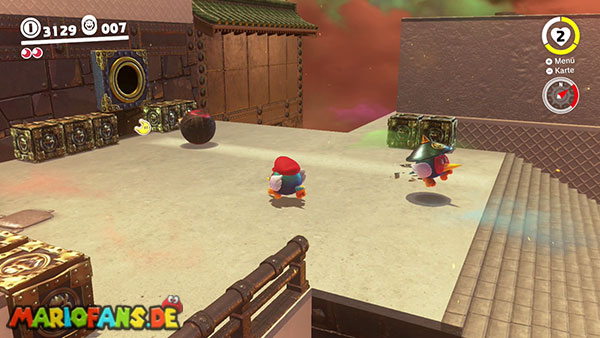
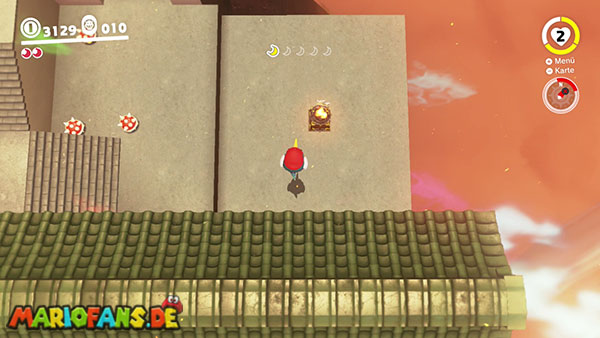
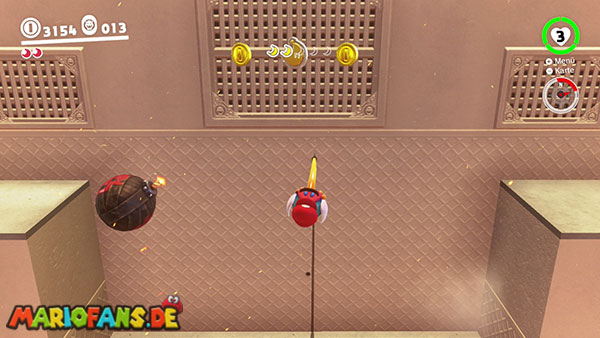
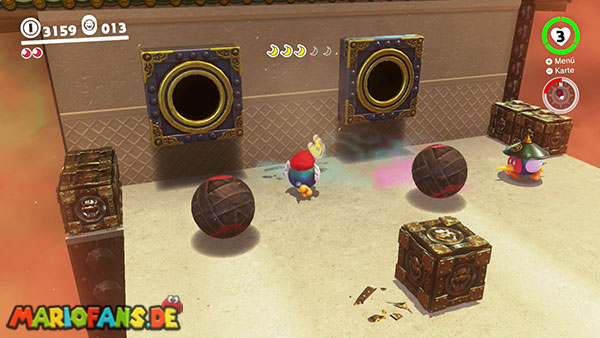
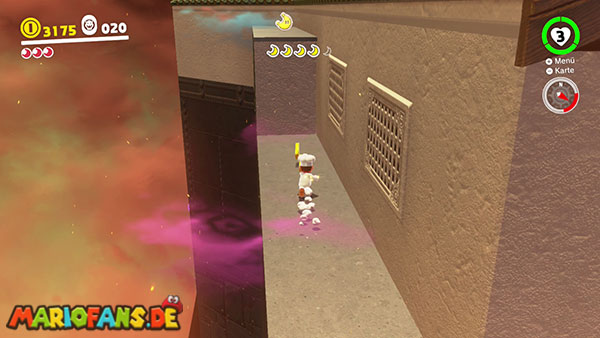
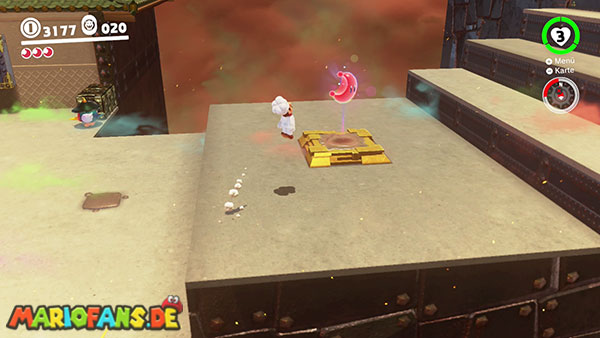
After the first Power Moon, you will reach the central courtyard. In this area, you must collect a total of five Moon Pieces.
Capture a Pokio. With its beak, you can not only climb walls, but also hurl Bowser’s rolling bombs in a different direction.
Several Moon Shards are lying exposed on the roofs and ledges. Use the soft white walls to reach the higher fragments.
A moon fragment is located inside one of the heavy metal blocks. Aim a rolling bomb at the block with its beak to destroy it.
Another fragment lies on the back of a roof. Exit the Pokio there and use a backflip to reach the upper surface.
Once you have collected all five Moon Shards, the Power Moon will assemble itself on the central platform.
03: Big Broodal Battle
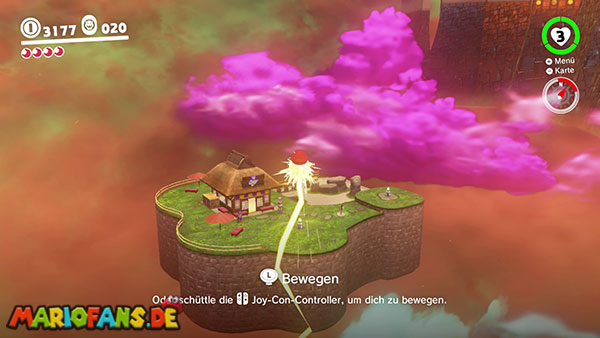
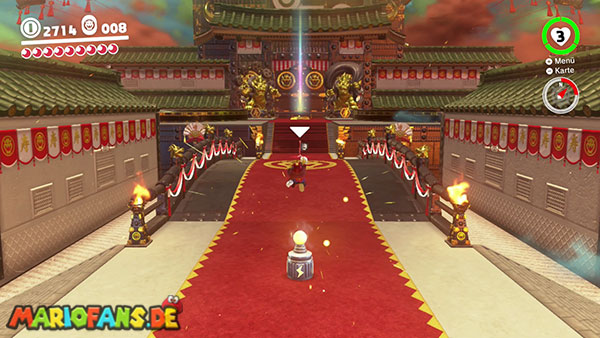
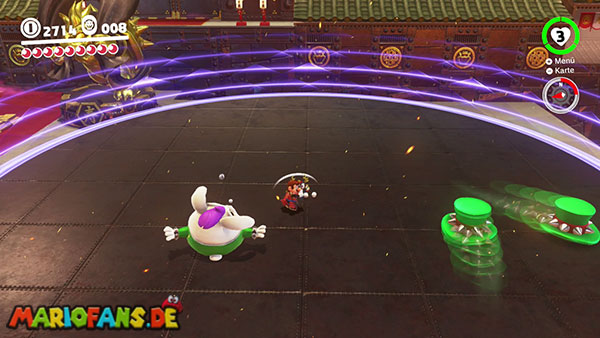
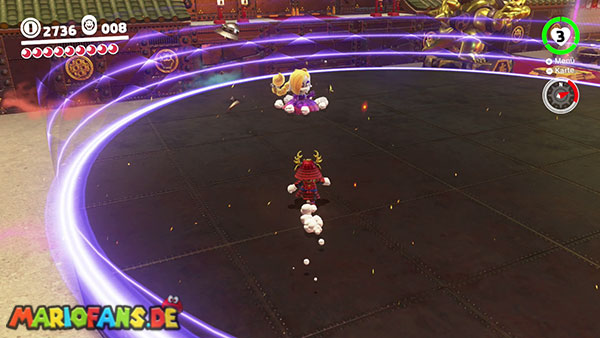
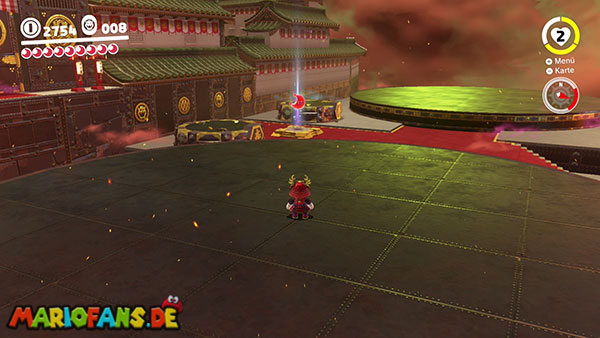
At the entrance to the main courtyard, you will find two large, circular fighting platforms.
Hariet awaits you on the left, while you’ll face Topper on the right platform. You can choose the order of the fights yourself.
Battle against Hariet
This time, Hariet throws two explosive balls from her braids. Dodge the projectiles and wait until the balls are on the ground.
Throw Cappy at one of the bombs. It will fly back to Hariet and hit her.
Then jump on her unprotected head.
After being hit, Hariet retreats into her hat and flies across the platform like a saucer. Keep moving and dodge the falling bombs.
Fight against Topper
Throw Cappy repeatedly at Topper to remove his numerous hats.
Once all the hats have disappeared, you can jump on his head.
After each hit, Topper uses more hats, creating a larger circular attack. Throw Cappy quickly in succession before the hats spread too far across the arena.
If you hit both Broodals three times each, the Power Moon will appear between the two arenas.
04: Showdown at Bowser’s Castle
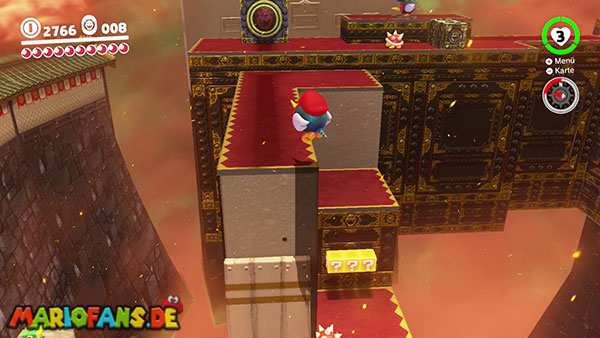
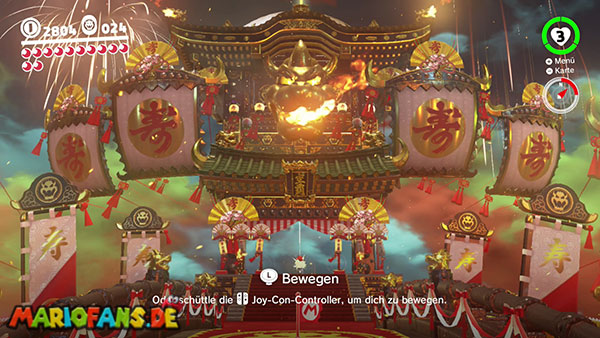
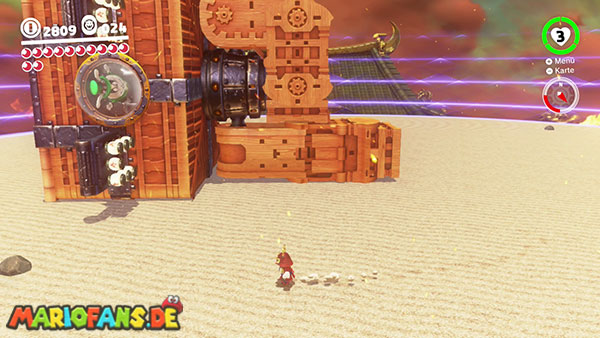
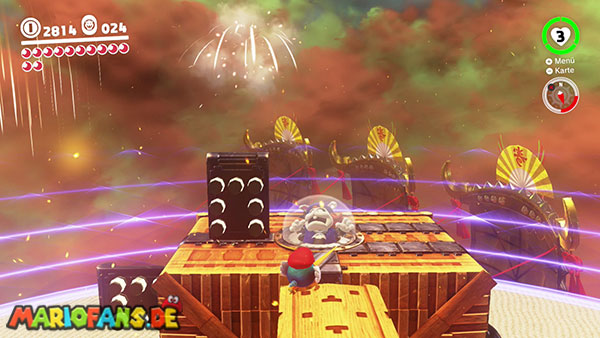
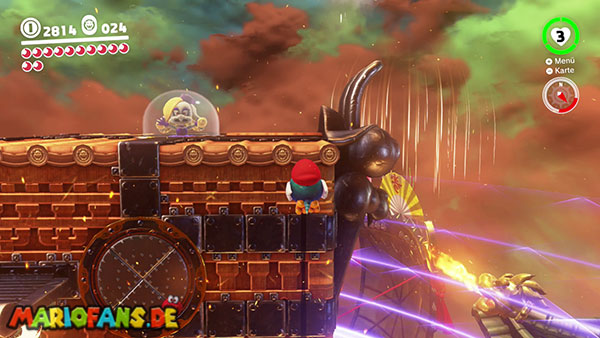
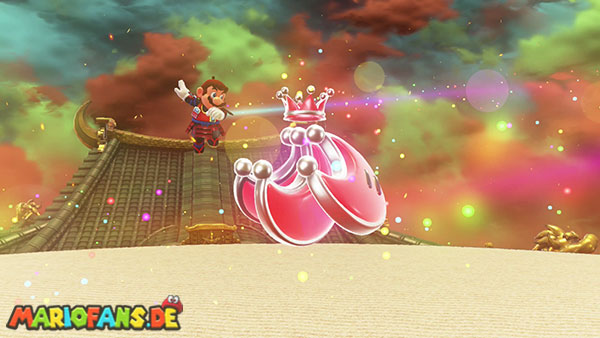
After the two Broodal battles, work your way through the fortress to the highest roof.
Bowser flees to the moon with Princess Peach. Instead, all four Broodals attack you together in their giant robot, RoboBrood.
First, wait until RoboBrood spits out a Pokio, and then capture the bird.
The robot is firing large bombs at Mario. Hit the bombs with the Pokio’s beak so they fly back to RoboBrood.
Direct two bombs at the same leg. The armor shatters and the robot falls to the ground.
Climb up the soft wooden walls on the robot’s body with the Pokio. One of the Broodals is sitting there under a glass dome.
Repeatedly strike the dome with the beak until it breaks.
RoboBrood speeds up after each hit. The robot stomps through the arena, performs a rainbow attack, and scatters dangerous firework rings.
Dodge the attacks and throw two more bombs at one leg. Depending on your fall position, you’ll then have to climb up either the side or one leg.
Destroy all four glass domes one after the other. Once the last Broodal is defeated, RoboBrood will crumble and you will receive a Multi Moon.
05: Behind the Big Wall
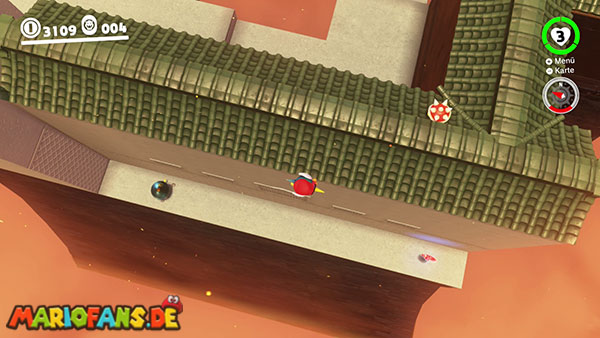
Travel to the checkpoint Outer Courtyard – Front and capture a Pokio.
Use the white wall surfaces to get onto the roof of the building.
Then walk across the western roof surfaces and regularly look over the edge.
On the back side of the large wall there is a narrow, lower-lying platform.
Carefully drop down onto the ledge. The Power Moon is lying exposed on the ground there.
06: Treasure Inside the Turret
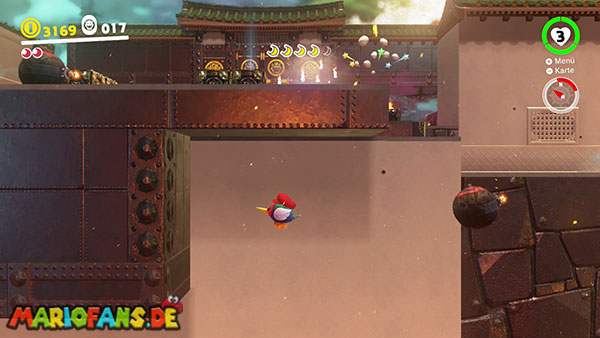
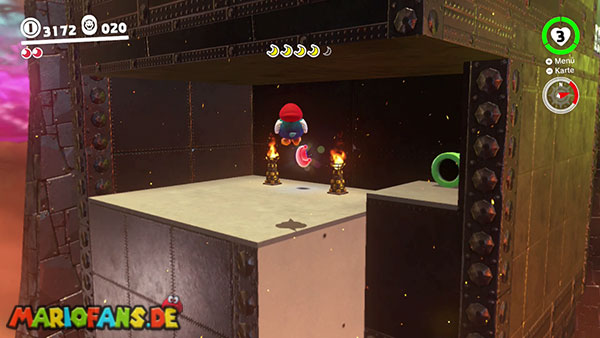
Travel to the Main Courtyard checkpoint and capture a Pokio.
Go to the left side of the area where two cannons are firing the rolling bombs.
Look beside the cannons over the southern wall. Below the roof is a soft white wall.
Let yourself fall down and stick the bird’s beak into the wall in time.
Work your way to the left and then upwards. Along the way you will find several gold and purple coins that will show you the right way.
Eventually, you’ll reach a hidden room at the back of the tower.
The Power Moon awaits you there. You can return to the front via the green pipe.
07: From the Side Above the Castle Gate
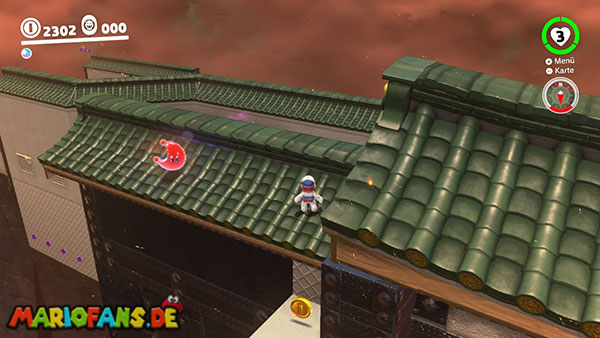
Go through the central courtyard to the large gate, at the end of which the power pole leads to the next island.
Don’t use the power pole yet. Instead, turn around and look at the green roof of the fortress gate.
Stand on the railing on the eastern side and perform a backflip.
This is how you reach the slightly higher roof. Then walk to the other side of the gate.
There, the Power Moon lies exposed on the roof surface.
08: Sunken Treasure in the Moat
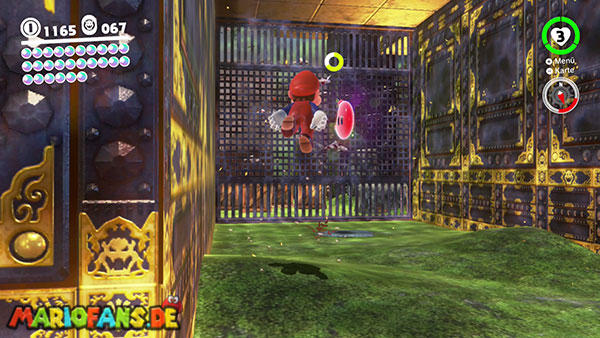
Travel to the checkpoint Main Courtyard.
Cross the bridge and head towards the next fortress wall. There are two deep pools of water to the left and right of the path.
Jump into the western or left trench and dive to the bottom.
Swim beneath the gate structure. Near the large metal grate, there is a wide underwater niche.
The Power Moon is located in this niche.
09: Past the Moving Wall
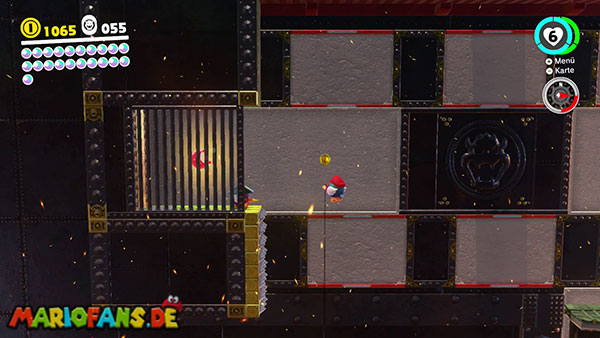
This Power Moon can only be collected after defeating RoboBrood.
Travel to the checkpoint At the foot of the tower or Under the keep.
Drop down through the opening with the golden coin rings to the west of the grand staircase. You’ll reach a large poison swamp with a Staircase Horrid.
From there, jump down another level to the south. A Pokio is standing on the lower platform.
Capture him and go to the western outer wall.
Around the corner, two white wall surfaces move regularly back and forth.
Insert your beak into the first wall and let it carry you away. Then flick yourself to the second moving surface.
Between the two walls, behind a grate, is the Power Moon.
10: Above the Poison Swamp
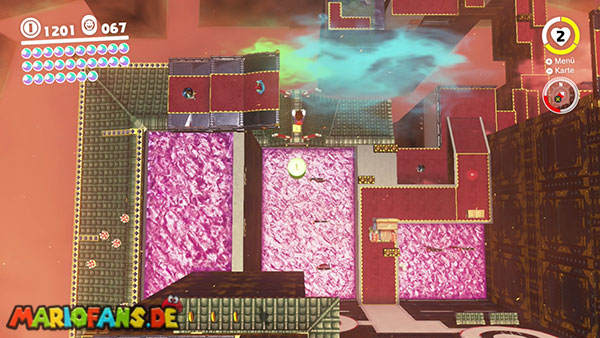
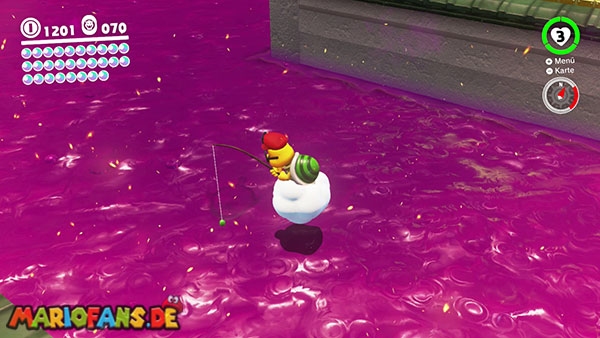
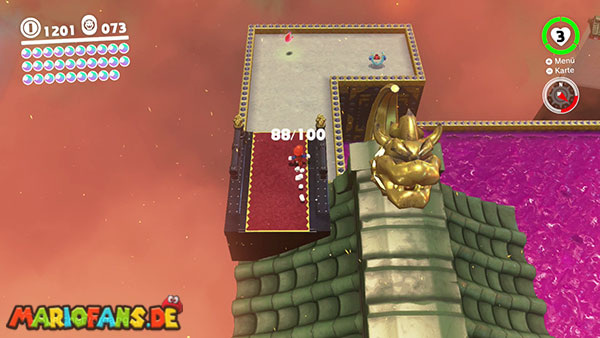
This Power Moon becomes available after defeating RoboBrood.
Travel to the checkpoint Under the Keep and cross the roof to the eastern side of the Poison Swamp.
Lakitu is hovering above the toxic liquid. Capture him and fly under the large bridge towards the north.
At the edge of the swamp there is a small, safe platform with a cap launcher.
Leave Lakitu and throw Cappy at the slingshot. Mario will be catapulted onto the roof of the large archway.
Run across the roof and jump to the lower platform on the opposite side.
There, the Power Moon hovers above the poison swamp.
11: Knocking Down the Nice Frame
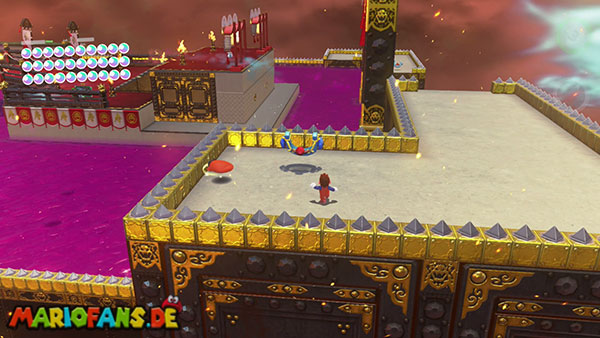
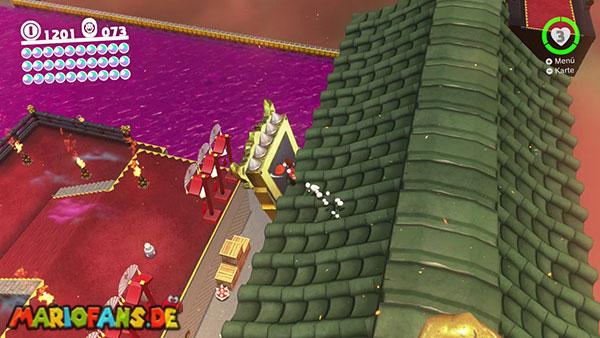
This power moon is located in close proximity to moon number 10.
Use Lakitu and the first cap launcher to reach the roof of the large archway.
If necessary, first collect moon number 10 on the lower platform.
Then use the second cap launcher to get back to the front of the archway.
There hangs a large golden picture or sign, which is attached to the wall at a slight angle.
Throw Cappy at the picture. It falls off the wall, revealing the hidden Power Moon behind it.
12: Caught on the Iron Fence
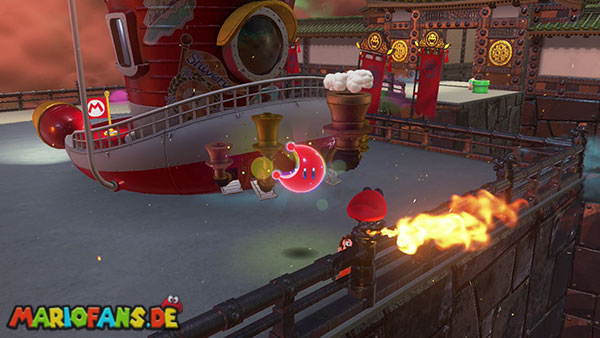
Turn directly towards the metal fence at the Odyssey.
Golden Bowser heads are attached to the fence at regular intervals.
One of the heads is facing in a different direction than the other decorations.
Throw Cappy at this Bowser head and hold down the throw button.
Cappy spins on the decoration for several seconds. Bowser’s head first begins to breathe fire and then hurls out the Power Moon.
13: On the Giant Bowser Statue’s Nose
Travel to the checkpoint Under the Keep and use the power pole that leads to the highest roof of the fortress.
Turn around immediately upon arrival and look over the edge.
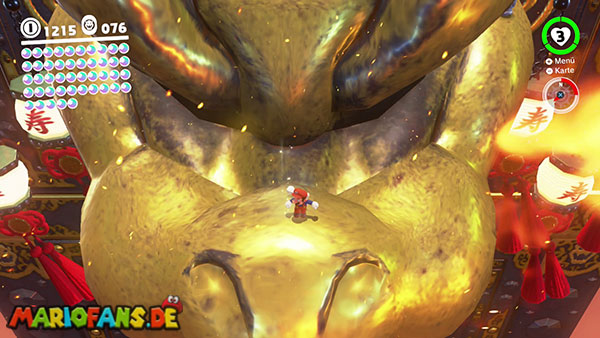
Below the roof is a huge golden Bowser statue.
Carefully drop onto the statue’s head and stand on its large nose.
Perform a ground pound in the middle of your nose. This will cause the Power Moon to appear.
On the right cheek of the statue is a power pole that you can use to get back up.
14: Inside a Block in the Castle
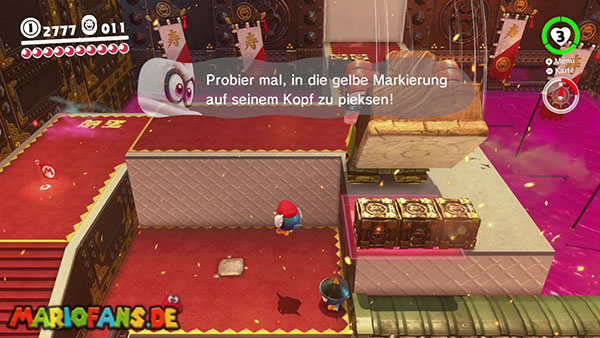
Travel to the Outer Wall checkpoint.
In the immediate vicinity, a stair-crawler is walking around among several heavy metal blocks.
One of the blocks sparkles conspicuously. Mario cannot destroy it with normal attacks.
Stand in front of the glowing block and wait until the Stairway Monster hurls his large stair block at Mario.
Dodge to the side at the last moment. The attack hits the metal block and shatters it.
Inside is the Power Moon.
15: Caught Hopping at Bowser’s Castle!
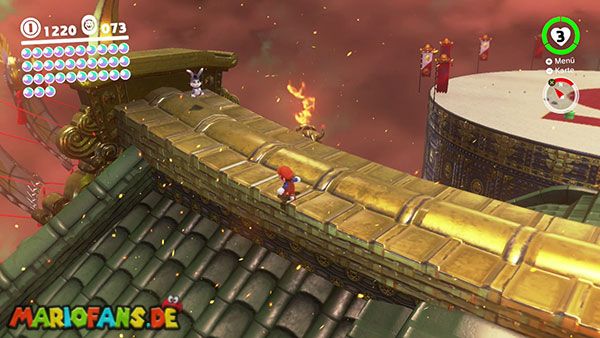
This Power Moon appears after defeating RoboBrood.
Travel to the checkpoint Under the Keep and use the power pole to reach the highest fortress roof.
Directly in front of Mario, two white rabbits are running across the large roof.
The rabbit on the right carries the Power Moon, while the other only has a coin.
Don’t just chase after the rabbit on the right. Cut him off and throw Cappy at him as soon as he gets close.
Hitting him will slow him down briefly. Then touch the rabbit to release the Power Moon.
16: Exterminate the Ogres!
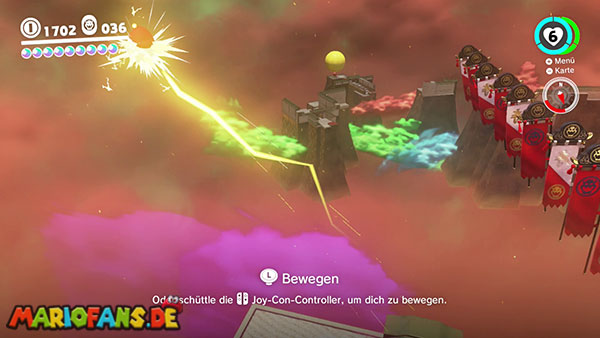
Travel to the checkpoint Main Courtyard – Entrance.
Jump onto the roof of the right-hand building. There you’ll find an additional power pole that will transport Mario to a remote island.
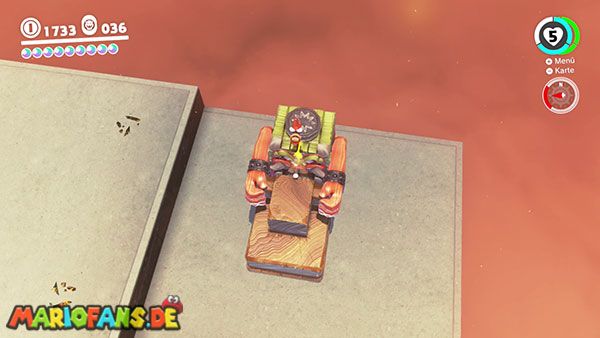
Three stair-crawlers await you on this island.
Position yourself in front of the first opponent and dodge as soon as he slams his stair block onto the ground.
Run up the stairs to the enemy’s head and perform a ground pound on the switch.
Repeat the process for the other two stair-horrors.
Keep moving during battles, as the other opponents can also attack Mario.
Once all three Staircase Horrors are defeated, the Power Moon appears.
17: Bowser’s Kingdom Timer Challenge 1
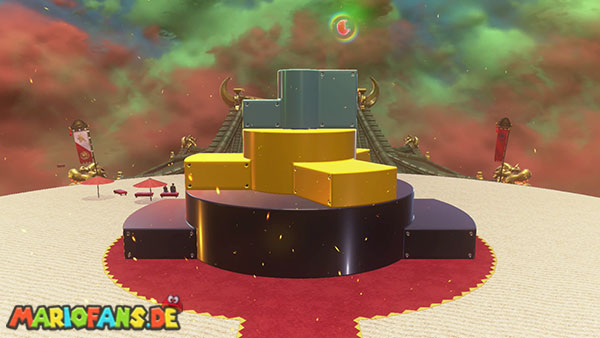
This Power Moon can be collected after defeating RoboBrood.
Travel to the checkpoint Arena of Decision.
A scarecrow stands on the northeastern edge of the large battle platform.
Throw Cappy at them. Several rotating and tilting platforms will briefly appear in the center of the arena.
Jump straight onto the first platform and work your way up quickly.
Since Cappy stays with the scarecrow, no cap jumps or dives are available to you.
Don’t wait for the platforms to be perfectly positioned. Jump as early as possible and steer Mario to the nearest safe surface while he’s in flight.
If you reach the top platform within the time limit, you can collect the Power Moon.
18: Taking Notes: Between Spinies
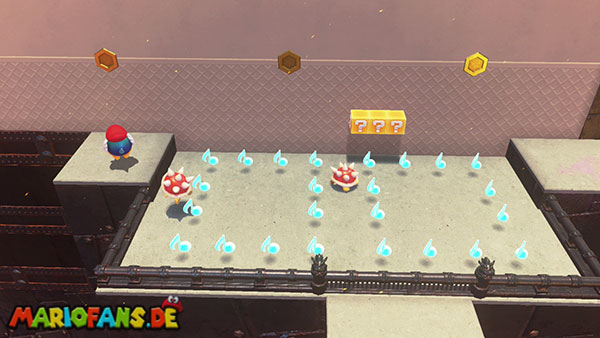
Travel to the checkpoint Outer Courtyard – Rear.
Next to the small fenced area with the Spinies, a colored treble clef is suspended.
Touch the key. Several musical notes will then appear inside the fence.
Jump over the low fence and collect the notes before the time limit expires.
The spikes will obstruct your path. Throw Cappy through multiple musical notes at once and eliminate the enemies with a jump if necessary.
Move around the area in a circular motion, if possible, so that you don’t miss any notes.
Once you have collected all the notes, the Power Moon will appear.
19: Stack Up Above the Wall
Go to the first large outer courtyard behind the entrance gate of Bowser’s Kingdom.
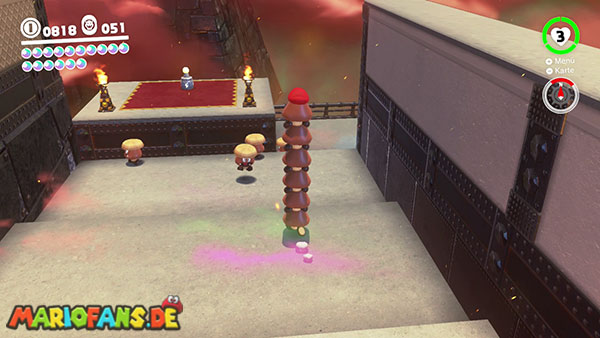
In this area, a total of ten Goombas are running around on the steps and platforms.
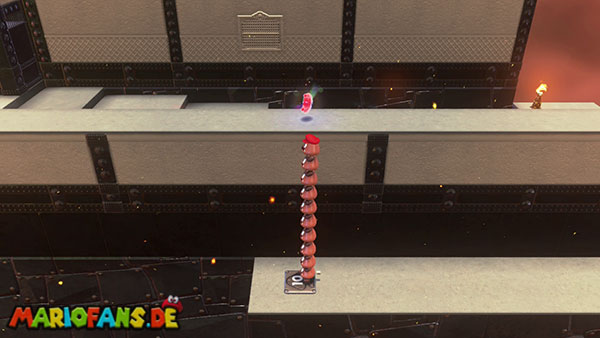
Capture a Goomba and jump on all the remaining enemies one after the other. This will create a tower of exactly ten Goombas.
Take the complete tower to the northern edge of the area and turn sideways around the large wall.
There is an orange floor tile with a Goomba symbol and the number 10.
Stand on the switch with the Goomba tower. Once all ten Goombas have been counted, the Power Moon will appear.
If the large entrance gate is closed after the story is over, you can reach the Goombas via the power pole from the neighboring island.
20: Hidden Corridor Under the Floor
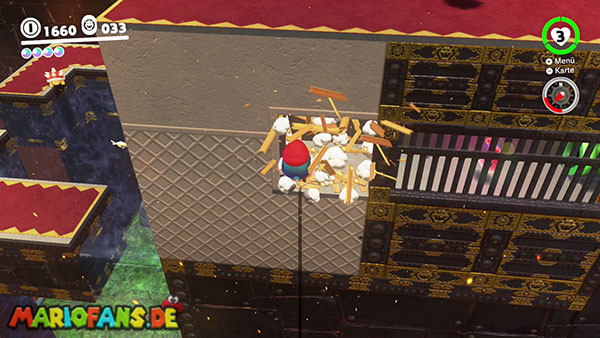
Travel to the Main Courtyard checkpoint and capture a Pokio.
Go around the water basin to the right and use the beak to climb up the high white wall.
There are several question mark blocks near the upper level.
Drop down to the right of the blocks on the outside of the wall. Stick your beak into the white wall in time to avoid falling into the abyss.
On this side, several wooden boxes are embedded in the wall.
Destroy the boxes with your beak and flick yourself into the resulting opening.
Behind the bars is a hidden corridor containing the Power Moon.
You can get back up via the green pipe.
21: Poking Your Nose in the Plaster Wall
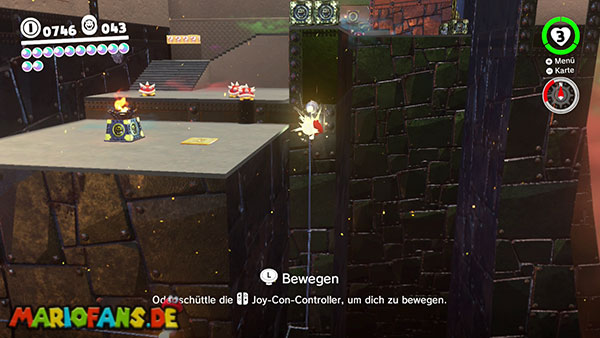
Travel to the Outer Courtyard Fast Travel Point – Back Side and defeat the Staircase Horrid if he’s still in the way.
Go through the large gate and climb onto the low roof on the right-hand side.
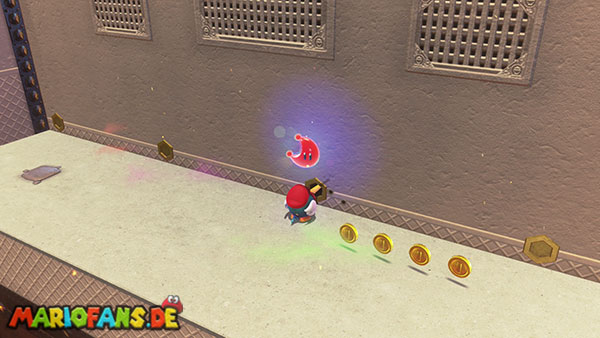
Follow the rooftops westward. At the end, you can jump down to a lower platform with several coins and a single Pokio.
Capture the Pokio.
In the light-colored plaster wall there is a small, hexagonal hole with a gold border.
Insert your beak. The Power Moon will then be launched from the wall.
22: Poking the Turret Wall
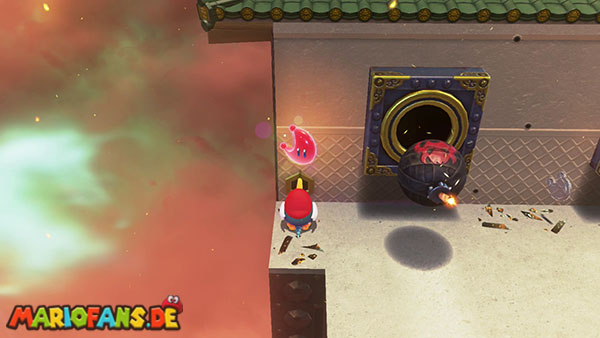
Travel to the Main Courtyard checkpoint and capture a Pokio.
Go to the west side to the two cannons that regularly fire Bowser bombs.
To the left of the cannons, two heavy metal blocks block access to a small hole in the wall.
Stand behind a rolling bomb and hit it with your beak. This will send it flying in the opposite direction.
Aim the bomb precisely at the two metal blocks. After the explosion, the hexagonal hole in the plaster wall will be accessible.
Insert the Pokio’s beak to obtain the Power Moon.
23: Poking Your Nose by the Great Gate
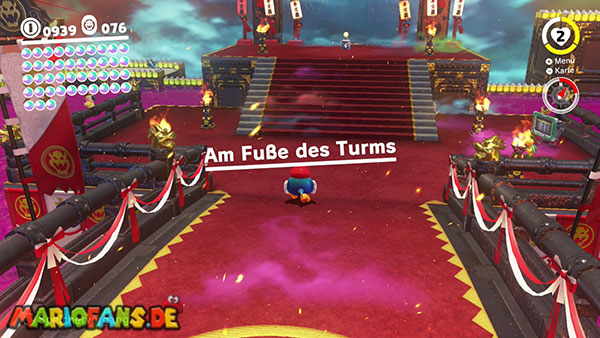
Travel to the Inner Wall checkpoint and capture the nearby Pokio.
Use its beak to climb the high, movable walls to the checkpoint Under the Keep.
Do not leave the Pokio after the ascent.
Go past the large staircase and follow the narrow path along the back of it. The path leads directly past the poison swamp.
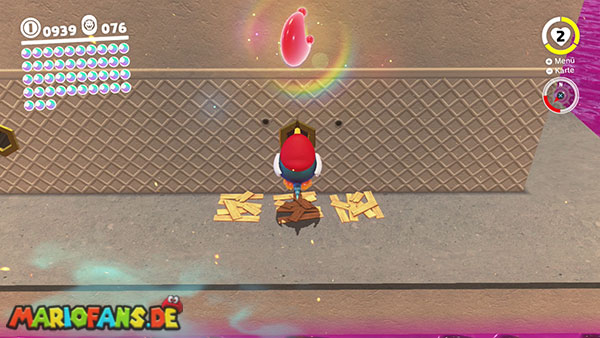
At the end, several wooden crates stand in front of a light-colored wall.
Destroy the crates with your beak. A hexagonal hole with a gold border will be revealed behind them.
Insert the Pokio’s beak. The last Power Moon on this page will pop out of the wall.