

24: Jizo All in a Row
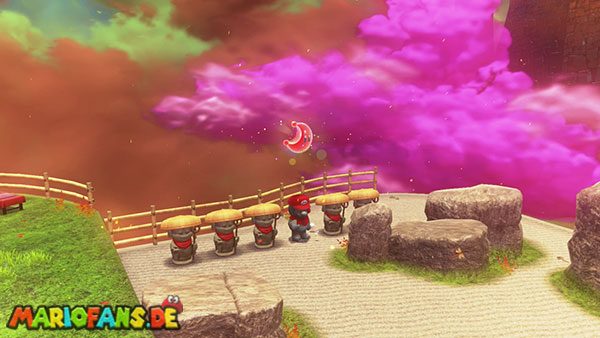
Travel to the souvenir shop checkpoint. To the right of the shop is a row of Jizo statues, in which one space remains empty.
Next to the shop you’ll find another Jizo statue. Throw Cappy at it to capture it.
As Jizo, you can only move by jumping. Jump to the incomplete row of statues and stand precisely on the empty floor plate.
Exit the Jizo statue using ZL. Once all the figures are in a complete line, the Power Moon will appear.
25: Underground Jizo
Capture again the Jizo statue by the souvenir shop.
Jump with her to the eastern or right side of the square. There you will see a square, brittle spot in the ground.
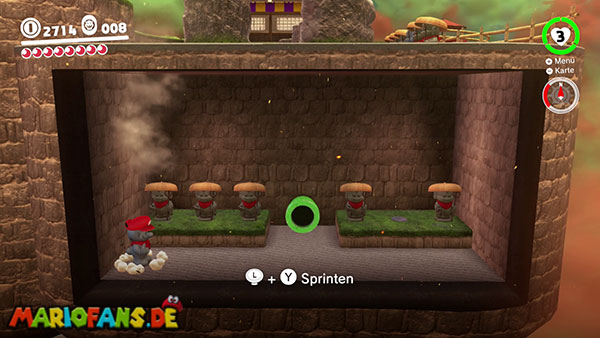
Stand on the damaged field with the heavy statue. The ground collapses and you fall into a hidden room.
Underground, two more Jizo statues stand side by side. There is again an empty space between the two statues.
Jump onto the empty floor plate with your Jizo and exit it with ZL.
Once the underground row is complete, the Power Moon appears.
26: Found Behind Bars!

Travel to the Main Courtyard checkpoint and walk towards the large entrance gate.
Capture a Pokio and climb up the white wall on the right side of the gate. This will allow you to reach the green roof.
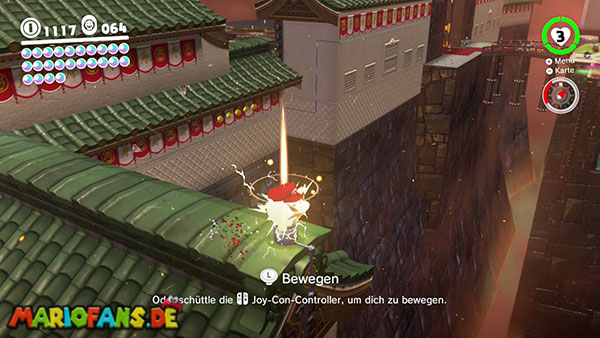
Follow the roofline around the corner until you find a hidden power pole.
Capture the power pole. The cable leads Mario directly into a locked room above the large gate.
Inside the cell lies the Power Moon.
Then use the power pole again to leave the caged room.
27: Fishing(?) in Bowser’s Castle
This Power Moon becomes available after defeating RoboBrood.
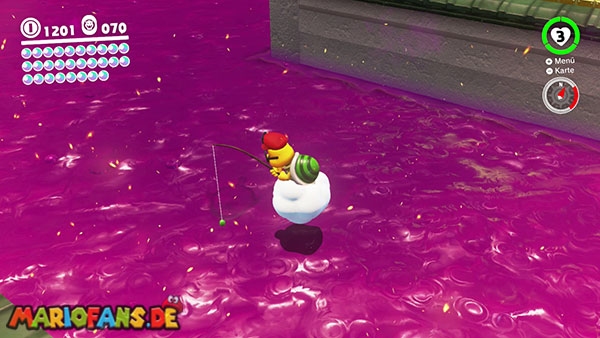
Travel to the checkpoint Under the Keep. In the southeastern part of the large poison swamp, Lakitu is hovering above the liquid with a fishing rod.
Capture Lakitu and fly under the large bridge to the western side of the swamp.
Look for the largest shadow beneath the poison’s surface. Cast your line so that the bait lands directly in front of the shadow.
Wait until the fish bites and the controller vibrates noticeably. Only reel in the line once the shadow has completely caught the bait.
Instead of an ordinary fish, Poochy jumps out of the poison swamp and brings you the Power Moon.
28: Good to See You, Captain Toad!
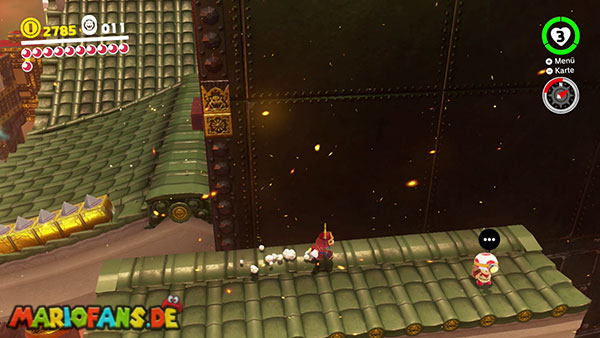
Travel to the Outer Wall checkpoint.
Jump onto the green roofs east or to the right of the flag. Follow the roofline up the slight incline and then around the corner.
There is a lower roof overhang at the rear of the building.
Captain Toad is waiting there.
If you traveled the path as Pokio, you exit the transformation before the conversation. Captain Toad is startled by the large beak and speaks to Mario first.
After a brief conversation, he hands you the Power Moon.
29: Shopping at Bowser’s Castle
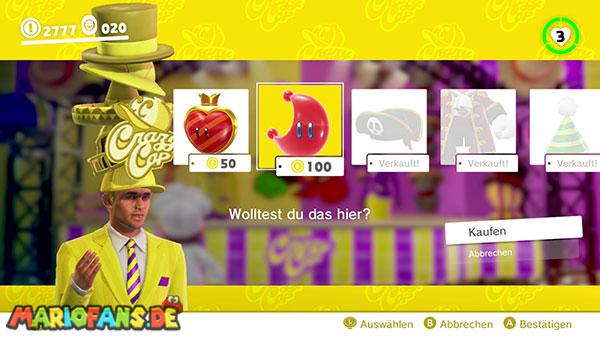
Visit the Crazy Cap shop near the souvenir shop checkpoint.
Speak to the yellow vendor. You can buy the Power Moon there for 100 gold coins.
30: Bowser’s Castle Treasure Vault
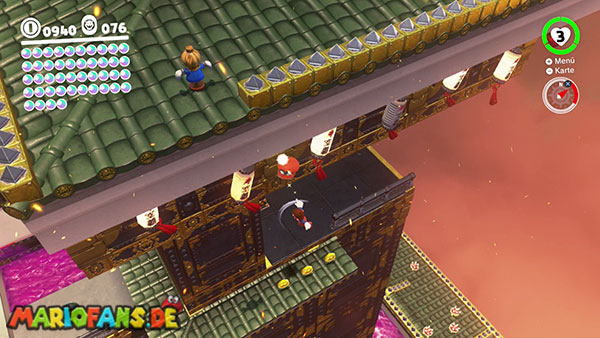
This Power Moon becomes available after defeating RoboBrood.
Travel to the checkpoint Under the Keep. Southwest of the flag, you will see a roof whose edge is covered with yellow spikes.
Climb onto the roof and drop down through the gap between the spikes. The golden coin rings will guide you to the poison swamp below.
Go to the southwest corner. There you’ll find a hat launcher on a red carpet.
Throw Cappy at the slingshot and let yourself be catapulted to the opposite platform.
Capture the Pokio and make your way past the Spinies. Then use the white surfaces of the rotating walls to climb upwards.
Wait until a suitable surface is facing you, then flick yourself to the next section of wall.
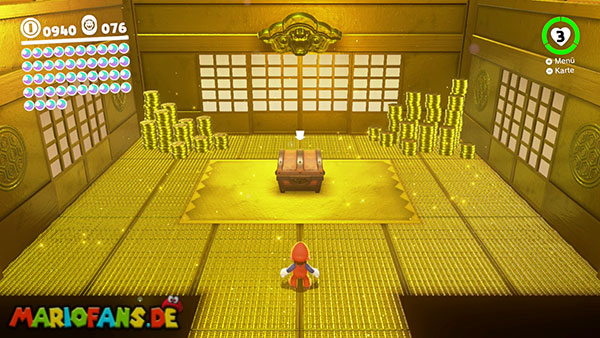
Finally, you’ll reach Bowser’s secret treasure chamber. Open the large treasure chest to obtain the Power Moon.
There are also numerous gold coins in the room.
31: Scene of Crossing the Poison Swamp
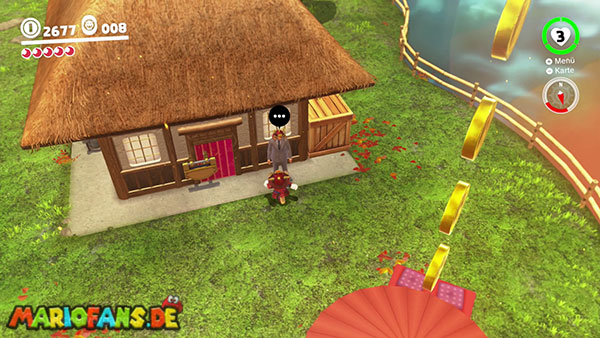
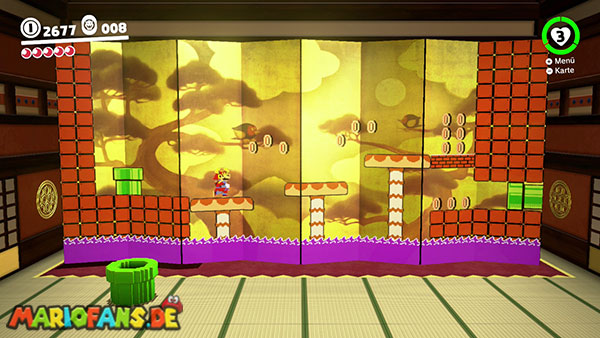
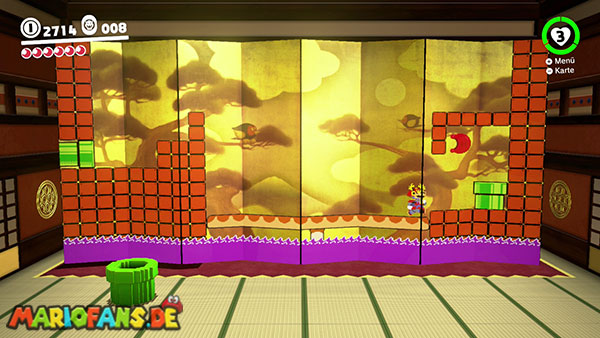
Visit the purple section of the Crazy Cap store and buy the samurai helmet and matching samurai armor.
Put on both items of clothing and go to the back of the store.
A New Donker guards a locked door there. He lets you pass, wearing full samurai equipment.
Enter the green tube and switch to a two-dimensional section on a Japanese screen.
Make your way across the sinking platforms and through the toxic swamp areas. Don’t wait too long, as some areas will disappear shortly after you enter them.
In the last section, a red Koopa is standing in front of several brick blocks. Jump on the enemy and kick its shell against the wall.
The tank destroys the brick blocks and opens the way to the Power Moon.
Don’t leave the area yet, as you can also find Power Moon number 32 here.
32: Taking Notes: In the Folding Screen
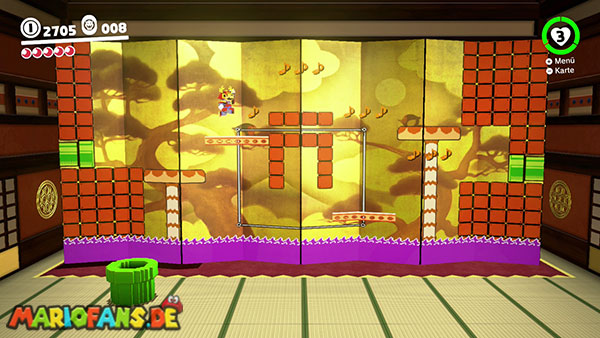
This Power Moon is located in the same screen bonus area as Moon number 31.
Follow the two-dimensional path to the third large screen. A colored treble clef is floating there.
Touch the symbol. Several rows of musical notes will then appear on the platforms of the screen.
First collect the notes on your current level, then jump to the higher rows.
The platforms are partially sinking into the toxic swamp. Therefore, keep moving and jump to the nearest safe area as soon as possible.
If you collect all the notes before the time limit expires, the Power Moon will appear.
You can then continue through the bonus area via the normal route to Moon Number 31.
33: On Top of the Spinning Tower
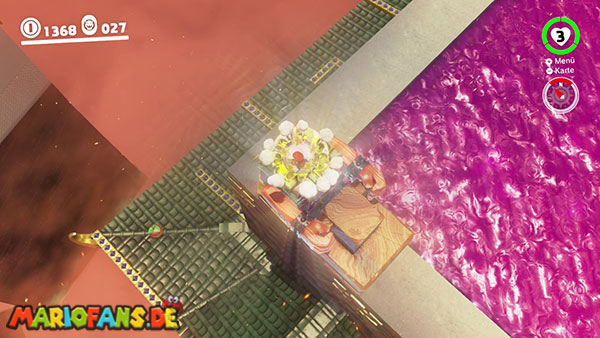
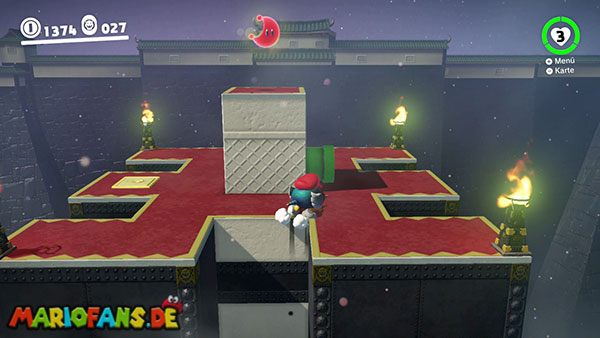
This Power Moon becomes available after defeating RoboBrood.
Travel to the checkpoint Under the Keep and climb onto the southwest-facing roof with the yellow spikes.
Let yourself fall through the gap and the golden coin rings into the poison swamp.
There, a stair-shrew guards a large door. Lure it into an attack, dodge to the side, and climb over its stair block onto its head.
Perform a ground pound attack on the switch. The enemy will be defeated and the door will open.
In the bonus area, you capture a Pokio and climb a tall rotating tower.
Insert the beak only into the light-colored wall surfaces. Some segments of the tower rotate constantly and have only a few safe spots.
Wait until a suitable surface is facing you, then flick yourself upwards.
The Power Moon awaits at the top of the tower.
34: Down and Up the Spinning Tower
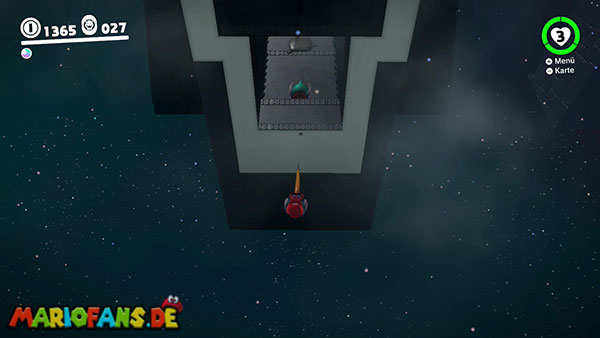
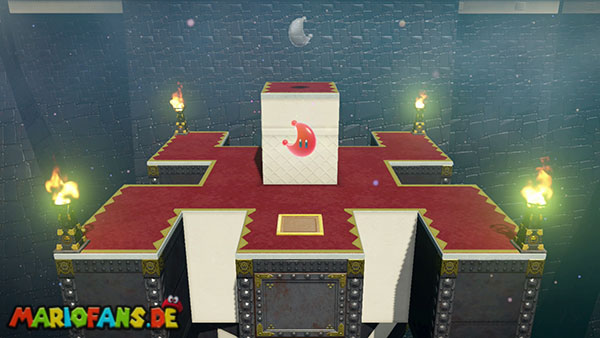
This power moon is located in the same rotating tower as moon number 33.
Work your way up with the Pokio until you reach the back of the tower.
Look carefully downwards. Near the bottom, there is a small opening in the wall.
Let yourself fall down the tower and insert your beak into a light-colored area just before the niche.
Flick yourself into the opening. Inside you’ll find a golden key and an extra Pokio.
Touch the key. Another Power Moon will then appear at the top of the tower.
If necessary, capture the Pokio in the niche and climb the entire tower again.
You can collect the unlocked Power Moon on the top platform.
35: Jizo’s Big Adventure
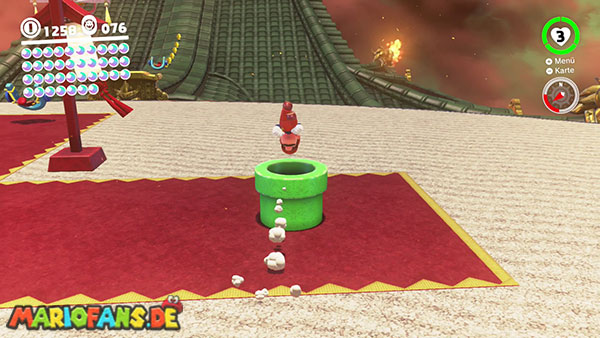
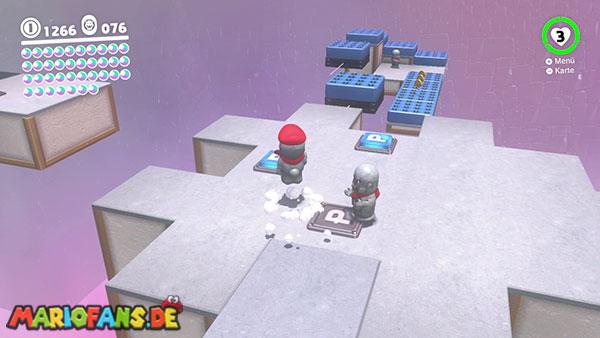
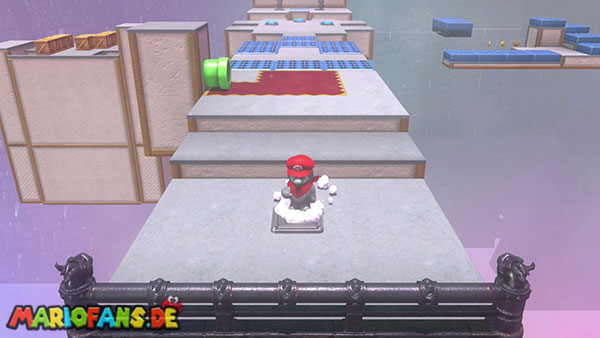
Travel to the Arena of Decision checkpoint and enter the green tube at the edge of the platform.
In the bonus area, you have to obtain a total of three Jizo statues and place them correctly on several P-switches.
First capture the first Jizo and jump on the middle P-switch. This will reveal a path across the spikes.
On the left side, you’ll find the second Jizo. Stand with him on the crumbling ground. The statue will fall to the lower level, where you can activate an elevator and ride back up.
On the right, another P-Switch leads to a path across moving spiked platforms. Carefully cross this section and bring the third Jizo to the central area.
Now you need all three statues:
- One Jizo remains on the middle P-switch and creates the bridge across the chasm.
- You cross the bridge with the two remaining Jizos.
- Place both statues on the two P-switches at the end of the area.
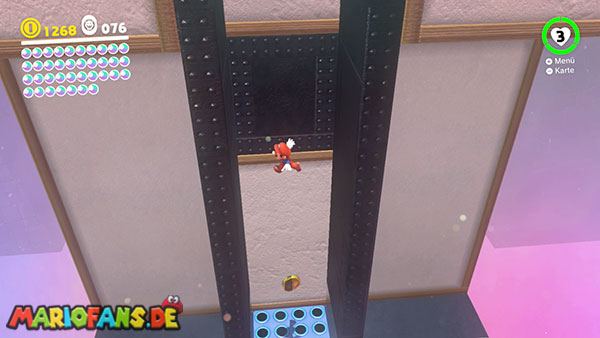
This creates the appearance of two tall walls.
Leave the last Jizo and jump upwards between the two walls as Mario.
The Power Moon awaits on the upper platform.
36: Jizo and the Hidden Room
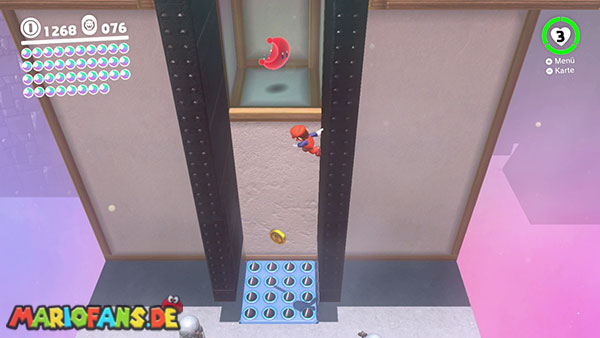
This power moon is located in the same Jizo bonus area as moon number 35.
Retrieve all three Jizo statues and place two of them on the switches at the end of the area. The two vertical walls should already be visible.
Then return to the third Jizo, who has been activating the bridge on the middle switch.
Capture the statue and bring it back to the beginning of the bonus area.
Behind or next to the input tube is another P-switch. Place the Jizo on it.
This opens a hidden room in the wall near the exit.
Since Jizo is no longer standing on the middle switch, the bridge over the chasm has disappeared. Leave the statue and jump across the gap as Mario with a long jump.
Then use the walls created by the two remaining Jizos for multiple wall jumps.
Jump into the open alcove and collect the hidden Power Moon.
37: Dashing Above the Clouds
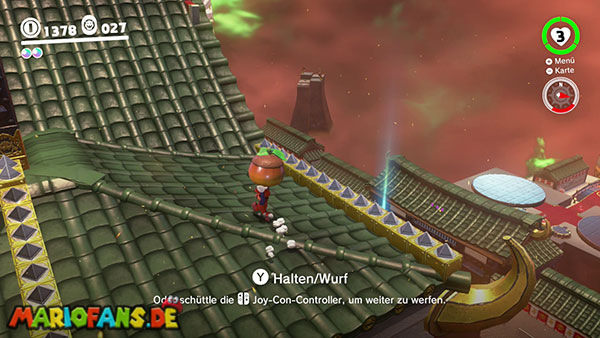
Travel to the checkpoint Under the Keep and climb onto the southwest-facing roof with the yellow spikes.
Let yourself fall through the opening and the golden coin rings into the poison swamp.
Go to the western side and jump again to the lower area with the staccatos.
There you will find a large seed and a suitable flower pot.
Pick up the seed, throw it into the pot, and climb up the growing bean vine.
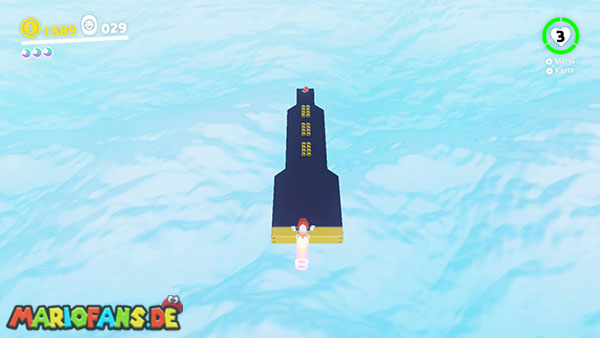
Several rocket flowers lie on a narrow path in the cloud area.
Throw Cappy at the first flower and start running immediately. Collect the remaining rocket flowers before the speed boost ends.
Stay as close to the center of the path as possible and steer carefully. Some sections are very narrow or have small gaps that you will need to jump over.
Once you reach the end of the course, the Power Moon awaits you.
38: Dashing Through the Clouds
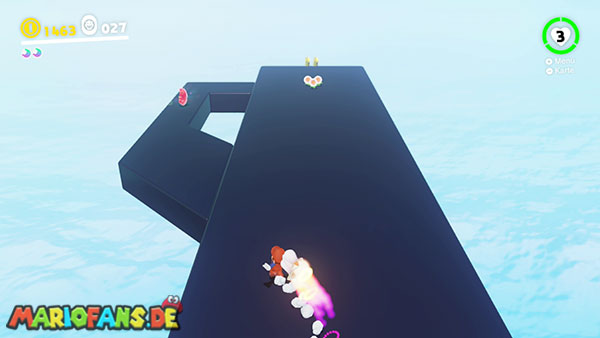
This powerful moon is located in the same cloud area as moon number 37.
Activate the rocket flowers again and follow the normal path.
Approximately in the middle of the course, a particularly narrow cloud path branches off to the left.
Steer Mario onto the side path early. Don’t try to turn at the last moment, as you’ll quickly shoot off the edge at high speed.
The Power Moon hovers at the end of the narrow path.
Touch it while sprinting. The short collection animation will slow Mario down and keep him safely on the platform.
You can then re-enter the bonus area and collect Power Moon number 37 via the main route.
*Available only after completing the main story*
39: Sphynx Over Bowser’s Castle
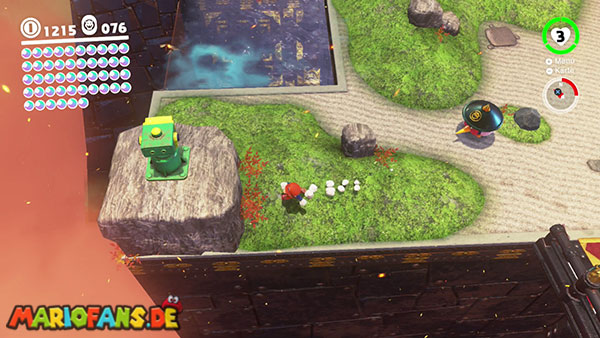
Travel to the checkpoint Main Courtyard.
To the left behind the bridge, in the Zen garden, stands a large green pair of binoculars.
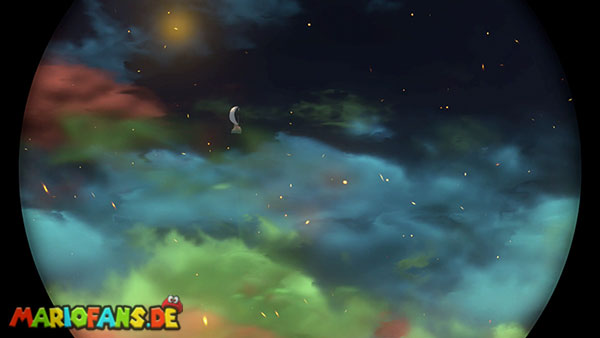
Capture the binoculars and scan the sky above Bowser’s fortress.
A sphinx flies among the clouds, carried by a large balloon.
Zoom in completely on the Sphynx and keep it in view for a few seconds.
Then the Power Moon appears near the binoculars.
40: I Met a Pokio!
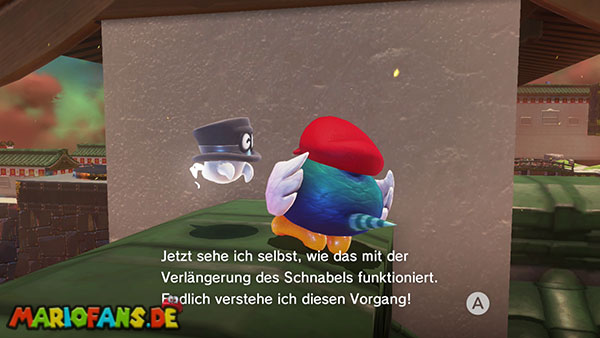
Travel to the main courtyard and capture one of the little birds in the Zen garden area.
Use the white wall surfaces to reach the large green roof to the right of the entrance gate.
Follow the roof in an easterly or southeasterly direction.
At the point where a significantly shorter roof branches off to the north, a visitor from the Cap Kingdom is waiting.
Approach him in the form of the Pokio.
The inhabitant of the Cap Kingdom is delighted to be able to observe the rare bird up close and presents you with the Power Moon.
41: Bowser’s Kingdom Regular Cup
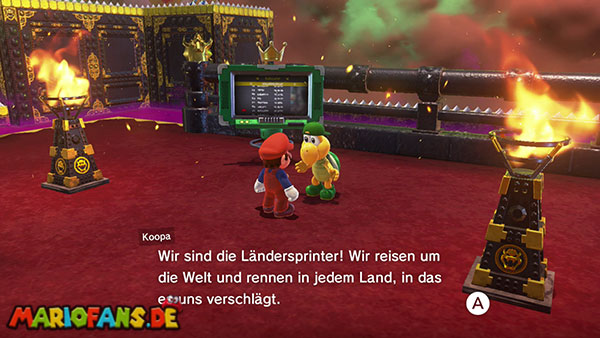
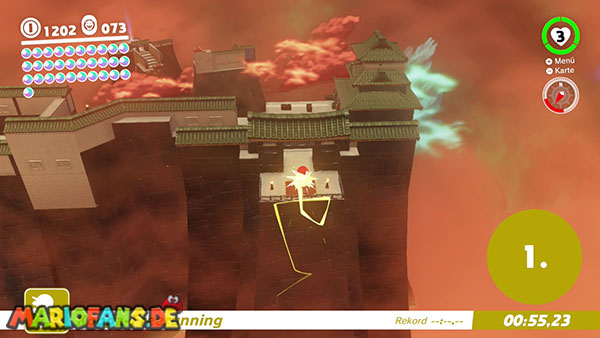
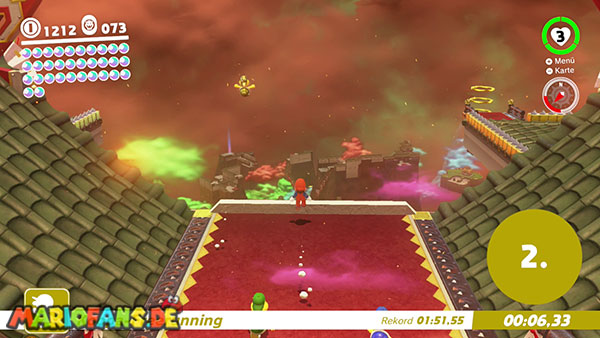
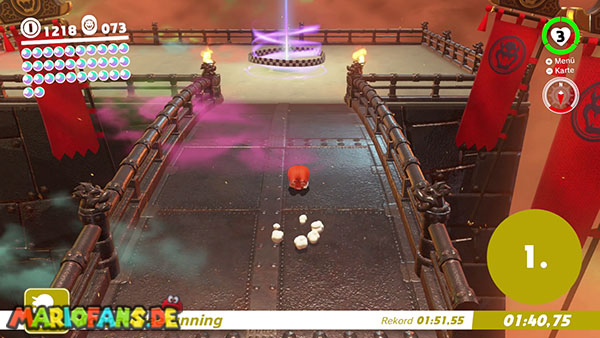
Travel to the checkpoint Under the Keep. Cross the bridge and talk to the Koopa who is hosting the freerunning race.
The race leads from the upper part of the fortress back to the Odyssey.
Start the race with a roll and several long jumps. You can build up a lot of speed on the sloping roofs.
Don’t follow every staircase or railing. On the first few islands, jump directly from one roof to the next to shorten the longer, normal routes.
Then use the power lines to travel between the separate fortress areas.
Hold down the roll button after each line so that Mario immediately continues running at high speed.
In the last section, you jump over the roofs and walls towards the entrance area.
The finish line is by the Odyssey. If you reach it before the other Koopas, you’ll get the Power Moon.
42: A Rumble Under the Arena Floor
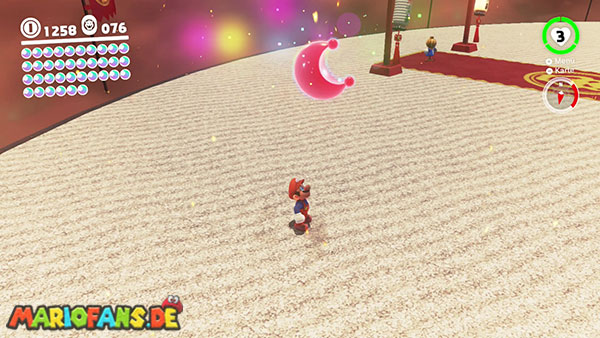
Travel to the checkpoint Arena of Decision.
Near the flag stand two visitors from New Donk City who report an unusual noise coming from under the ground.
Go to the northern or northwestern part of the arena. Two small birds are sitting on the ground nearby.
Walk slowly through the area and pay attention to the vibration of your controller.
The closer you get to the discovery site, the stronger the rumbling becomes.
Once you find the point with the strongest vibration, perform a stomping attack.
Then the Power Moon jumps out of the ground.
43: Secret Path to Bowser’s Castle!
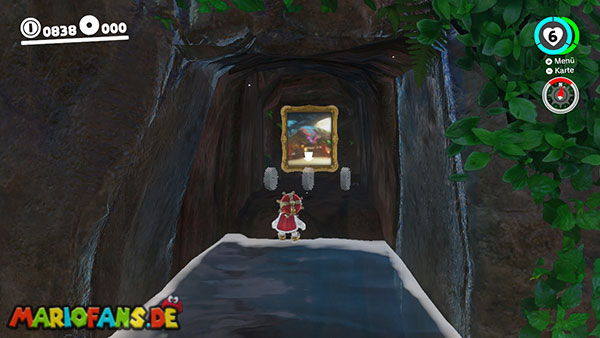
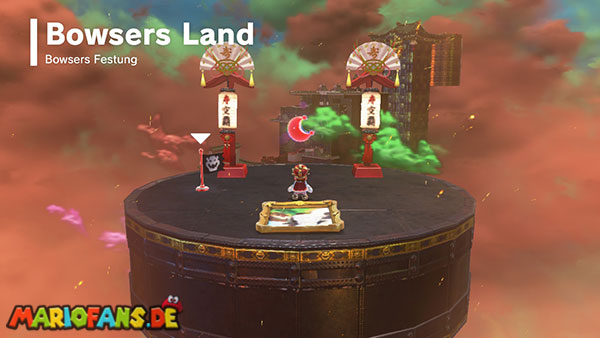
This Power Moon is located on a remote island above Bowser’s fortress, which cannot be reached from the normal area.
Travel to the Cascade Kingdoms after completing the main story.
Jump into the pool of water directly in front of the large waterfall.
Swim through or behind the waterfall. There’s a painting in a hidden cave.
Jump into the picture. You will be transported to the floating island in Bowser’s Kingdom.
The Power Moon is located directly in front of the painting. Also, activate the checkpoint before leaving the island.
44: Peach in Bowser’s Kingdom
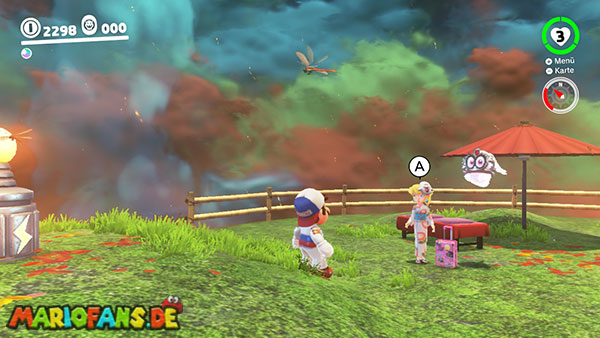
This Power Moon is available after you defeat Bowser, visit the Mushroom Kingdom, and speak to Toad in front of Peach Castle.
Travel to the checkpoint souvenir shop.
Princess Peach and Tiara are standing right next to the Crazy Cap shop, looking at the fortress.
Talk to Peach and listen to her impressions of Bowser’s home.
Then she gives you the Power Moon.
45: Found with Bowser’s Kingdom Art
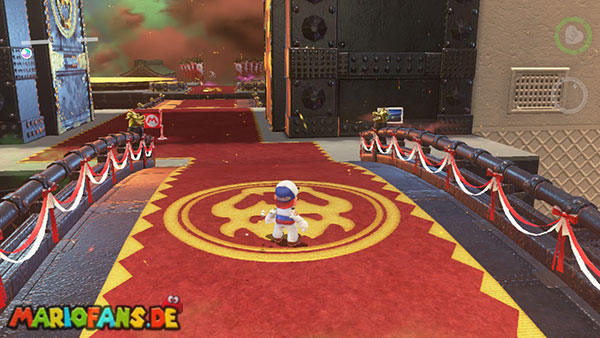
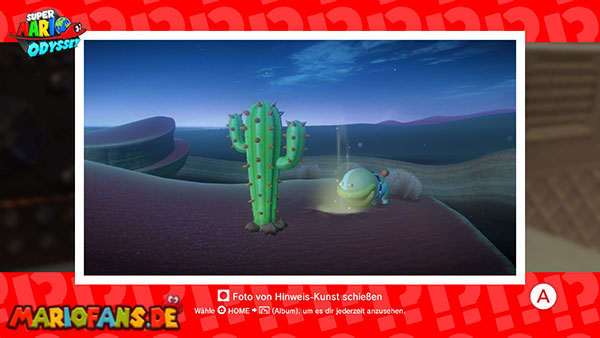
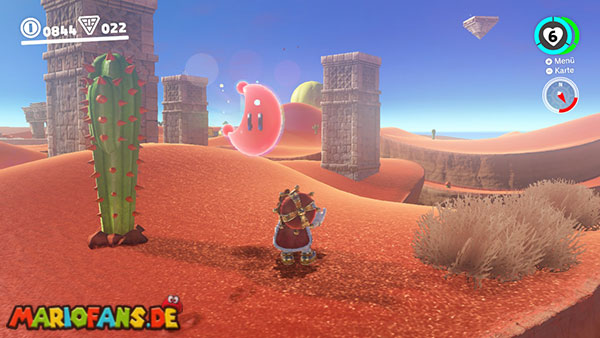
Travel to the checkpoint Main Courtyard.
To the left of the flag, or on the north side of the large archway, is the clue art of Bowser’s Kingdom.
The picture shows Poochy digging next to a single cactus in the desert.
Travel to the Moe-Eye Habitat checkpoint and head to the western side of the large poison swamp.
Near the outer edge of the map stands a lone cactus. Compare its position and the distant rock formations with the reference image.
Stand in the shade of the cactus and perform a stomping attack.
The Power Moon from Bowser’s Kingdom appears in the correct location.