

The Dark Side of the Moon is unlocked once you have used a total of 250 Power Moons in the Odyssey after completing the main story. This area contains 23 regular Power Moons and one Multi Moon.
01: Arrival at Rabbit Ridge!
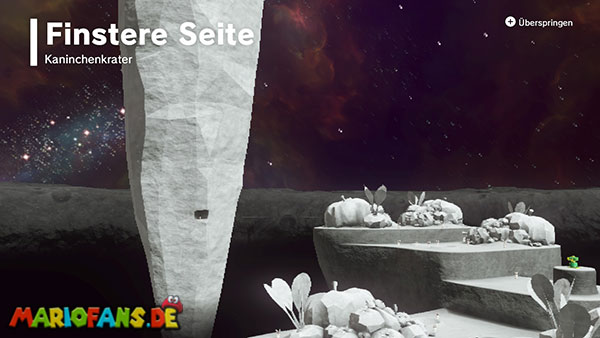
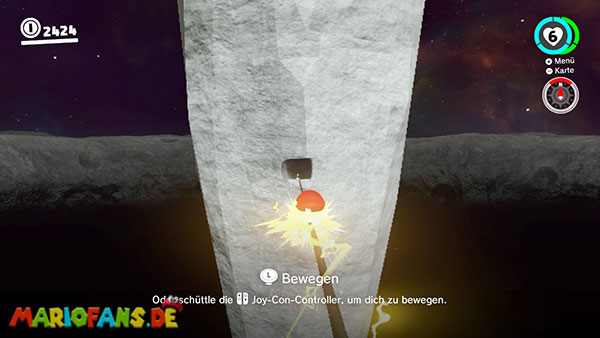
On the Dark Side, you’ll face some of the toughest challenges in the entire game. Your first objective is the large Rabbit Tower in the north.
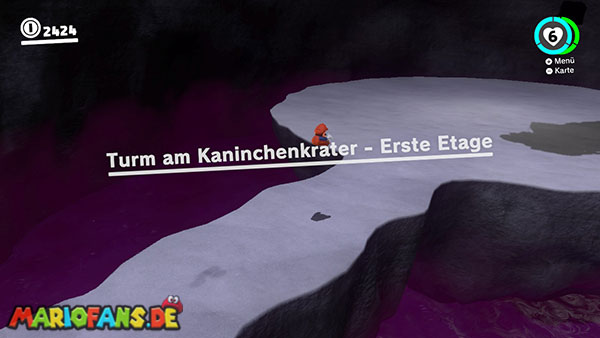
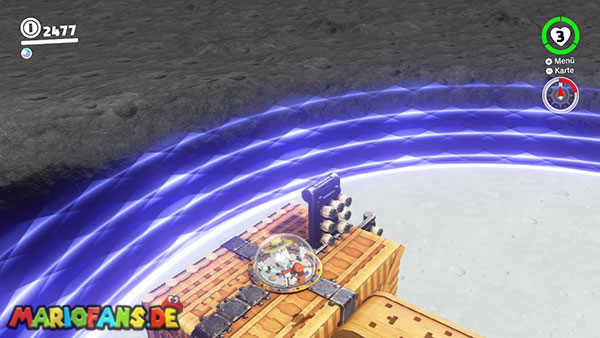
From the Odyssey, use the two power pylons to reach the tower entrance. Inside, five consecutive floors await, featuring four Broodal battles and the final duel against RoboBrood.
If you lose all your health points, you’ll end up back in front of the tower. Any battles you’ve already won will then have to be replayed.
Therefore, try to get a Power Mushroom for 50 gold coins before the fight.
Additionally, you can find a hidden Power Mushroom in front of the second power pole. Throw Cappy at the stem of the right-hand stone vegetable plant and hold down the throw button. The Power Mushroom will replenish your energy, increasing it to six hearts.
After winning a Broodal battle, you can return to the entrance and collect the Power Mushroom again.
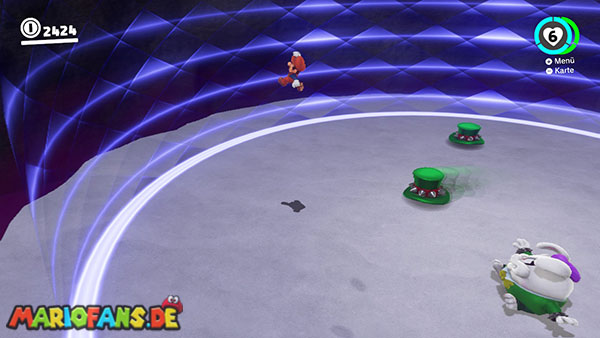
First floor: Topper
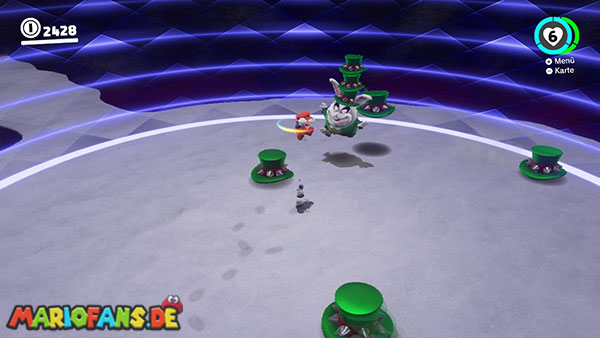
This time, Topper is wearing a particularly large number of hats on top of each other.
Repeatedly throw Cappy at him until all headgear is gone. Then jump onto his unprotected head.
Due to the low gravity, you’ll stay in the air for a very long time. Therefore, perform a ground pound attack just above Topper so that Mario falls faster and hits the opponent reliably.
Phase 2
After scoring a hit, Topper retreats and scatters his hats all over the arena.
Stay on the ground as much as possible and throw Cappy at the flying hats. This will make them disappear and give you more room to dodge.
Topper then reappears in the middle of the platform.
Remove all the hats again and jump on his head.
With each round, the number of head coverings increases. After the third hit, Topper is defeated and the way to the second floor opens.
Second floor: Hariet
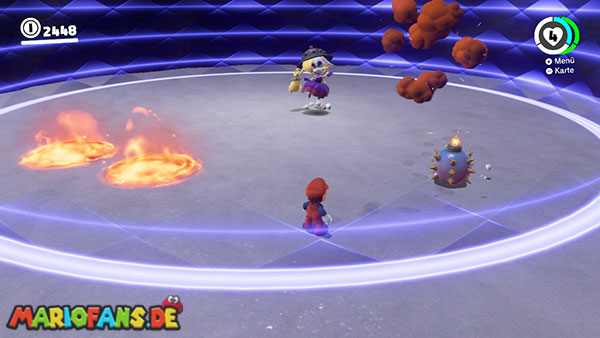
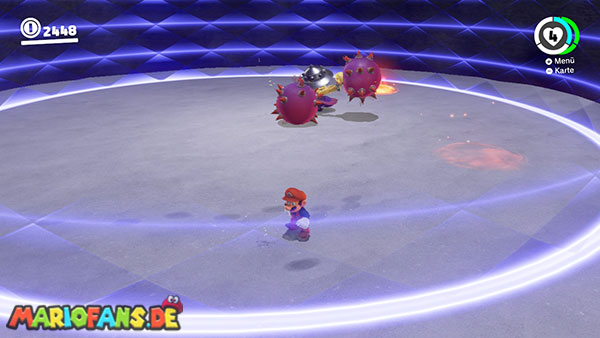
Hariet hurls several explosive bombs from her braids at Mario.
Dodge the projectiles and wait until a bomb lands on the ground.
Throw Cappy at the bomb so it flies directly back to Hariet. After the explosion, the Broodal lady will be briefly stunned.
Jump on her head. Due to the low gravity, a stomping attack during the fall is also recommended here.
Phase 2
After being hit, Hariet’s hat transforms into a flying saucer.
Hariet floats through the arena, dropping numerous bombs onto the ground.
Throw Cappy at one of the bombs below the saucer. The projectile will fly upwards and hit Hariet.
She then returns to the center of the arena.
Repeat this process a total of three times. After the last hit, Hariet is defeated.
Third floor: Spewart
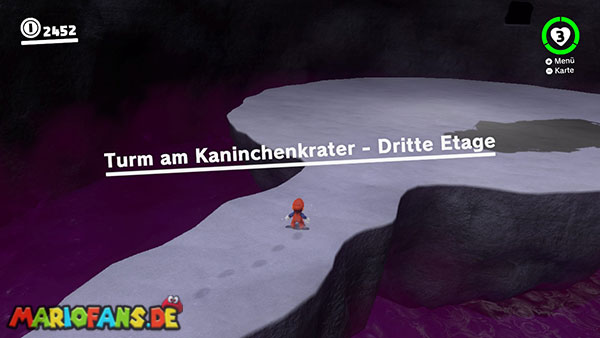
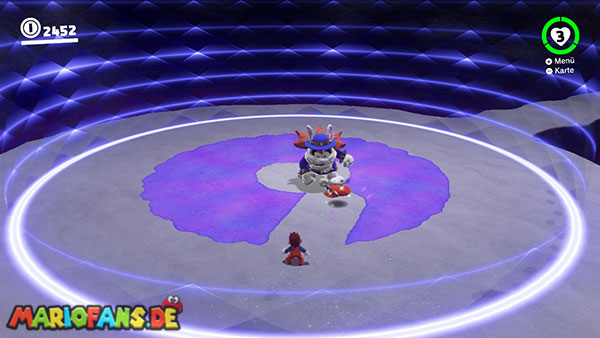
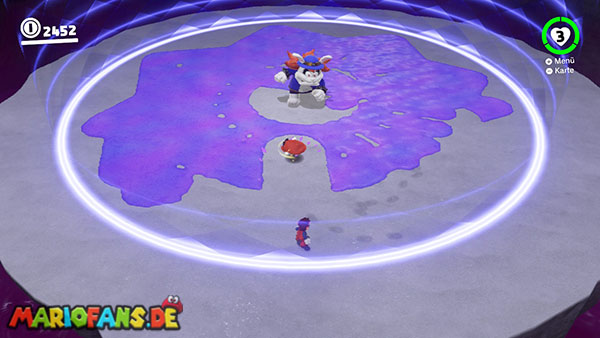
Spewart begins the fight by spreading large amounts of toxic slime across the ground.
Throw Cappy at the slime to clear safe paths. Then hit Spewart with the cap and jump on his head.
After being hit, he retreats into his hat and races around the arena in a circular motion, spreading more slime as he does so.
Stay as close to the middle as possible and jump over the rolling hat.
As soon as Spewart reappears, immediately throw Cappy at him. With a quick jump, you can hit him multiple times before he covers the entire arena with poison.
If necessary, clear away any individual puddles of slime with Cappy.
Spewart is defeated after three goals.
Fourth floor: Rango
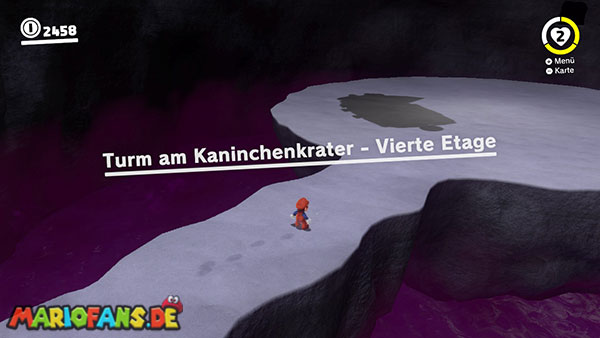
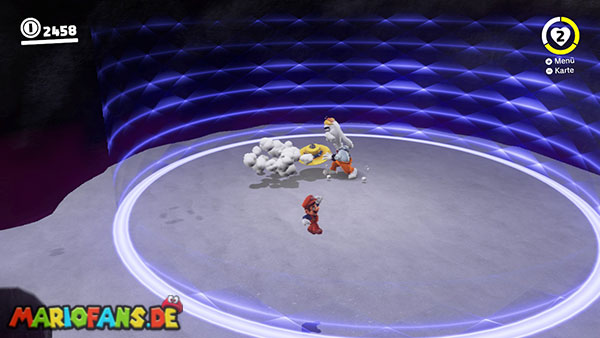
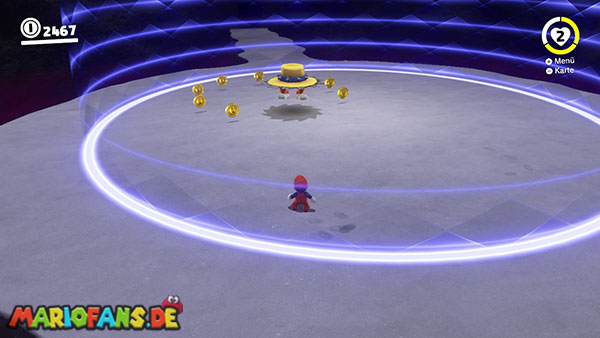
Rango is hurling his rotating hats significantly faster than in previous battles.
Throw Cappy at one of the hats. It will then turn around and serve as a jumping platform.
Jump onto the upside-down hat and let yourself be launched high into the air.
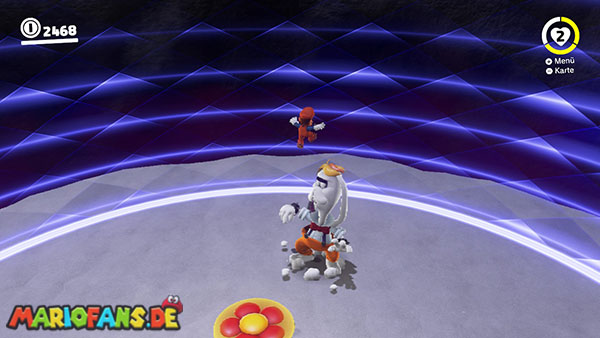
Control Mario over Rango’s head and perform a ground pound attack so that you land on the enemy quickly enough despite the low gravity.
After scoring a hit, Rango retreats into his hat and hops around the arena.
His jumps are significantly longer on the moon. Therefore, run in a large circle along the edge of the platform. This way, Rango will usually jump past Mario.
Survive the jumping phase and repeat the attack.
Rango is defeated after three hits.
Then go past the green pipe and follow the passage a little further to the right. Captain Toad is waiting there with Power Moon Number 2.
Fifth floor: RoboBrood
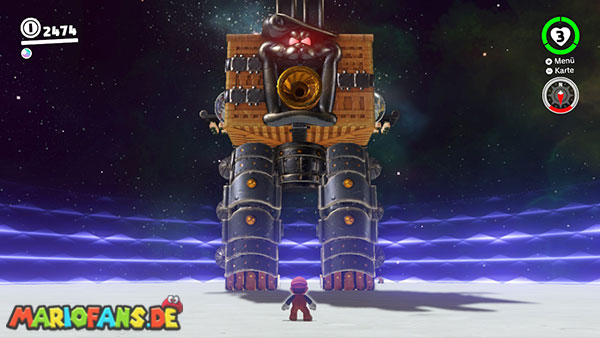
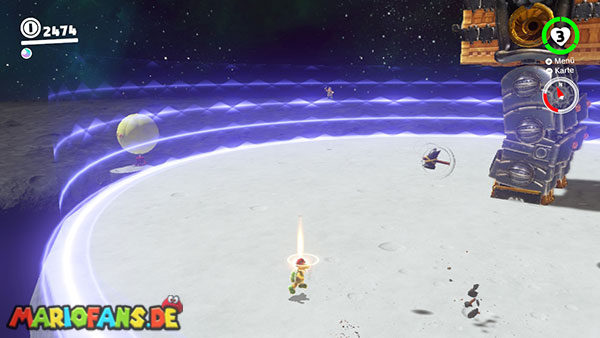
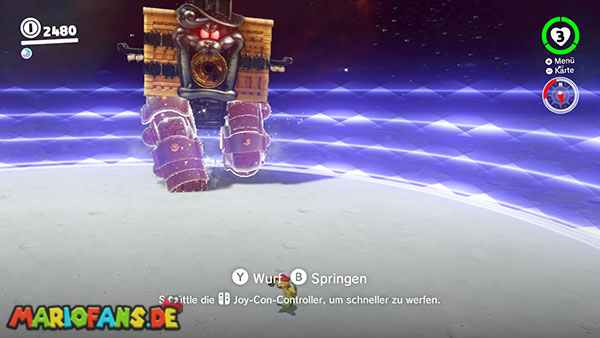
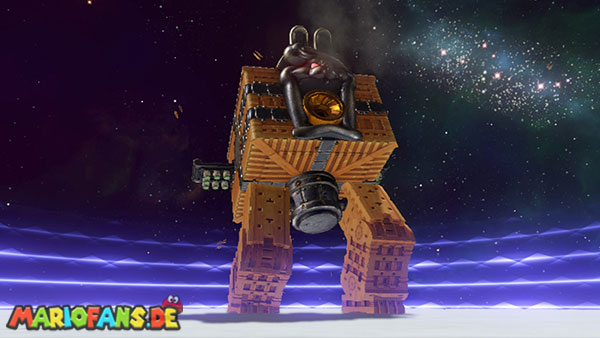
After defeating Rango, enter the green pipe. RoboBrood is waiting on the roof of the Rabbit Tower.
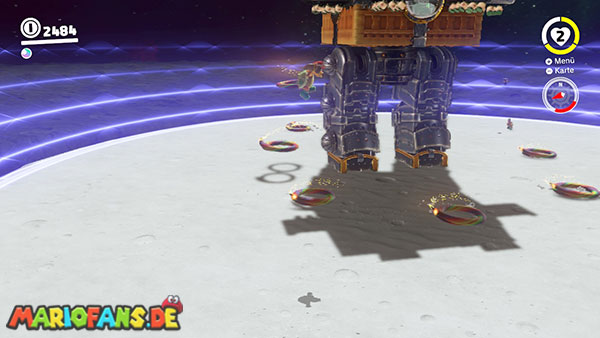
This time, no Pokio are available. Instead, several Hammer Bros. are roaming the arena.
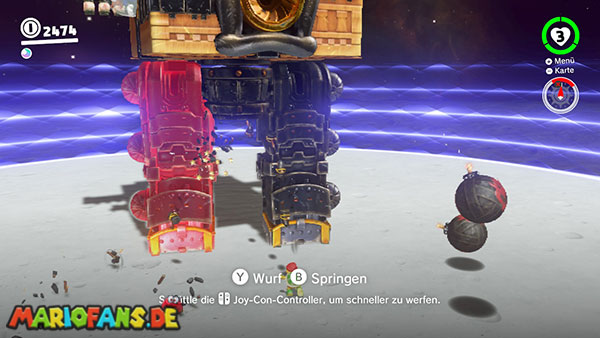
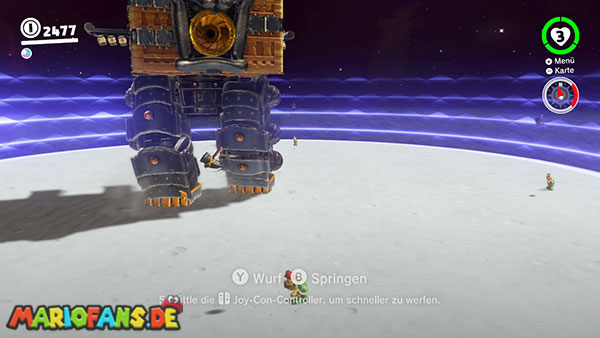
Capture a Hammer Brother and throw his hammers at one of the robot’s legs.
Focus all your attacks on the same leg. By shaking the controller or repeatedly pressing the action button, you can throw multiple hammers particularly quickly.
RoboBrood throws bombs and stomps its feet on the ground. The hammers can also destroy incoming bombs.
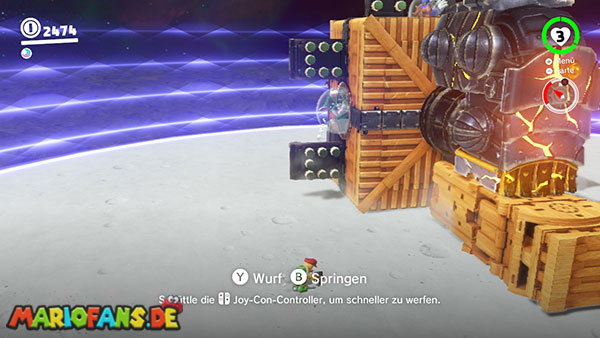
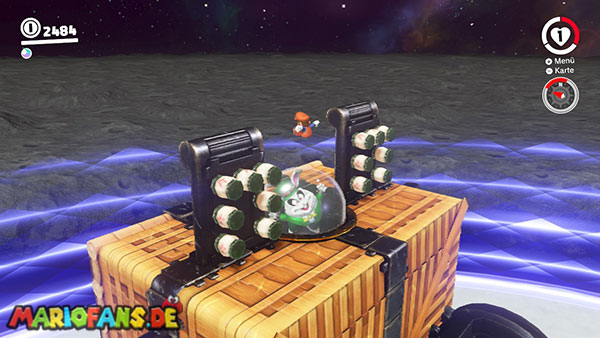
After enough hits, the damaged leg collapses and RoboBrood falls on its side.
Jump over his body to one of the glass domes. Leave the Hammer Bro and perform a ground pound attack on the dome.
One of the Broodals is eliminated as a result.
RoboBrood rights itself and begins the next attack round. With each dome destroyed, the robot moves faster and hurls more bombs.
Capture another Hammer Bro and destroy the next leg. Repeat this process until all four Broodals are defeated.
The Broodals are finally defeated. As a reward, you receive a Multi Moon, the King’s Crown, and the King’s Outfit.
02: Captain Toad on the Dark Side!
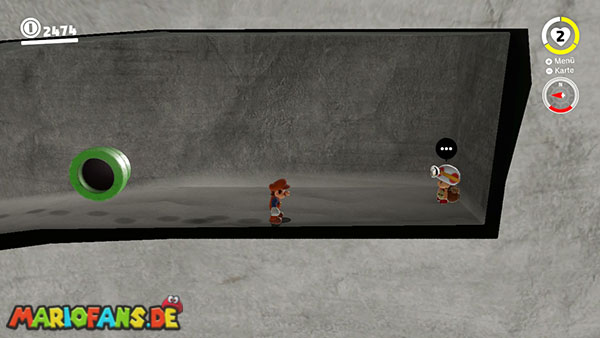
This Power Moon is located in the Rabbit Tower and should be collected on the first ascent.
Defeat Rango on the fourth floor.
At the end of the next corridor is a green pipe that will take you to the battle against RoboBrood.
Do not enter the tube yet.
Go past her on the right and follow the narrow passage into a hidden niche.
Captain Toad is waiting there.
Speak to him to obtain the Power Moon. Then return to the green pipe and continue your ascent.
03: Breakdown Road: Hurry!
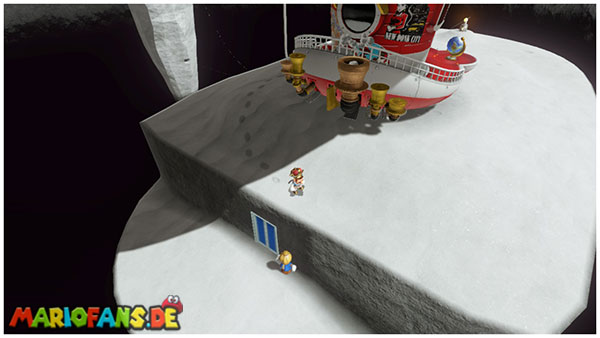
After defeating RoboBrood, several new challenges on the Dark Side will be unlocked.
Jump behind the Odyssey onto the lower platform. There, a scarecrow stands in front of a blue door.
Throw Cappy at the scarecrow and enter the bonus area.
Cappy stays behind at the entrance. Therefore, you can neither use cap jumps nor capture the Bullet Bills.
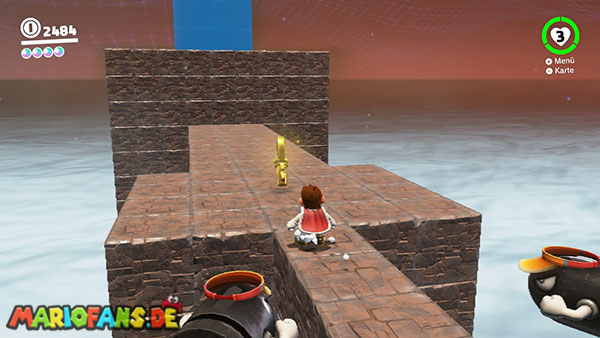
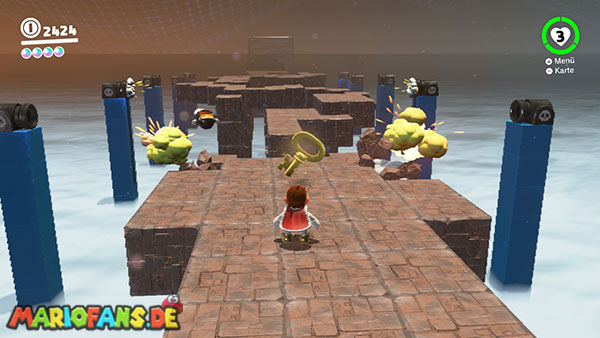
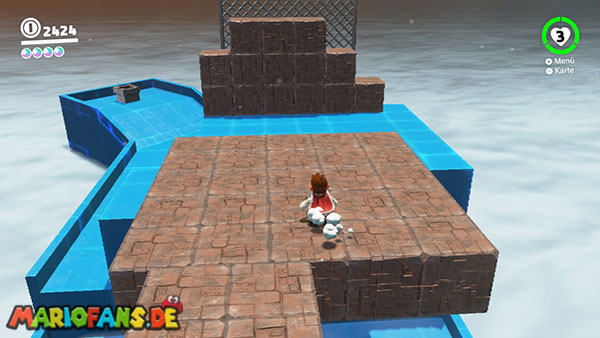
Walk across the crumbling stone slabs to the end of the path. The platforms crumble shortly after being stepped on.
Use mainly long jumps and don’t stop moving.
At the end of the upper path there is a golden key.
Touch it and immediately return to the beginning via the remaining platforms.
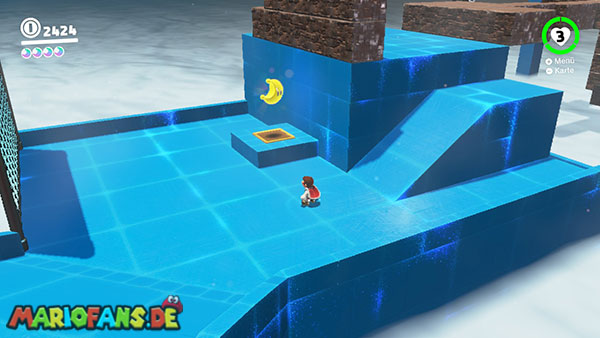
The Power Moon appears on the key socket at the entrance.
It is recommended to collect moon number 4 on the lower level beforehand.
04: Breakdown Road: Final Challenge!
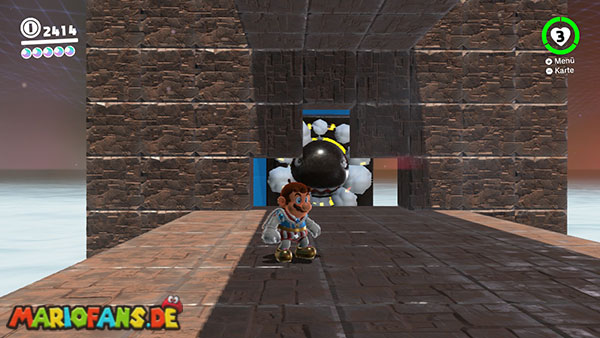
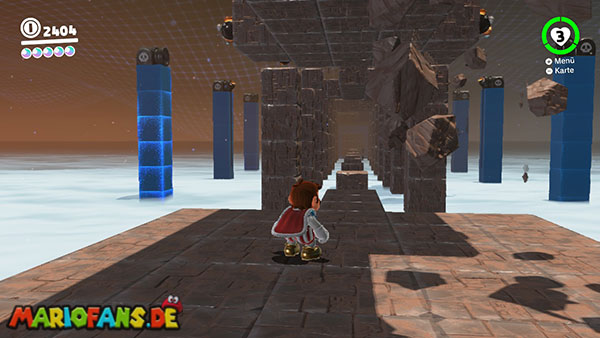
This Power Moon is located in the same bonus area as Moon Number 3.
First, walk to the far end of the upper bumpy street.
Wait there for the big Bullet Bill. Position yourself on the platform so that the enemy flies directly towards Mario.
Jump over the Bullet Bill with a backflip just before the collision.
The enemy destroys the ground beneath you, and Mario falls to a lower level.
Another large Bullet Bill appears there.
Now run back towards the entrance along the narrow row of small stone blocks. Perform the fastest possible long jumps and make sure the Bullet Bill stays behind Mario.
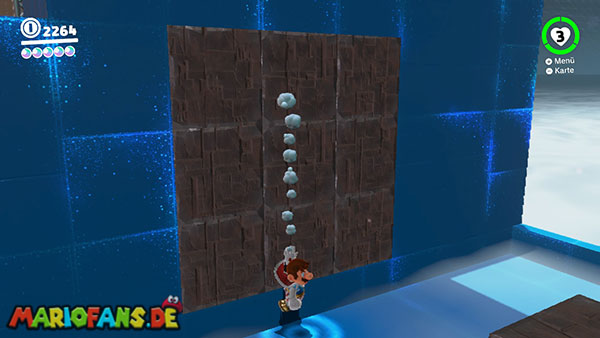
At the end of the route, a brick wall blocks the way.
Stand in front of the wall and jump or duck under the bullet at the last moment.
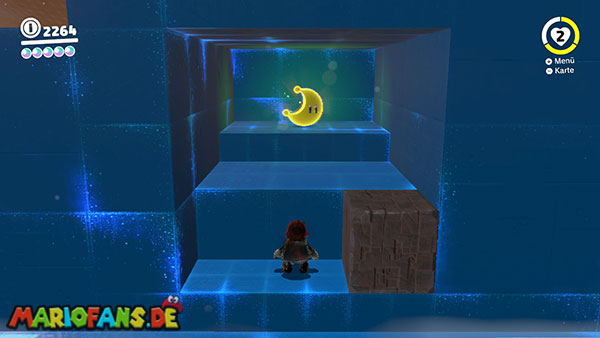
The enemy crashes into the bricks, opening access to the Power Moon.
After collecting them, you can return to the upper route and get Moon number 3.
05: Invisible Road: Rush!
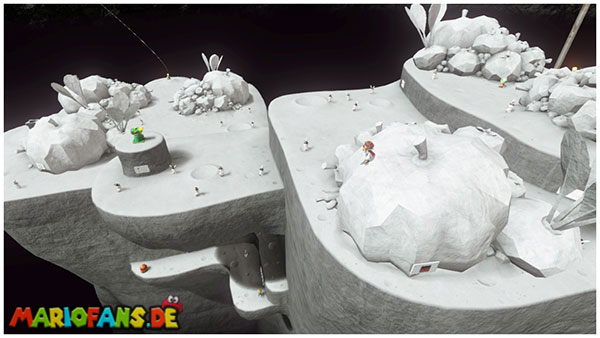
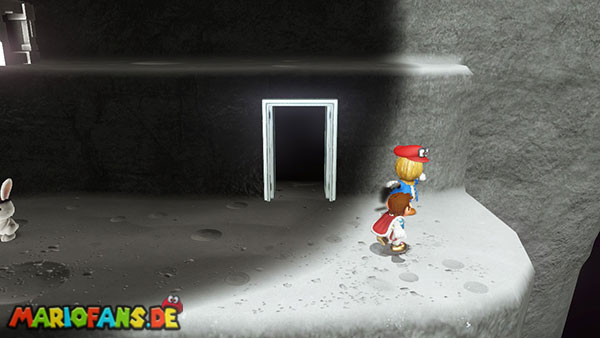
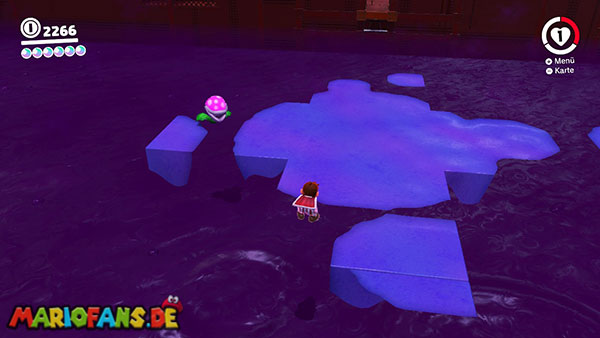
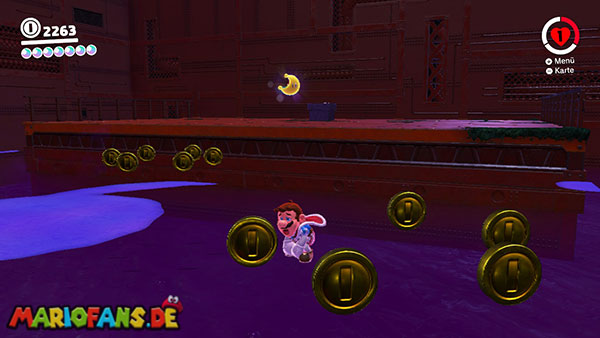
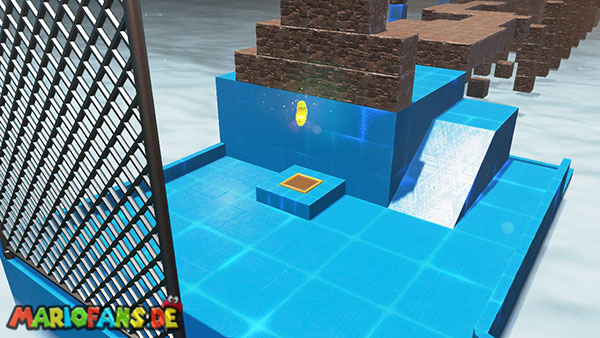
Go to the main island and use the binoculars to look over the edge below the platform.
There is a lower level there with a scarecrow and a blue door.
Throw Cappy at the scarecrow and enter the bonus area.
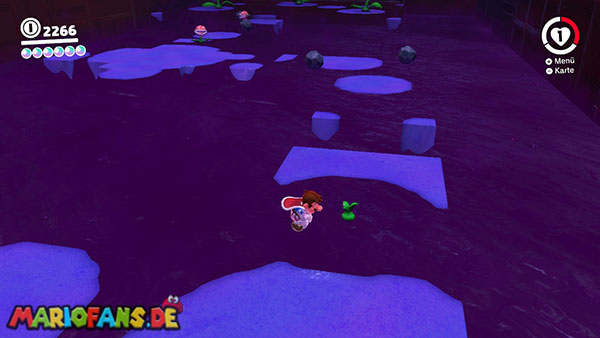
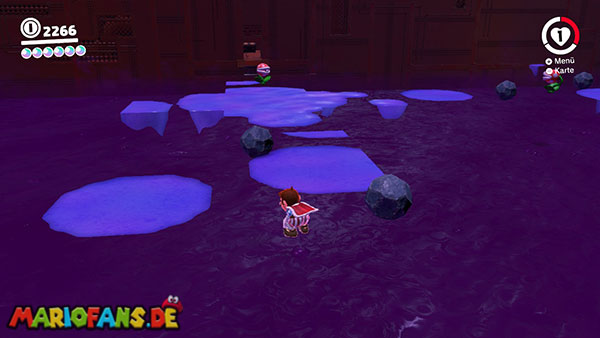
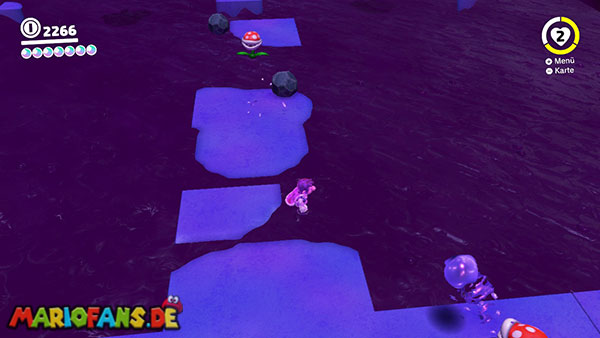
The path is completely invisible. Only the toxic puddles and Mario’s shadow provide clues to the layout of the platforms.
Proceed carefully and don’t jump further than necessary. Since Cappy stays at the entrance, you can’t recover from a failed jump with a cap throw.
In the middle of the section you will reach a cross-shaped, rotating platform.
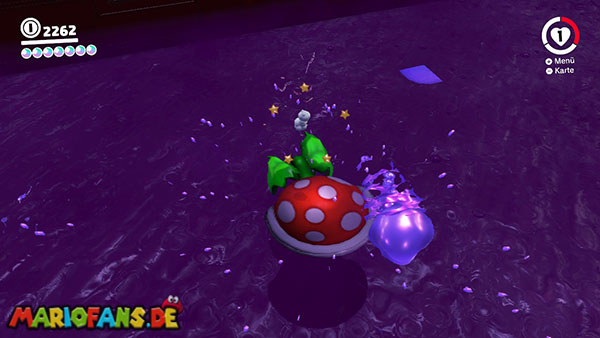
Then follow the invisible path to the back of the room. Three giant poison piranha plants await you there.
Wait until a plant has spat out its poison ball and lowers its head.
Jump on its head or perform a ground pound. If you touch the plant too early, Mario will take damage.
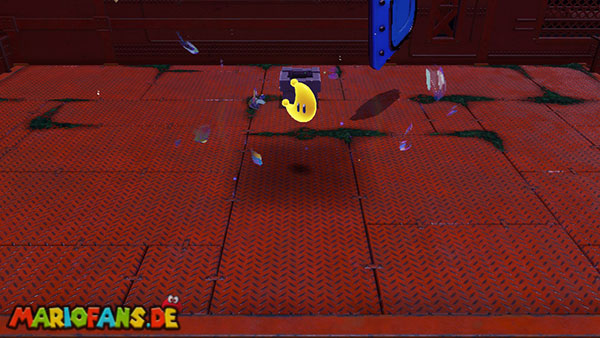
Defeat all three Poison Piranha Plants. The Power Moon will then appear.
06: Invisible Road: Secret!
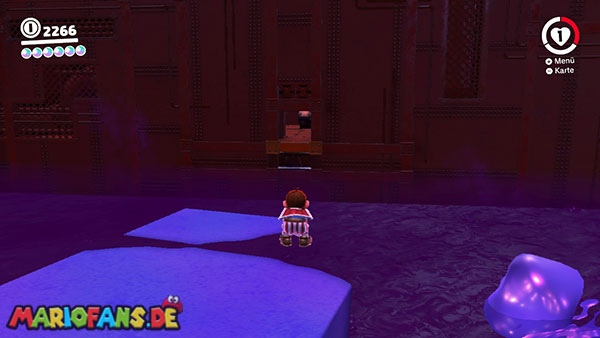
This Power Moon is located in the same invisible bonus area as Moon Number 5.
Follow the invisible path to the cross-shaped, rotating platform in the center of the room.
Jump onto one of the four arms and let yourself be turned to the opposite side.
Look towards the left rock face. There you will see a small rectangular opening.
Between the rotating platform and the hole runs another invisible path.
Walk carefully straight ahead into the opening.
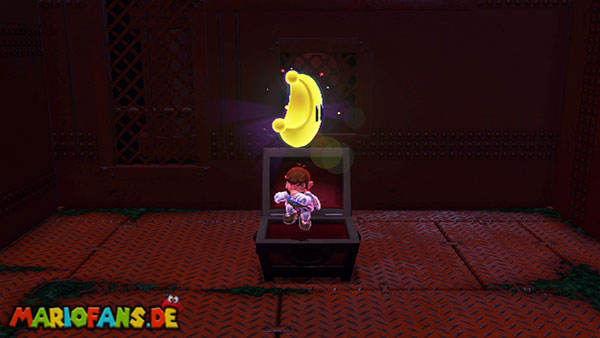
There’s a treasure chest in the hidden room. Since Cappy is unavailable, you’ll have to open the chest with a ground pound.
Inside is the Power Moon.
Then return to the main route and continue on your way to Moon Number 5.
07: Vanishing Road Rush
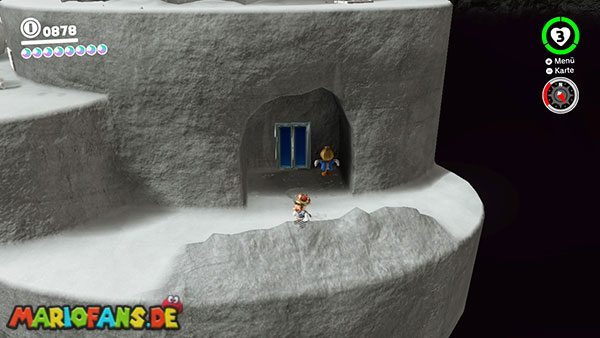
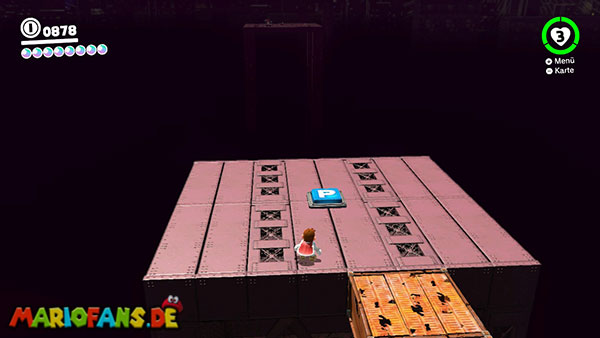
On the northeastern side of the main island, behind a large pile of vegetables, there is a lower-lying niche.
There is a scarecrow standing in front of a blue door.
Throw Cappy at the scarecrow and enter the bonus area.
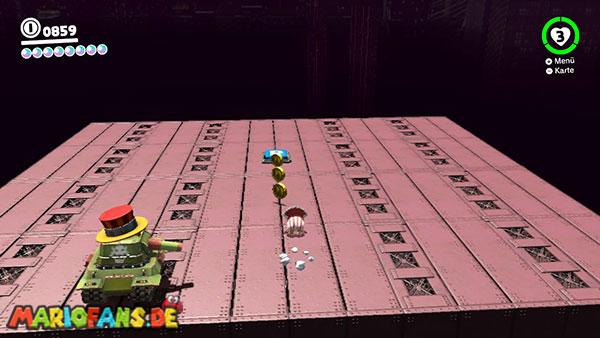
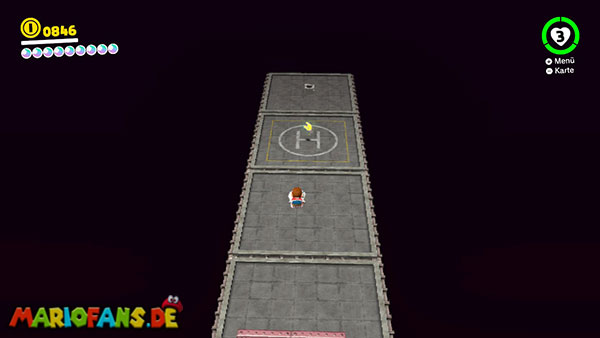
The course consists of three sections. In each section, you must first activate a P-switch. The platforms will then only remain visible for a short time.
First section:
Activate the P switch and roll along the straight stretch while holding down the run button.
Second section:
Roll at full speed over the P-switch. Release the roll just before the steps and perform three quick jumps in a row.
On the longer straight sections, you switch back to rolls and long jumps.
Third section:
Activate the last P-switch and keep to the right.
Jump up the crumbling stairs and use triple or long jumps to overcome the larger gaps.
Then follow the main path to the end.
The Power Moon awaits there.
08: Vanishing Road Challenge
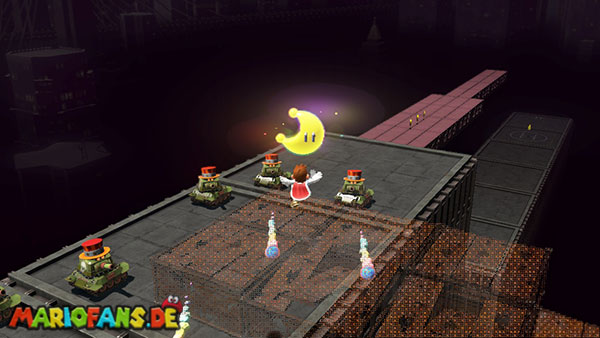
This Power Moon is located in the same bonus area as Moon Number 7.
Work your way to the third P-switch.
Activate it and immediately keep to the right side of the appearing track.
Several crumbling steps lead upwards from there.
Jump across the stairs without interruption, if possible. A triple jump will help you reach the higher steps.
The Power Moon is floating on one of the raised platforms to the right of the normal path.
Collect it before the track disappears.
After that, you can continue walking and collect moon number 7 at the end of the section.
09: Yoshi Under Siege
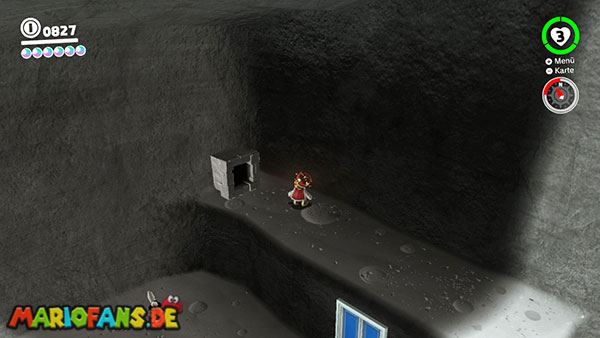
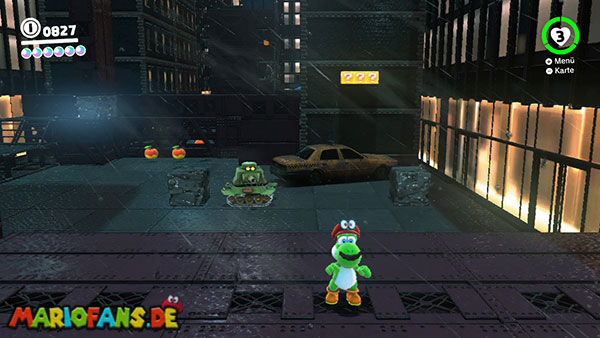
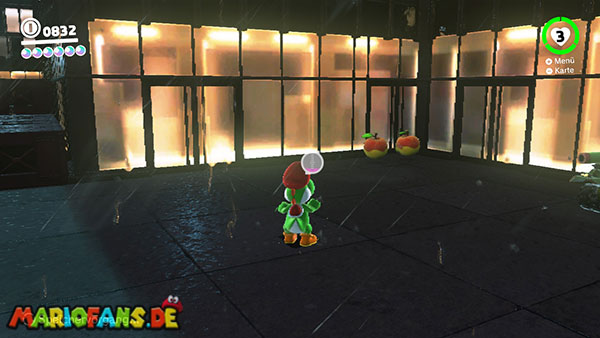
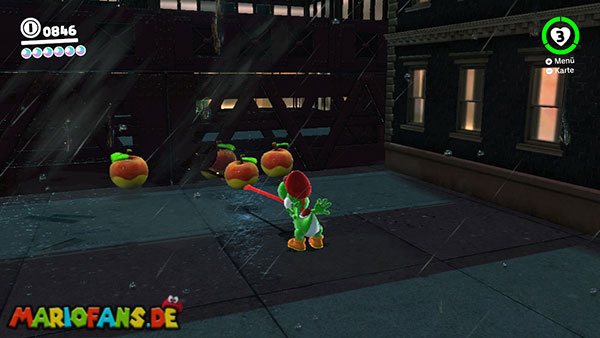
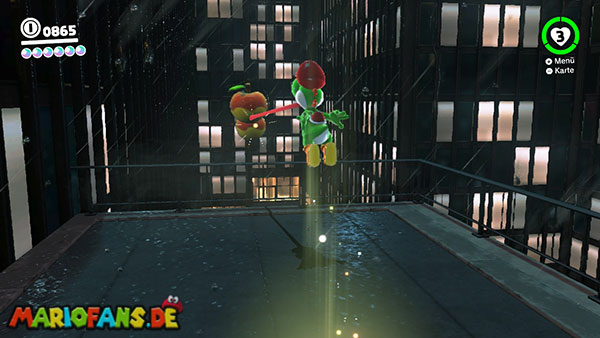
There is a grey moon tube on a platform above the blue door for moons 5 and 6.
Enter it and jump on the Yoshi egg. Then capture the hatched Yoshi.
There are a total of 20 fruits scattered in this area. At the same time, you are being fired upon by several Sherm tanks.
Yoshi needs to eat ten fruits to get his first Power Moon.
Use his long tongue to collect fruit from a safe distance. Yoshi’s flutter flight lets you reach higher platforms and rooftops.
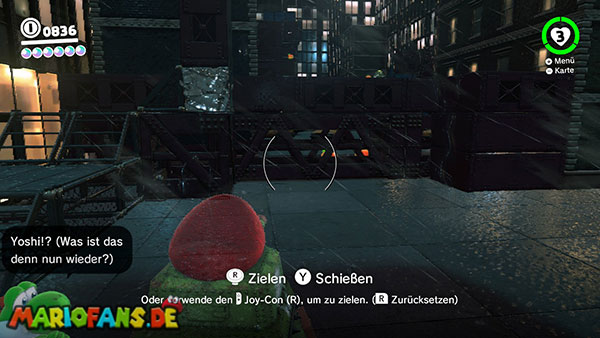
Some paths are blocked by Sherms or destructible blocks. If necessary, briefly capture a Sherm and shoot the obstacles out of the way.
Then return to Yoshi and continue the search.
After Yoshi has eaten ten fruits, the meter fills up completely and the Power Moon appears.
10: Fruit Feast Under Siege
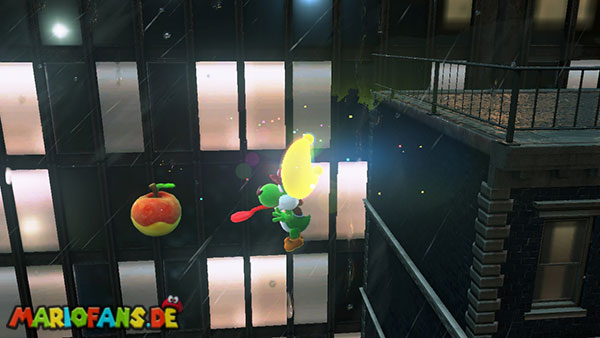
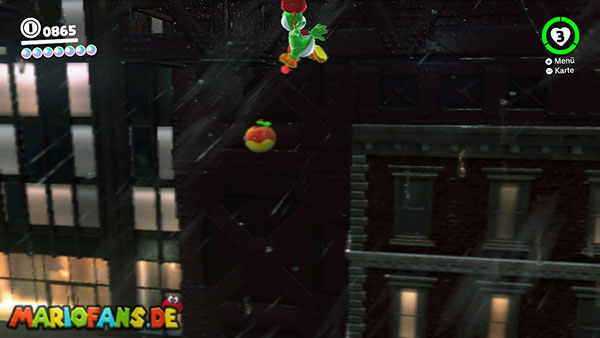
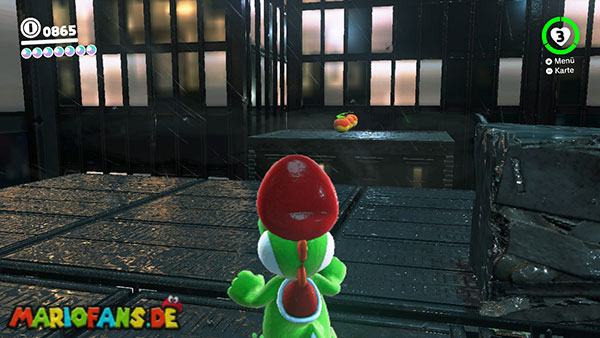
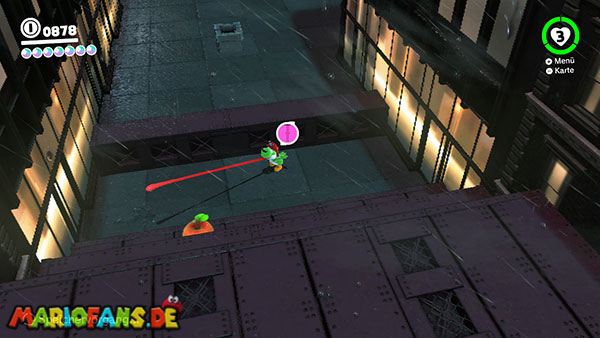
This power moon is located in the same area as moon number 9.
Yoshi also has to eat the remaining ten fruits, so that in the end all 20 fruits are collected.
Examine the elevated platforms, roofs, and rear sides of the buildings particularly thoroughly.
Some fruits are floating above narrow ledges. Use Yoshi’s flutter flight and stick out his tongue at the highest point to pull yourself onto the platform.
Sherm tanks can quickly drain Yoshi of all his health. Therefore, keep moving or destroy the enemies before you even begin your search.
Fruits you’ve already eaten will be saved, even if you’re defeated in the bonus area.
After Yoshi has eaten the last ten fruits, the second Power Moon appears.
11: Yoshi on the Sinking Island
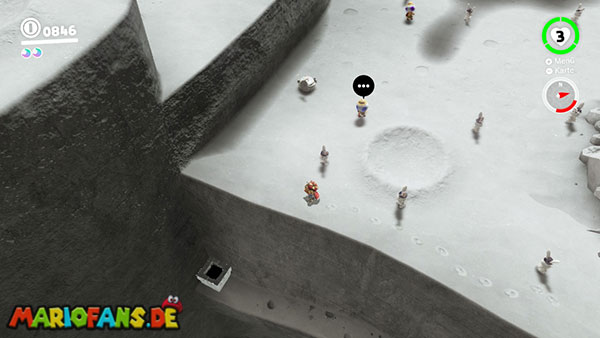
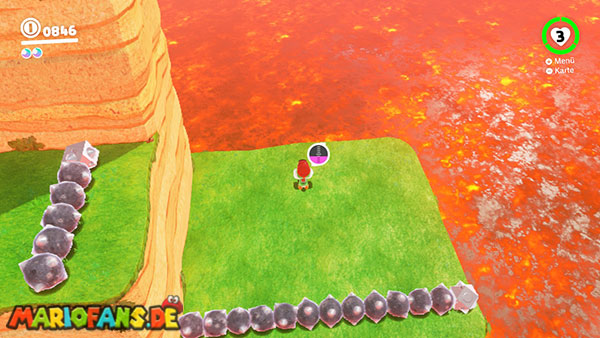
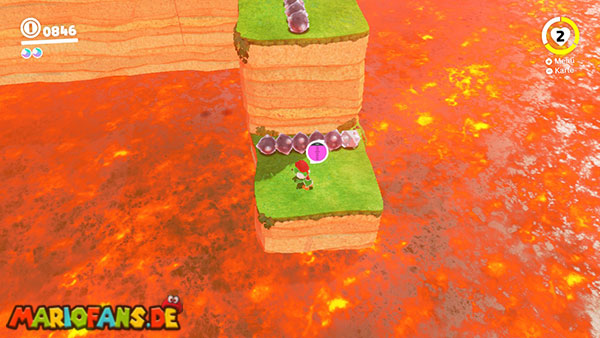
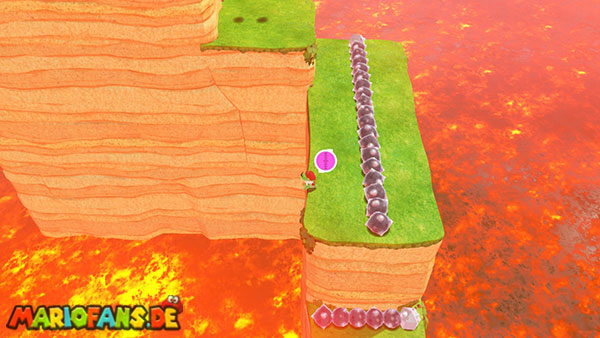
Go to the lowest level of the central island.
Near Uncle amiibo, a narrow platform leads down the left cliff. There you’ll find a grey moon pipe.
Enter the tube and capture Yoshi.
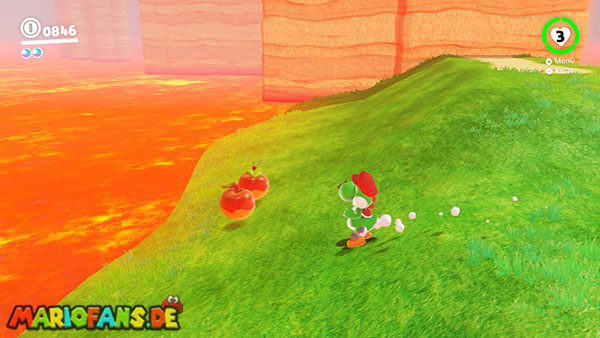
The island in the bonus area is slowly sinking into the lava. Therefore, you must continuously work your way up from one level to the next.
There are 20 fruits scattered here as well. Yoshi needs ten of them for his first Power Moon.
Make sure you eat both fruits on the starting platform before you jump up.
Use Yoshi’s flutter flight to reach the higher ledges.
Some of the steps are too high for a normal flutter flight. At the highest point, extend Yoshi’s tongue towards the edge. If it hits the designated surface, Yoshi will pull himself forward onto the platform.
Don’t stay on one level for too long, as the lava is constantly rising.
After ten fruits, the Power Moon appears.
12: Fruit Feast on the Sinking Island
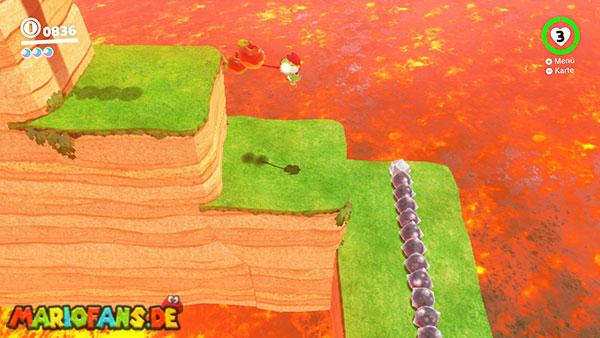
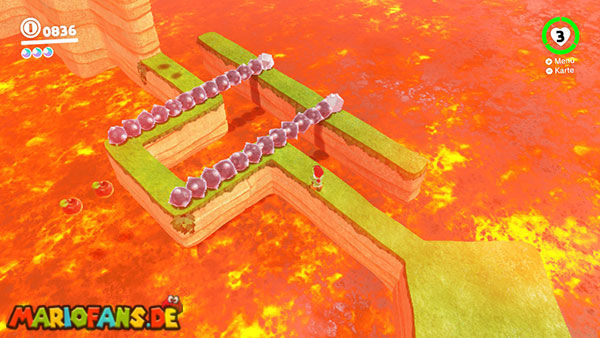
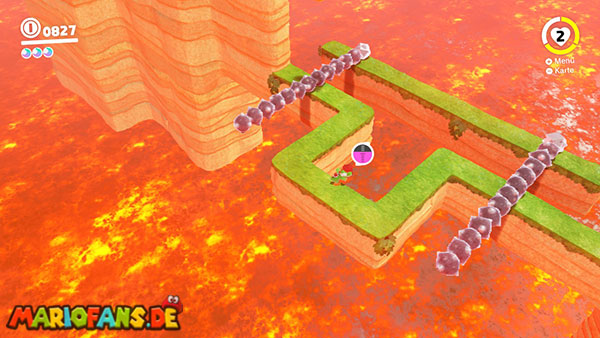
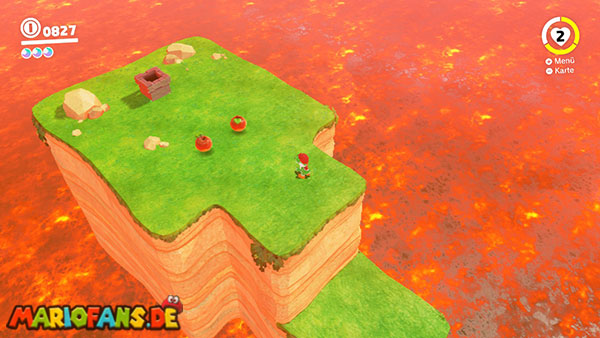
This Power Moon is located in the same bonus area as Moon number 11.
Yoshi has to eat all 20 fruits.
Don’t forget the two fruits on the starting platform. Then work your way systematically from the bottom level upwards.
Collect all the fruit on each level before jumping to the next ledge. The rising lava will prevent you from returning to the lower levels later.
Also look out for fruit on the backs of the rocks and on small side platforms.
Regularly use the combination of fluttering flight and tongue pulling to reach distant edges.
Fruits you have already collected will be retained if you fall into the lava and restart the section.
The second Power Moon appears after the twentieth fruit.
13: Yoshi’s Magma Swamp
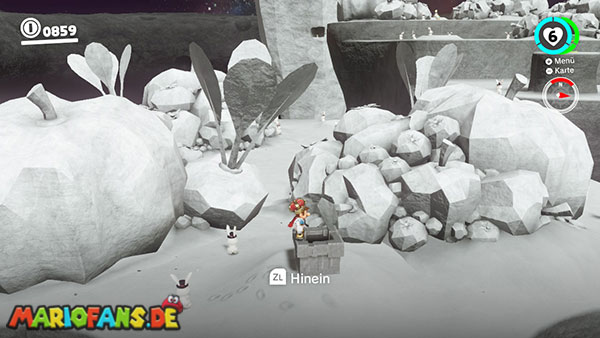
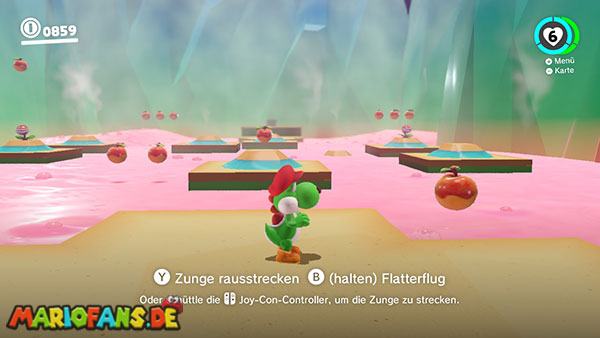
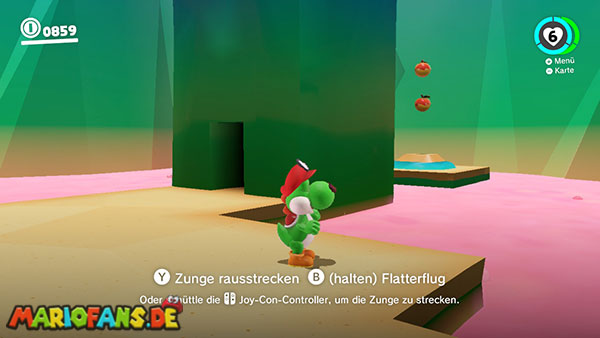
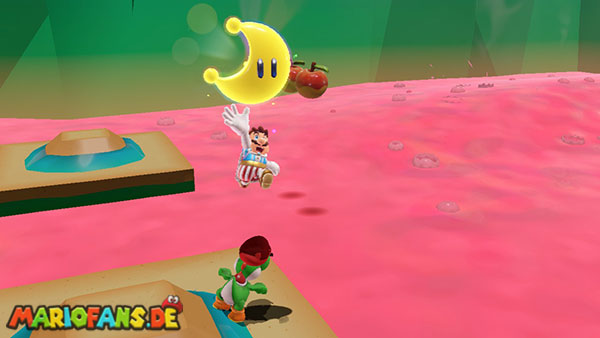
Go to the lowest level of the central island and keep to the right.
Behind a large pile of vegetables is a grey moon tube.
Enter her and capture Yoshi.
In the bonus area, several platforms float in a magma swamp. The individual islands rise and fall regularly in the lava.
On any platform, only the middle remains permanently safe.
Wait until an island has completely emerged from the magma, then jump across using Yoshi’s flutter jump.
To get your first Power Moon, you need to eat ten of the 20 fruits.
Start with the clearly visible fruits on the front platforms and then work your way around the room.
After jumping, return to the center of the respective island as quickly as possible.
After ten fruits, the Power Moon appears.
14: Fruit Feast in the Magma Swamp!
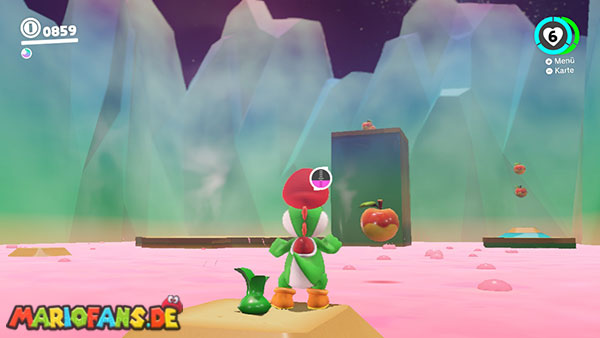
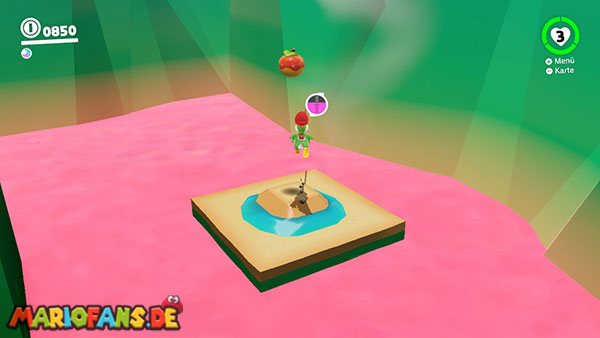
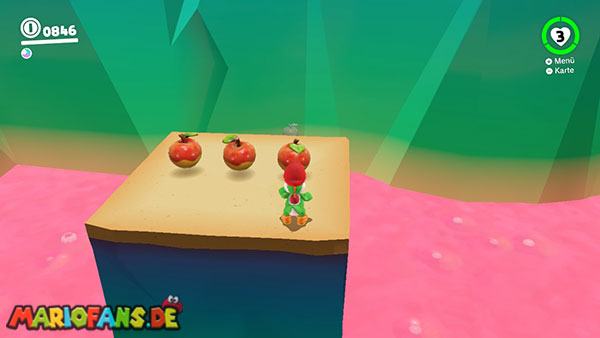
This power moon is located in the same magma swamp as moon number 13.
Yoshi has to eat all 20 fruits.
The easiest fruits to miss are located at the green tower near the entrance:
- Three fruits lie on the roof of the tower.
- Three more fruits are located at the back of the building.
Jump up to the right of the entrance door. Several invisible blocks will appear.
Stand on the blocks and use Yoshi’s flutter flight.
At the highest point, it extends its tongue towards the roof so that it can pull itself up to the upper level.
Collect the three fruits there and then jump to the back of the tower.
Then check all sinking islands in the magma swamp again.
The second Power Moon appears after the twentieth fruit.
For Power Moons 15 through 24, you must first examine the corresponding clue art on the Dark Side. Stand in front of the image and press the action button. Only then can the hidden moon be found in the corresponding country.
15: Found with Dark Side Art 1
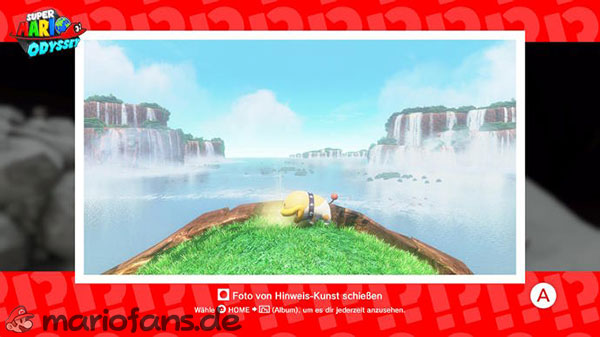
The first clue image is located on a large pile of vegetables in the southwestern part of the central island.
The drawing shows an archaeological site in the Cascade region.
Travel to the checkpoint Above Fossil Falls.
Cross the bridge to the large western island and walk to its northeastern edge.
The spot you’re looking for is located slightly diagonally behind the stone steps. Position the camera so that the waterfall and the precipice match the reference image.
Perform a ground pound attack on the light-colored ground near the cliff.
Then the Power Moon appears.
16: Found with Dark Side Art 2
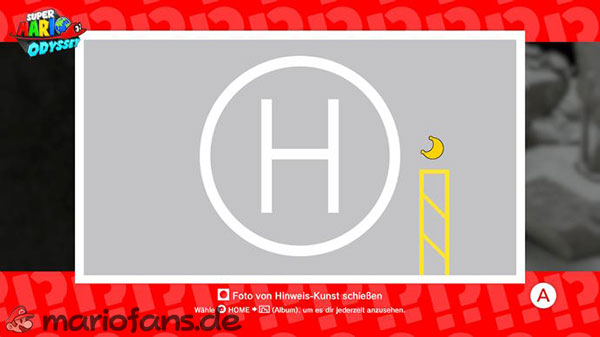
The second clue image is hanging on the back of a large pumpkin in the southwestern part of the central island.
It shows the heliport in Metro Kingdom.
Travel to the checkpoint Heliport.
On the ground there is a large white H surrounded by yellow markings.
Compare the position of the yellow stripes with the reference image.
Stand on the marked yellow area next to the H and perform a ground pound.
The power moon emerges from the ground.
17: Found with Dark Side Art 3
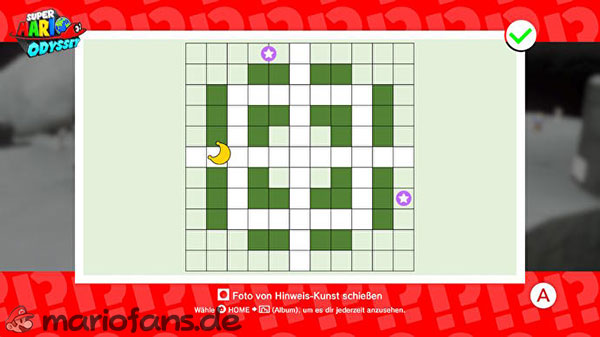
The third clue image is located on the back of the second large pumpkin in the southern part of the central island.
The picture shows the hedge garden in the Mushroom Kingdom.
Journey to the garden east of the Peach’s Castle.
Go to the western side of the hedgerow. Look for the spot between the two outermost bushes, marked on the reference image.
The purple coins in the area can serve as a guide.
Perform a ground pound between the two hedges.
The Power Moon appears in the correct position.
18: Found with Dark Side Art 4
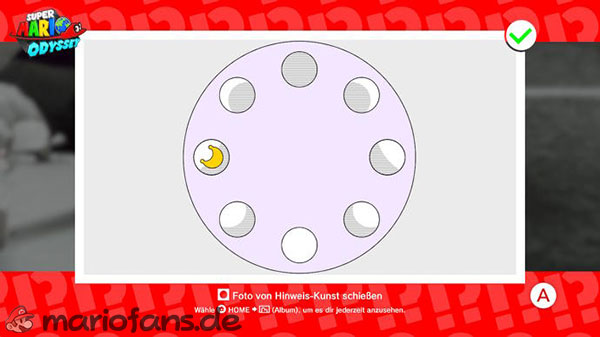
The fourth clue image hangs on a wall on the lower level of the central island, not far from the previous image.
The drawing depicts the circular elevations in Cloud Kingdom.
Journey to the great main plateau of Cloud Kingdom.
The surface has several round bumps in different shapes.
Look for the circular platform in the northwestern area. Its shape corresponds to the circle marked on the clue artwork.
Stand in the exact center of the mound and perform a stomping attack.
The position must be very precise. Then the Power Moon appears.
19: Found with Dark Side Art 5
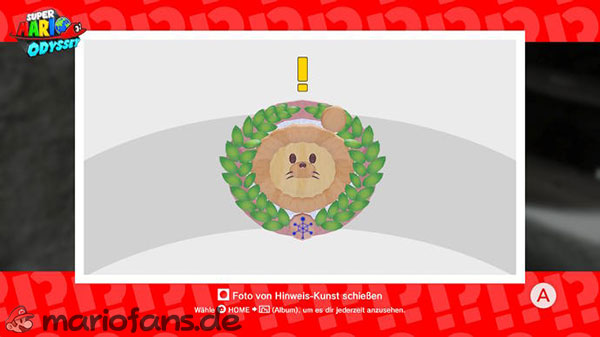
The fifth clue image is located on a hidden lower level on the east side of the central island.
The drawing shows a wooden arch on the snowflake slope in the polar region.
Travel to the Shiveria Town and make your way to the racetrack.
At the entrance to the lower level stands a wooden archway with a Shiverian emblem.
Jump onto the top of the arch. A backflip followed by a canter and dive will help you climb up.
Stand directly over the emblem and perform a ground pound attack.
Then the Power Moon appears.
20: Found with Dark Side Art 6
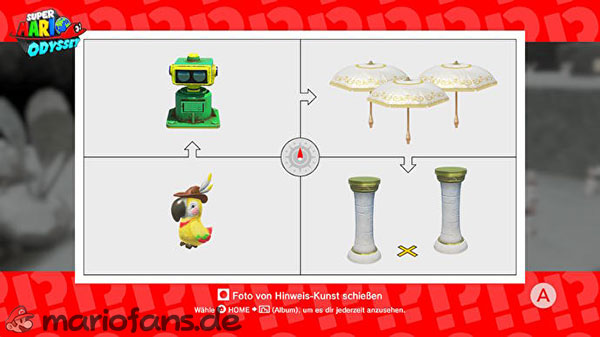
The sixth clue picture is hanging on the small tower on the central island, where the binoculars are located.
The puzzle refers to the Rolling Canyon in the Seaside Kingdom.
Travel to the Rolling Canyon checkpoint.
Go to the seashore near the entrance of the gorge.
There are two individual stone pillars standing next to each other.
Stand precisely between the two pillars and perform a ground pound.
The Power Moon appears at the marked location.
21: Found with Dark Side Art 7
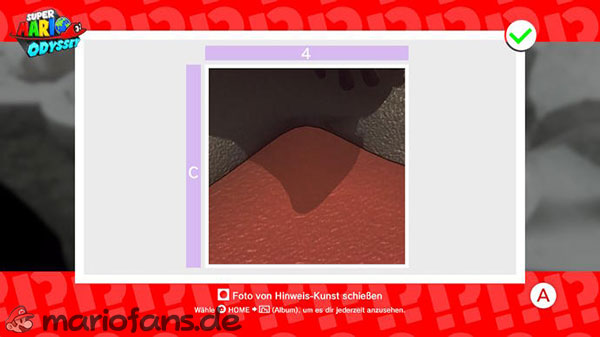
The seventh clue image is located on the back of a large pumpkin on the northeastern side of the central island.
The drawing shows a corner of the ground in the Lost Kingdom.
Travel to the Odyssey and open the map. The location you are looking for is approximately in map square C4.
Go to the northeastern tip of the lower peninsula where the Odyssey landed.
There, the reddish soil and the dark brown surface meet in a clearly recognizable corner.
Stand directly on this border line and perform a ground pound.
Then the Power Moon appears.
22: Found with Dark Side Art 8
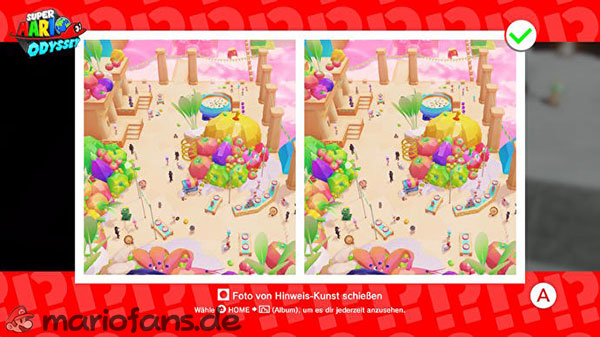
The eighth clue picture hangs on a small wall in the north of the central island.
The drawing shows the gourmet area in gourmet land from a bird’s-eye view.
Travel to the Peronza Plaza checkpoint.
Go to the southeast corner of the square. The large blue cooking pot is there.
Besides the pot and the outer row of columns, a gourmet is missing in one place.
Stand in the open space between the cooking pot and the second outer pillar.
Perform a ground pound attack there to reveal the Power Moon.
23: Found with Dark Side Art 9
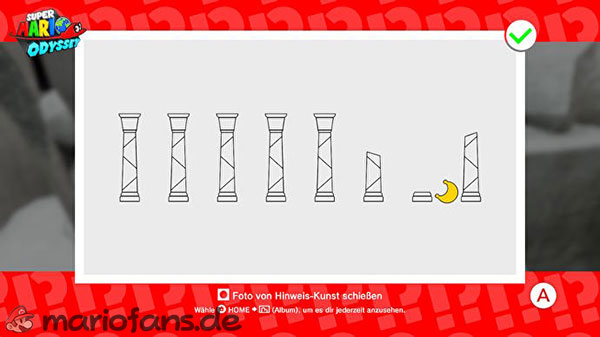
The ninth clue picture is located slightly further to the right on the same wall as picture number 8.
The drawing shows a row of columns in Lake Kingdom.
Travel to the Lake Lamode checkpoint – Showcase.
Jump to the lower level on the outer wall of the Lake Lamode.
Several columns stand side by side on the right. One of them is broken and can only be seen as a small stump.
Stand between the stump of the broken column and the outermost, still complete column.
Perform a ground pound at this point.
The power moon emerges from the ground.
24: Found with Dark Side Art 10
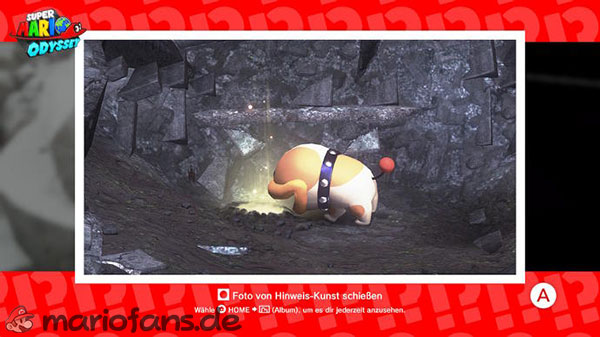
The last clue image is located on the back of the large pumpkin in the far northeast of the central island.
The drawing shows Poochy at a collapsed site in the ruined land.
Journey to the Odyssey in the land of ruins.
Follow the path towards the large stone staircase.
Right at the beginning of the path, on the eastern or right-hand side, there is a collapsed section next to a small rubble wall.
Compare the position of the wall and the stairs with the reference image.
Perform a ground pound on the damaged ground.
This marks the appearance of the last Power Moon of the Dark Side.