

A goldfish glass as a space helmet
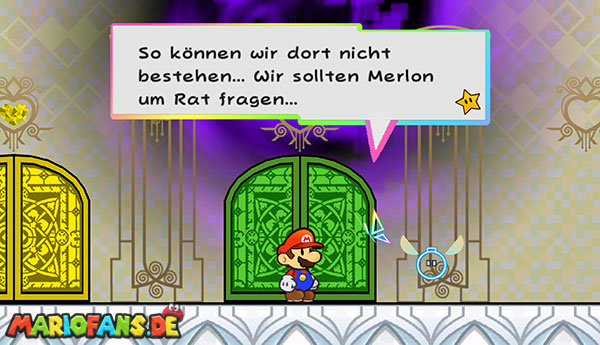
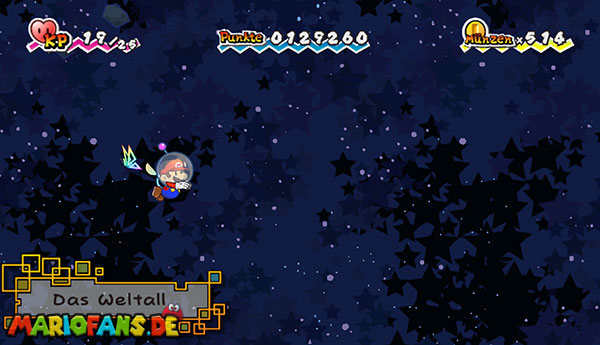
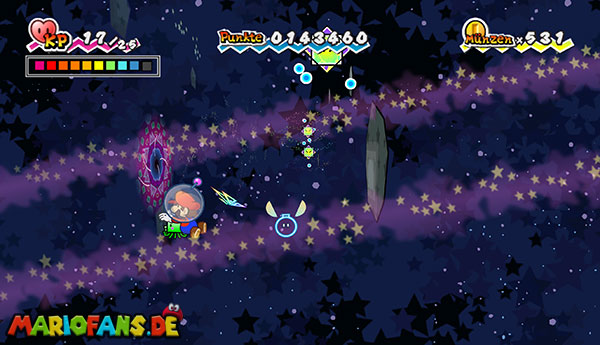
Enter the new green door on the Flipside Tower. However, the first trip into space ends faster than expected: In a vacuum, the heroes can not breathe and are immediately brought back to Flipside by Tippi.
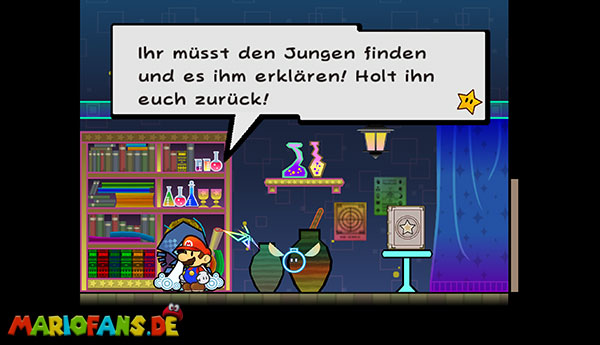
Drive down from the tower to the second level and visit Merlon. He tells you that a helmet could solve the problem. However, he gave a suitable object to a boy some time ago.
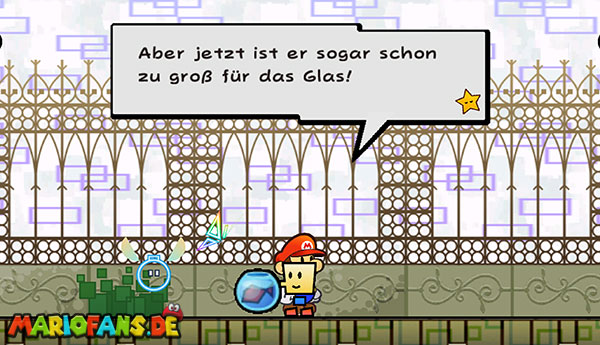
Leave Merlon’s house and use the elevator to the right of the hostel. Take it up to the third level of Flipside. Directly to the left of the elevator stands the wanted boy with a goldfish glass.
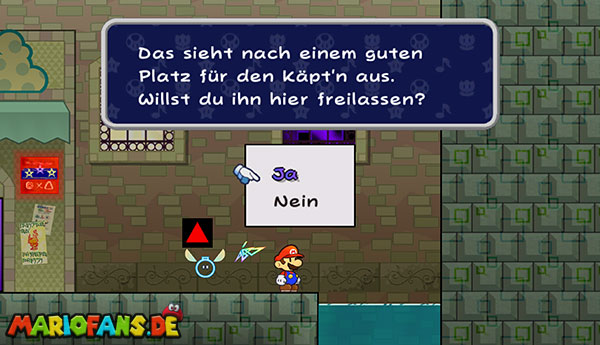
Speak to him. He is ready to give you the glass, but wants to release his goldfish in a suitable place beforehand. The only larger pool in Flipside is located in the first basement.
First, return to the second level. Then use the left elevator to go down to the first level. Run right there and take the next elevator to Flipside U1.
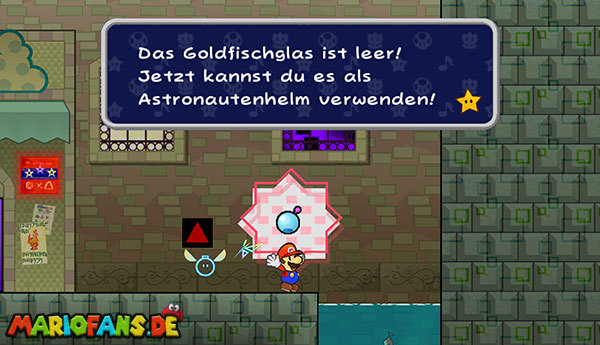
Go to the water basin and stand directly on the edge. Open the menu of important items and use the goldfish glass. The fish is released into the water and the empty glass turns into a helmet.
Optional: Have the InterFred card No. 204 not yet collected, you can make it now. Switch to the 3D view on the waterfront and look for the hidden niche on the other side of the basin.
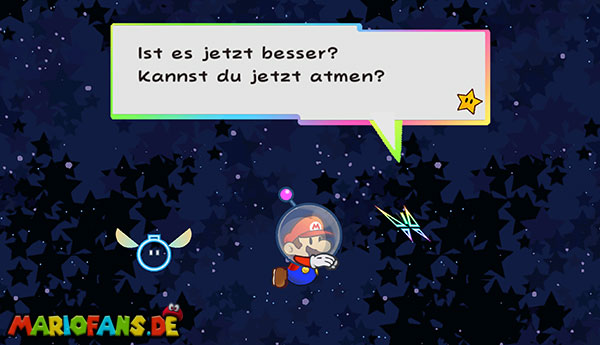
Then use the retreat tube or elevators to return to the Flipside Tower. Go through the green door again. Thanks to the helmet, Mario and his companions can remain safe in space this time.
The SOS signal and squirps
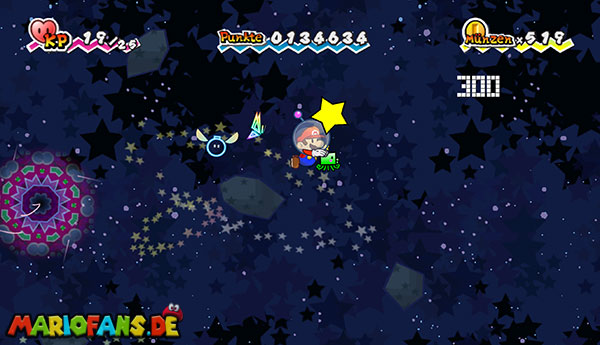
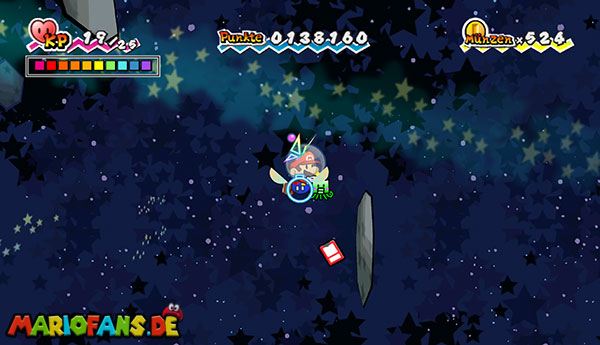
There is no gravity in space. Move freely in all directions with the control cross and hover from the starting point down to the right.
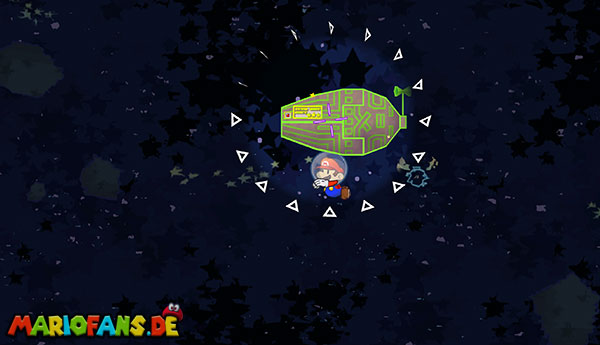
After a short time, several SOS signals fly through the image. Follow them down to the right until you reach a group of sparkling stars. Although there seems to be nothing to see here, there is a hidden spaceship at this point.
Point the Wii at the screen and examine the sparkle with Tippi. It makes the invisible spaceship visible. Approach the ship and examine it.
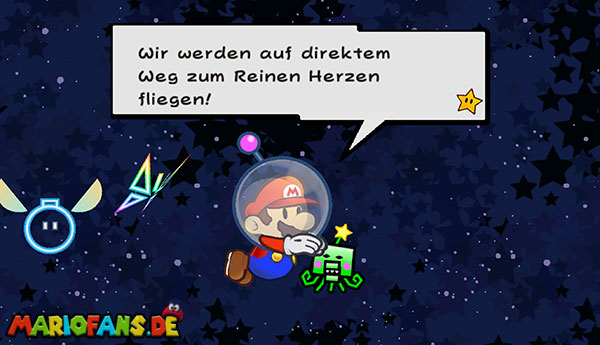
From the inside, the alien Squirps appears. He is in search of the Pure Heart and decides to accompany you on your way through space.
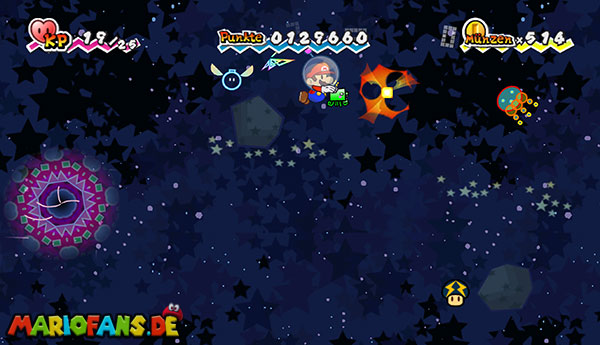
First, squirps needs some energy. Hold the A button for a few seconds and then release it. Squirps uses the collected energy to open a violet vortex.
Fly into the vortex and you will be transported to another area of the universe.
Squirps now serves as a living radiation cannon. Presses the 2 button while flying to fire energy shots forward. This allows you to eliminate enemies and destroy certain blocks from a safe distance.
Photon Map and Space Labyrinth
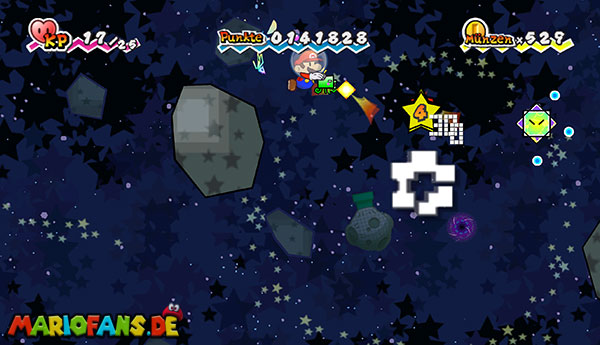
Fly right in the first shot section and eliminate the quallias and photons with Squirps‘ energy beams. The beams can be fired quickly one after the other, so you should press the 2 button several times for larger enemy groups.
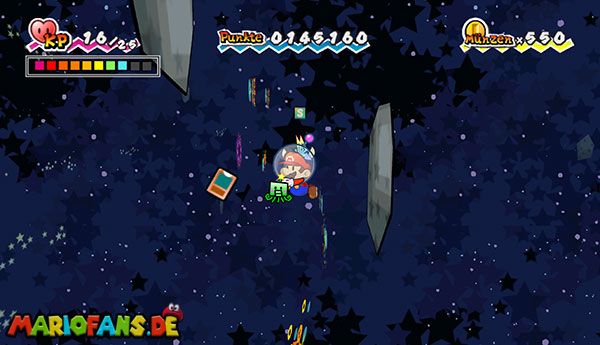
On the way, look for a large asteroid just before the Save Block. Switch to the 3D view with Mario and fly behind the rocks.
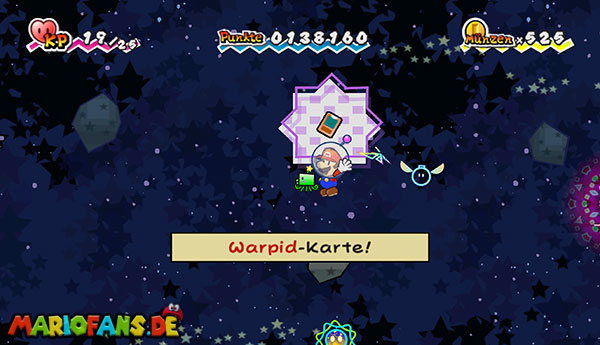
There is a chest with the photon card No. 133. The map will cause double damage to all photons in the future.
Return to the foreground, use the Save Block and fly through the violet vortex at the right end.
Two vortices continue in the following region. Both bring you to the same general section, but the upper path is a little shorter. Therefore, fly to the right and use the upper of the two vertebrae.
After the transport, you continue your way to the right again and fly through the single violet vortex at the end of the section.
The Hidden Super Catching Card
In the next area you can first fly to the right. The path ends there on several asteroids and circular photon opponents.
Switch to the 3D view of the large asteroid and search behind the rock. There is a well-hidden super-catching card.
A super catch card can, with a very high probability, permanently capture an opponent as a catch card. Save them best for a rare or particularly strong opponent.
Then return to the 2D view and fly all the way to the left. Ignore the vortex through which you entered this area. At the far left end you will find another violet vortex.
Fly in and you get to the last major section of the chapter.
The Secret Coin Room
In the last section, follow the path to the right. Along the way, you will encounter all types of enemies you have encountered in space so far. It is best to fire continuously with squirps to keep the way clear.
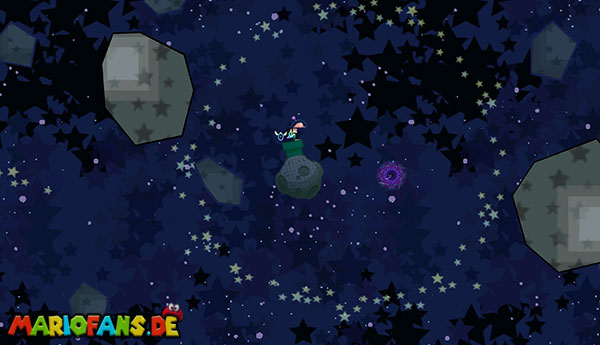
After about half of the section, you see a small violet vortex and a strikingly shaped planet in the background. However, the direct path appears to be blocked by a large asteroid.
Switch to the 3D view with Mario. Behind the asteroid, you discover a hidden vortex that transports you into the background.
Fly there to the left to the small planet and climb into the green warp pipe on its top. You get into a secret room with numerous coins.
First collect all visible coins. Then switch to the 3D view to discover more coins and hidden coin blocks.
Then return to space through the warp pipe and use the violet vortex to return to the foreground.
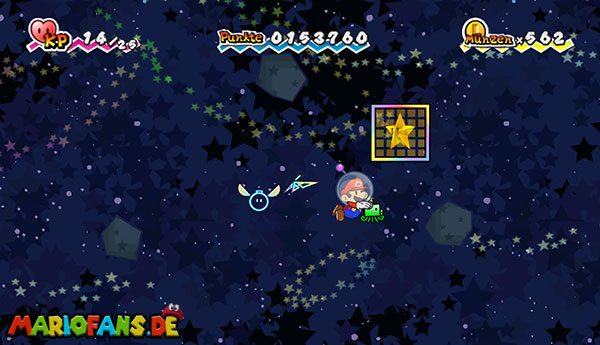
Now fly to the right. Eliminate the last enemies with squirps and follow the path to Star Block.
Jump or hover against the star block. This concludes chapter 4-1 and you reach the small planet Planet Blobule.