

Tippi and the Hidden Way
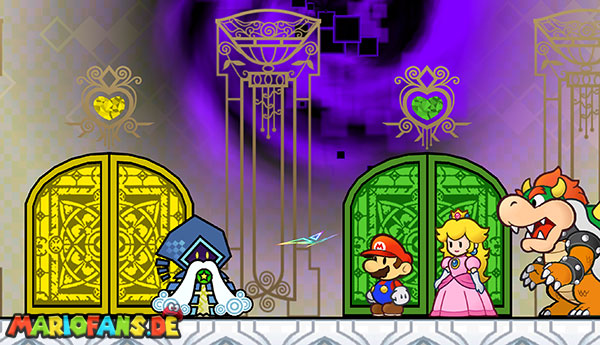
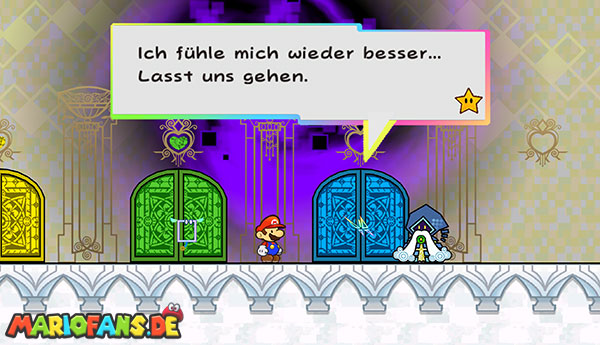
After returning from the Whoa Zone, everything seems to take its usual course at first. But Tippi suddenly loses her strength and collapses. Merlon takes care of her while Mario and his companions search for the next Heart Pillar.
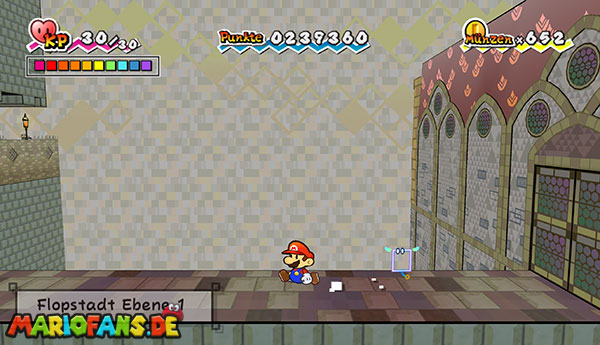
Leave Merlon’s house and use the elevator to drive down from Level 2 to Level 1 of Flipside.
Run to the right until you reach a clearly visible breaking point in the wall at the extreme end of the city. If you have already opened this access during an earlier visit, you can go directly through it.
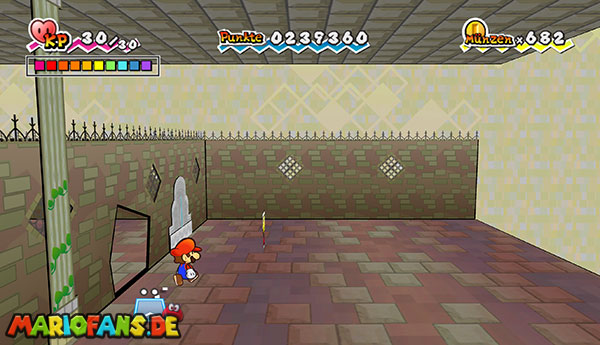
Otherwise, your boomer will drop off before the crack and blow up the wall. Then switch to the 3D view with Mario and walk through the resulting opening.
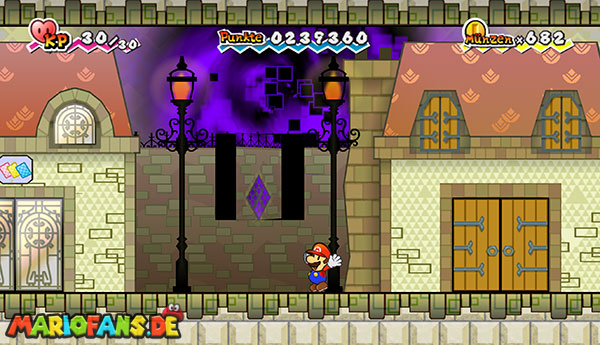
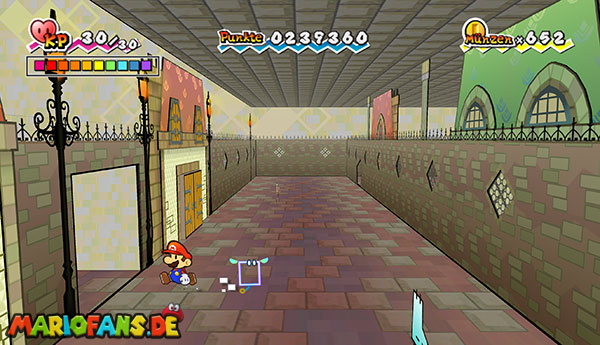
On the other side, you’ll find yourself in a narrow alley behind the buildings of Flipside. Switch back to the 2D view and run to the left.
Between the two houses a bright, lightning crack flickers. Stand in front of it and use Fleep. He turns the mark over and brings out a blue switch.
Jump to the switch. On the left, a previously blocked passage opens. Switch back to the 3D view and follow the narrow path to the door at the end.
Go inside.
The Mystery of the Eight Colored Blocks
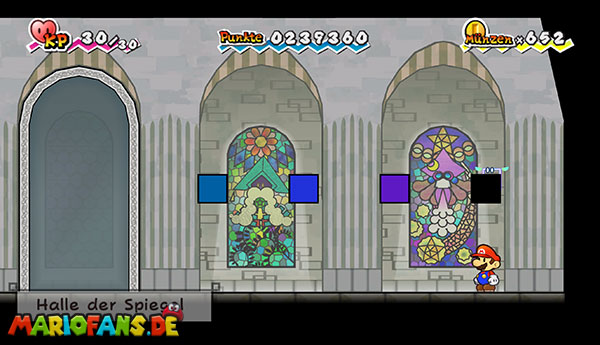
You are now in the Mirror Room. In front of you are eight different colored blocks next to each other.
The inscription in the alley already gave you the decisive hint: Each of the eight blocks must be activated exactly once.
The safest way is to jump the blocks in sequence from left to right. Make sure not to accidentally hit a block twice.
Once you have solved the puzzle correctly, the reflecting wall disappears in the background and opens a new path.
Note: If you have activated a block twice or lost the overview, you leave the Mirror Room and enter it again. This resets the puzzle.
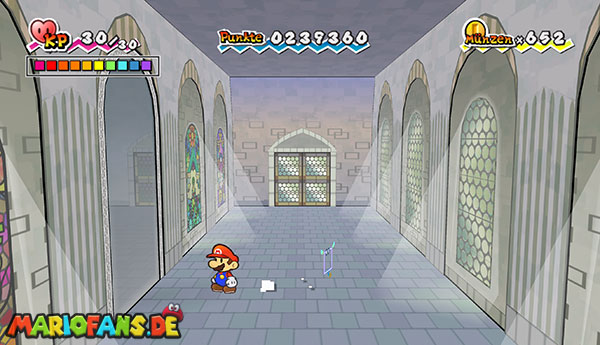
Now switch to the 3D view with Mario and walk through the open mirror into the rear half of the building. There you reach another door.
Go through it and switch back to the 2D view. You will quickly notice that the entire place is set up in a mirror-inverted way.
Run to the left, leave the building and follow the path towards the city wall.
Welcome to Flopside
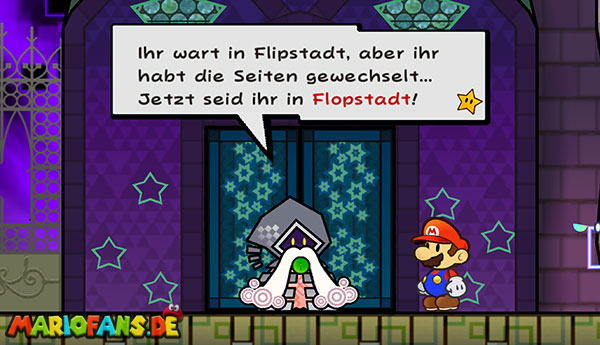
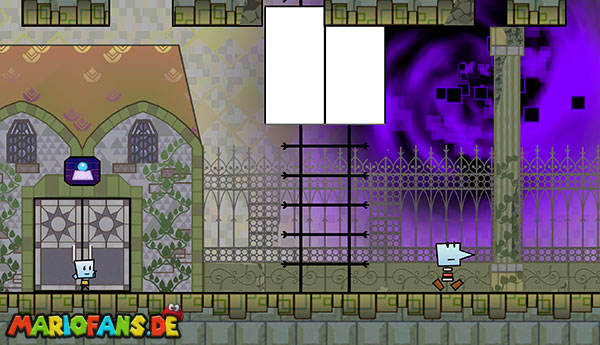
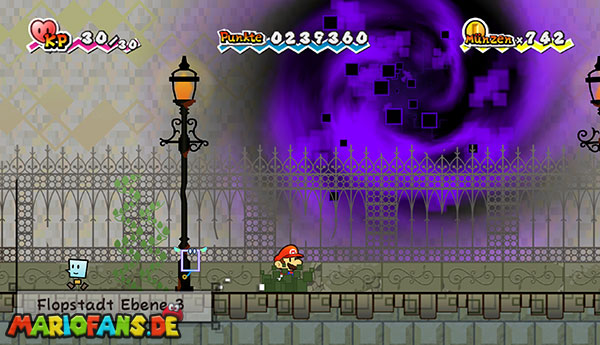
You’ve reached Flopside – the darker, mirror-inverted counterpart to Flipside. Buildings, elevators and paths are mostly in opposite positions.
Run to the left in the 2D view until you reach the city wall. Switch there to the 3D view and go through the lateral opening in the wall.
Switch back to 2D and follow the path to the right. Walk past the first elevator and use the second elevator further to the right, which takes you up to level 2 of Flopside.
Directly to the left of the elevator is the house of Norlem, the flopside counterpart to Merlon. Talk to him.
Norlem tells you more about Flopside and explains that the remaining heart pillars are on this side of town. After the conversation, you can save your progress on the nearby Save Block.
Before you leave for the Heart Pillar, you should unlock an extremely practical shortcut. Run all the way to the left on level 2 until the visible path ends.
Switch to the 3D view with Mario and move towards the background. There you discover a round creature with sunglasses: Welderberg.
For 300 coins, he builds a direct warp pipe between flipside and flopside. This connection saves you on later visits the long detour through the Mirror Hall.
If you do not yet have 300 coins, you can reject the construction first and return later. For the further course, the warp pipe is not absolutely necessary, but highly recommended.
The Fifth Heart Pillar
After talking to Welderberg, return to the elevator on level 2 and drive another floor up.
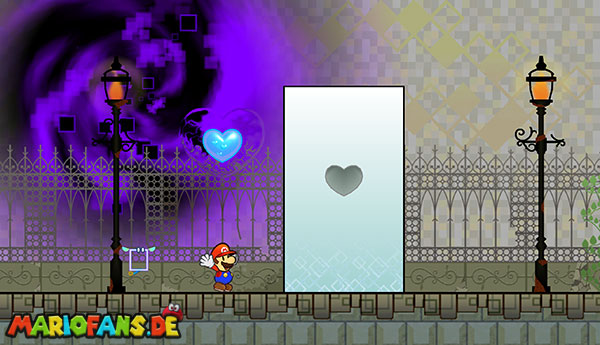
On the 3rd floor in Flopside, head right to find the fifth Heart Pillar. Unlike the previous pillars, this one requires no additional puzzle.
Approach the pillar and use the light blue Pure Heart you received from Squirps.
Then a new light blue world door appears on the Flipside Tower. It leads to the home of the Cragnon and thus to the fifth chapter.
Now use the retreat tube from the menu of important items. It will take you back to Flipside Tower.
If you don’t have the retreat tube at hand or you still want to explore Flopside, you can alternatively return to Flipside via Welderberg’s new connection or through the Mirror Room.
On the Flipside Tower you will find the new light blue door next to the previous chapter entrances. Save your score, fill up your strength points if necessary and then enter the door.
Chapter 5-1: Downtown of Crag.