

The water table at the bottom of the river

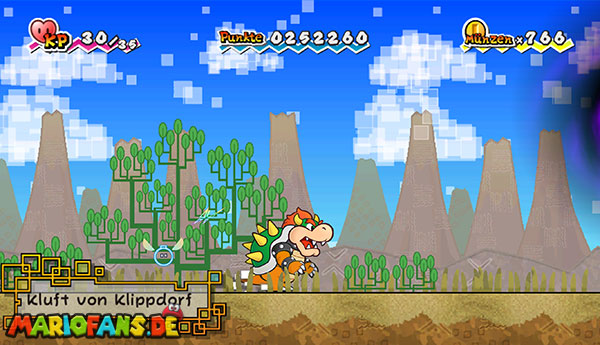
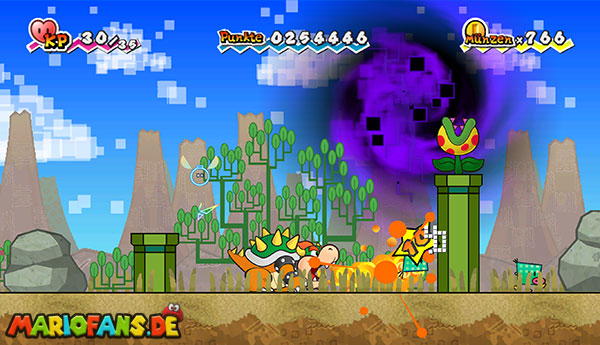
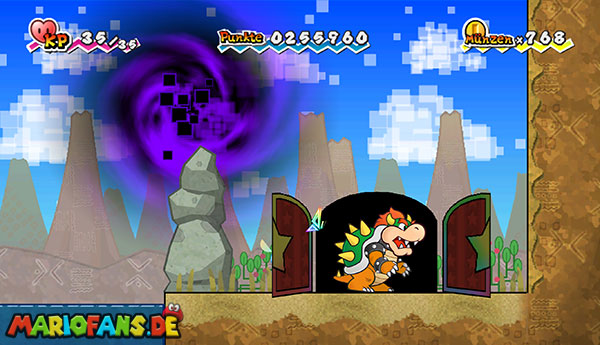
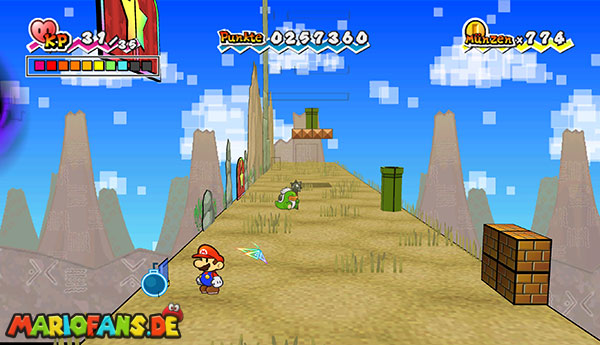
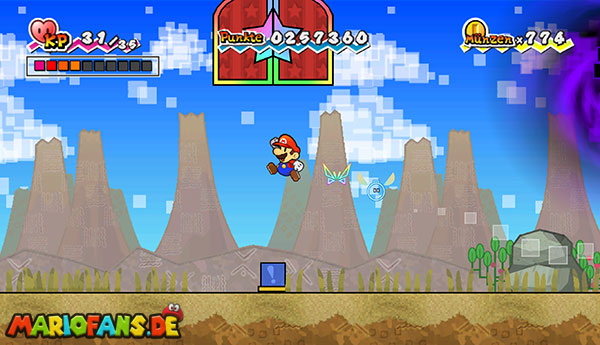
Follow the kidnapped Klippulaners to the right. In the second high warp pipe with Mario, switch to the 3D view and look behind her. There is an optional primordial fruit that fills up ten strength points and heals a poison.
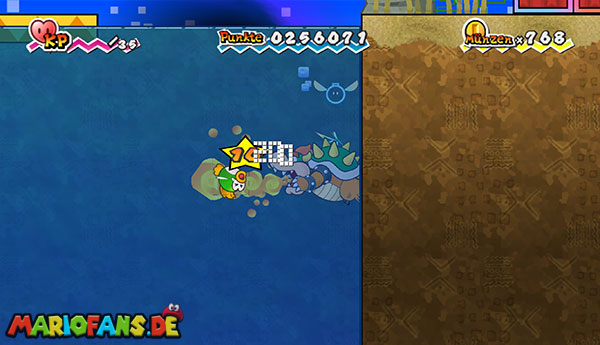
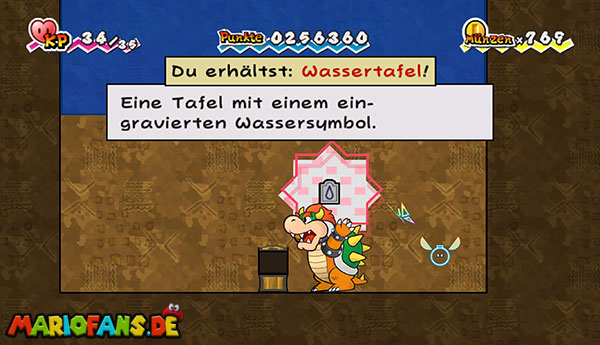
Continue on to the river. Just before the door on the right you jump into the water and let yourself sink to the bottom. There is a chest with the first of the three required element panels: the water table.
Switch underwater to the 3D view. Behind the visible blocks are other question mark blocks with some coins. Then use the blocks as steps and swim back to the water surface.
Get out of the river on the right bank and walk through the door.
In the next large area you will find several doors, Stone Age screens and hidden paths. The screens show you how to get to the three element boards. Since you already own the water table, you can ignore the corresponding hint later.
Go to the left and stand under the high door. Switch to the 3D view. The seemingly normal brown blocks form a destructible wall from the side.
Set boomers in front of the blocks and blow them up. Switch back to the 2D view and press the blue switch behind it. Several platforms appear and lead you to the door above you.
Go through it.
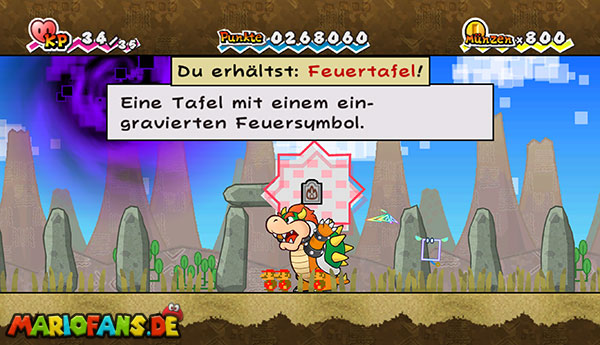
With Bowsers Fire to the Fire Table
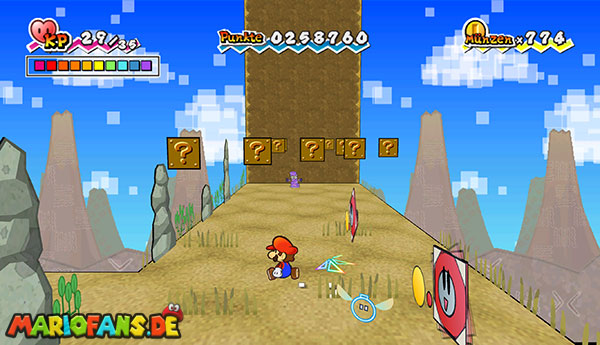
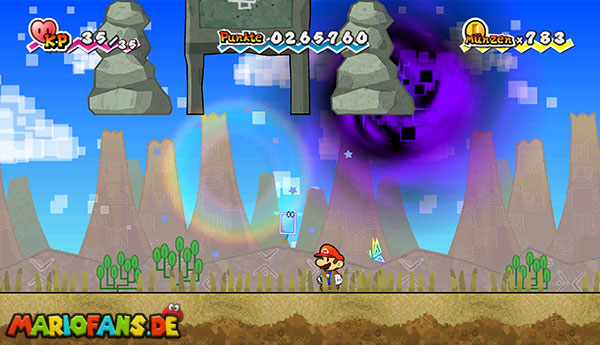
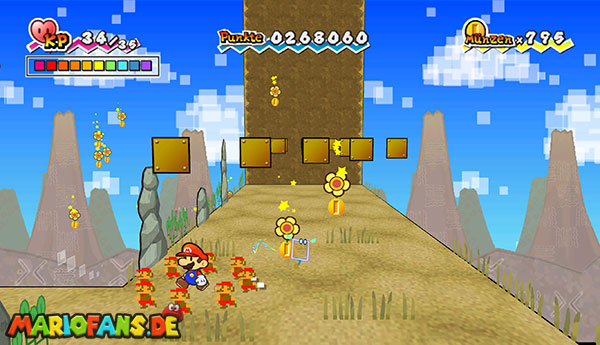
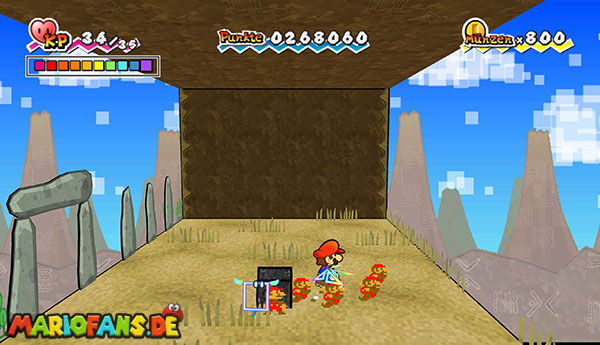
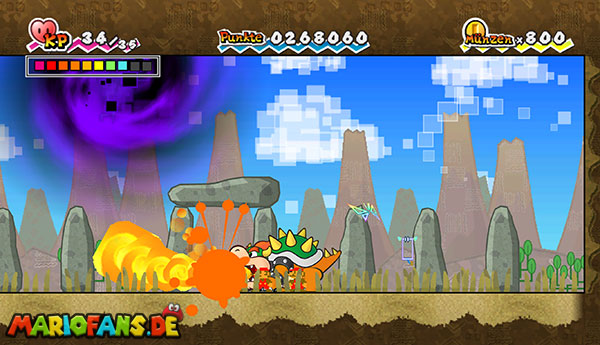
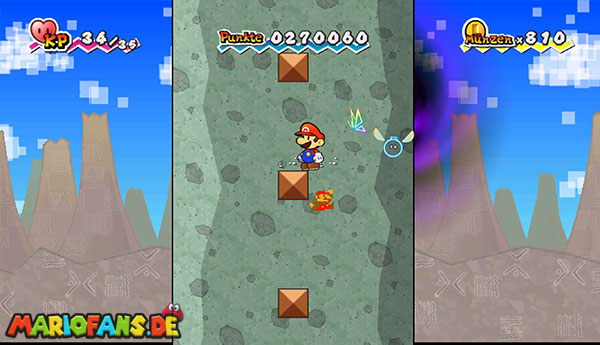
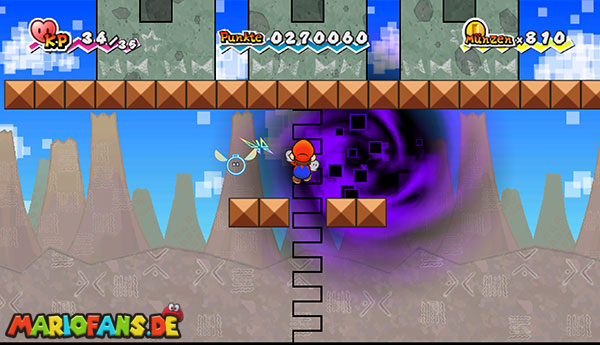
Follow the path in the new section to the right. There are many opponents lurking between the plants. Bowser can quickly eliminate them with his fire breath and is therefore particularly practical for this area.
At the right end are numerous question mark blocks. Switch to the 3D view there, as more blocks are hidden behind the visible rows. Not every block contains a reward – there may be hostile mushrooms between the coins and mushrooms.
Below the Stone Age screen, a flash-shaped crack flickers. Use Fleep to turn it around. Then a blue switch appears.
Activates the switch so that several additional platforms move out of the ground. You reach the screen through them. His animation shows a figure spewing fire on a dark stone.
The note describes the location of the fire table. You don’t have to stay on the platforms. Switch to the 3D view and look to the left of the question mark blocks for a narrow path that leads to a lower level.
Follow this hidden path down and switch back to 2D view. On the right is a black stone under a stone arch.
Change to Bowser and direct his fire breath to the black stone. Hold the fire for a few moments until the stone disappears and the table of fire comes out.
Take the board and return to the top via the hidden 3D path. Then leave the section through the door on the left.
Back in the large main area you run to the right and climb the high rock. From one of the upper platforms, slide left with Princess Peach to a small platform with a green warp pipe.
Get in and get into the background. Run to the right behind the big rock. At the end of the path, you will find a valuable Ultra mushroom mix that restores 50 strength points and heals a poison.
Then return to the foreground via the Warp Pipe and follow the main path all the way to the right. Near the Save Block, you can find a hidden strength potion in the 3D view in front of a warp pipe. It temporarily doubles your attack power.
Save your score and go through the nearby door.
Second fight against O’Chunks
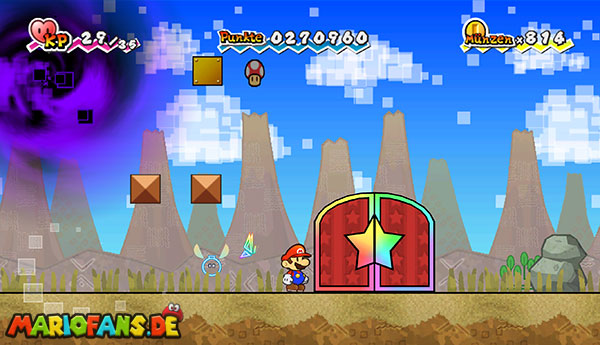
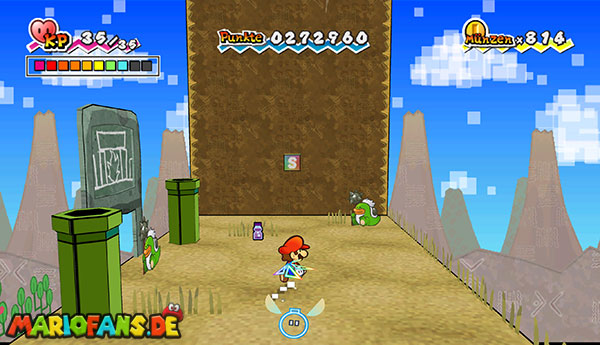
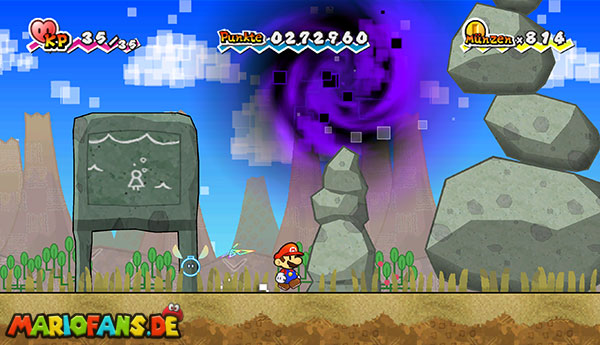
Follow the path to the right. Via a floating platform you reach another Stone Age screen. His animation shows a figure dipping to the bottom of a body of water. This means the water table that you have already collected at the beginning of the chapter.
Shortly afterwards, O’Chunks gets in your way again. Since his first defeat in the Yold Desert, he has become much stronger and can withstand much more hits.
How to defeat O’Chunks
O’Chunks keeps trying to crush or pack you with high jumps and throw you around the room. In addition, he attacks more often with fast shooting and onslaught attacks.
The familiar method with Thoreau continues to work: Wait until O’Chunks stands still for a moment, grabs him with Thoreau and throws him on the floor. As long as he is dazed, you can jump on his head once or twice.
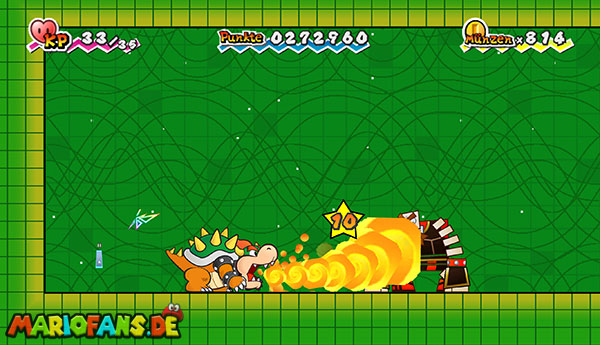
It’s faster with Bowser. Stay away, wait for an attack and then use your fire breath. Due to Bowser’s increased attack power, O’Chunks loses significantly more power points.
If you own the optional Pixl Piekso, you can activate its shield as soon as O’Chunks rushes towards you or throws objects in your direction. The barrier protects you and causes damage when touched at the same time.
The safe procedure is:
Dodge attack – throw O’Chunks to the ground with Thoreau – jump on him – refrain again.
Repeat the attacks until O’Chunks gives up again.
The Secret of the Yoshi Statue
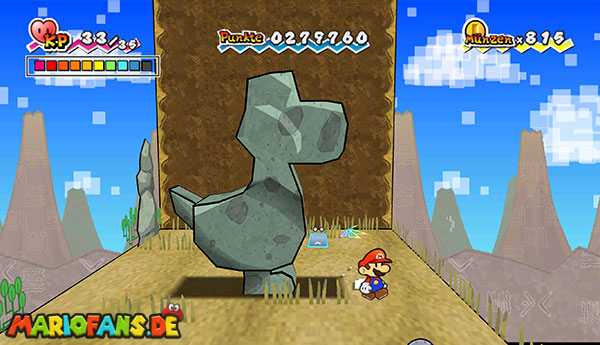
Run to the right after the fight. In the 2D view, there seems to be only a narrow, unshaped rock.
Switch to the 3D view with Mario. The rock turns out to be a large statue that clearly resembles a Yoshi.
The first Stone Age screen from chapter 5-1 already showed how a small figure once completely runs around the statue. Stand in front of the Yoshi statue and circle it once.
The most reliable way is to walk right past the statue, to the left behind it and then back to the starting point on the front. It is important that you draw a full circle around the statue without shortening the path.
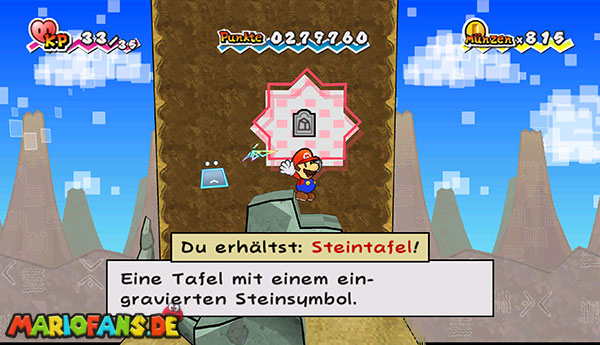
If you have done the round correctly, the stone tablet appears on Yoshi nose. First jump on the tail or back of the statue and climb up to the head from there.
Take the stone tablet for yourself. This means that you now have all three required element tables.
Return through the door to the large main area.
Stone, Water and Fire
Runs to the left in the main area until the large yellow block. You cannot destroy it yet. Instead, climb over the gray rocks and brown blocks to the high mountain to the left.
On a small platform is a green warp pipe. Glide to her with Princess Peach and get in. You get into the background of the area.
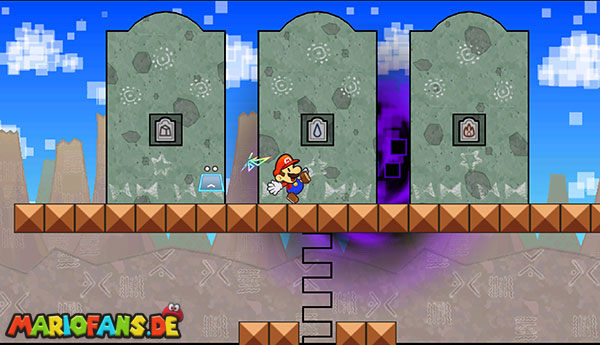
Jump left into the opening of the volcano. Inside you can see three symbols on the wall. They point from left to right:
Stone – Water – Fire.
You need this order for the tables. In addition, switch to the 3D view in the volcano and collect the numerous coins. Via the trampoline you get out of the crater again.
Before returning to the Warp Pipe, you can walk to the right again in the background and collect the Ultra mushroom mix if you have missed it before.
Return to the foreground and climb on the high rocks. Stand on the upper brown blocks and switch to the 3D view with Mario.
Jumps up from block row to block row. At the highest visible level, you switch back into the 2D view and jump against the invisible block above you.
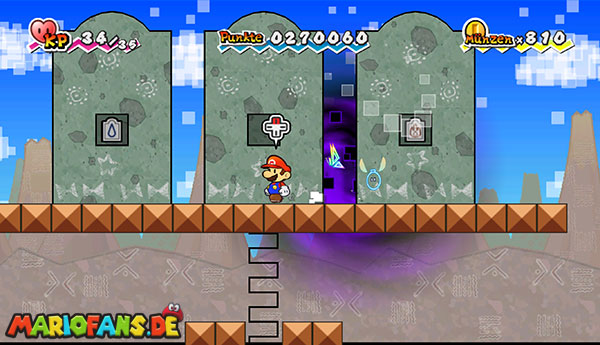
A ladder appears from the block. Climb up, switch to the 3D view again and jump to the even higher platform with the three empty stone pillars.
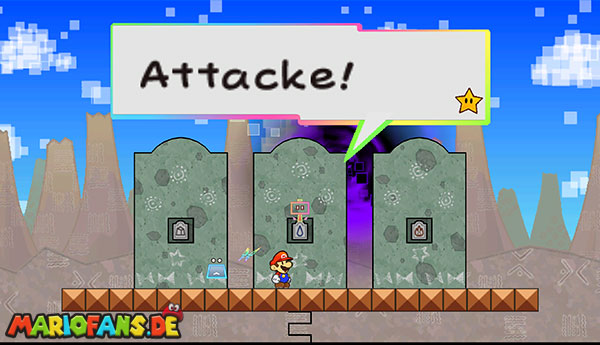
Insert the tables in the following order:
Left Pillar: Stone Tablet
Middle pillar: water table
Right Pillar: Fire Table
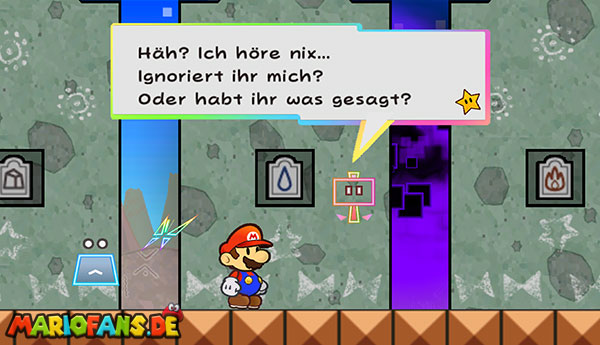
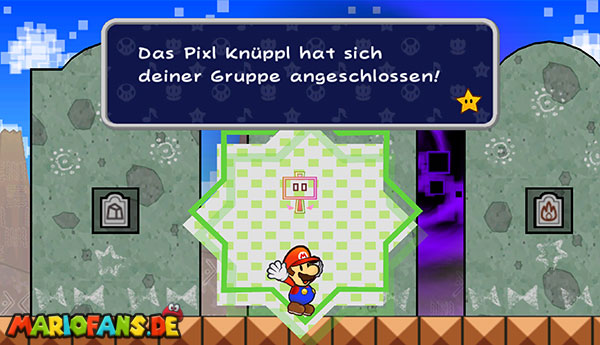
If all three panels are placed correctly, the Pixl Cudge appears.
Cudge has waited a long time for company and wants to hear a favorite word or motto from you. Enter any word with eight characters. Then he joins your group.
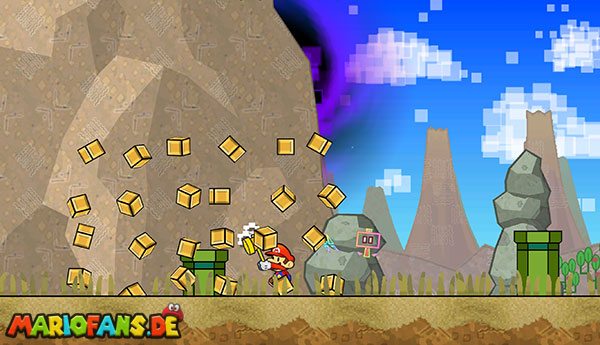
With Cudge you can swing a huge hammer. His attacks cause high damage and destroy large yellow blocks where Boomer and Thudley fail.
Jump down from the platform to the right. You land again near the big yellow block. Equip Cudge and smash the obstacle with a hammer strike.
Under the block, a green warp pipe comes out. Get in there.
In the last area you can jump directly down to the star block. Before that, however, you should collect a catch card.
Change to Princess Peach and slide right over the abyss. Land on the small lead and then switch to the 3D view with Mario. Behind the wall is a hidden chest.
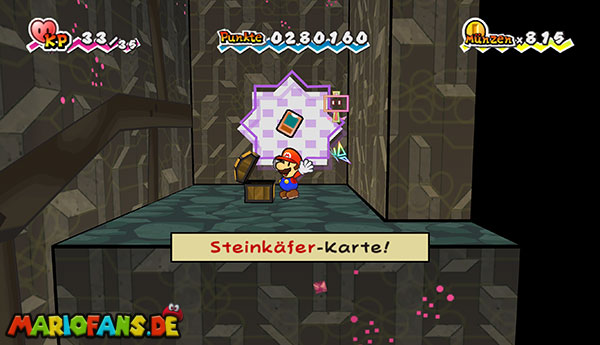
Open them and take the Stone Beetle Card No. 022 to you. This will cause double damage to all stone beetles in the future.
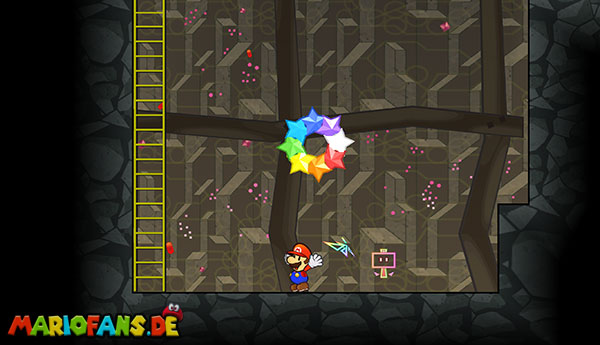
Return to the left part of the room and jump against the star block. This concludes Chapter 5-2 and opens the way to the dark Floro Caverns.