

The first ruin key
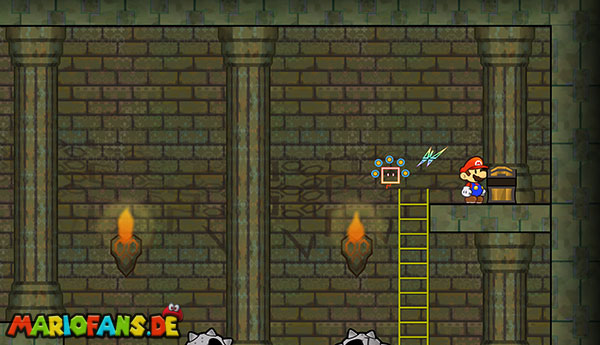
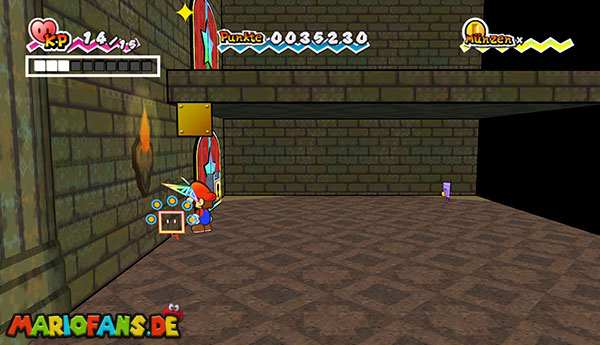
Run down the stairs and enter the door at the entrance of the ruin. In the following gear, it goes to the right. Skip the narrow quicksand pits and watch out for the Bummel-Buzzy Beetle, some of which hide at the Blanket.
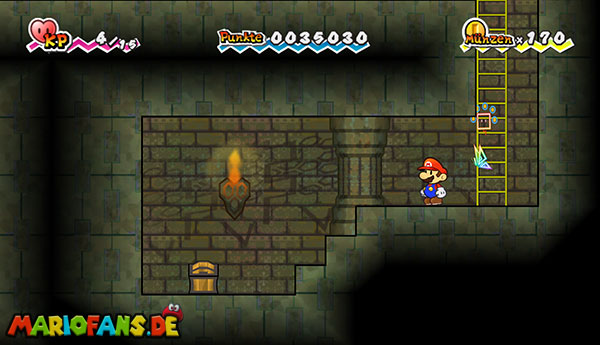
At the first fire reel you will find a question mark block. Jump on the block and from there on the two indestructible stone blocks above. On the left, some opponents are waiting, while the way to the right leads you to a small niche. Follow the aisle and climb down the ladder. In the chest at the end is a valuable Life Mushroom that automatically revives Mario if his strength points drop to zero.
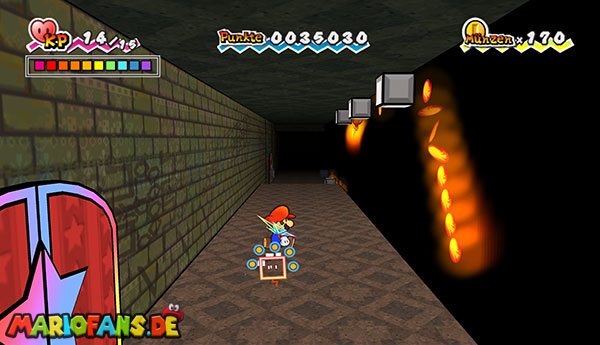
Then return to the main path and walk through the next door. In the following room, several large fire rollers rotate. The easiest way to bypass them is to switch to the 3D view and walk past the flames.
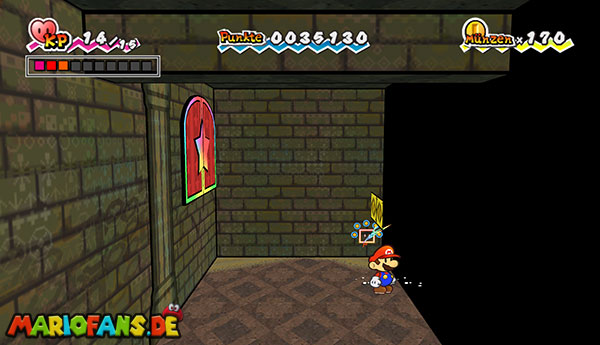
The locked door in the middle of the room cannot be opened at first. Run to the other end of the corridor. There hangs another door seemingly unreachable in the air.
Switch to the 3D view. Below the door, two yellow flip blocks appear. Jumps against both blocks from below and then switches back to the 2D view. The blocks are now so that you can use them as stairs to the door.
In the next room, two large barbed blocks roll through a deep pit. They cannot be defeated in the normal way. Therefore, change to the third dimension and walk past them sideways. Then climb up the ladder and open the chest on the upper platform. Inside is the first ruin key.
Return to the room with the fire rollers and open the previously closed door.
The key over the quicksand
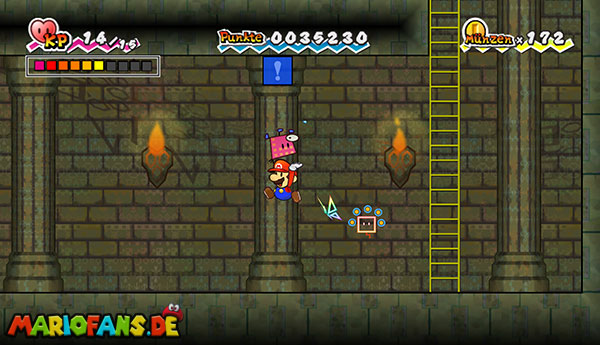
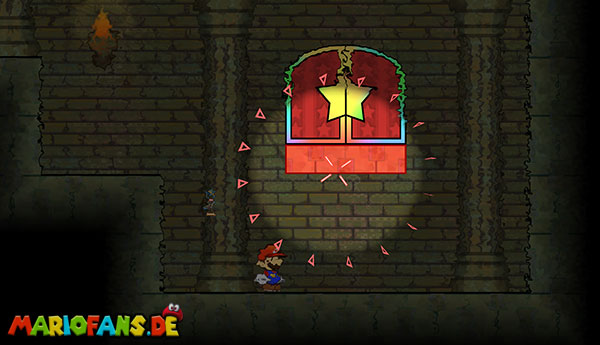
In the next room, use the Save Block first. To the right of it extends a large drifting sand pit. Jump over the brown blocks and follow the path up to the two superimposed doors. The lower door is locked and has to wait for now.
Switch to the 3D view on the left of the doors. As a result, a hidden question mark block appears. Jump on him and use him to reach the upper door.
Climb down the long ladder in the following room. On the ground there is a warp pipe, from which small opponents fall again and again. Equip Thoreau, grab one of the opponents and throw him against the blue switch on the Blanket. The switch is very high, which is why you throw the opponent best during a jump up.
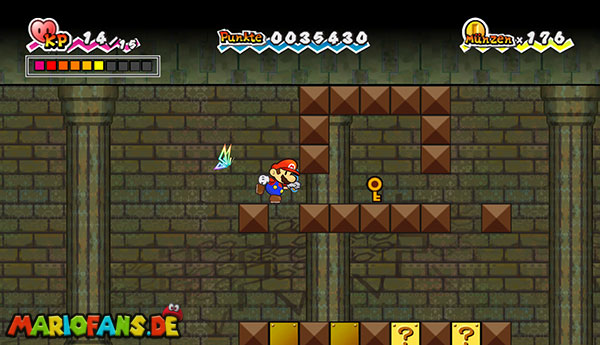
Once you hit the switch, you return to the previous room through the door. Now run back to the left to the quicksand pit. The square stone blocks above the sand have shifted and release another ruin key.
Jump onto one of the raised blocks, stand as close as possible to the key and use Thoreau to grab it from the air. Then return to the two doors at the right end of the room and open the lower door with the key.
In the next room, a door hangs again unreachable above the floor. Point the Wii at the screen and use Tippi to examine the area directly below the door. Tippi makes an invisible platform visible there. Jump on them and enter the door.
The secret passage behind the wall
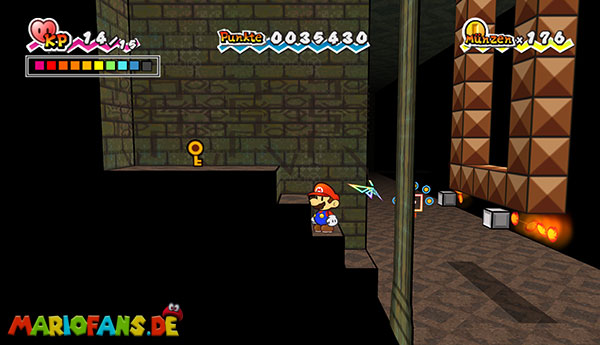
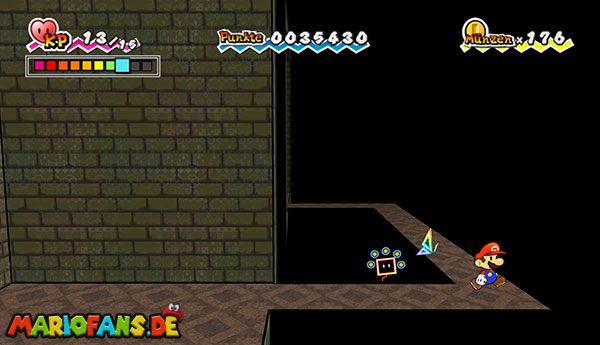
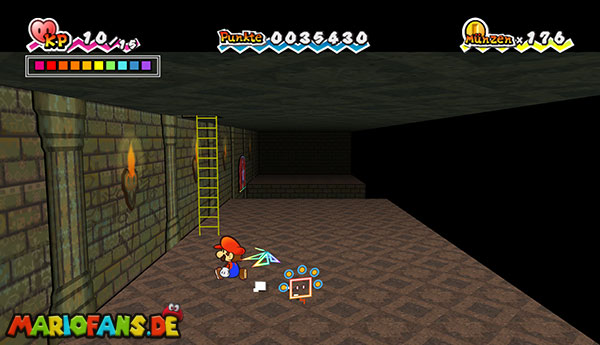
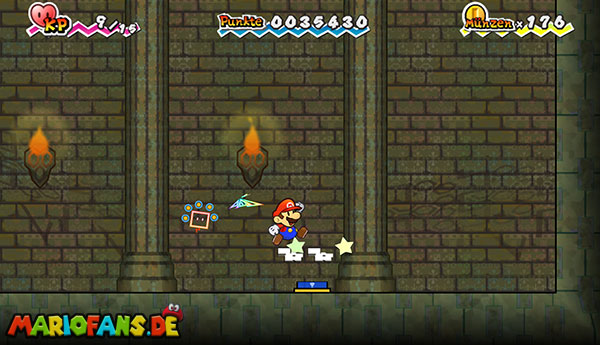
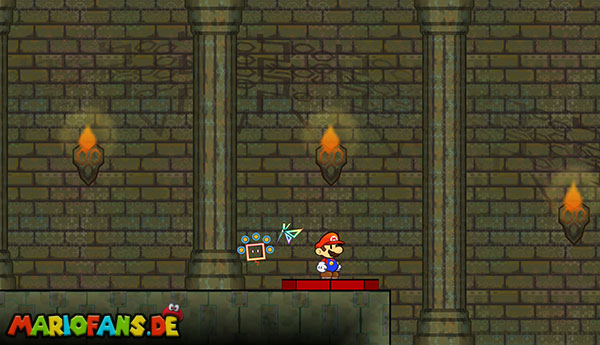
In the following room, more fire rollers and Bummel-Buzzy Beetle await you. You also see a key that seems to be completely enclosed by brown blocks.
Go to the left and stand below the key. Switch to the 3D view. Now you realize that the blocks do not form a closed chamber. Behind them leads a narrow staircase up.
Follow the stairs in 3D and position yourself next to the key. Switch back to the 2D view and take the third ruin key.
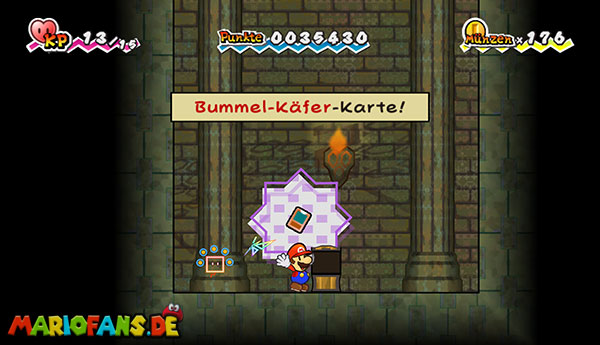
Before you open the locked door, you should collect another catch card. Runs in the 2D view to the other end of the room and changes to 3D again. Behind the wall there is a hidden passage.
Follow the secret passage into a small adjoining room. There are two Bummel-Buzzy Beetle and a chest with the Bummel-Buzzy Beetle card. Open the chest and then return to the previous room.
Now use the ruin key on the locked door. In the next room you stand at the bottom of a high pit. On the left is a trampoline. Jump on it and get catapulted into the niche in the upper left area.
Switches to the 3D view in the niche. Behind the wall appears a hidden ladder leading to a higher aisle. Climb up and walk right to the little blue switch.
As soon as you press the switch, a large red floor switch appears on the left. At the same time, numerous barbed blocks flow out of the wall. Run immediately to the left and stand on the big red switch.
This opens the bottom of the pit. The barbed blocks fall down and are compressed there to form a walkable surface. Afterwards also drop down, cross the pit on the flattened barbed blocks and pass through the door.
The correct order of blocks
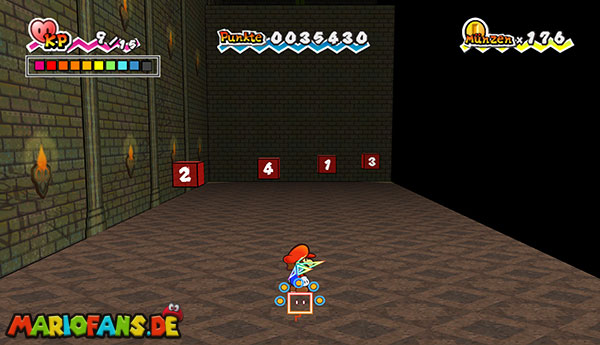
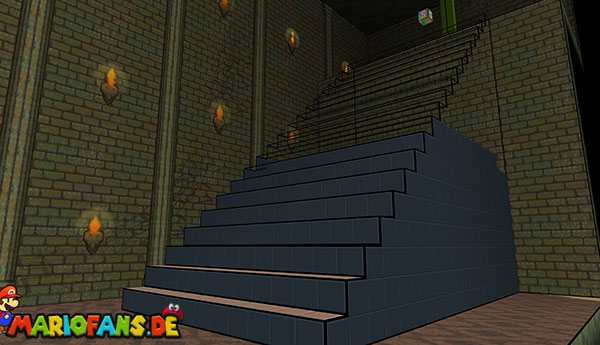
In the next room are four red blocks next to each other. First, switch to the 3D view and look at its side faces. Each block has a number there.
The blocks must be activated in the order of one to four. However, since they are not set up according to their numbers, you have to start them from the left in the following order:
Third block – first block – fourth block – second block.
Switch back to the 2D view and start the four blocks in sequence 3 – 1 – 4 – 2. If you have done everything right, a staircase appears.
Go up and hit the question mark block. Inside is a super mushroom that restores ten strength points. Then use the Save Block and jump into the green warp pipe.
Boss Fight: Fracktail
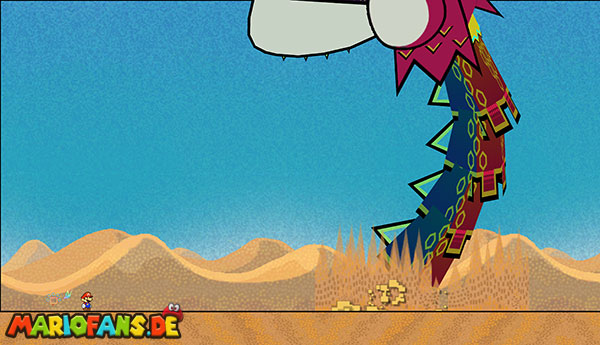
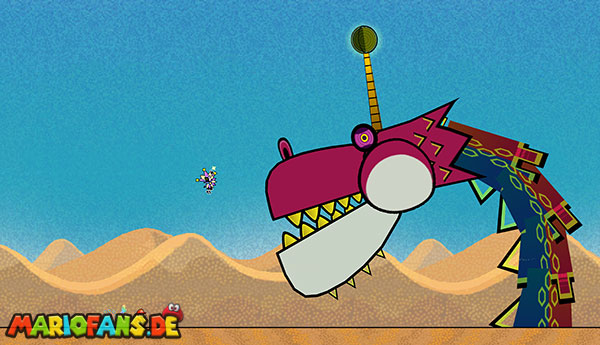
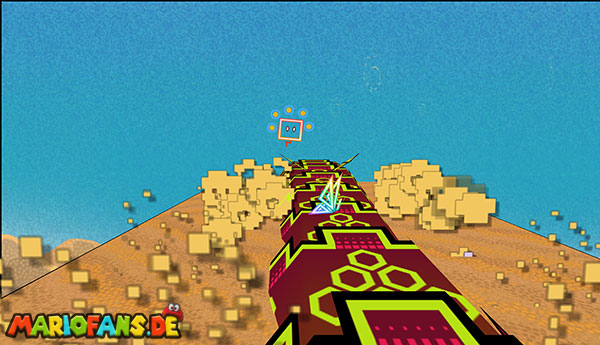
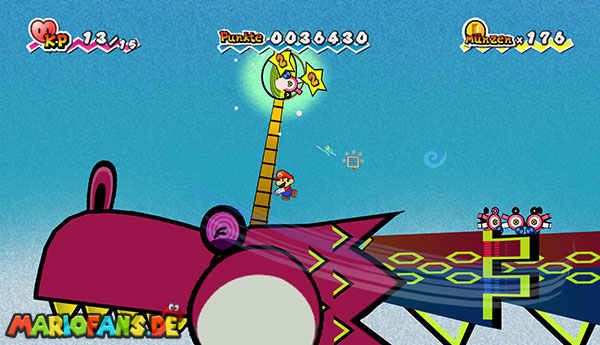
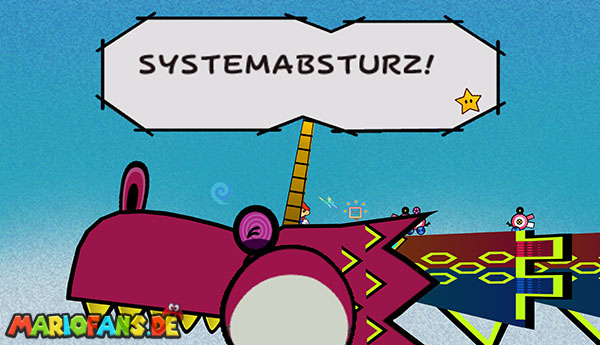
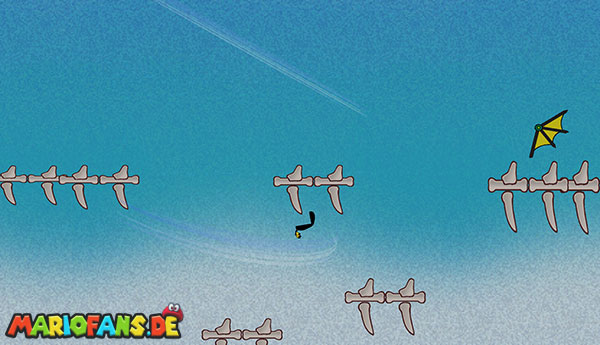
Follow the path to the right. Shortly after, the massive robotic dragon Fracktail rises from the desert sands. First, he recognizes Mario as the hero of prophecy and wants to let him pass. But then Dimenzio appears and causes Fracktail’s control to crash.
Fracktail always dives in the sand and then flies through the background. Keep moving and watch for Tippi’s warning. As soon as the dragon approaches a low approach, you switch to 3D view.
Stand slightly sideways to his trajectory and jump on Fracktail’s long body as soon as he passes close above the ground. If the jump succeeds, Mario lands on the back of the dragon.
There, numerous small robots called Kostos crawl around. Equips Thoreau, grabs a Kosto and throws it against the yellow antenna on Fracktail’s head. Only this antenna can harm the boss.
After three successful hits, Fracktail performs a full looping. Runs over his back towards the tail during the rotation. As soon as the tail approaches the head again, you jump back to the front part of its body. This way you stay on Fracktail and can continue the attack directly.
If you miss the jump, Mario falls back into the sand. Then avoid Fracktail’s attacks again and wait for the next low flyby.
The antenna must be hit a total of nine times by a Kosto. After the ninth hit, Fracktail’s original programming comes back briefly before the massive robot explodes.
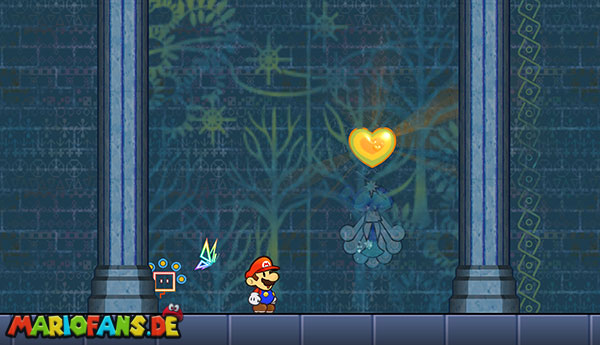
Then go through the new door. In the last room you meet the spirit of Merlumina. Listen to her detailed story until she finally hands Mario the second Pure Heart.
This concludes chapter 1-4 and the first chapter of Super Paper Mario.