

The Optional Pixl Piekso
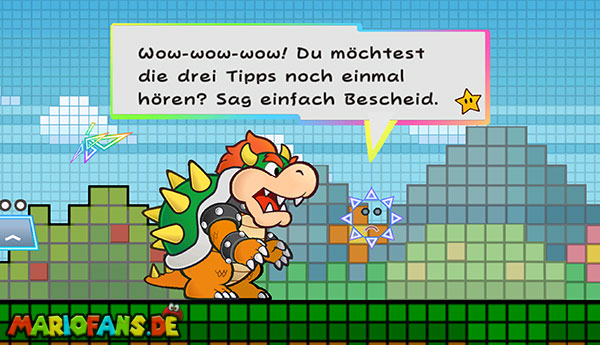
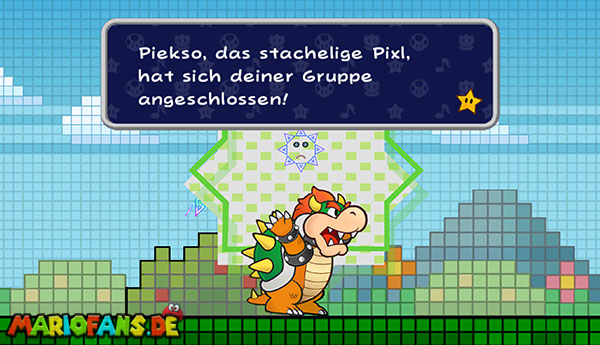
After the rescue of Tippi and the end of the third chapter, you can add another Pixl to your team. Piekso is not necessary for the further course of the game, but his ability can help you a lot with many later opponents and bosses.
Return to the Bitlande on the Flipside Tower through the yellow door and select Chapter 3-1.
Immediately after the start, the bush is on the right next to you, from which Piekso spoke during Tippi’s abduction. Examine him again. After learning that you have successfully saved Tippi, he decides to join the group.
Piekso creates a spiky protective barrier around the active game character at the touch of a button for a short moment. This wards off many enemy attacks and missiles. Opponents who come into contact with the shield meanwhile also suffer damage.
The barrier remains active only for a very short time. Therefore, use Piekso as precisely as possible at the moment when an opponent would hit you.
Then open the menu and use the retreat tube among the important items. This will return you directly to the Flipside Tower.
The mystery of the fourth Heart Pillar
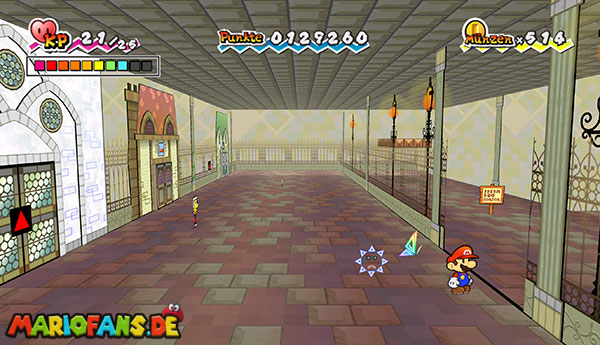
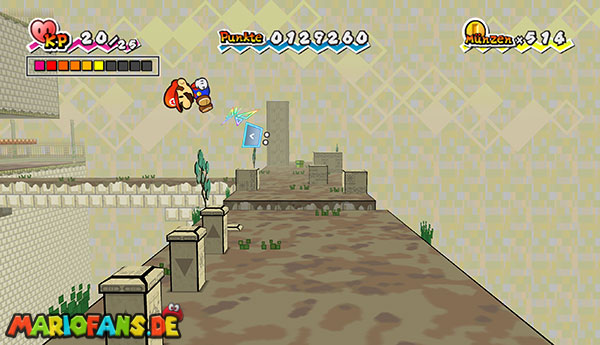
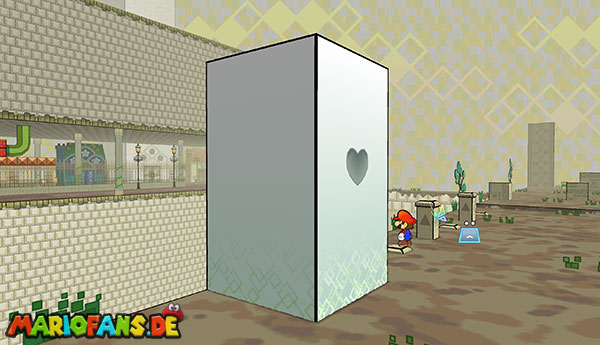
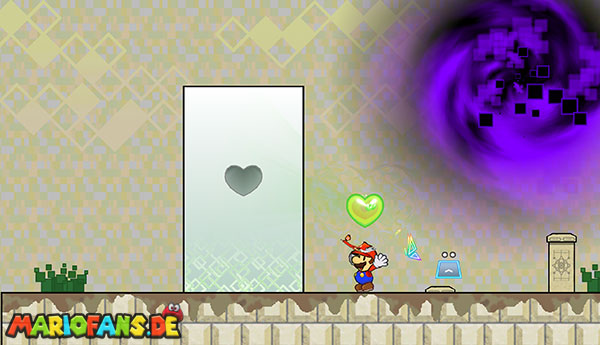
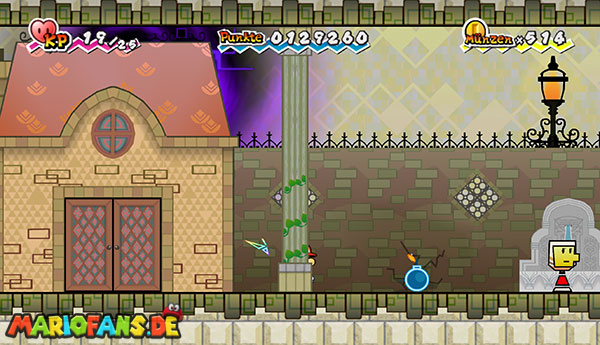
After talking to Merlon, you must bring the fourth Pure Heart to his Heart Pillar. Before you leave, you can save your progress, buy new items in the store or completely recover in the hotel.
Use the elevator on the Flipside Tower and drive down to the second level. Run to Merlon’s house and switch to the 3D view with Mario.
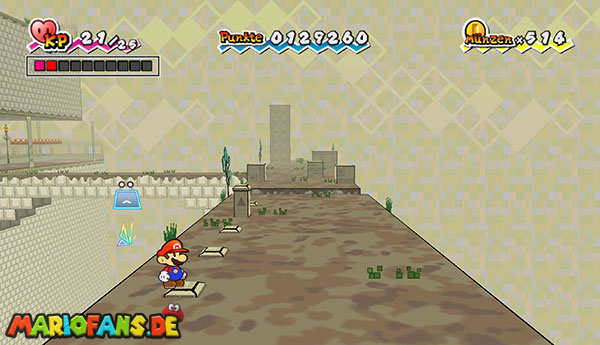
To the right of the building is the already open gate. Go through and follow the narrow path in the third dimension to the right. At the end of the web, you switch back to the 2D view.
This time you do not have to go to the green warp pipe on the right. Instead, run to the left and skip the small gaps until you reach five yellow columns.
The columns can be pressed into the ground with Thudley and brought back up again. First, switch to the 3D view and view its side faces. The arrows shown there show you whether the respective column must be at the top or bottom.
The correct arrangement is from left to right:
Bottom – top – bottom – top – bottom.
In the original position, you usually only have to change the first and second pillars:
Pillar One: Pushing Thudley into the ground.
Second Pillar: Bringing Thudley up from the ground.
If you have already changed the pillars before, you simply follow the full order. By using Thudley again, a pillar always changes between the upper and lower positions.
Once all five pillars are set correctly, a signal sounds and the fourth Heart Pillar appears to the left of them.
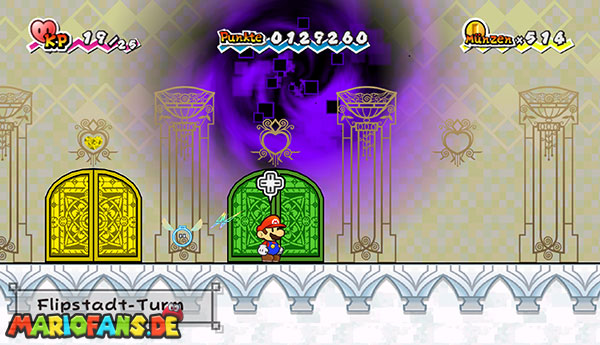
Go to her and use the green Pure Heart. On the Flipside Tower, a new green world door appears, which leads you to the fourth chapter.
Optional: The InterFred card No. 204
Before you start into space, you can collect a well-hidden catch card in Flipside. It is not necessary for the further course of the game and can also be brought later.
First return to the main area of Flipside and take the elevators to level 1. Run there to the extreme right end. There is a noticeable crack in the wall.
Set Boomer right in front of the crack and blow up the wall. Then switch to the 3D view and go through the resulting opening into the rear part of Flipside.
Follow the path and use the elevator that will take you down to Flipside U1. There is, among other things, the bar and a larger water basin.
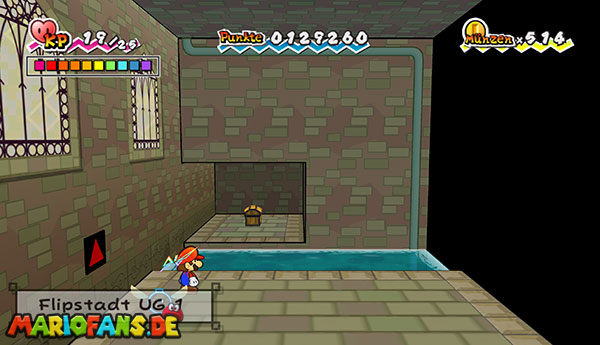
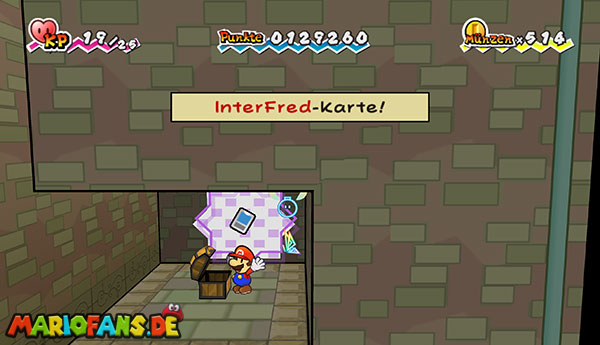
Run right to the water and switch to the 3D view with Mario. In the side wall, a hidden niche is now visible. Jumps over the narrow projections or crosses the water and opens the chest standing there.
It contains the InterFred card No. 204.
Note: The map is outside the bar in the hidden niche on the water. The golden warp pipe, which you can discover inside the bar in the 3D view, leads instead to the arcade of E-mil.
Return to Flipside Tower after the optional detour. Use the elevators or the retreat tube for this.
Save your score and enter the new green door. Chapter 4-1: Outer Space.