

The First Dimensional Key
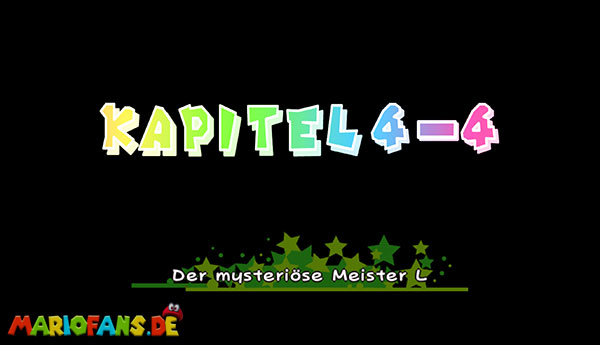
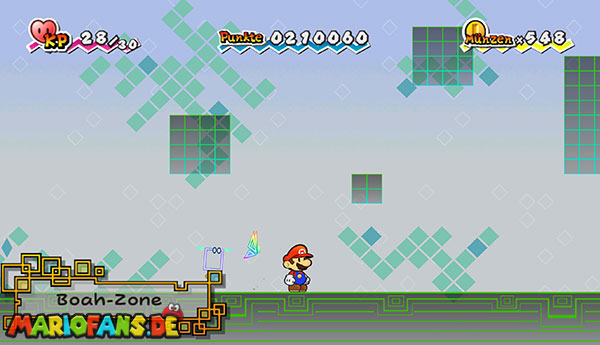
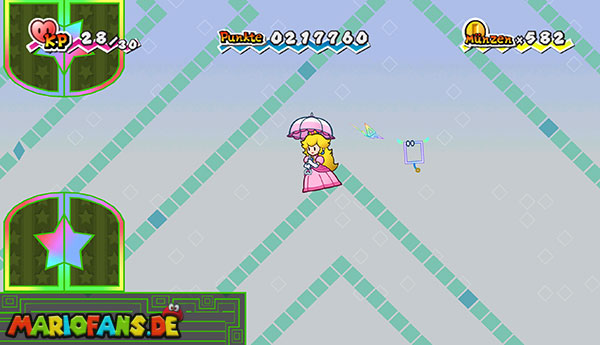
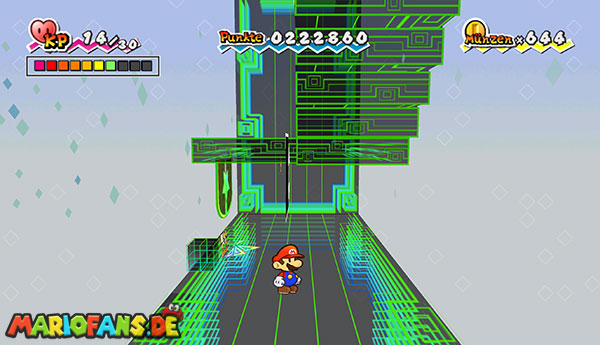
You reach the Whoa Zone, a vast labyrinth where gravity does not always point down. In contrast to open space, you can move normally again here and do not need the helmet.
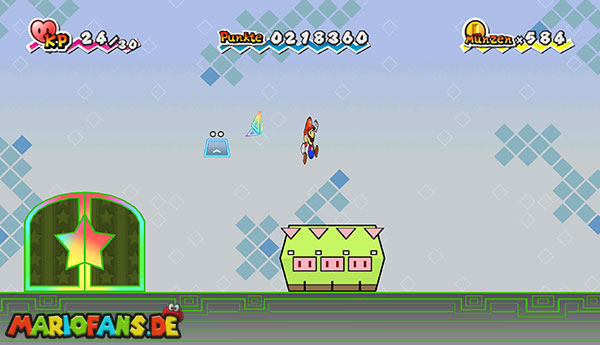
Run to the right first and go through the first door. In the next room you can see in the 2D view a door on the floor and an elevated platform.
Jump to the individual block and from there to the platform. Switch to the 3D view with Mario. Behind the visible door now appears a second, previously hidden entrance. Go through that door.
In the following room there is a large gap on the left. Switch to Princess Peach, jump off and glide with her umbrella to the other side. Enter the door there.
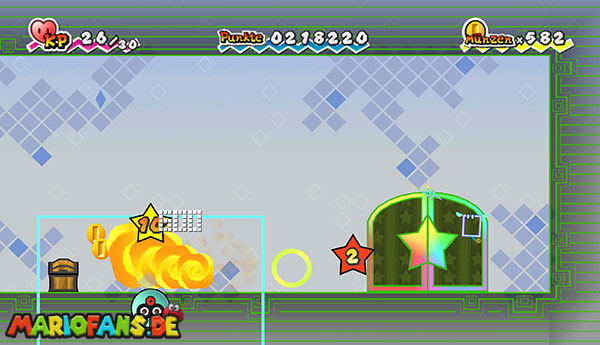
Behind it, an enemy with an impenetrable protective field guards a chest. From the outside, you cannot harm him. Therefore, switch to the 3D view with Mario and run laterally through his barrier.
Once inside the protective field, you switch back to the 2D view and jump to the enemy. Alternatively, you can confuse him with Fleep and then attack.
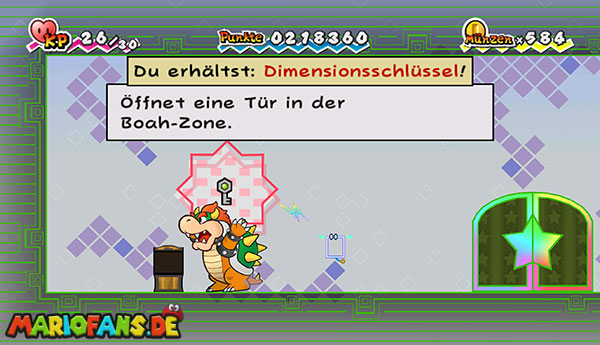
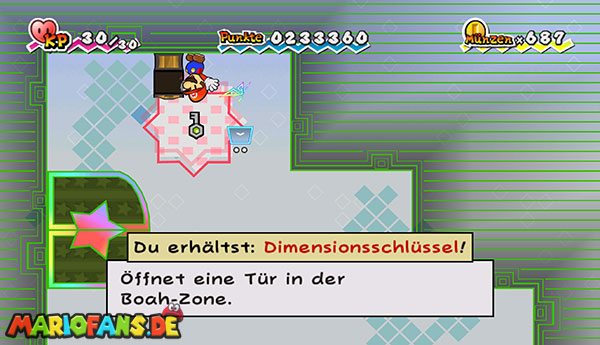
Open the chest after the victory. Therein lies the first dimension key.
Return through the two doors into the room with the visible and the hidden entrance. Drop down from the platform and now use the door that was already visible in the 2D view.
On the Blanket and along the walls
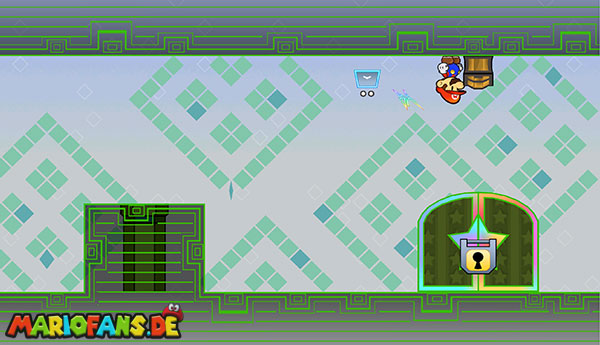
Defeat the small opponents in the next room. Some of them get smaller with each jump and leave several coins.
Then switch to the 3D view. Behind the visible blocks, a staircase appears, over which you reach the locked door. Open it with the first dimension key.
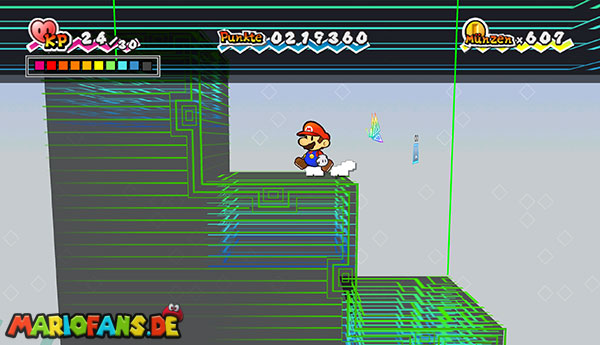
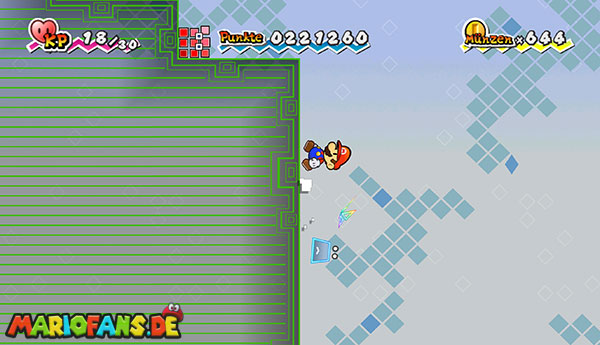
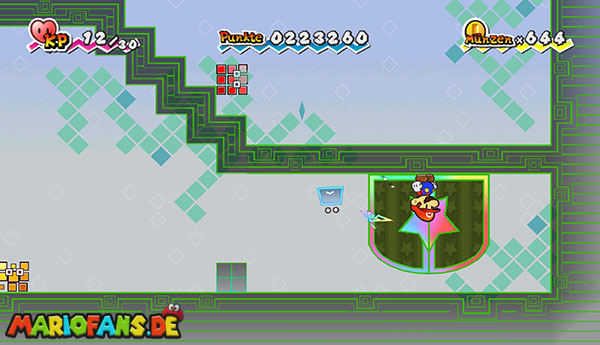
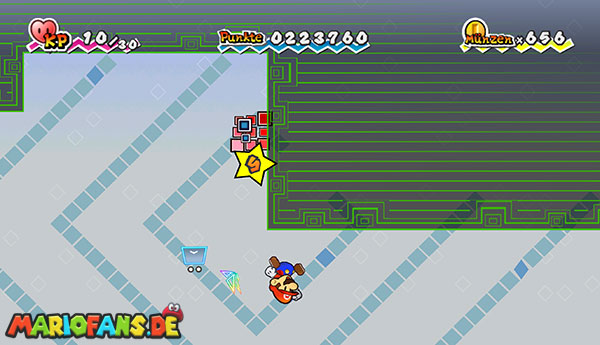
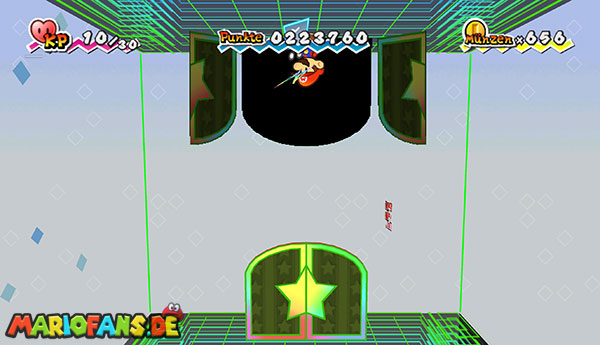
As you pass through the door, gravity changes: you suddenly stand upside down on the blanket. The control still depends on your own perspective. So press right if you want to move right on the screen.
Run on the blanket to the door on the right and walk through it. In the next room you stick to the left wall.
Follow the wall up. On the way you reach two depressions with doors. You can pass the first one normally. For the larger second gap, you switch to Princess Peach and slide over with her umbrella.
Go through the higher door. In the following room you walk down the apparent stairs and then change with Mario into the 3D view.
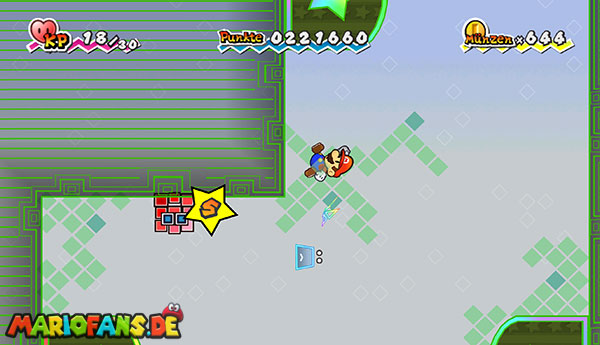
Let yourself fall to the lower level. There is a black block with two opposite arrows. Jump against it to switch gravity between the ground and the blanket.
You land at the Blanket and can now reach the previously unreachable door on the right. Go through it.
In the next room you run or slide with Princess Peach to the right over the big gap. Then switch to the 3D view with Mario. At the back, a hidden door becomes visible.
Enter the secret room and open the chest. The second dimension key is located therein.
Return to the black gravity block and press it again so that you are back on the ground. Switch to the 3D view, return to the upper level and walk through the door.
The Optional Coin Room
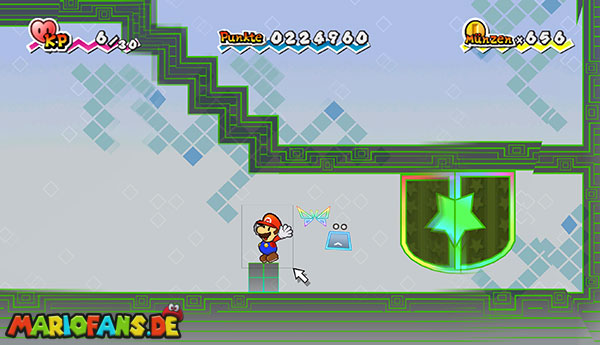
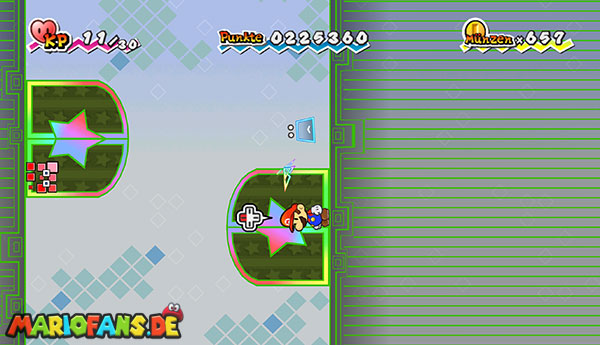
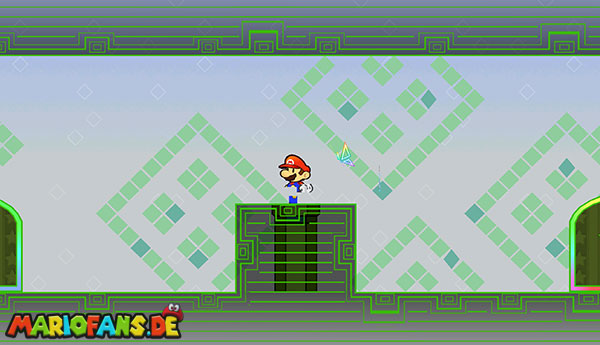
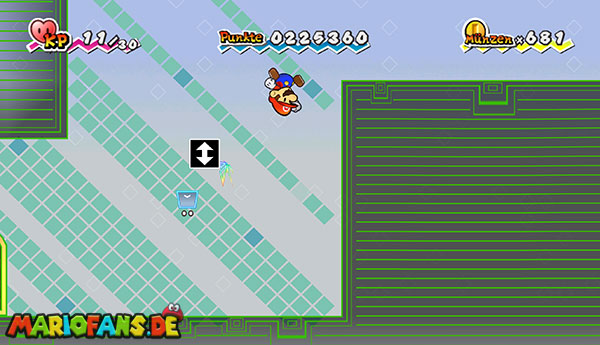
Back on the left wall you must now take the lower path. Runs to the door, which is located in the first recess, and goes through it.
You get to the opposite wall. Follow down and enter the next door.
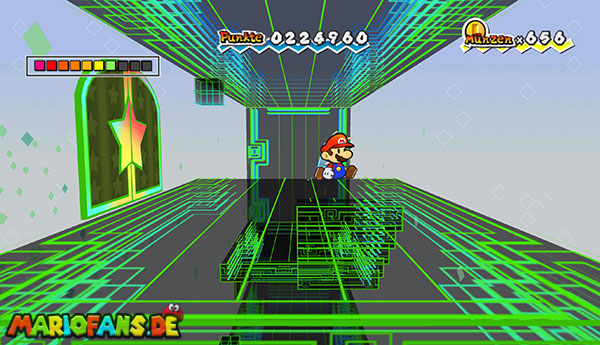
In the following room you can visit an optional coin area. Switch to the 3D view with Mario. Behind a small elevation, a green warp pipe becomes visible.
Get in and collect the numerous coins in the next room. Here, too, a change to the third dimension is worthwhile, as some coins are behind each other and cannot be seen from the normal perspective.
Returns through the warp pipe and opens the locked door on the right with the second dimension key.
The Hidden Door and the Torque of Gravity
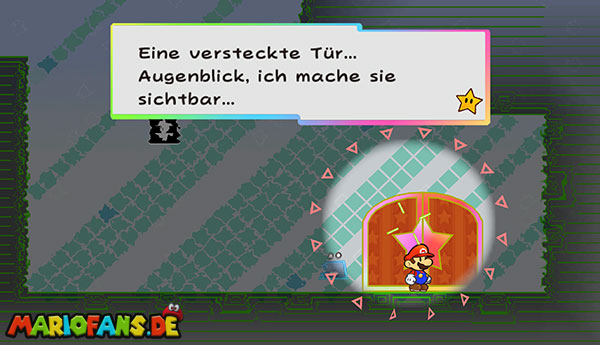
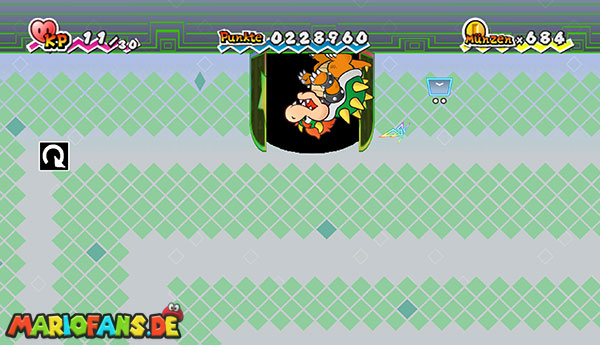
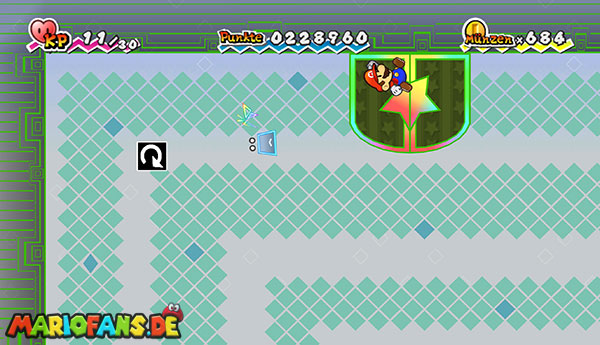
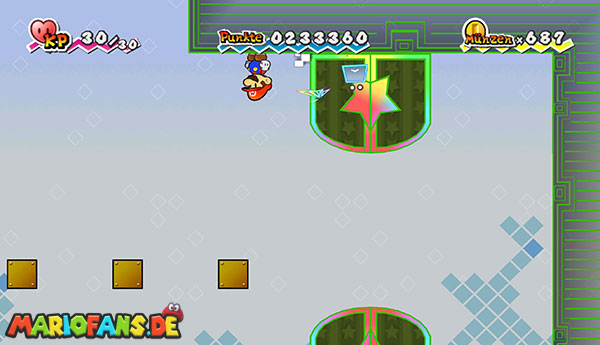
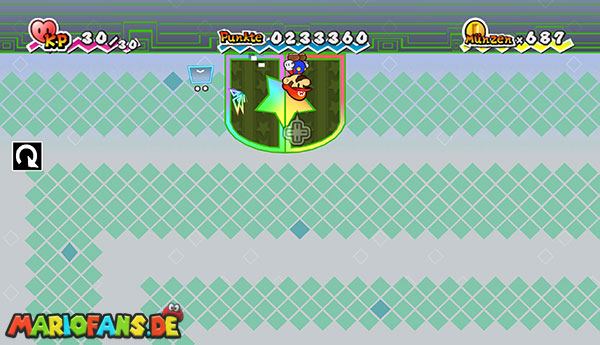
In the next room you will find two black blocks of gravity. Hit first against the first block and then run to the right on the blanket. Press the second block there so that you land on the ground again.
The path now seems to end in an impasse. Point the Wii at the screen and examine the outlines on the wall with Tippi. It makes an invisible door visible.
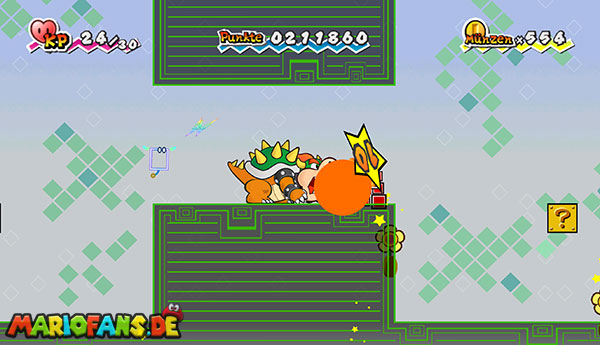
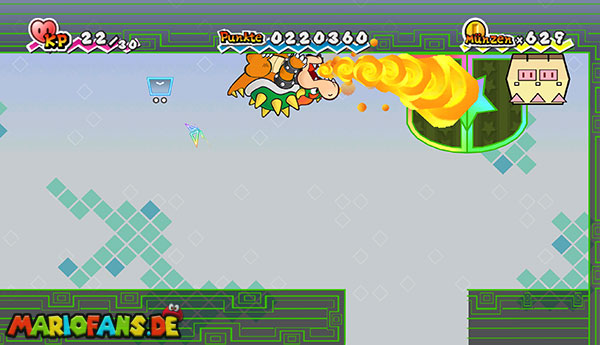
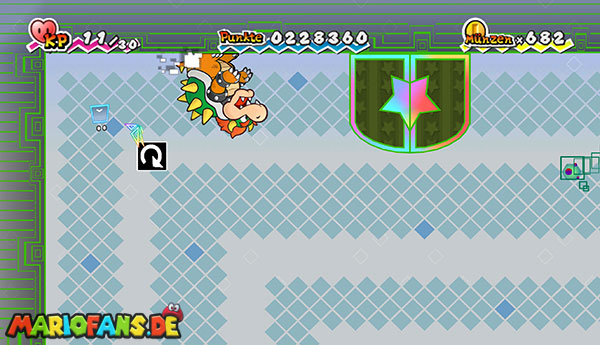
Go through it and move to the right. Defeat the floating opponents with Bowser’s fire breath or dodge them.
Shortly afterwards you reach a new black gravity block. The circular arrow symbol indicates that this block does not simply reverse gravity, but rotates by 90 degrees clockwise.
Jump against it once. You end up on the left wall. Runs up and presses the next rotary block twice. Then you can reach the door at the lower end of the right wall.
Go through and follow the wall down to the next door.
In the following room, three question mark blocks are waiting. In each of them there is a super mushroom. The third, on the other hand, contains a hostile zombie mushroom. Defeat him or avoid him.
Then use the next door. You land again on an unusual side of the room. Follow the blanket or wall until you reach the third chest of the Whoa Zone.
Open it and take the third dimensional key.
Then return to the room with the rotating blocks. You are first on the right wall.
Press the lower turning block twice to land on the left wall. Run up and hit once against the next turning block. This will get you to the Blanket.
Now go through the door in the upper left area.
Boss Fight: Mr. L
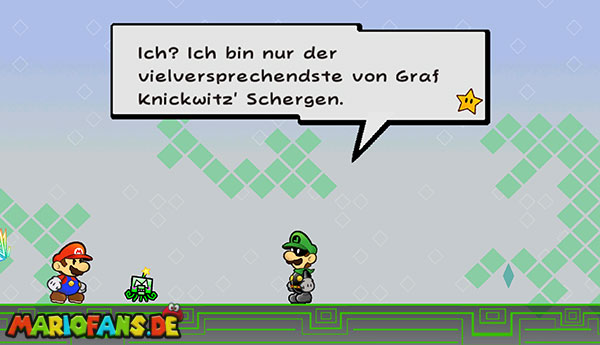
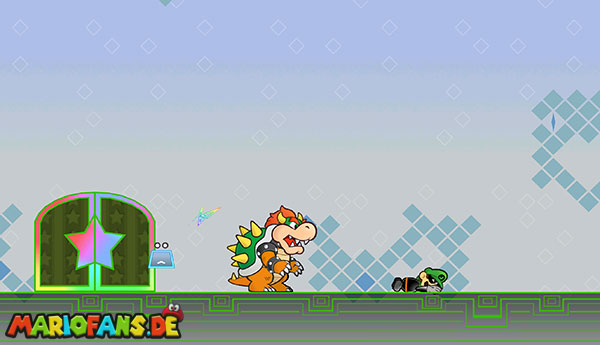
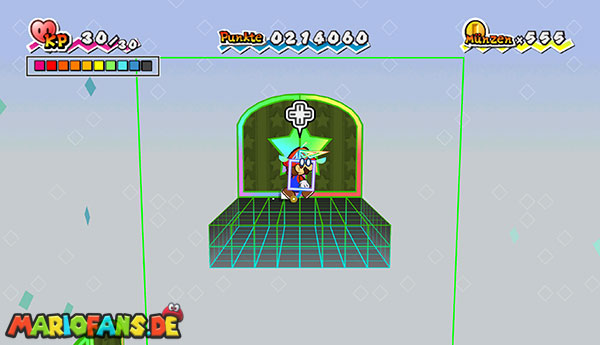
In the last antechamber you will find a Save Block and another gravity switch. Press it if necessary, save your progress and then open the locked door with the third dimension key.
Behind the door you meet Squirps again. Before he can lead you to the Pure Heart, however, the mysterious Mr. appears. L and challenges Mario to a duel.
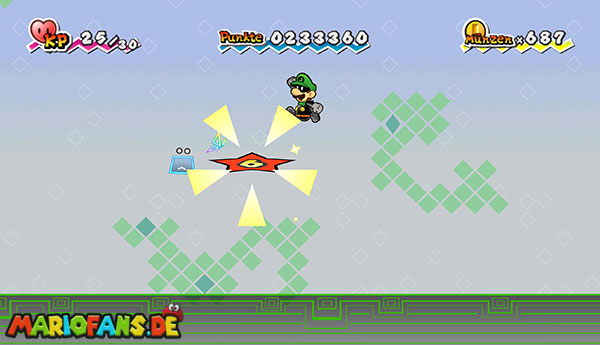
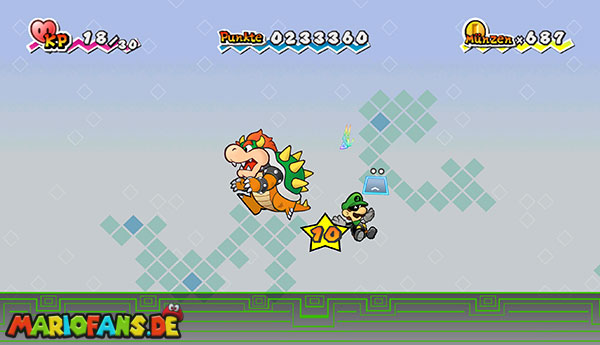
Mr. L has 40 force points and relies mainly on jump attacks. He jumps normally through the room, jumps on you from a high altitude and can briefly contract, then shoot up like a rocket.
Do not attack while he is preparing his particularly high super jump. Wait until he lands on the ground again, then jump on his head.
Mario is a safe choice for this fight as he moves quickly and Mr. L can skip well. But faster with Bowser: Uses Carrie to balance his low speed, and jumps on Mr. with Bowser. L. Due to Bowser’s higher attack power, you need significantly fewer hits.
Mr. L tries occasionally during combat to use a mushroom mix and regain strength points. As soon as he brings out the object, you should jump it immediately. Alternatively, you can try to take the mushroom mix with Thoreau out of his hand.
The safe procedure is:
Wait for Super Jump – Dodge Landing – Immediately on Mr. L jump.
Repeat this attack until Mr. L is defeated. However, the fight is not over.
Boss Fight: Brobot
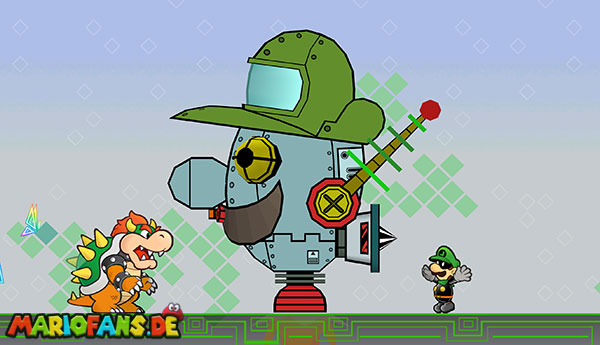
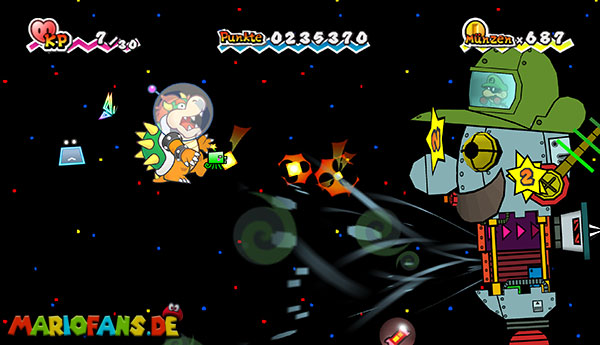
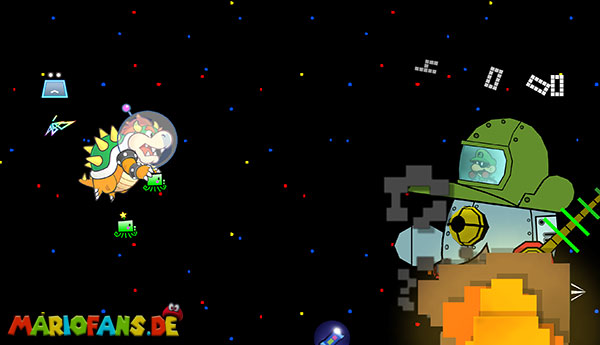
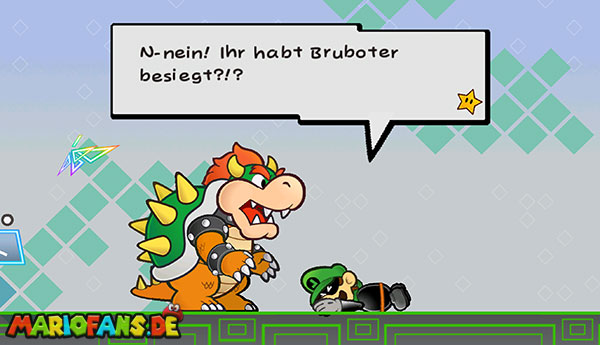
After his defeat, Mr. calls. L brought about his greatest invention: the mighty Brobot. Since the space is much too small for the robot, the second part of the fight is transferred to space.
You can now move freely in all directions. Squirps serves as a radiation cannon as before. Press the 2 button as quickly as possible to shoot at Brobot continuously.
Brobot has several attacks:
Small rockets are flying straight towards you. You can dodge them or destroy them with Squirps‘ shots.
Large guided missiles track your position. Fly around them in a large arc or shoot them down before they reach you.
Eye lasers and long beams of energy traverse a large part of the screen. Move up or down their trajectory in time.
Sogattacke: Brobot opens his mouth and tries to suck you in. Fly away from him with full force. If you use Boomer, the bomb can be pulled into his mouth and cause additional damage there.
During the fight, colorful chocolate bars regularly float through the picture. Collect them as much as possible. Depending on the grade, they temporarily increase your attack power or speed, generate additional rockets, give you a shield or split squirps into two cannons.
Stay in the left half of the screen and keep as much distance as possible from Brobot. This gives you more time to react to rockets and lasers. Continue to fire without interruption.
If you lose a chocolate bar bonus by hitting, you can get a new improvement on the next bar floating past.
After enough hits, Brobot explodes. Mr. L flees and the group returns to the Whoa Zone.
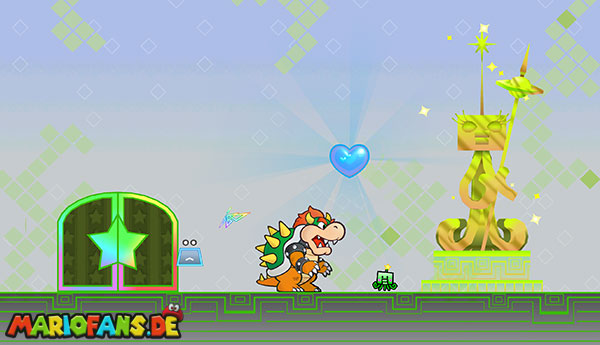
Follow Squirps to the right and walk through the door. There you reach a golden statue of his mother, Queen Klirpsina XIV. Squirps explains that he should hand over the Pure Heart to the heroes on behalf of his mother.
After completing his task, Squirps hands you the fifth Pure Heart.
This concludes chapter 4-4 and the fourth chapter of Super Paper Mario.