

Treasures on roof and balcony
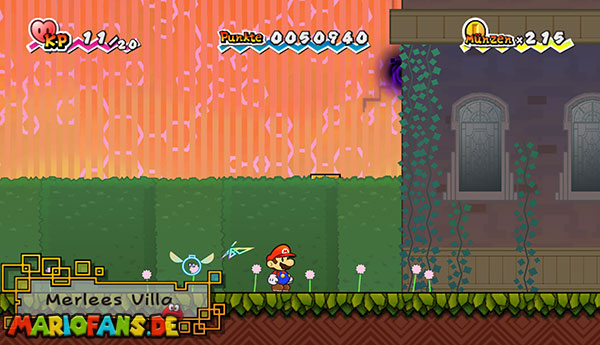
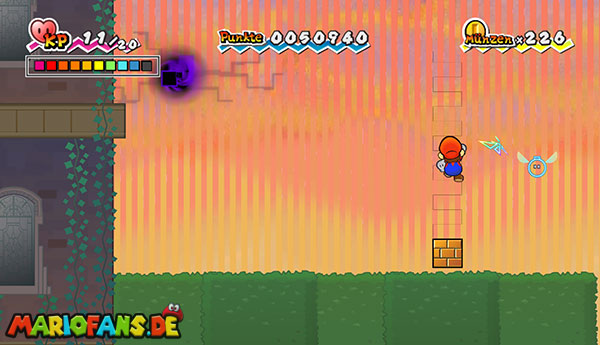
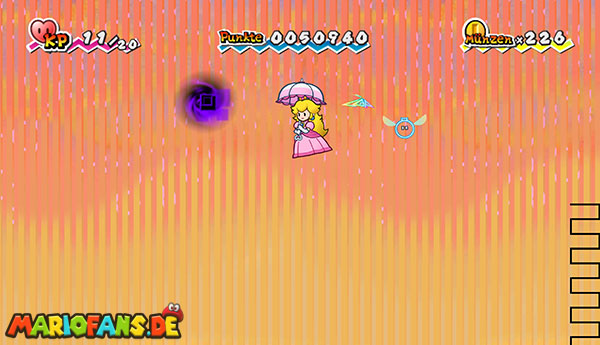
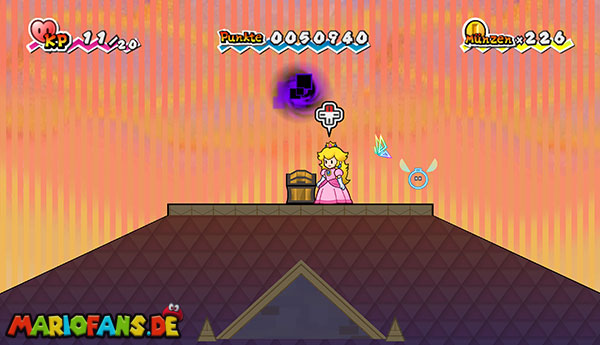
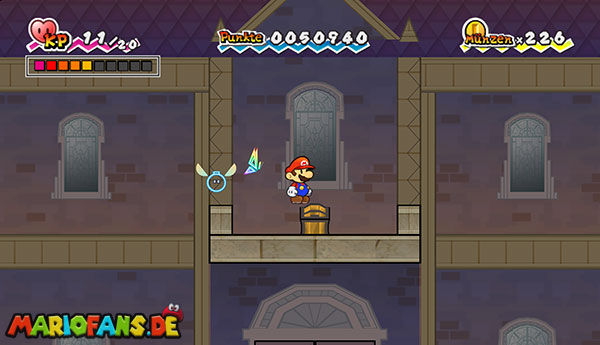
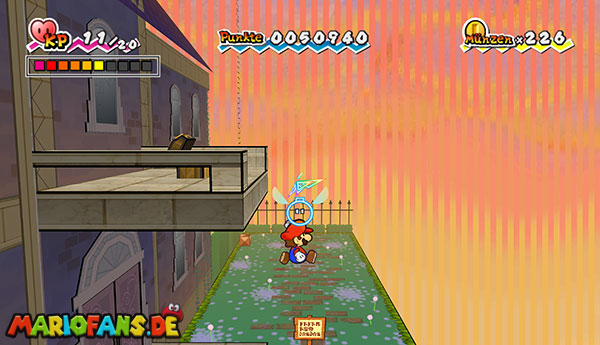
Before entering Merlee’s Mansion, you can collect two well-hidden treasures in the front garden.
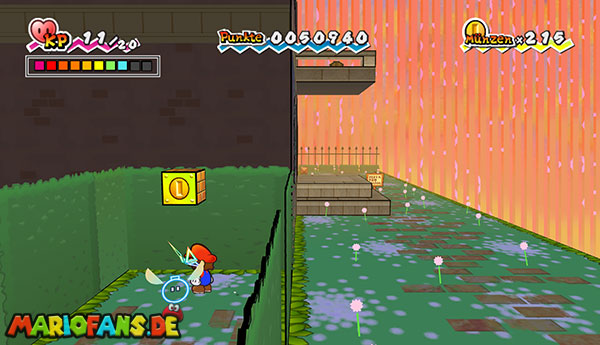
Switch to the 3D view immediately after launch and go behind the hedge on the left. There you will discover a hidden coin block from which you can extract several coins.
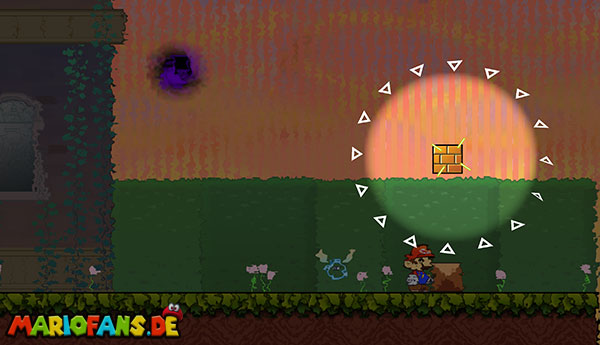
Then return to the 2D view and walk right past the entrance door. At the end of the front garden stands a single solid block. Jump on it and bump from below against the invisible block above you. If you do not find the exact position, you can make it visible beforehand with Tippi.
From the hidden block grows a ladder. Climb up and jump to the blocks above. Now switch to Princess Peach and slide with her umbrella to the left onto the roof of the villa.
Open the first chest there. It contains a Stopwatch, which allows you to immobilize all enemies on the screen for a short time.
After that, switch back to Mario and switch to the 3D view on the roof. Move forward on the narrow roof towards the screen and carefully drop onto the balcony above the main entrance.
Open the second chest. It contains the Miseria card No. 078.
Jump down from the balcony and enter Merlee’s Mansion through the large front door.
Mimi and the rooms full of traps
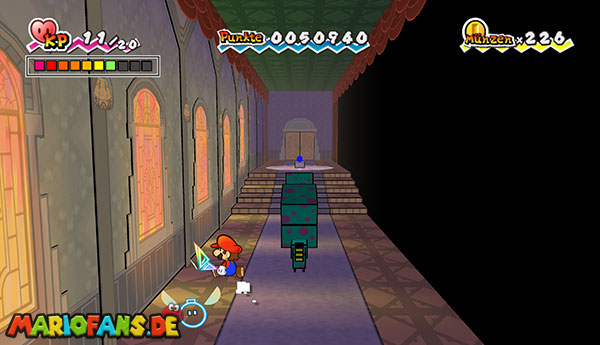
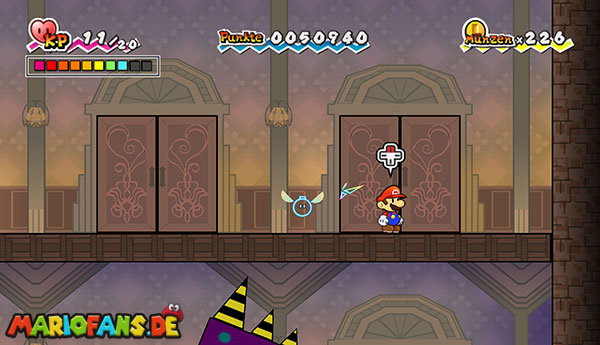
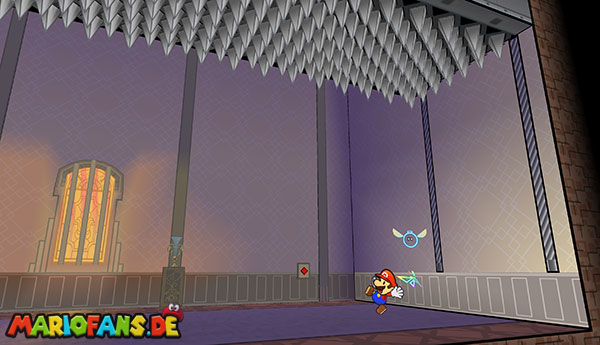
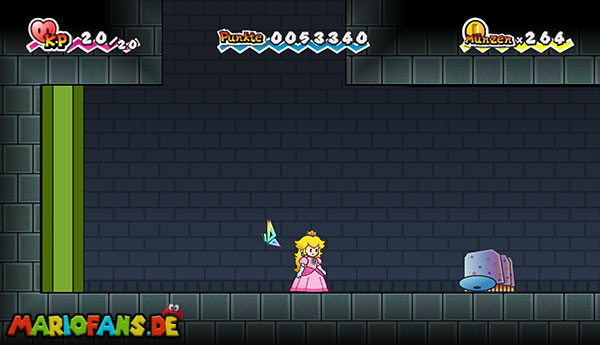
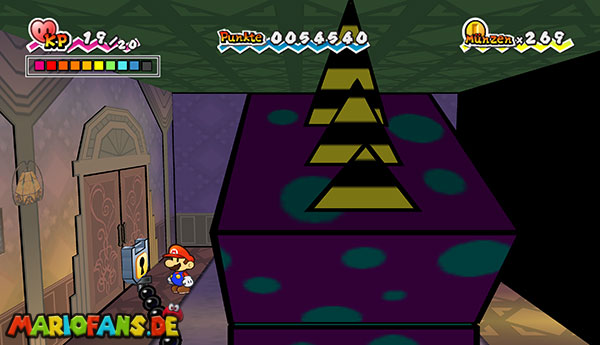
In the entrance hall, two large Knappis patrol. The animals do not want to hurt you, but carry you back to the villa as soon as they catch you.
You can jump over the Knappis or throw them out of the way with Thoreau for a short time. A jump on the head also numbs them for a moment. However, the easiest way is to switch to the 3D view and walk past them sideways.
Go to the right end of the entrance hall. Behind the curtain and the crystal ball, the path seems to end at first. Switch to the 3D view to discover a hidden door behind the curtain.
In the next room you will find a Save Block and the alleged housemaid Mimi. Talk to her. Mimi claims Merlee is on the top floor behind the door on the farthest right. At the same time, she warns you against entering the other rooms.
Mimi’s warning is not entirely unfounded: almost all doors lead to traps. For the conclusion of the chapter, you only have to enter the upper right door. You can still examine the other rooms to collect mushrooms and coins.
Upper left door: In this room a mushroom hangs from the Blanket. As soon as you collect it, a trap door opens among you. You end up in a room with a slurp.
Set boomer down right before the slurp. The enemy swallows the bomb and is hit by the subsequent explosion from the inside. After defeating him, a red ground switch appears.
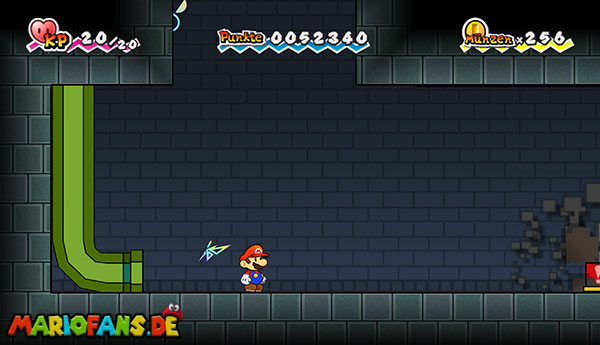
Put Boomer on the counter and immediately run to the left. The explosion briefly lifts a green warp pipe from the ground. Jump in quickly before it disappears. The warp pipe takes you back to the upper room.
Upper middle door: Here is a long row of coins waiting for you. Switch to the 3D view on the stairs to discover some additional coins. If you run too far to the right, a trap door opens again.
Defeat all swoopers in the lower room. Then activate the red ground switch with Boomer and use the short-appearing warp pipe to return to the top.
Lower left door: This room is also a trap. If you follow the seemingly accessible mushroom, you plunge down to several boos. Boos become invisible as soon as you look at them directly. So turn your back on them, wait until they approach, and then attack them.
After the victory, a red switch appears again. Activate it with Boomer and use the temporary warp pipe.
If you have had enough of Mimi’s traps, you return to the big hall and enter the door on the far right on the upper floor.
With the barbed ceiling up
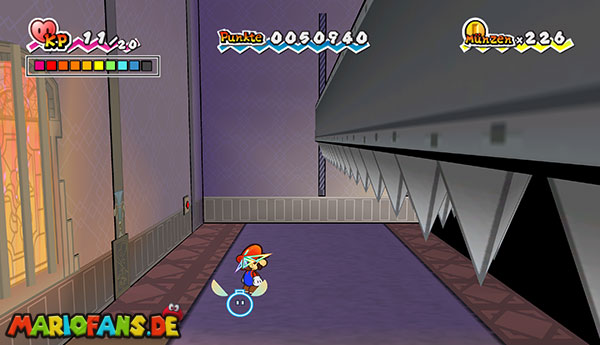
Runs to the right in the long room and presses the green switch on the rear wall. Immediately the windows close and a massive blanket full of Spike Trap drives slowly down.
Stay calm at first and wait until the barbed ceiling has sunk a good bit. Then switch to the 3D view. You can see that the spike trap covers only a part of the depth.
Go laterally on the free track and wait until the Blanket has almost reached the ground. Then jump to its top and switch back to the 2D view. The Blanket now drives back upstairs and takes you with him.
At the top, you jump to the platform on the left. Then follow the narrow path across the blocks.
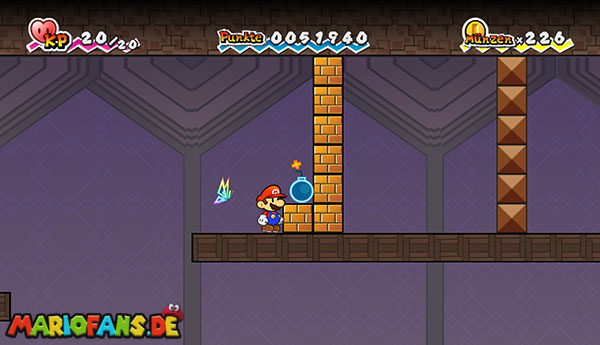
Several stone blocks block your path. Blast the Destructible Blocks with Boomer. You bypass indestructible pillars by moving into the 3D view and passing them sideways.
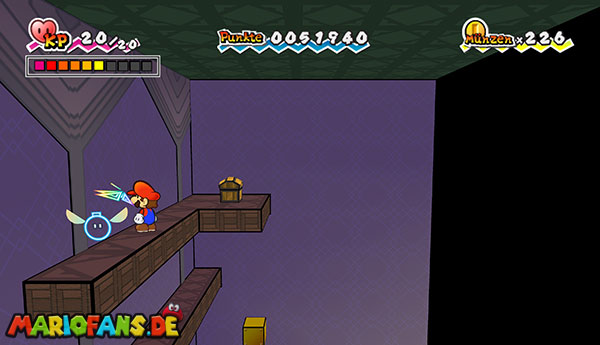
Pay attention to the very narrow underground world: only switch between dimensions in safe places so that Mario does not land next to the platform and fall down.
A second group of destructible blocks follows along the way. Blast it also with Boomer and bypass the solid block wall behind it again in the third dimension.
At the end of the narrow course is a chest. Open them and take the house key.
Afterwards, drop carefully down and leave the room through the same door you came through.
Nagi guards the exit
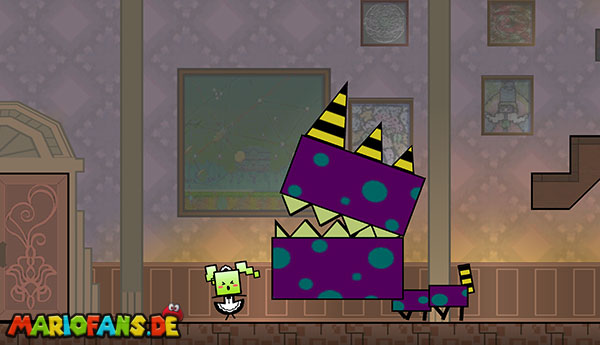
Return to the great hall and descend to the ground floor. The locked door is on the far right and is guarded by a giant purple guard dog named Nagi.
Nagi cannot be defeated in a normal way. As soon as he catches you, he hands you over to the smaller Knappis who carry you back to the villa.
Therefore, switch to the 3D view from a safe distance. Run sideways past Nagi and stand directly in front of the locked door. Change back to 2D if necessary and use the house key.
By opening the door, Nagi is freed from his chain. However, the guard dog is not interested in Mario and Princess Peach, but immediately takes up the pursuit of Mimi. This already indicates that something is wrong with the alleged housemaid.
Go through the now open door. In the last room, the star block is already waiting. Jump against it to close chapter 2-2 and go deeper into Merlee’s Mansion.