

Departure through the Yold Desert
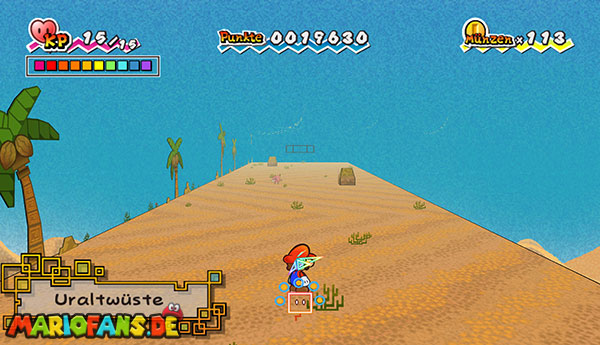
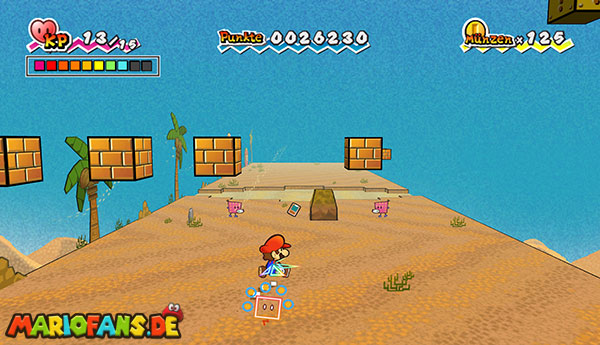
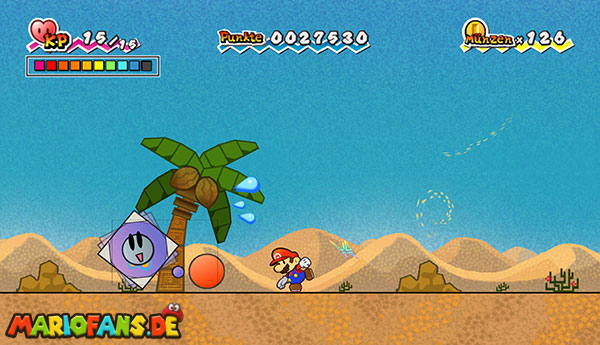
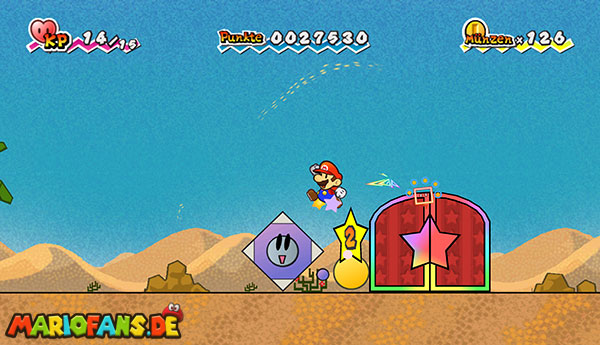
Run right from the start and remember the striking red palm tree. You will have to return to her later.
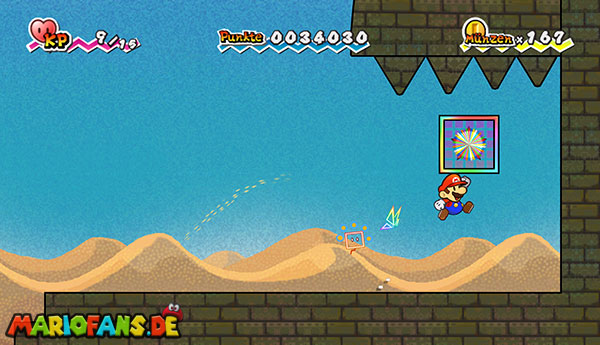
Switch to the 3D view at the first larger rock. This allows you to spot a previously hidden stone opponent and walk past him sideways. The following question mark blocks are also worth switching to the third dimension: Behind the visible blocks there are more blocks and some additional objects.
Then return to the 2D view and follow the path to the right. Skip the first small drifting sand pit and look for an eye-catching block formation shortly before the next larger sand spot. Change there again in 3D and look behind the brown rocks. There is the squig card.
Shortly afterwards, a large purple purpudon blocks your way. From the front, the opponent is practically not wounded. Therefore, switch to the 3D view and run past it laterally. Stand behind him, switch back to 2D and jump on the glowing ball on his tail. Repeat the attack until Purpudon is defeated.
Then go to the right and through the door.
The Secret of the Red Palm
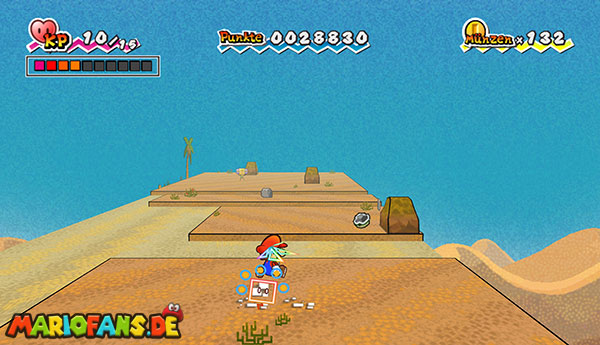
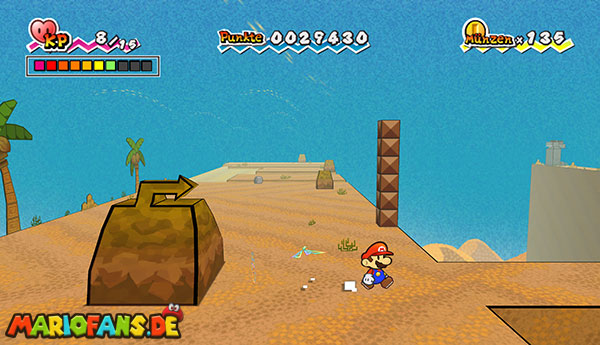
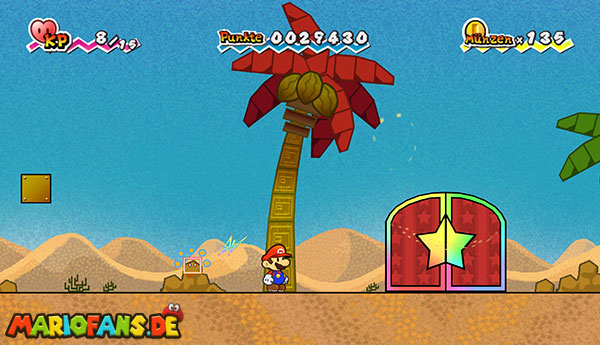
Follow the path to the right first. Some of the stone opponents have a high defense and can only be defeated cumbersomely at this time. It is often easier to switch to the 3D view and walk past it.
Shortly before a high block wall you reach a particularly large rock. Move right before that into the third dimension. On the top of the rock, an arrow now becomes visible, pointing to the right.
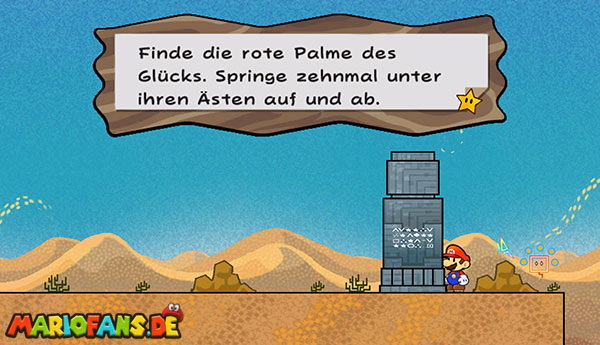
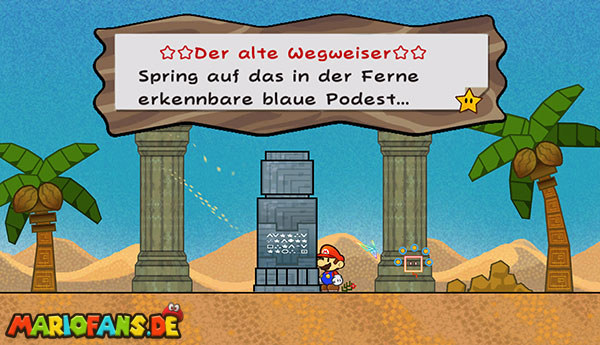
Follow the narrow, hidden path in the direction of the arrow. Stay in 3D until you are safely on the back footbridge. Switch back to the 2D view and walk left to the stone Arrow Sign. His inscription tells you how to open the way further: Under a red palm tree you have to jump ten times.
Before you turn back, you can still collect an optional item. Return to the normal desert path and continue to the right. You can bypass a seemingly impenetrable stone block laterally in the 3D view. Behind the following narrow driving sand trenches lies a Courage Shell behind a brown rock. If you use it, the damage suffered will be halved for a short time.
Then runs all the way back and goes through the door to the previous section. Continue to the left until you reach the red palm tree from the beginning of the chapter.
Stand directly under her tree crown and jump ten times in a row. After the tenth jump a new door appears next to the palm tree. Go through it.
Thoreau and the Flip Platforms
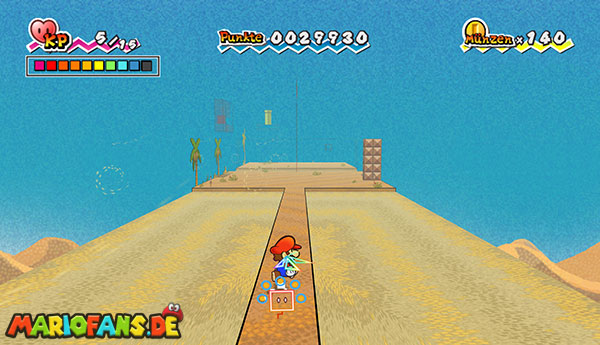
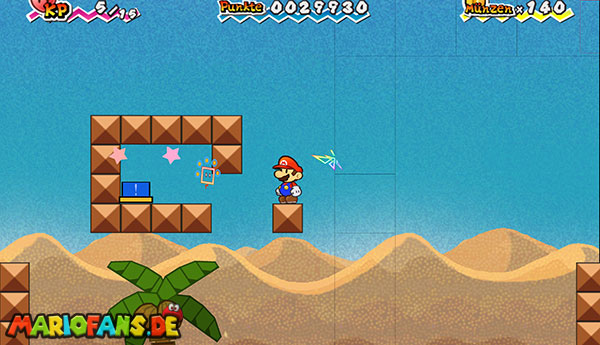
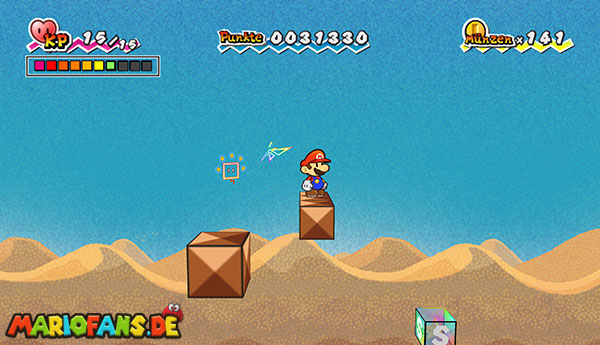
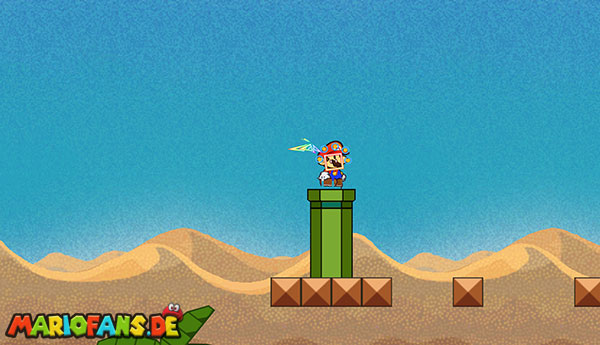
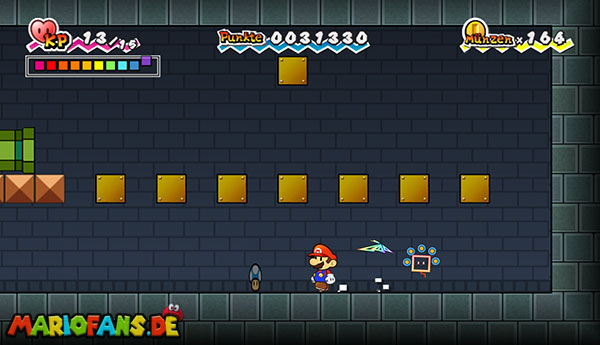
Runs to the right in the new section. You can overcome the first quicksand pit in two ways: Use the trampoline and get carried by the red flip platforms or switch to the 3D view and take the much faster shortcut over the sand.
Behind the first pit follows a much longer quicksand lake. Switch to the third dimension before that. In the sand, this makes a narrow, safe path visible, via which you reach the other side.
There you will find another trampoline and several brown blocks. Jump onto the upper blocks with the trampoline and then drop onto the individual block to the right of the blue switch.
Equip Thoreau, jump up and send him through the opening against the blue switch. Once the switch has been hit, the red flip platforms start moving.
Stand in the red bordered area and wait until you are transported to the other side of the quicksand. There are several enemies lurking, some of which are only visible in the 3D view. You can fight them or just bypass them.
Follow the path to the right and use the Save Block. Before you walk through the nearby door, you can visit a well-hidden bonus room.
Switches to 3D next to the Save Block and jumps to the block. From there you reach the higher brown blocks. Switch back to 2D and jump left from block to block until you reach a green warp pipe.
In the room below the desert is a series of question mark blocks. Also switch to the 3D view here to discover a second row as well as an additional hidden block. The blocks contain numerous coins and a super mushroom.
Then returns to the Save Block, saves again for safety and enters the door.
O’Chunks and the Last Desert Mystery
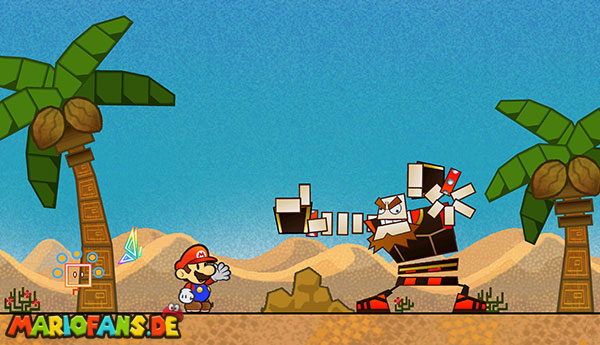
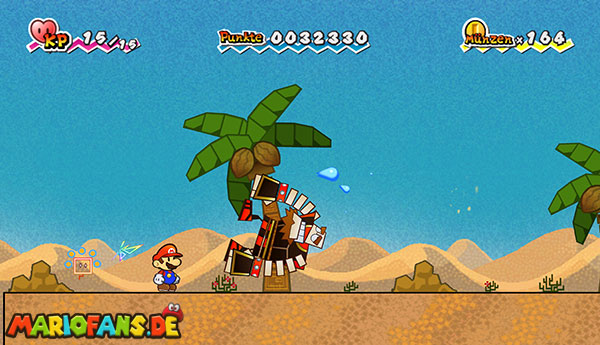
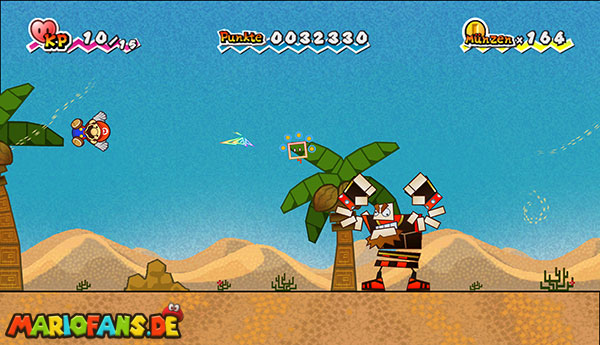
Behind the door is O’Chunks, one of Count Bleck’s henchmen. He has 20 power points in this first encounter.
O’Chunks attacks in different ways. He jumps up into the air and tries to crush Mario on landing. He can also grab you and hurl through the room or rush towards you with his shoulder down.
Stay away at first and wait for one of his attacks. Once O’Chunks stands still for a moment, she uses Thoreau to grab him. Throw him vigorously on the ground and jump immediately on his head as long as he is dazed.
Then move away and wait for the next opportunity. Repeat the process of packing, throwing and jumping until O’Chunks finishes the fight. If you are stuck in a corner, you can briefly switch to the 3D view and walk past it sideways.
After the fight, you walk through the door on the right. In the following section, moving platforms lead to two different doors.
Take the left path first. Jump over the brown blocks and the floating platforms to the door in the upper left area. In the next room, walk left until you reach a stone Arrow Sign.
First, read the front of the sign in the 2D view. Then switch to 3D and stand laterally or directly in front of its second labeled surface. Only both inscriptions together give the complete solution of the last puzzle.
The question mark blocks on the left end of the room only contain some additional coins. You do not have to activate it to complete the chapter.
Return through the door to the previous section and now take the right path. Use the trampoline, jump on the moving platforms and reach the upper door on the right.
Run to the right in the last room until you discover a blue platform in front of a large stone head. Stand on it in the middle and press the keys “1” and “-” on the Wii at the same time.
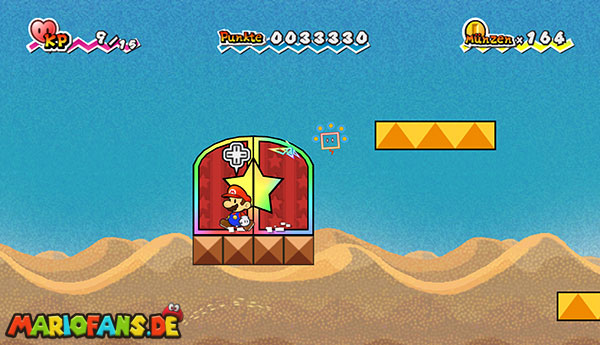
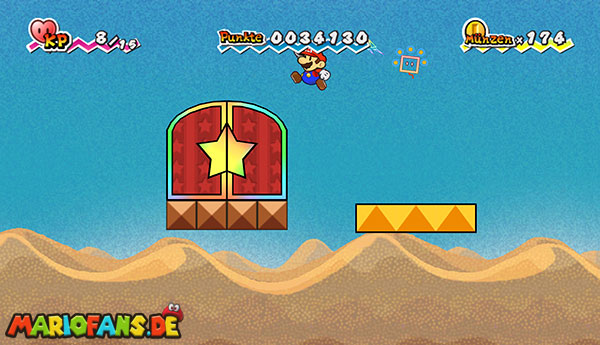
The stone gate opens and the star block becomes accessible. Jump against the Star Block to successfully complete chapter 1-3.