

Piekso and the Secrets of Bitlande

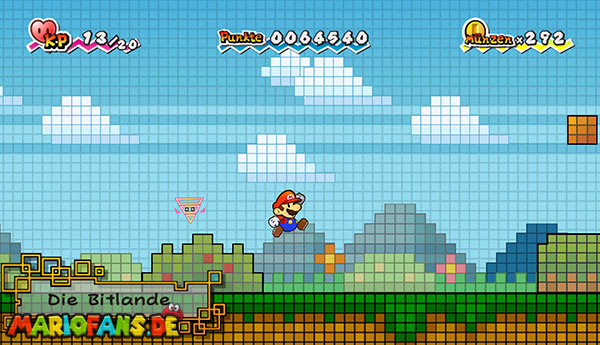
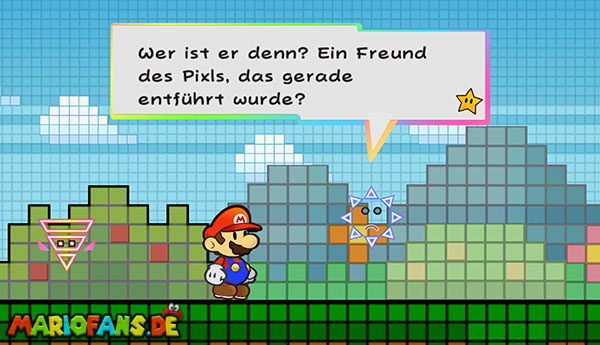
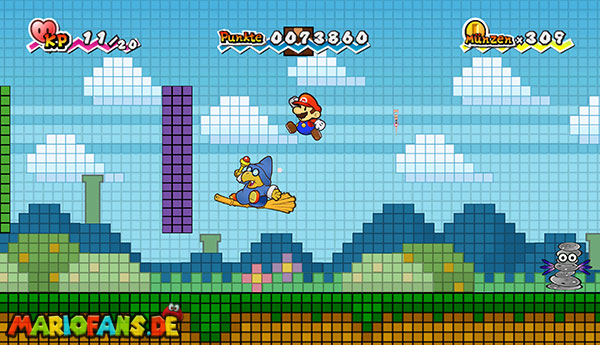
Shortly after your arrival, Tippi is kidnapped by the tech-savvy chameleon Francis. During the entire chapter you have to do without Tippis search function and their opponent information.
At the beginning, examine the striking bush on the right side. Inside is the Pixl Piekso. He is not joining you yet, but gives you three important hints:
Blast the red X, attack the red arm and ride on the red wind.
The first note becomes important at the end of this chapter. You need the other two in chapter 3-2 and chapter 3-3.
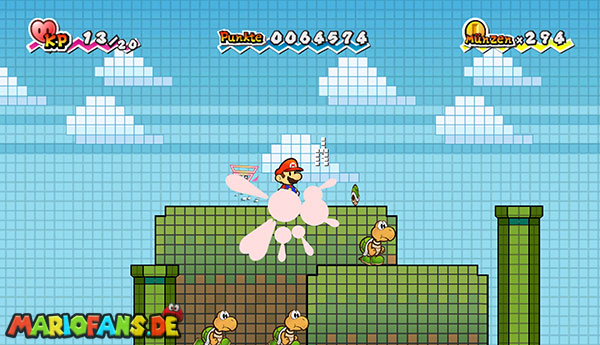
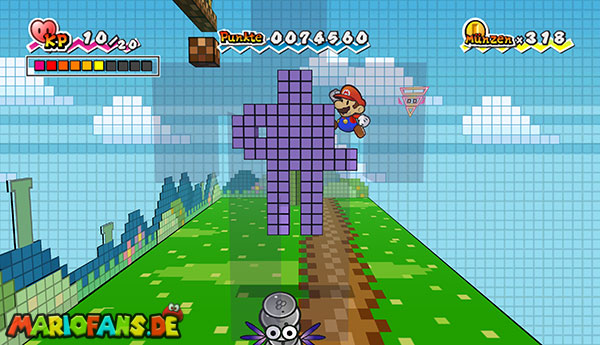
Run to the right, cross the hill and defeat the Koopas. Behind the small abyss, a high green warp pipe blocks your way. Switch to the 3D view with Mario and walk past the warp pipe.
Behind her you discover a yellow flip block. Jump against it from below and return to the 2D view. Use the rotated block as a step to get to the high warp pipe.
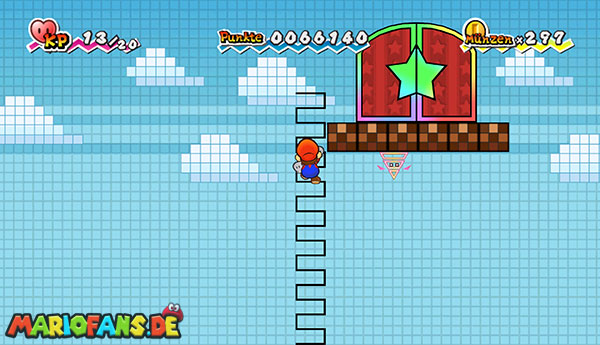
Above the warp pipe is another invisible block. Jump against it for a ladder to appear. If necessary, use the nearby Save Block first.
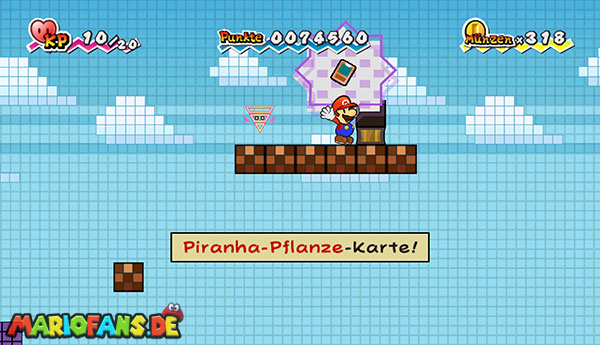
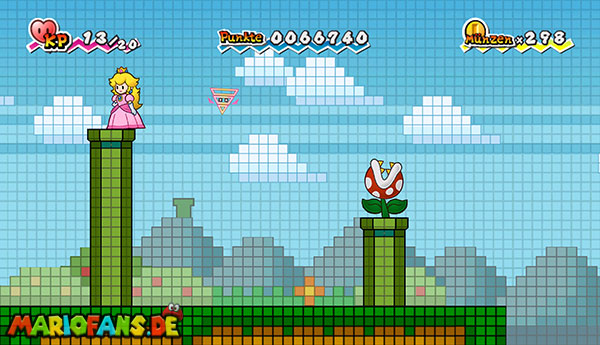
Before you fully climb the ladder and walk through the high door, you can collect the first catch card of the chapter. Switch to Princess Peach and slide from the raised position to the right onto the long colorful blocks.
Jump over the colored shapes up to the brown blocks at the right end. There is a chest with the Piranha Plant card No. 057.
Quick abbreviation: If you already know the solution and just want to finish the chapter, you can skip a large part of this section. Jumps in the starting area directly into the abyss between the two red tubes. This immediately lands you in the underground section, which is reminiscent of Fire Mario Bros. However, all previous treasures and bonus areas remain behind.
Between foreground and background
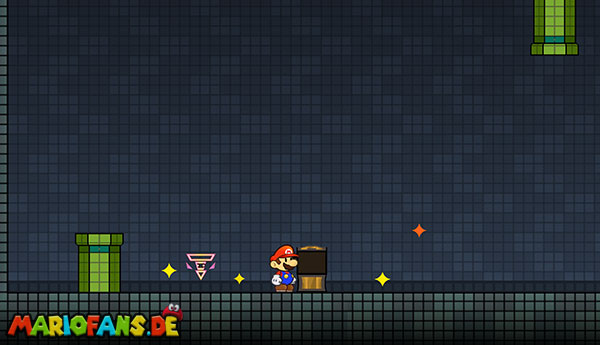
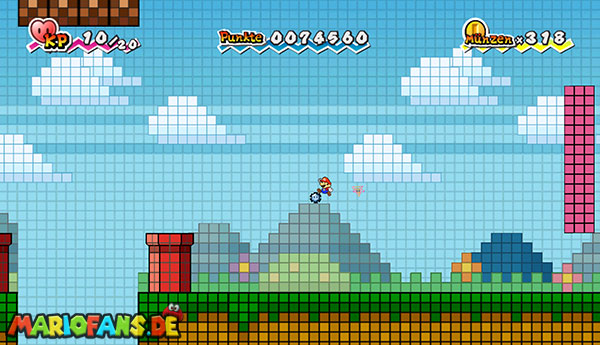
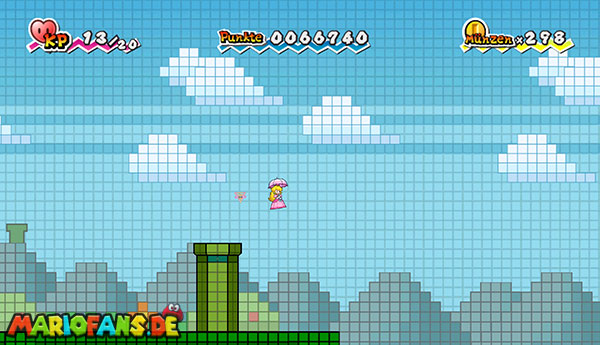
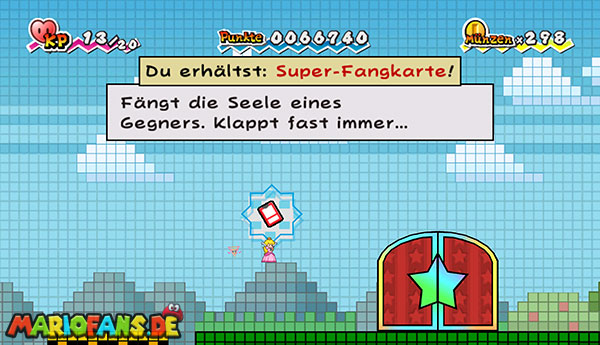
For the complete path, after collecting the Piranha Plant map, drop down again and run to the right end of the starting area. Jump into the green warp pipe.
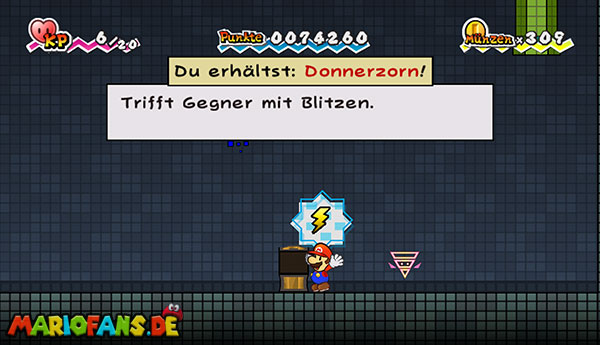
You land in the background of the landscape. Run to the left and use the next warp pipe. In the underground room, a chest with a Thunder Rage awaits.
In addition, she encounters several devices that constantly create new copies of themselves. Look for the original and jump on it. Alternatively, you can grab a copy with Thoreau and throw it against the other opponents.
Once the original Blomeba is defeated, his doubles disappear and a new warp pipe appears. Get in and you get back into the background somewhere else.
Go or slide with Princess Peach to the left. On one of the hills you will find an Ice Storm. Then return to the foreground via the tubes.
Run back to the left to the Save Block and climb over the flip block and the green warp pipe to the ladder. Now go through the high door.
On the other hand, you jump to the left on the moving platform. Wait until she takes you to the two green tubes. Switch to Princess Peach and glide from the lower to the higher Warp Pipe.
Get into the high warp pipe to get back into the background. Run right there and collect the first super-catching card of this chapter at the end of the path.
Then return to the foreground and move to the right. In the next question mark block is a megastar. Collect it and rush through the section as a giant 8-bit figure.
Roll down all opponents and obstacles and walk through the door at the right end.
The Duel of the Giants
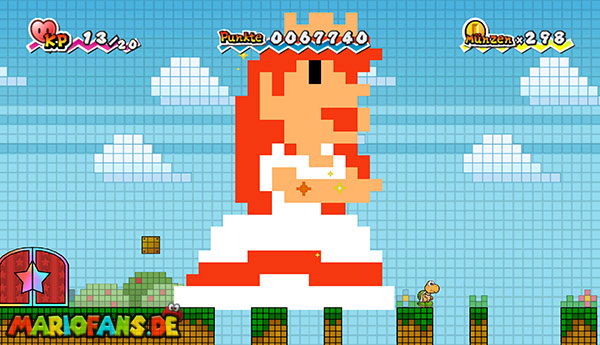
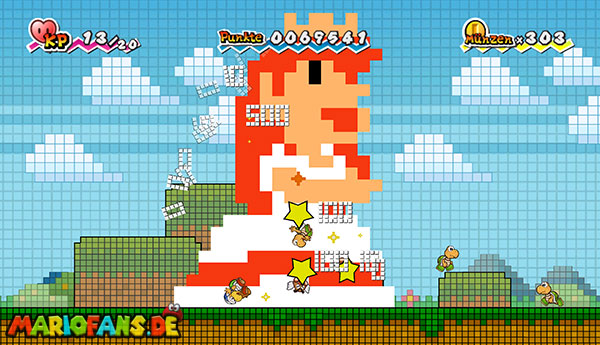
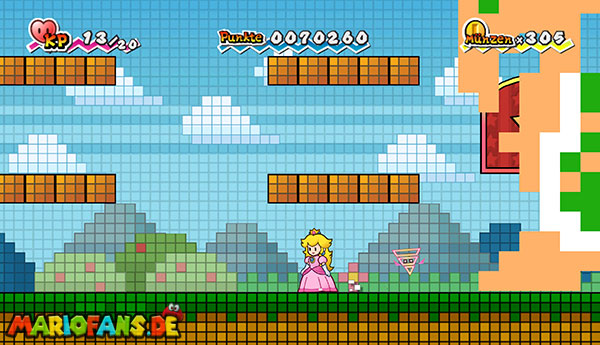
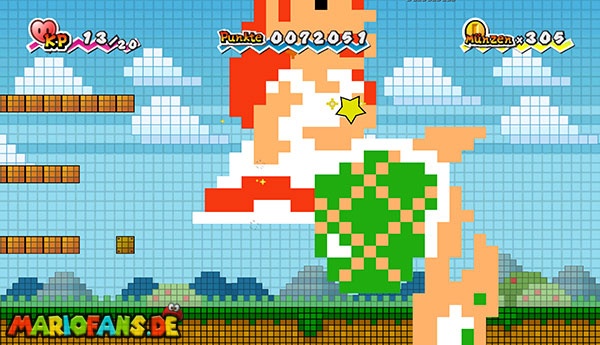
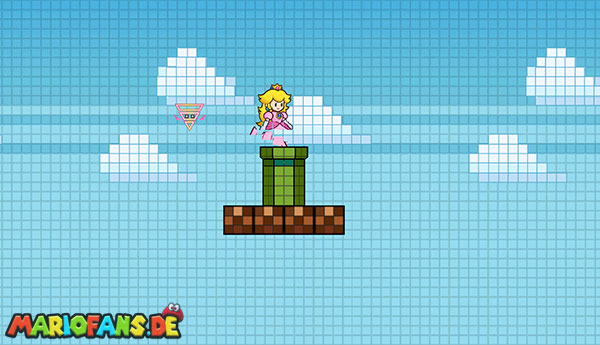
In the next area you will be attacked by a huge Koopa clan clan clan that also used a megastar. First, move back to the left and switch to the 3D view if necessary so that the colossus can move past you.
In a question mark block near the door is a second megastar. Collect him and pursue the giant Koopa clan clan clan. In your own giant form, you can simply overrun him and the following opponents.
Then runs to the right end of the section and presses the blue switch. This opens the door for the way back.
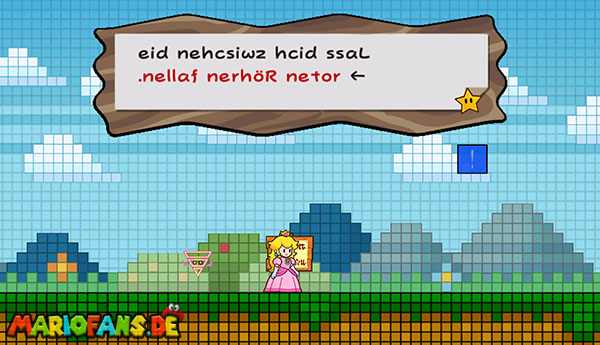
Also read the sign next to the switch. The scripture is mirrored and must be read from right to left. The message tells you that you have to fall between the two red tubes.
Returns to the previous area through the open door and continues back to the starting area. Use the Save Block again.
Run right until you reach the two red tubes. Do not jump over the abyss, but let yourself fall exactly into the gap between the tubes.
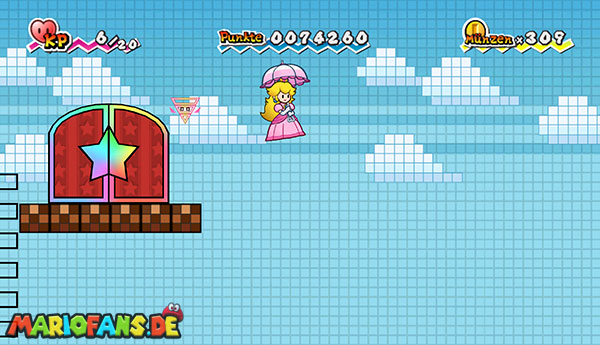
Further abbreviation: From the top of the ladder in the starting area, you can glide right with Princess Peach and land on the Warp Pipe above the abyss. This warp pipe leads directly into the hidden warp zone of the underground section. This allows you to skip the two Megastar passages and a large part of the cave.
Fire Mario Bros. Greetings
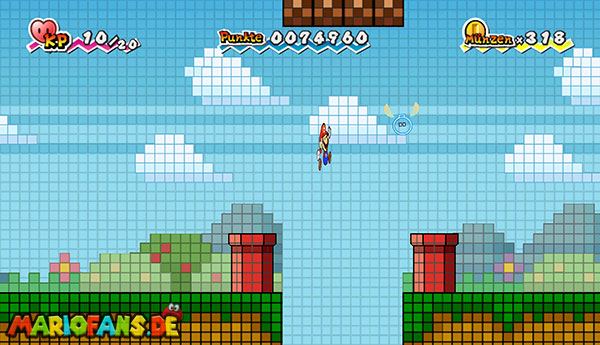
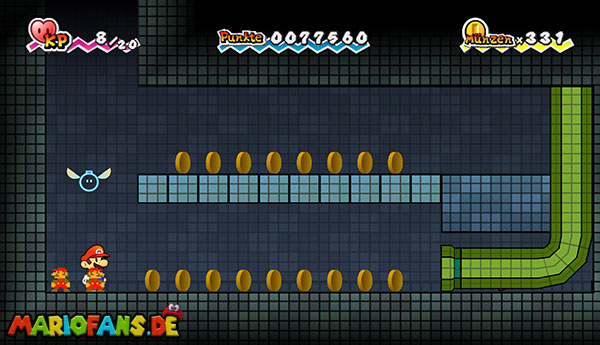
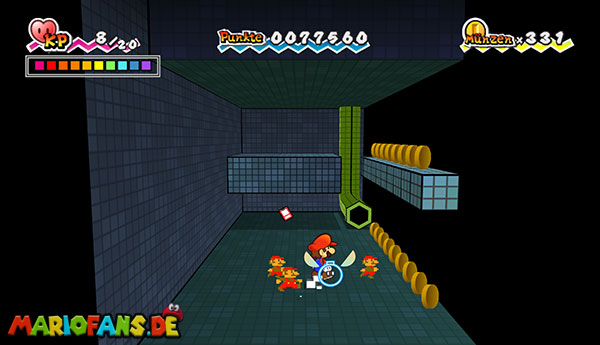
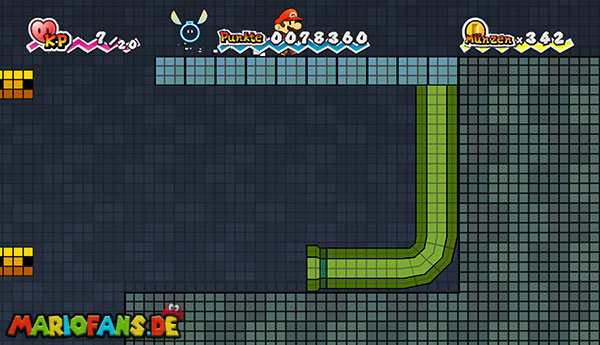
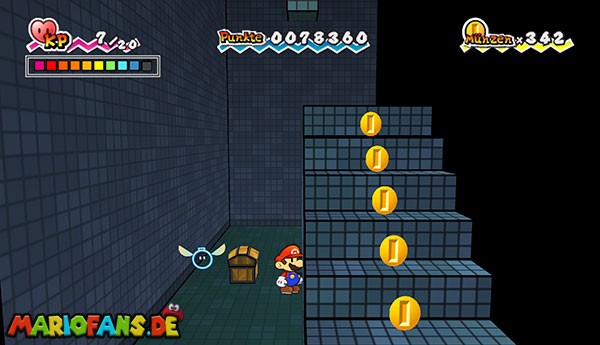
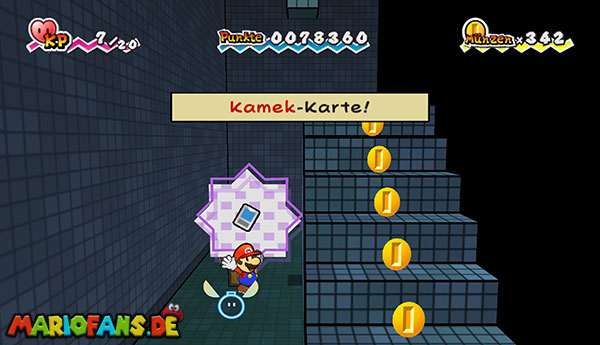
After jumping between the red tubes, you end up in an underground section that strongly resembles World 1-2 from the first Fire Mario Bros.
Follow the path to the right and defeat the Goombas. In between, switch to the 3D view to discover additional coins and a hidden coin block behind the stone rows.
Be careful with the question mark blocks: in one of them, instead of a helpful mushroom, there is a hostile zombie mushroom.
Shortly thereafter you reach several green tubes with piranha plants. Defeat the plants with Boomer or wait until they retreat into their tubes.
Get into the first accessible warp pipe. In the secret room numerous coins are waiting for you. In addition, switch to the 3D view and look behind the output tube. There is the second super-catching card of the chapter.
Collect the coins and return to the main aisle through the same warp pipe. Skip the great abyss with Princess Peach and then climb the stairs.
Use the moving platforms to get to the next fixed level. In the question mark block you will find a mushroom.
You can now go through the visible warp pipe and continue on the normal path. As in the classic Fire Mario Bros., however, there is a hidden warp zone above the Blanket.
Let yourself be carried far up from one of the moving platforms and jump on the level’s blanket. Run to the right until you reach three tubes.
The three tubes lead to different goals:
Right Warp Pipe: It leads into a small coin room. Switch to the 3D view and walk behind the stairs. In the hidden chest is the Magikoopa card No. 036. Then returns through the same warp pipe.
Left Warp Pipe: It takes you back to an earlier area. From there, you can glide to the Piranha Plant map with Princess Peach if you didn’t collect it at the beginning.
Medium Warp Pipe: It is the right way to the end of the chapter. You skip a part of the normal underground path and land directly near a Save Block.
Once you have collected the Magikoopa card, you will therefore use the middle warp pipe.
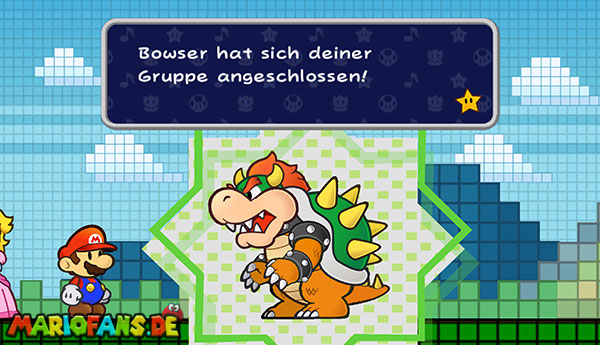
Bowser is on the team?!
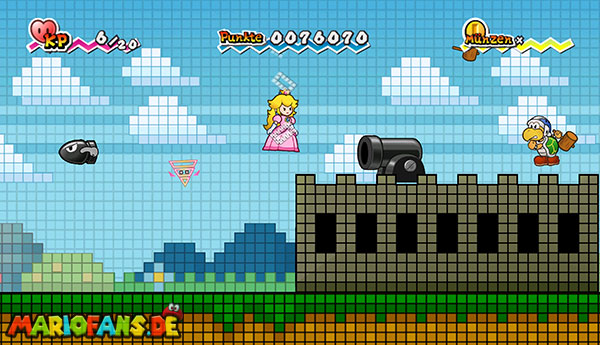
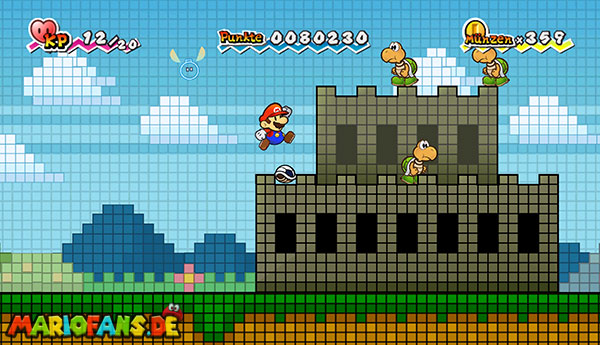
After leaving the middle warp pipe, save your progress and follow the path to the right. Here you meet the Koopa clan clan clan strikers for the first time. These Koopas kick their tanks in your direction.
Jump on a Koopa clan clan clan striker as soon as he prepares his tank. The masterless tank can then remove more enemies for you. Switch to the 3D view in difficult places to avoid flying tanks.
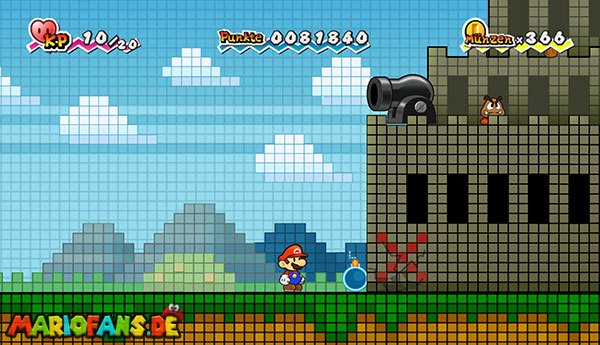
Shortly thereafter you reach several small fortresses. Jump on the walls and fight past Koopas, Hammer Brothers and Willi Blasters. Boomer is great for knocking out opponents or cannons on tight platforms.
At the last fortress, the path seems to be blocked. Take a close look at the outside wall: there is the red X announced by Piekso.
Sets Boomer right in front of the marker and causes it to explosion. The fortress wall collapses and Bowser comes to light.
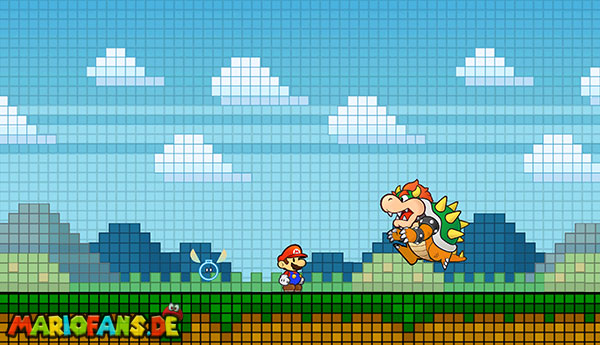
Bowser is unenthusiastic that Mario has destroyed his new fortress and challenges you to a fight.
Boss Fight: Bowser
Bowser has 20 power points and has an easy defense. Normal jumps are therefore not very effective and can even hurt yourself.
Its main attacks are high jumps and a wide fire breath. Stay away and switch to the 3D view when Bowser pins you in a corner.
The safest weapon is Boomer. Place it on the floor and lure Bowser into the explosion radius. You can also place the bomb where Bowser will land after a jump.
Bowser’s fire can cause boomers to explode prematurely. Therefore, keep a sufficient distance and, if possible, wait until Bowser has finished his fire breath.
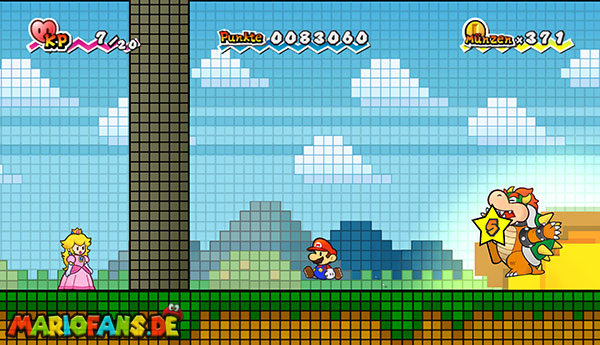
Repeat the bombing until Bowser gives up. At normal attack levels, about four direct explosions are enough.
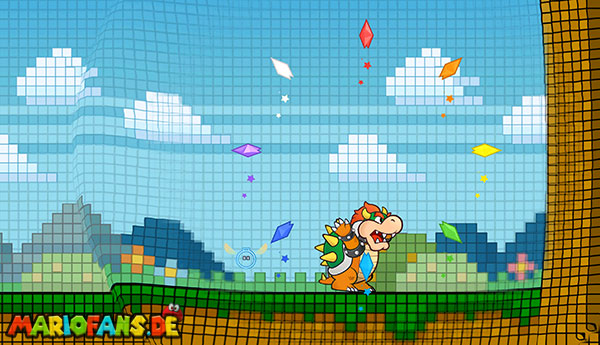
After the fight, Princess can convince Princess Peach Bowser to join the group. From now on you can select him as the third character.
Bowser is slower than Mario and Princess Peach, but it causes about twice the damage. Hold the direction button down so that it uses a strong fire breath.
Then go to the right and jump against the star block. This concludes chapter 3-1 and Bowser is part of your team from now on.