

The right way through the basement labyrinth
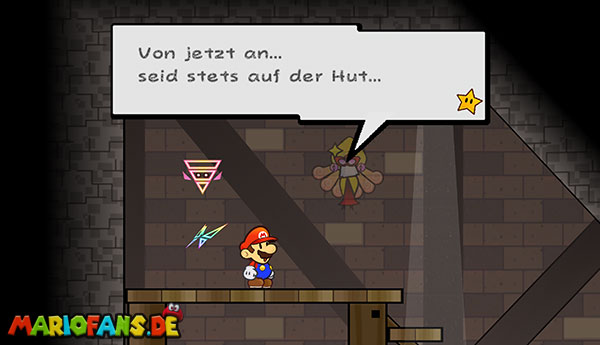
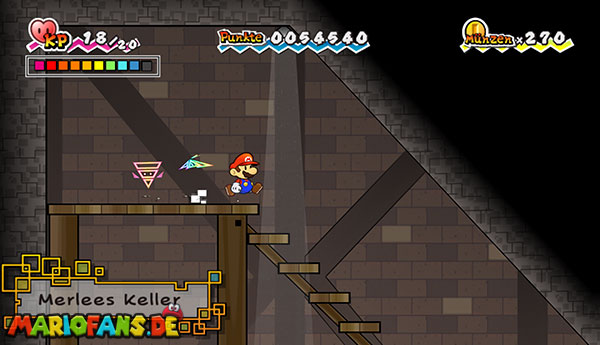
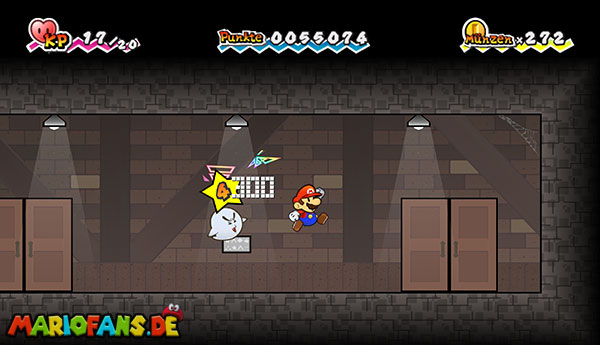
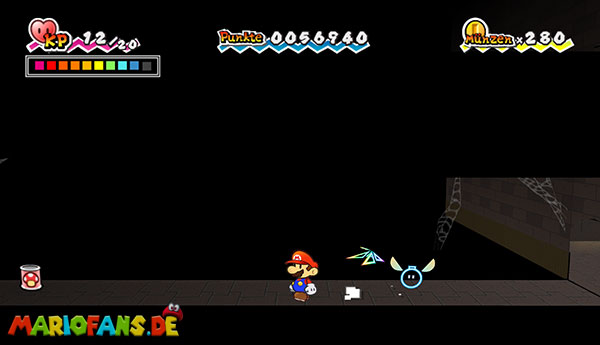
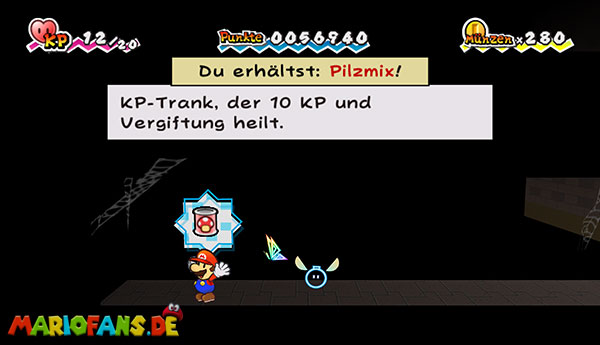
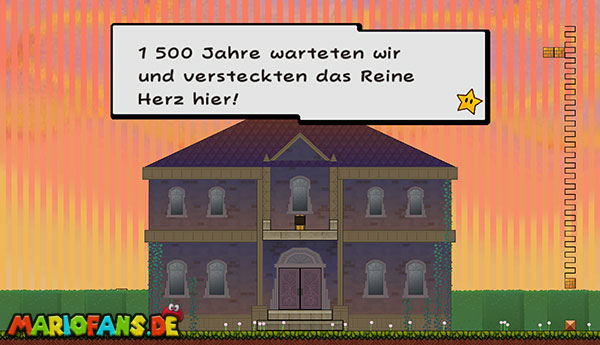
After a short message from Merlee, your search begins in the basement of the villa. Run down the stairs first and switch to the 3D view at the foot of the steps. Behind the stairs is a hidden question mark block with a mushroom.
Return to the 2D view and use the Save Block on the right. In front of you are two doors, both leading into the same basement complex. For the path described here, take the left door.
In the first room, several boos float around. They become invisible as soon as you look at them directly. Turn your back and wait until you approach. Then turn around quickly and jump on them or attack with Boomer.
Then walk through the door on the right. In the next room, you encounter an enemy who is constantly creating copies of himself. Defeat the original as quickly as possible so that the room is not overcrowded with doubles.
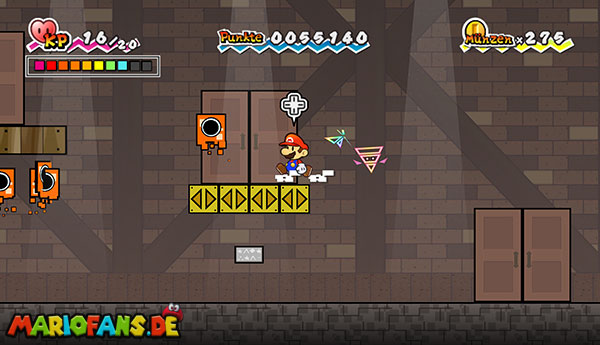
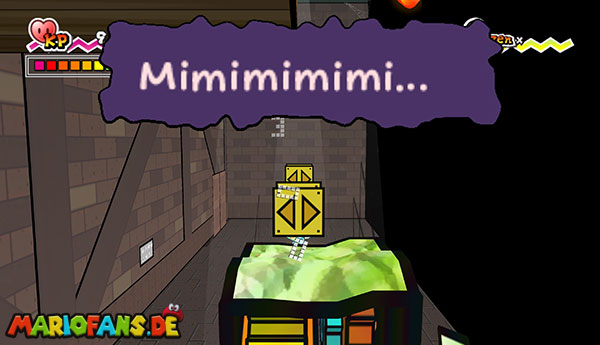
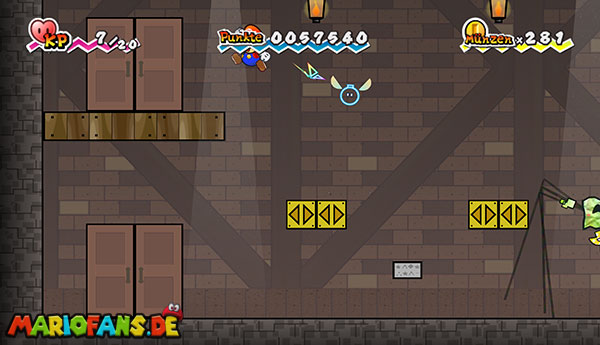
Then switch to the 3D view. As a result, several yellow blocks of arrows appear, which you can activate from below. They form an easier way back if you return to this room later.
Switch back to the 2D view and take the door on the right. In the following room, two paths continue. The left or lower door brings you back to an already visited section. Therefore, jump up over the blocks and enter the door in the upper right area.
In the next room there is a large, floating eye. You can bypass or defeat the enemy by switching to the 3D view and running around it completely several times. After a few rounds he becomes dizzy and disappears.
Climb over the blocks to the upper right door and walk through it. In the following gear you have to stay as high as possible. The question mark block on the bottom contains only one coin, so the detour downwards is hardly worth it.
Jump over the platforms to the right and enter the next door.
The False Merlee Shows Her True Face
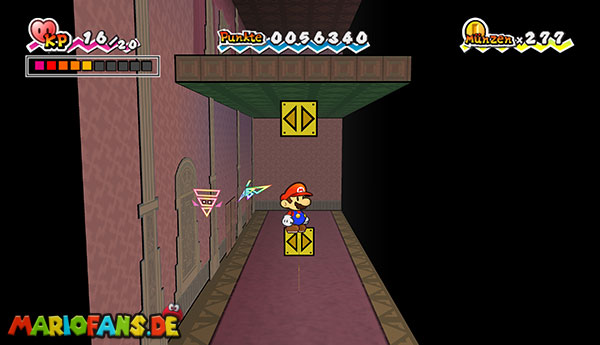
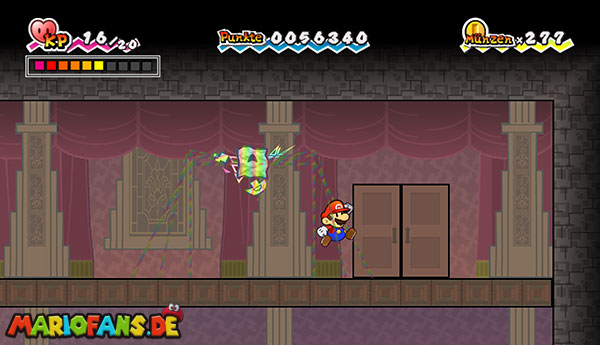
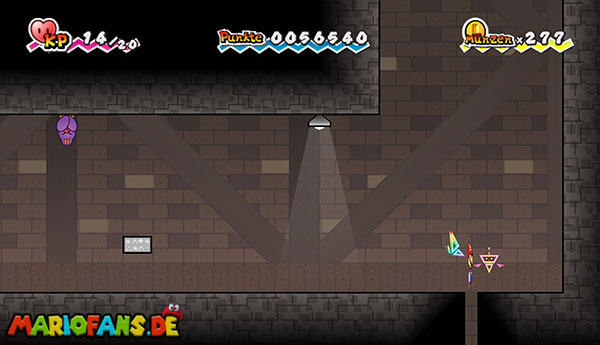
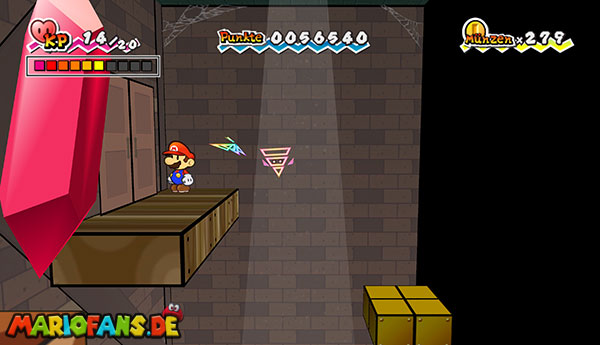
In the next room, walk past the lower door. At the end of the aisle, switch to the 3D view. Several previously invisible arrow blocks become visible.
First activates the lower row. Switch back to the 2D view and stand on the now rotated blocks. Switch to 3D again and jump against the higher row. This creates a staircase to the upper platform.
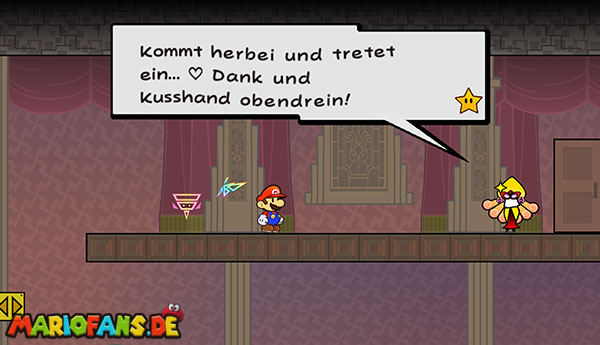
There is a supposed Merlee waiting for you. She claims to want to sell you the Pure Heart and asks for a completely excessive sum. She then makes further offers and tries to get you to sign a contract.
Reject each of their offers consistently. After several cancellations, the real Merlee appears as a projection and warns you about the fraudster.
The false Merlee then turns into Mimi and assumes her huge, spider-like form. At this time, she is protected by a magic barrier and cannot be hurt yet. Therefore, do not try to fight against them.
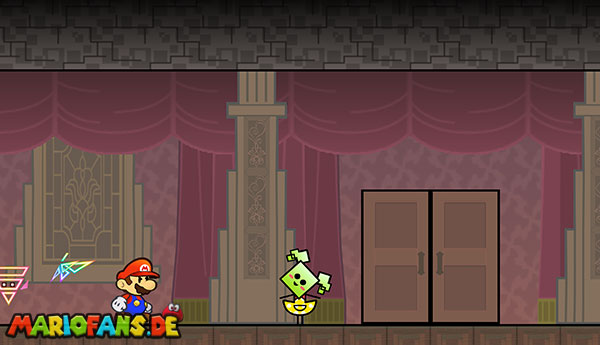
Run past Mimi and walk through the door on the right. If she blocks the path, she briefly switches to the 3D view or jumps over the rear part of her body.
In the following room you run to the right and equip Slim. At the end there is a very narrow gap in the bottom. Make yourself paper thin with Slim and let yourself fall down through the opening.
Go down through the door. From now on, Mimi will follow you through the cellar labyrinth. Do not stay in a room too long. After a short time she appears and tries to catch up with you.
In the next room lurks a curse opponent who can greatly slow down your movements. Stay away and don’t jump on him. If you are hit anyway, you activate Slim and remain completely silent. As long as you do not move in a flat state, both the opponent and Mimi can not harm you.
Runs to the right and switches to the 3D view. Activate the hidden blocks of arrows and use them as steps to the raised door. Switch back to 2D and go through it.
In the following distribution room you can optionally collect a mushroom shake. Blast the corresponding wall with Boomer and follow the passage that can only be reached in 3D. Then return to the main room and take the door on the left.
Atom-Buu and the quiz on the women’s bathroom
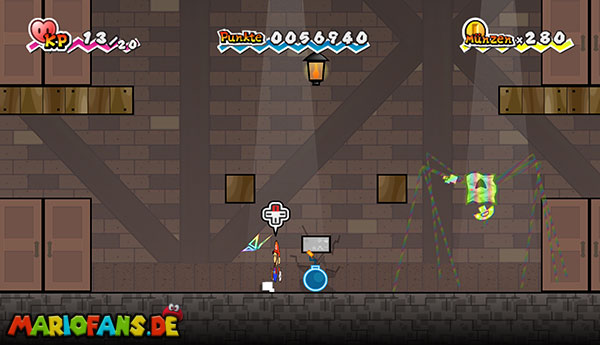
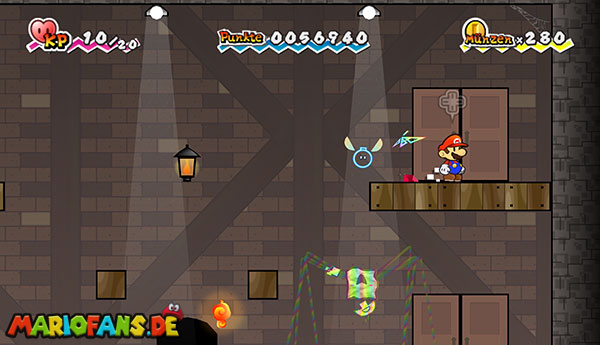
In the next room, the right path leads over the door in the lower left area. Behind it you can see a clear crack in the wall at the top right.
Sets Boomer right in front of the crack and blows up the wall. Then switch to the 3D view and follow the narrow corridor behind the wall. At the end you reach another door.
In the following room, several blocks of arrows appear again when you move to the third dimension. Activate them, use them as stairs and enter the door on the top left.
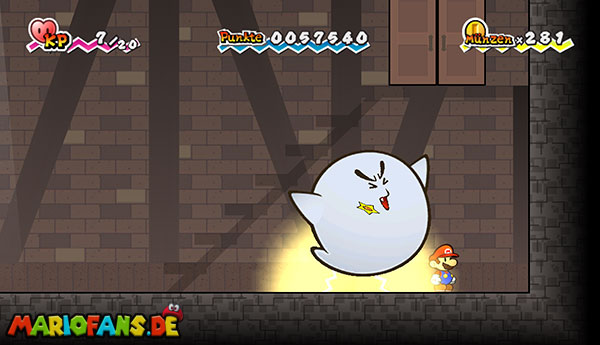
Behind it is a huge nuclear buy. Like the smaller Boos, he becomes invisible and unassailable as long as you look at him directly.
Stand close to him and drop boomers. Then turn away from the Atom-Buu. As soon as he becomes visible and approaches Mario, you Boomer explode. Repeat this process until the Great Spirit is defeated.
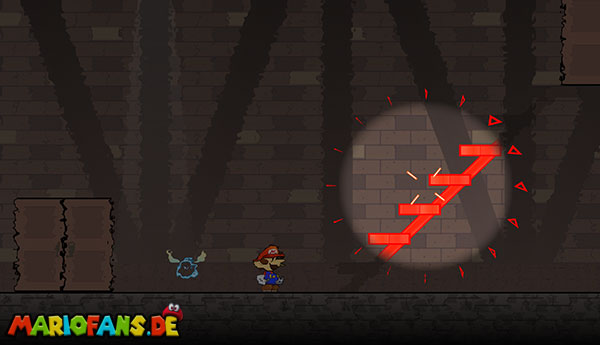
Afterwards, examine with Tippi the area to the left below the high door. Tippi makes an invisible staircase visible there. Go upstairs and walk through the door.
In the next room, it is worth switching to the 3D view. This allows you to discover additional question mark blocks with a mushroom and a super mushroom. Then use the Save Block on the right.
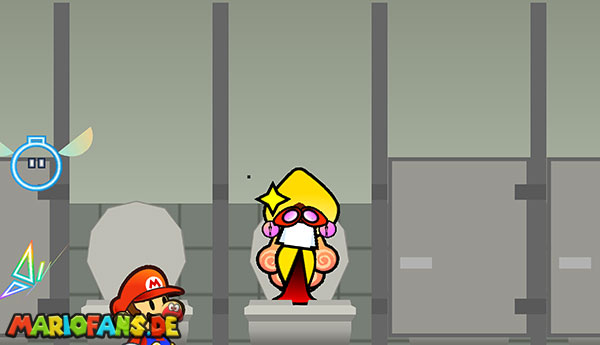
Enter the ladies‘ room. Open the car doors one after the other. The real Merlee hides in the third cabin from the left and sits there on the toilet.
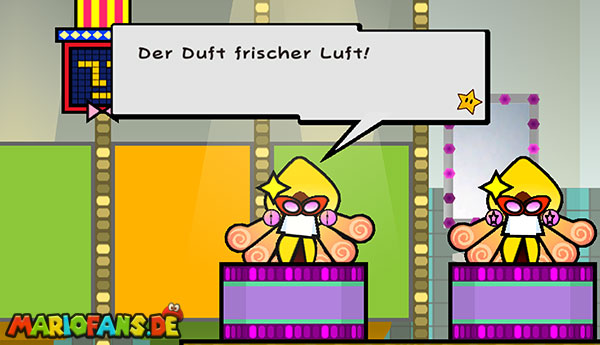
Before she can give you the Pure Heart, Mimi appears and transforms into Merlee again. Since both are completely alike externally, a small quiz show begins.
You may ask the two of them several questions. The answers are partly helpful, partly completely absurd. The real Merlee can be recognized most reliably by the fly floating around it.
If you choose the wrong Merlee, this has no lasting consequences. Mimi gets angry regardless of your choice, reveals her true form and starts the boss fight.
Boss Fight: Mimi
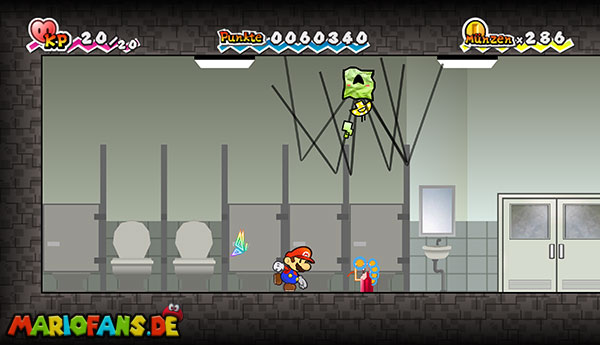
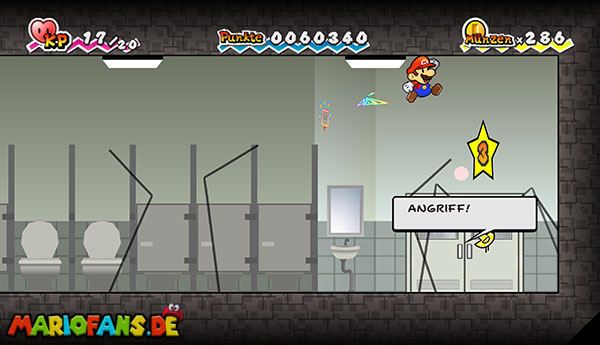
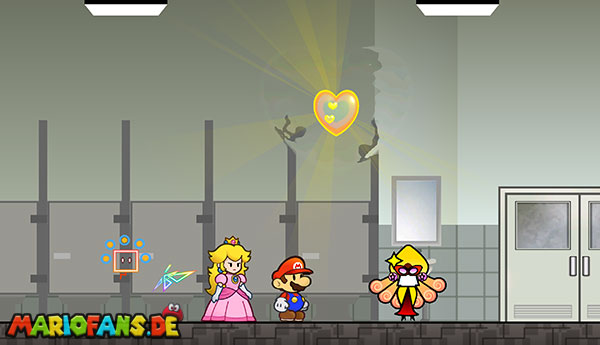
Mimi begins the fight again in her spider-like form. Initially she is still protected by the magic barrier Count Bleck‘. Your attacks therefore do not cause any damage at first.
Stay moving and wait while Merlee prepares a spell in the background. You can already grab the red Rubee that Mimi throws at you with Thoreau and throw it back. As soon as pink hearts appear around Mimi, their protective barrier has been lifted and the real fight begins.
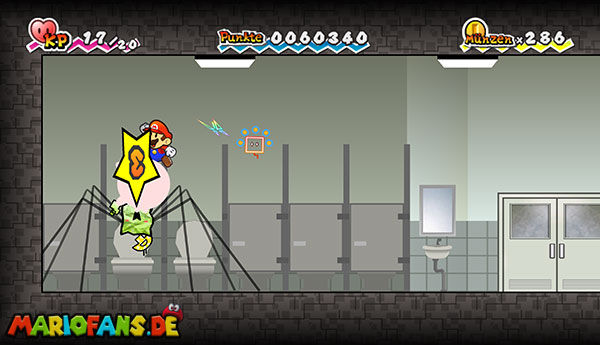
Mimi crawls over the ground and the Blanket and fires Rubee in your direction. Equip Thoreau, catch one of the bullets and throw it at her head.
If Mimi hangs on the Blanket, the first hit brings her down. Subsequently, ship another ruby against her so that she remains dazed on the ground. Run quickly to her and jump on her head.
After a successful attack, Mimi loses one of her six legs. With each lost leg, she gets faster and uses her attacks more often.
Later, Mimi shoots a wide wave of rubies from the ground. Jump over it in time or switch to the 3D view with Mario so that the wave passes you.
Alternatively, you can fight with Princess Peach. Press the appropriate direction button on the floor so that it protects itself with its umbrella. This allows many ruby bullets and direct attacks to be completely defended. To throw back the Rubee you still need Thoreau.
Repeat the sequence:
Catch ruby – throw at Mimi – stun Mimi – jump on her head.
Once Mimi loses all six legs, she collapses and the fight is won.
Merlee then thanks you for your help and tells you more about the prophecy as well as the four heroes to stop the Chaos Heart. Finally, she gives you the third Pure Heart.
This concludes Chapter 2-4 and the second chapter of Super Paper Mario.