

The key behind the skull
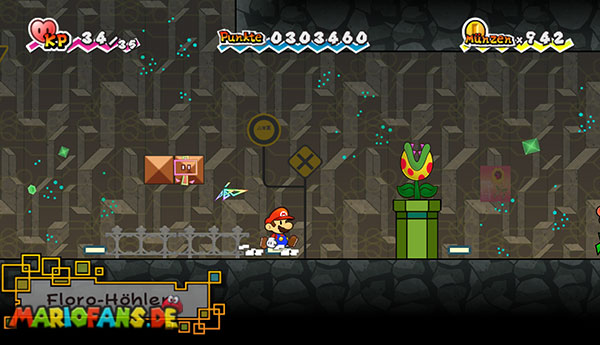
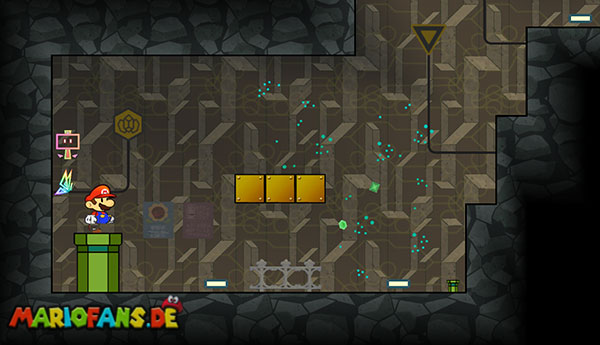
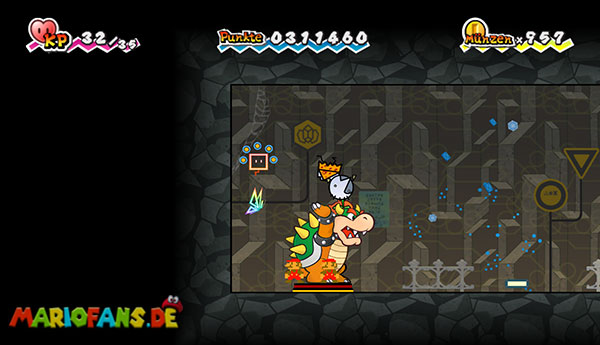
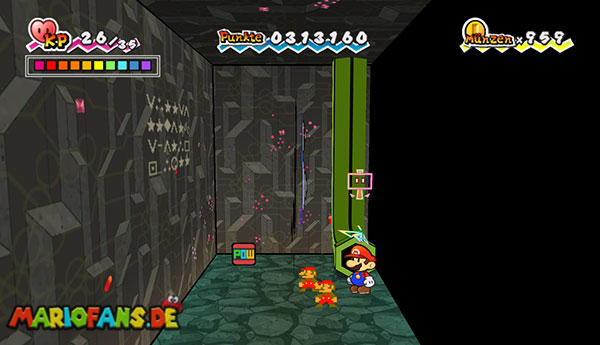
Follow Flint Cragley and his crew to the right. At the first larger opening, drop onto the lower path and run to the left. Get into the green warp pipe.
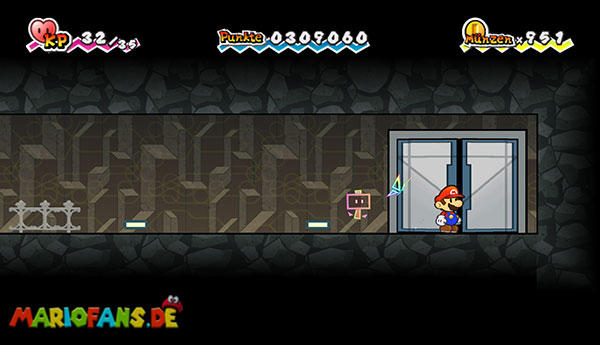
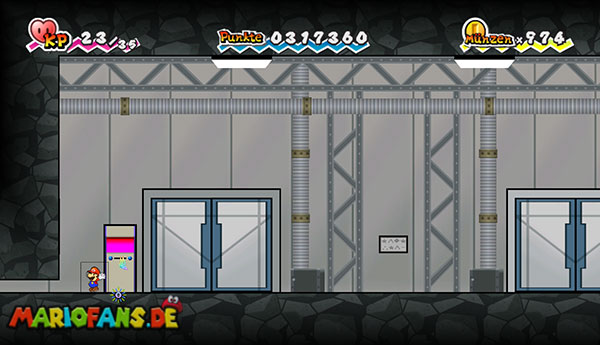
In the next area, use the Save Block on the left. The white metal door next to the memory point cannot be opened for the time being. The door at the right end of the corridor is also locked.
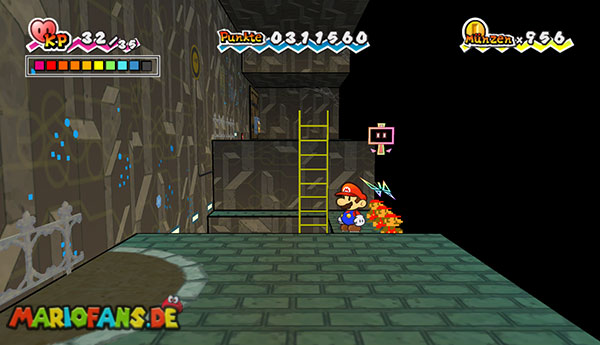
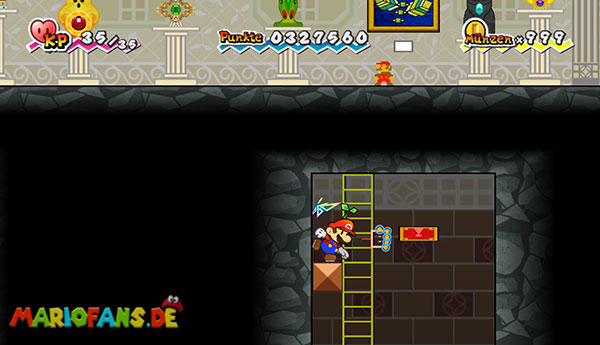
Run right up to the green warp pipe hanging from the blanket. Switch shortly afterwards with Mario into the 3D view. In front of the ladder, a hidden pit is now visible.
Drop in and switch back to the 2D view. Several hypnotized Klipposapiens walk around the room.
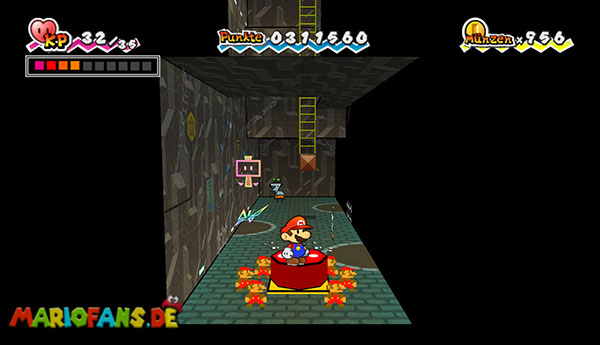
Grab one of them with Thoreau and stand with him on the big red floor switch. Mario’s weight alone is not enough to push him down completely.
Once the switch has been activated, a green warp pipe appears on the right. Get in there.
You enter a small labyrinth of six interconnected rooms. Take the door to the right first and the right door again in the next room. Then climb into the green warp pipe.
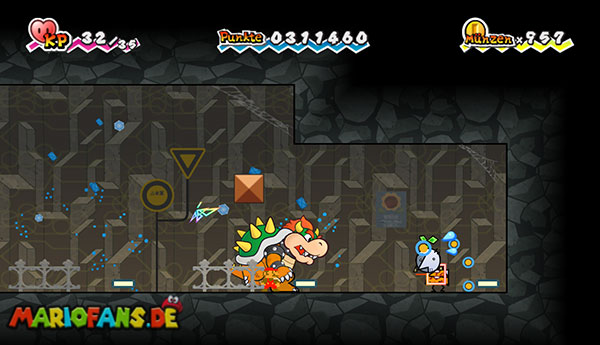
Defeat the opponent in the next room. He continuously produces copies of himself. Therefore, look for the original as quickly as possible and attack it with jumps, Cudge or Bowser’s fire breath.
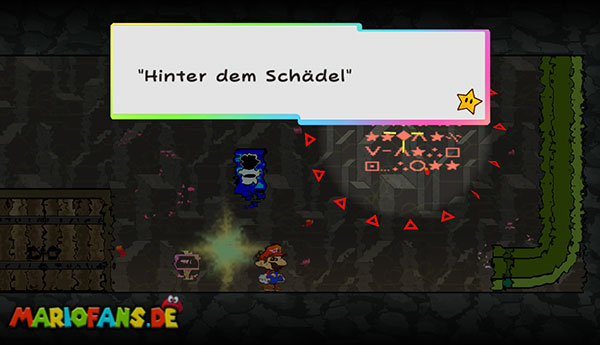
Afterwards, examine the writing on the wall with Tippi. It deciphers the note:
“Behind the skull.”
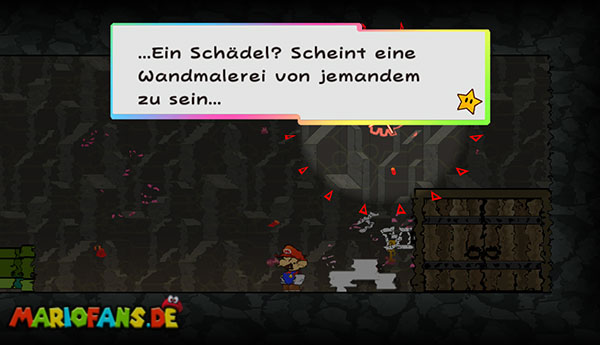
Return through the warp pipe and now walk twice through the door on the left. You reach a room with a large skull drawing on the wall.
Stand in front of your skull and use fleep. He turns the picture around and brings out a cave key.
Take the key and return through the rooms to the warp pipe that brought you to the red floor switch.
Switch to the 3D view and jump to the brown block. Climb back up the ladder and open the locked door at the right end of the corridor.
Pixl Dottie makes you tiny
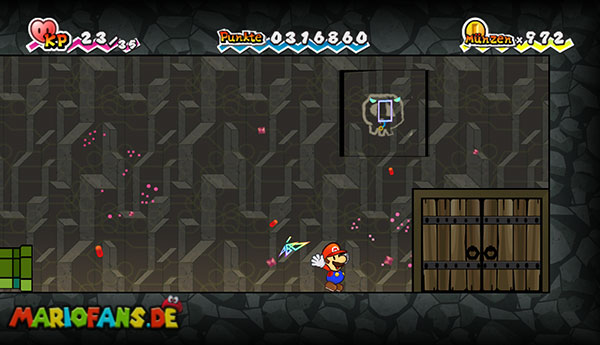
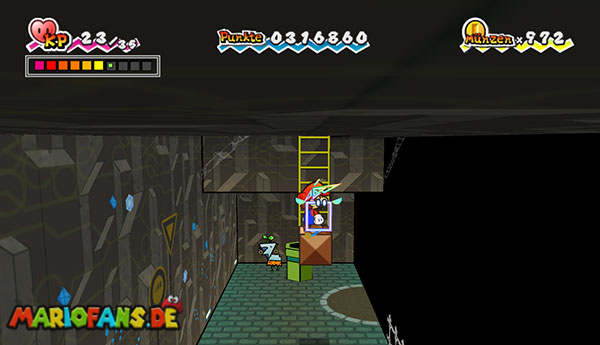
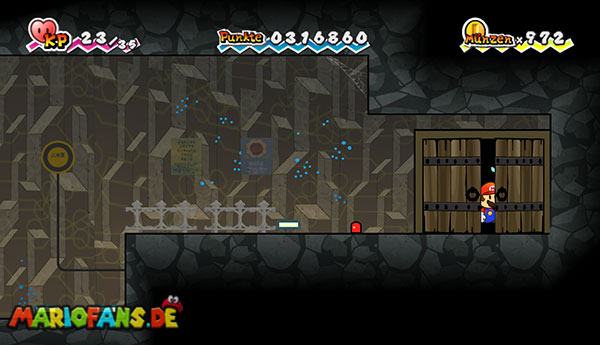
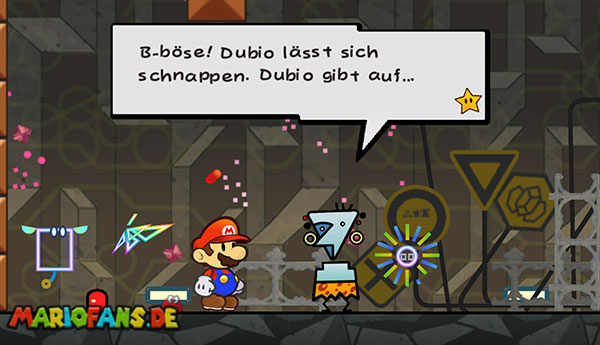
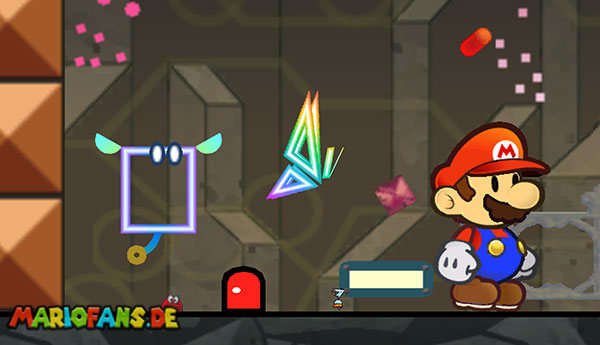
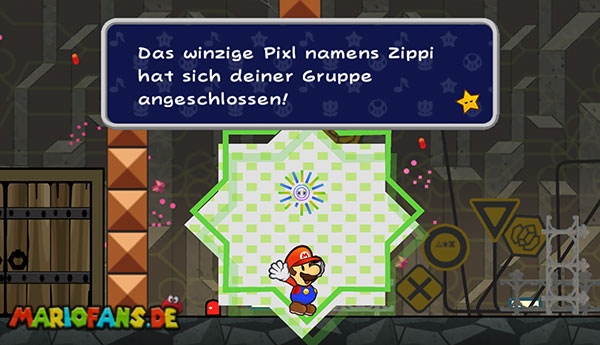
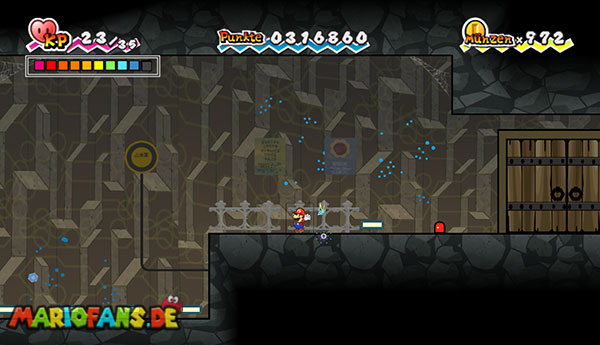
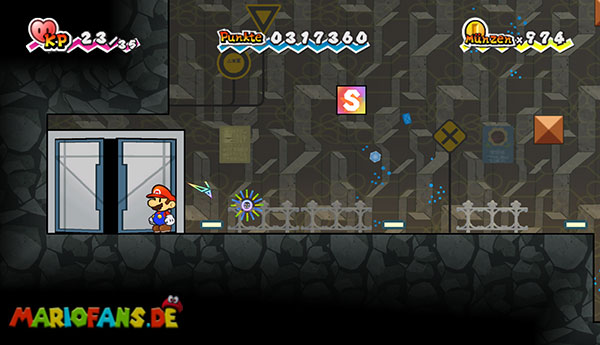
Behind the door you jump first left and then right over the high block walls. On the other hand, you’ll meet a friendly Cragnon and the Pixl Dottie.
Dottie is the last Pixl to join you in the normal course of the story. With its ability, the active game character can shrink to a tiny size.
In this form, you will not be noticed by most opponents. You can also use small tubes, mini doors and narrow corridors that are inaccessible in normal size. Your attack power and other values remain unchanged despite the reduction.
Activate Dottie and walk through the tiny, red glowing door. You land again in the previous cave section.
Deactivates Dottie and runs all the way to the left to the Save Block. Now go through the white metal door.
In the following room, a locked security door blocks your way. Decrease again with Dottie and walk through the narrow opening at the bottom of the left wall.
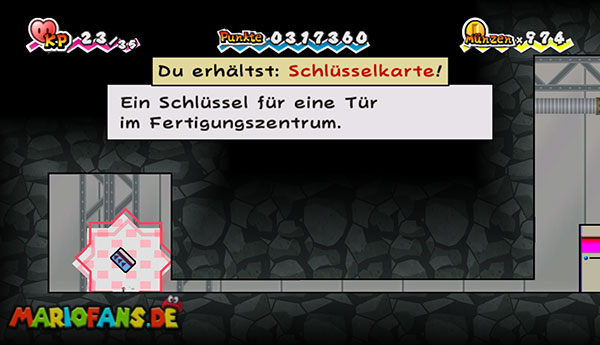
Behind the wall is a blue security key. Take it and return to the card reader.
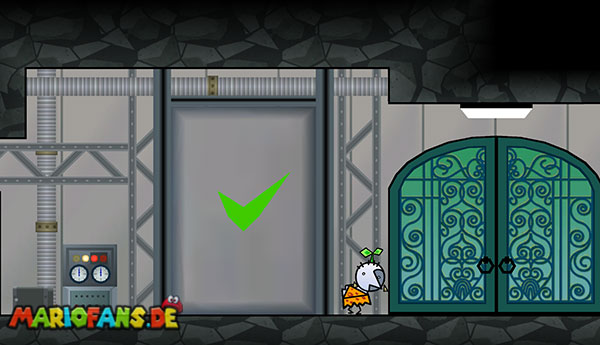
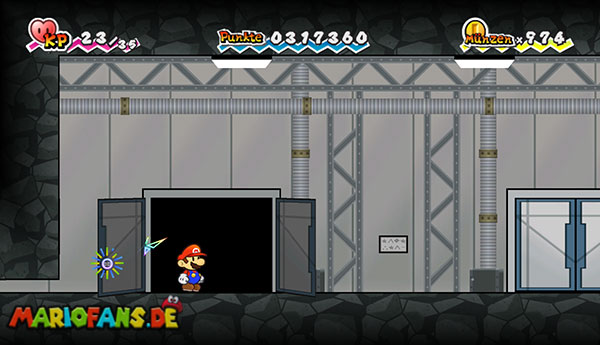
Plugs the security key into the red glowing reader. The security door opens and opens the way to the Floro Sapien processing center.
The Floro Sapien Processing Centre
Go through the open door. In the question mark block of the next room is a super mushroom that restores 20 force points.
Run to the left and get into the green warp pipe. You will reach a large hall where numerous captured Cragnon are transformed into Klipposapiens with wash leaves.
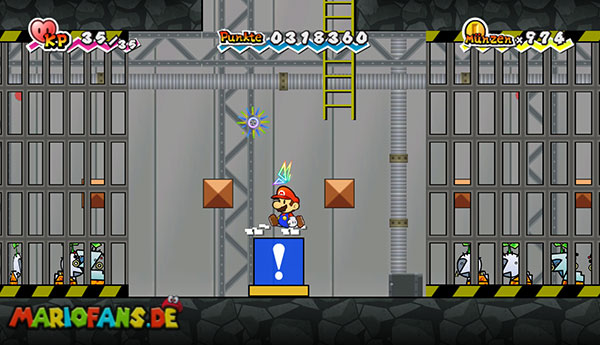
Drop down and stand on the big blue floor switch. Uses Thudley to fully press the switch.
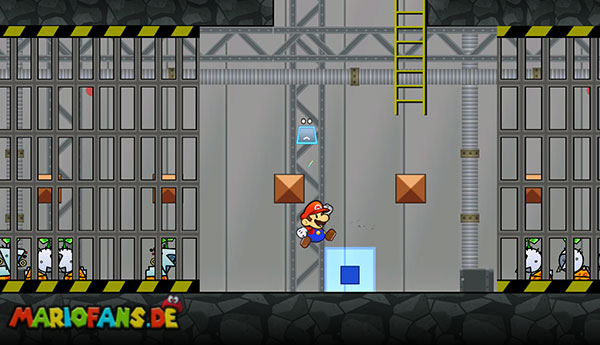
This opens all cages and frees the captured Cragnon. However, they continue to wear their wash leaves and therefore walk through the room hypnotized.
Attention: For each defeated Klipposapiens you will be deducted points. Therefore, do not jump on them and do not use widespread attacks.
Instead, use the indestructible blocks as platforms and leap carefully to the left. Alternatively, you can switch to the 3D view with Mario and walk past the Klipposapiens in the background.
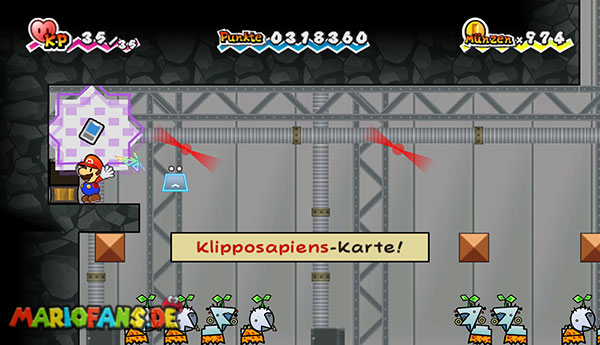
On the far left is a chest. Open it and take the Klipposapiens card No. 154 to you. This trapping card will cause double damage to Klipposapiens in the future – even if you should spare the poor Cragnon if possible.
Then return to the right and climb into the green warp pipe at the top of the room.
Third fight against O’Chunks
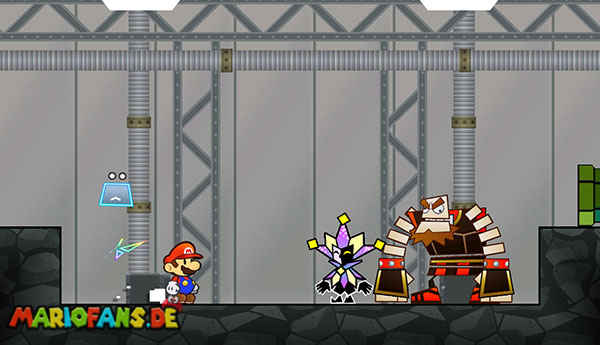
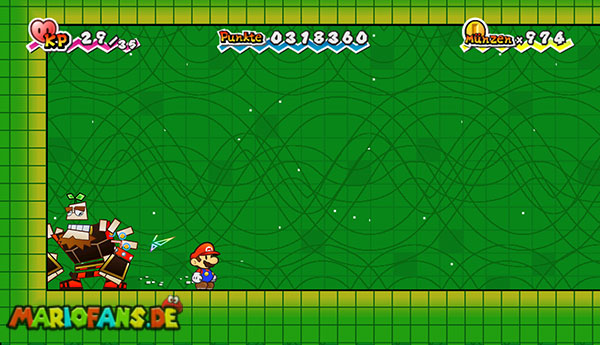
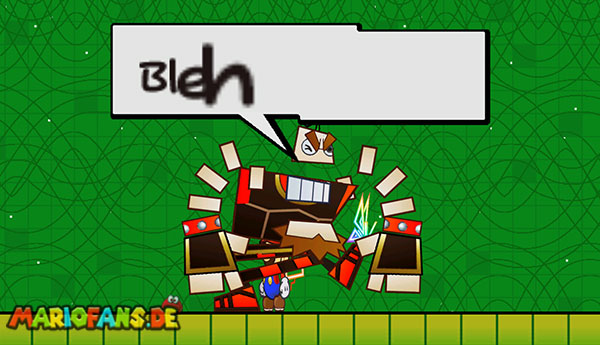
Behind the Warp Pipe, Dimenzio and O’Chunks await you. Dimenzio has put a wash leaf on his strong colleague and brought him completely under his control.
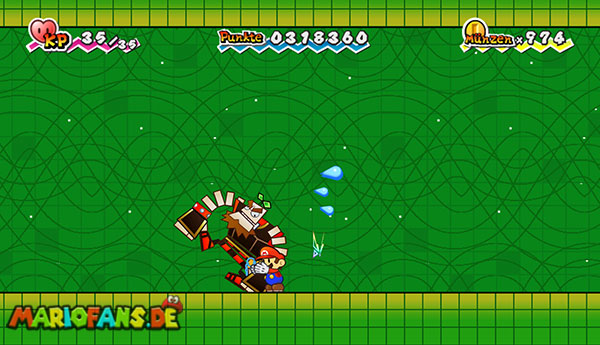
It transports all parties into its Dimension D, where both your attacks and O’Chunks’s forces are amplified. The hypnotized O’Chunks is now called:
O‘ lettuce.
O’Head Salad has 60 power points and moves much faster than in the previous encounters. In addition to his well-known jumping, tamping and throwing attacks, he now more often uses a fast whirl attack.
The familiar tactic with Thoreau continues to work. Wait until O’Head Salad has finished an attack, grab it with Thoreau and throw it to the ground.
As long as he is dazed, you jump on his head once or twice. Afterwards, stay away immediately before he recovers.
It’s faster with Bowser. Use his fire breath as soon as O’Head Salad stops short after an attack. Due to Bowser’s higher attack power, the opponent loses significantly more power points.
Even more effective is the combination of Bowser and Thudley. Jump over O’Head Salad and use Thudley to land on him with Bowser’s double attack power.
The safe procedure is:
Dodge attack – grab O’s lettuce with Thoreau – throw to the ground – jump on his head.
After the fight, the wash leaf falls from his head. O’Chunks cannot remember the events under mind control and retreats hungry.
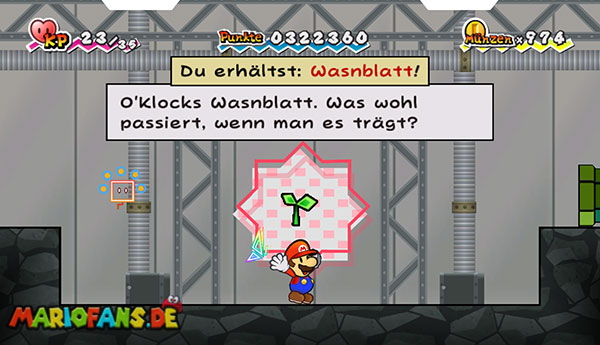
Take the wash leaf left behind. It is stored under your important items and automatically appears on the head of the active game character.
As long as you wear the wash leaf, the Floro Sapien consider you one of their kind and do not attack you.
With the Wasnblatt through the control
Get into the warp pipe on the right after the fight. Then return through the processing center and the two metal doors to the stone cave area.
Use the Save Block there and climb up over the individual blocks. Climb through the green warp pipe to return to the first section of the chapter.
Optional Bonus Room: With Dottie you can now use the tiny green warp pipe in this area. It leads into a secret room with numerous coins, a super mushroom and other bonus items.
Then return and follow the main path to the right. Enter the door behind which is the electronic control station of the Floro Sapien.
Run with the wash leaf on your head through the tattle. The device recognizes you as Floro Sapien and opens the lock.
Go through the big door on the other side and enter the palace of King Croacus IV.
The Mystery of the Four Ruler Portraits
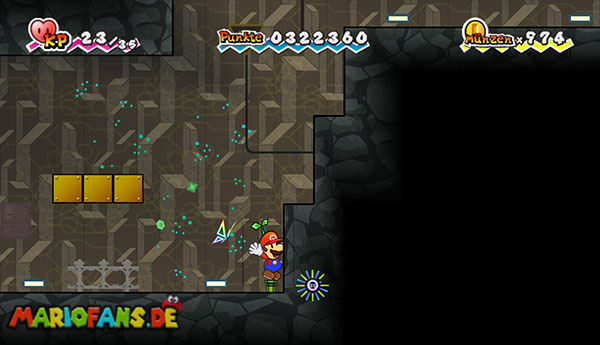
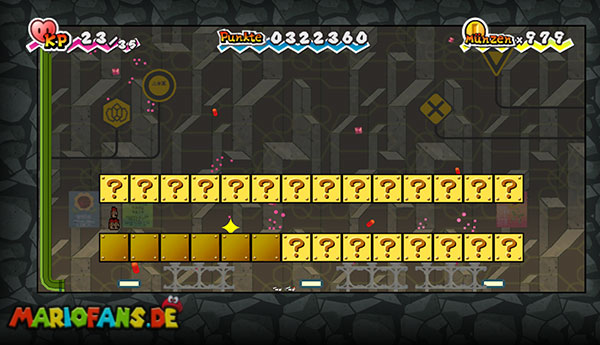
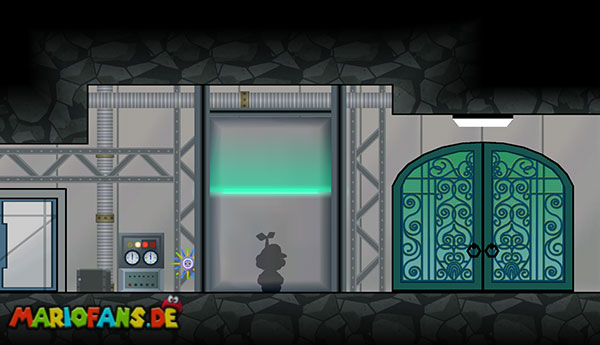
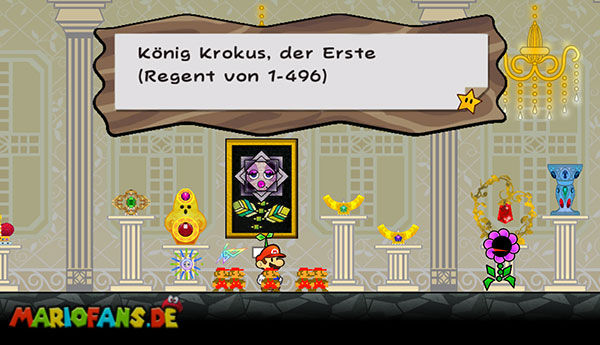
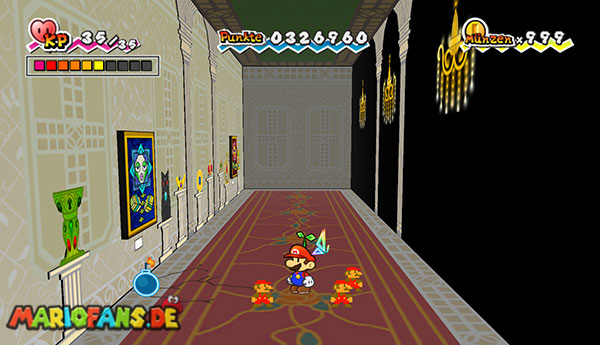
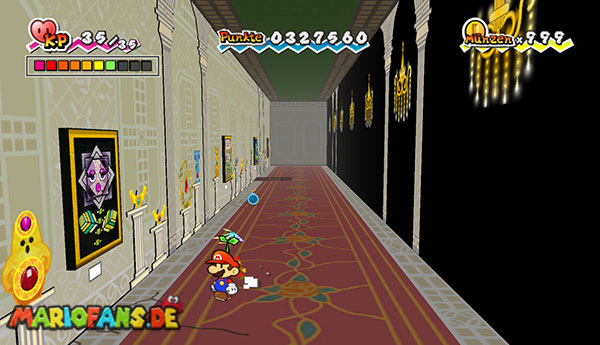
In the palace, four large portraits of former rulers of the Floro sapien hang on the wall. Each image shows a different predominant paint.
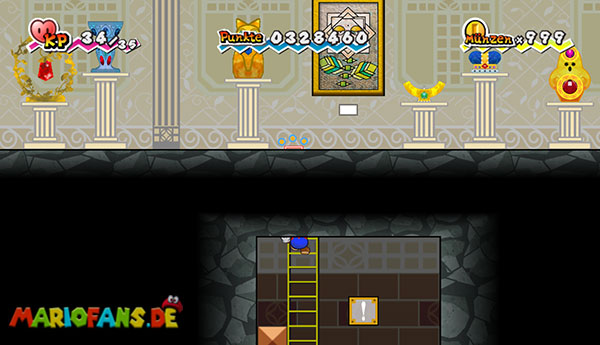
Switch to the 3D view with Mario. Among the first three portraits, you can see clear cracks in the ground. Put Boomer on each breaking point and blow the ground.
Under the fourth portrait on the far right, there is no visible crack. Nevertheless, place Boomer in the same place directly under the picture. This part of the floor can also be blown up.
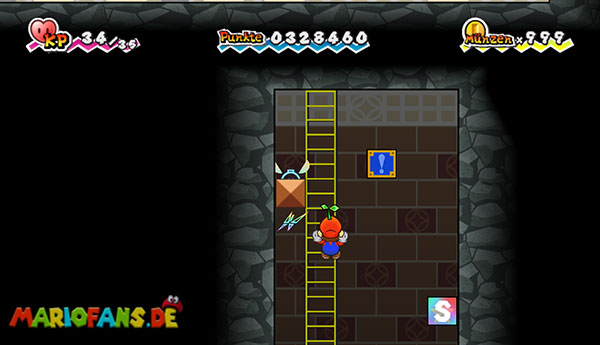
Let yourself fall into the four pits created one after the other. Each pit has a colored switch. Strike the switch until his paint matches the portrait hanging over it.
The correct order is from left to right:
Black – White – Blue – Red.
The switches change to the next paint on each hit. You can jump them from below or hit them sideways with Thoreau.
In the first pit there is also an Ultra mushroom mix that restores 50 strength points. In the fourth pit is a Save Block. Be sure to use it before entering the throne room.
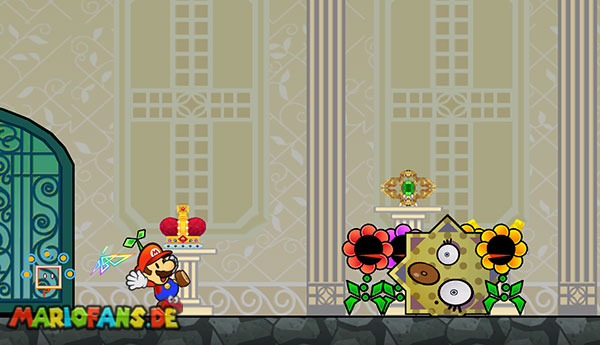
Also here run some Klipposapiens around. Keep trying not to hurt her.
Once all four switches are set correctly, a new door appears in the middle of the hall. Go through it.
The Battle of King Croacus IV
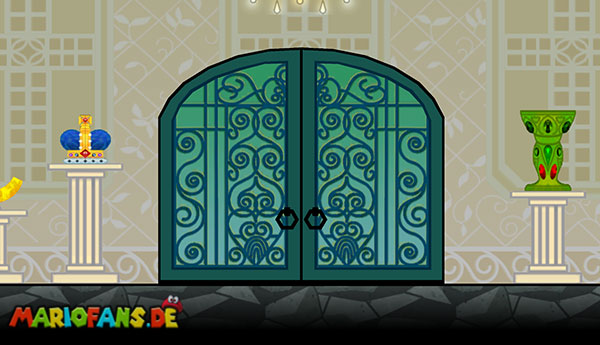
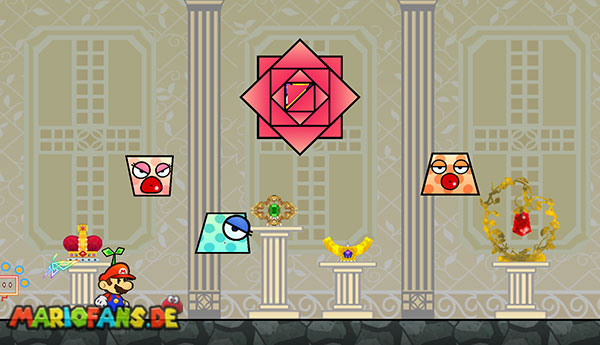
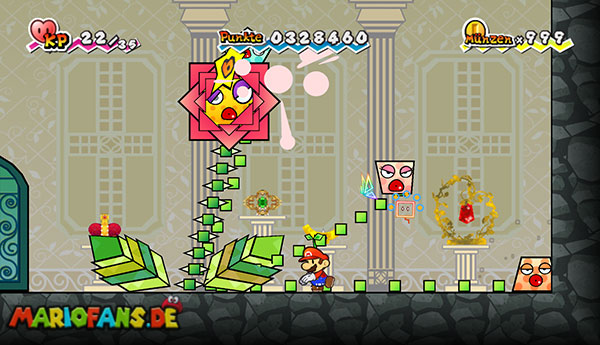
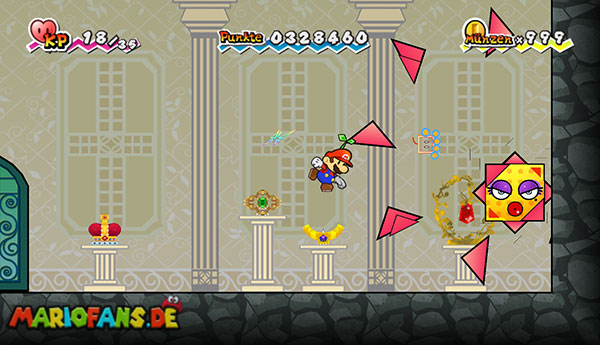
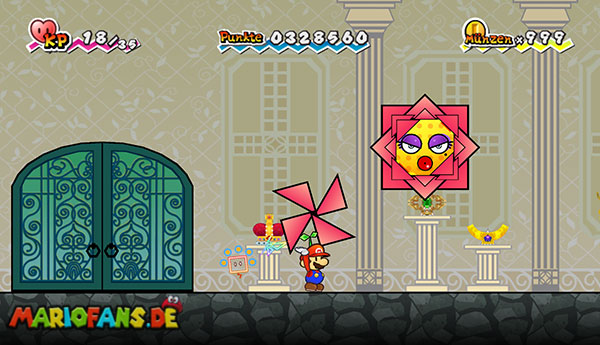
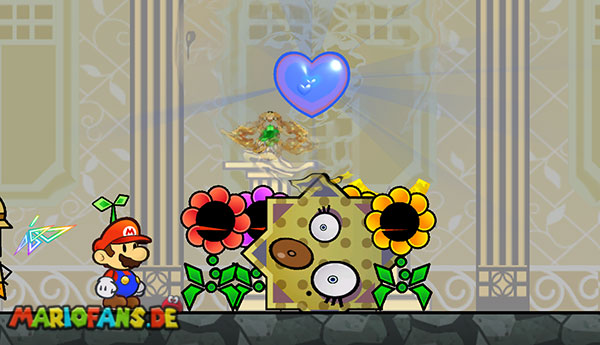
In the throne room you will finally meet King Croacus IV. The ruler of Floro Sapien considers himself and his palace filled with gemstones to be the epitome of perfect beauty.
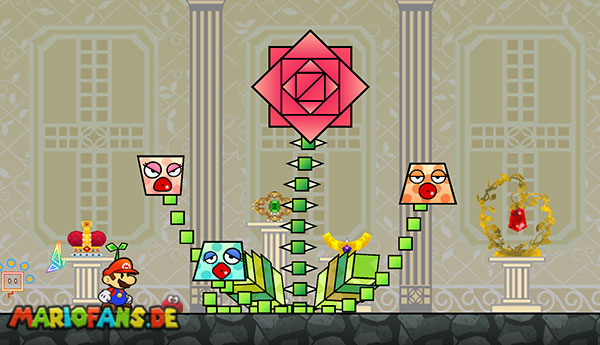
He refuses to release the kidnapped Cragnon and turns into a huge, spiky flower.
King Croacus IV has 50 power points. The struggle consists of two different phases.
First phase: The three flower heads
At the beginning, King Croacus IV sits in the middle of the room. Its face is protected by closed petals and is completely invulnerable in this state.
On three long, spiky stems hang smaller, colored flower heads. They move through the room trying to crush you from above.
Keep moving and pay attention to which flower head is straight upright. Shortly afterwards he falls to your position.
Equips Thoreau and grabs one of the smaller flower heads. Wait until King Croacus IV opens his petals and shows his face.
Ship the captured flower head directly against his face. Alternatively, you can jump over the little heads and kick King Croacus IV on the head itself.
Attacks only as long as his face is visible. Hits against the closed petals do not cause any damage.
Repeat the attacks until the three small flower heads disappear and King Croacus IV takes its second form.
Second Phase: The Flying Flower
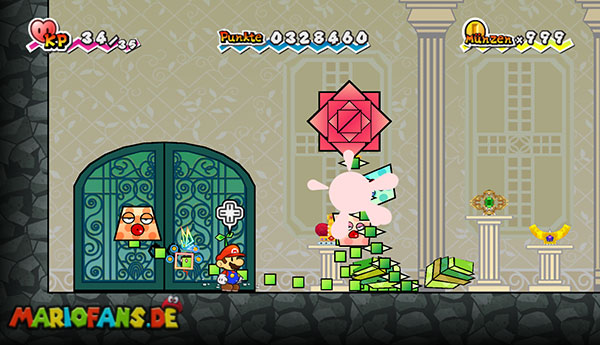
King Croacus IV now detaches from his stalk and floats freely through space. At the same time, it throws several red, circular saw-like petals in your direction.
Dodge the rotating leaves by jumps or protect yourself with Princess Peach’s umbrella. Princess Peach can fend off the bullets as long as she hides on the ground under her umbrella.
The easiest way is with Mario and Thoreau. Grab one of the red petals and hold it until King Croacus IV reopens his face.
Ship the leaf directly against his unprotected head. Alternatively, you can switch to Bowser and use his fire breath if King Croacus IV flies deep enough and his face is visible.
The safe procedure is:
Dodge rotating leaf – grab leaf with Thoreau – wait for open face – throw leaf back.
After several successful hits, King Croacus IV loses all his strength and begins to wither.
Shortly after, several Floro sapies storm into the throne room. They explain that the Cragnon dumped their waste into the river, polluting the vital water of the Floro sapien. The polluted water made King Croacus IV and his subjects sick and drove them mad.
Flint Cragley promises to educate the Cragnon on his television show about the consequences of pollution. In return, the Floro Sapien agree to release the kidnapped Cragnon and end the conflict.
As a sign of peace, they present you the sixth Pure Heart.
This concludes Chapter 5-4 and the fifth chapter of Super Paper Mario.